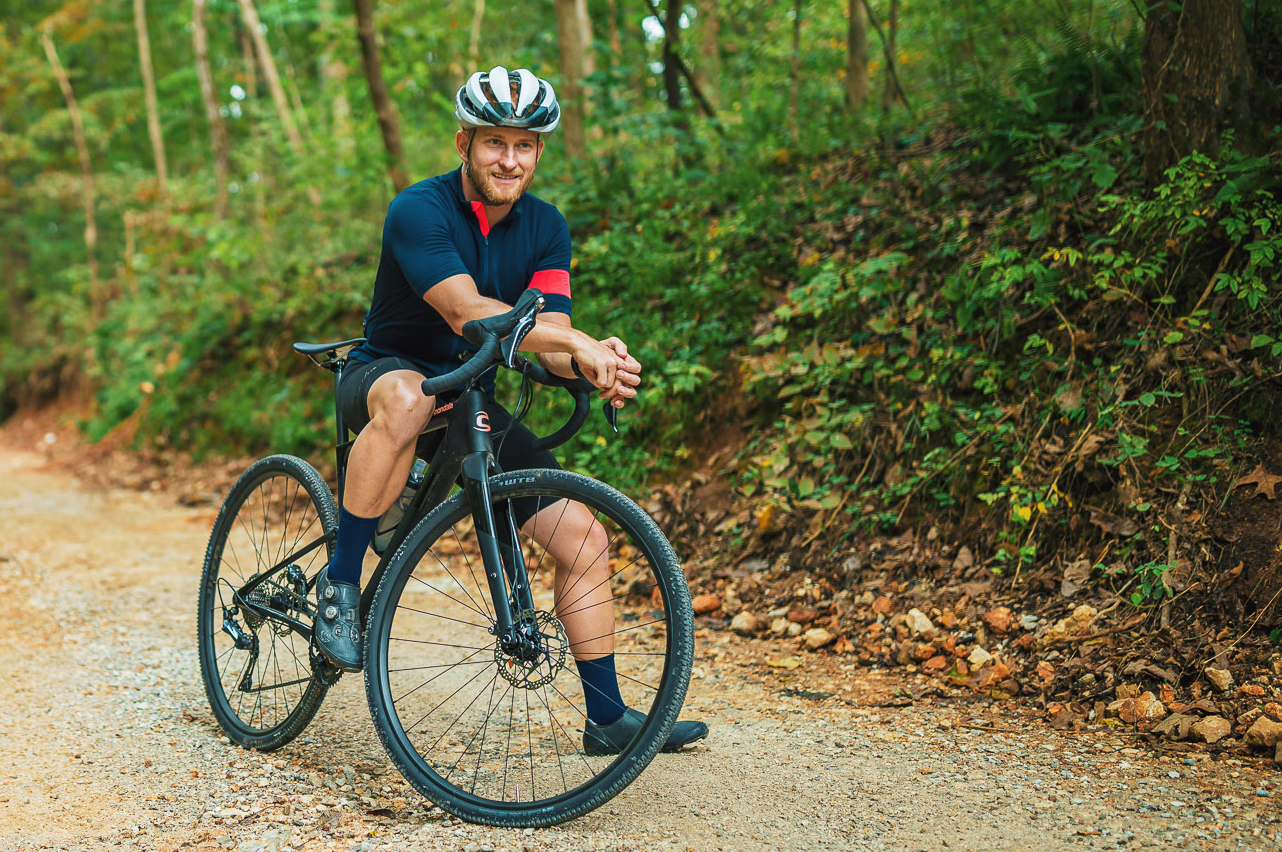
The best medicine is often preventive and the best way to avoid mechanicals on the trail is to safety check your bike before you hit the singletrack.
The best tool kits for bikes will help maintain your bike and the best bike repair stands hold it off the ground to make tinkering easier.
What's more, a clean bike is less likely to break down. You can keep yours gleaming using the best bike cleaning products.
But despite our best efforts, stuff happens. When it does, if you know what to pack for long mountain bike rides you should be prepared to rise to the occasion and save your ride.
Tools and technique won't fix everything, which is why a fully charged mobile phone is paramount on any ride. You can call for a lift in the event of an irreparable mechanical and use the best cycling apps to pinpoint your location.
But for more common mechanical mishaps you or your riding buddies are likely to encounter, here are practical solutions to get you up and rolling.
Trailside repairs you should learn
1. Pump properly
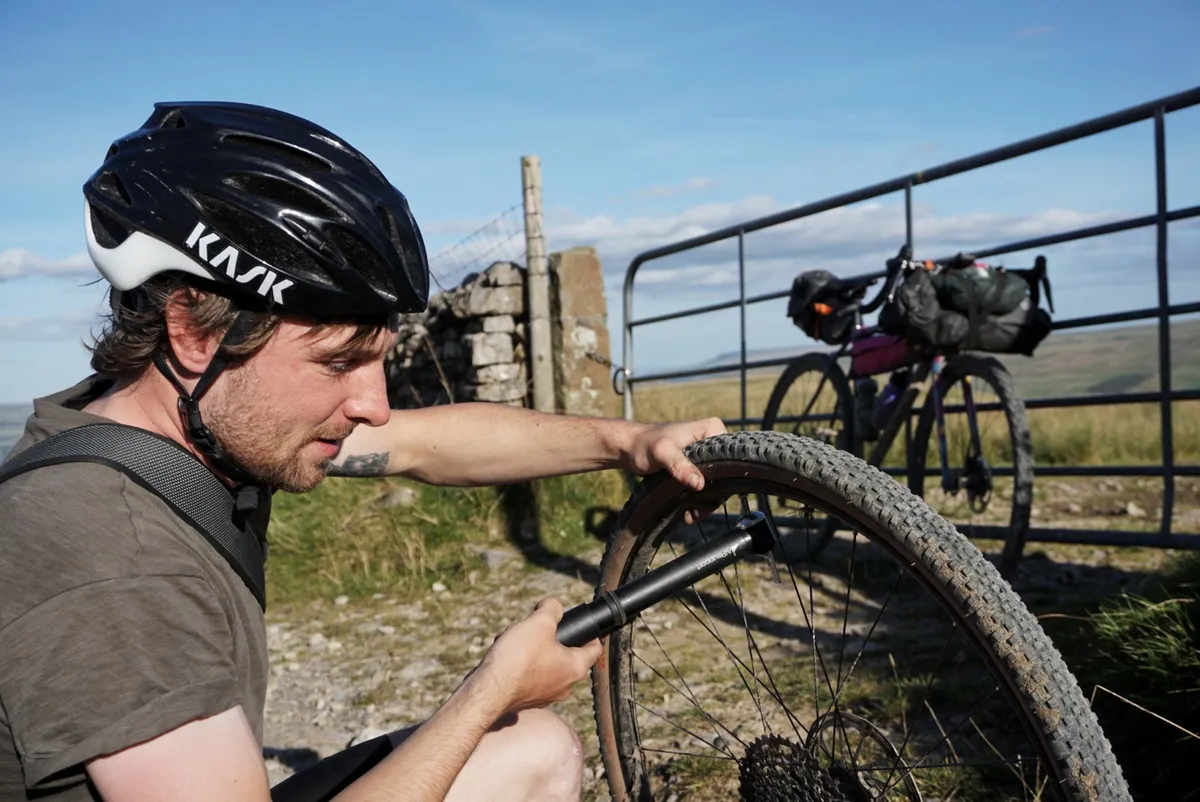
Picture this: you flatted and have just installed a new inner tube. You’re pumping like mad with your hand pump so you can get riding again only to shear off the valve stem.
No patch will fix that. So you’d better have a second tube or it could be a long walk home.
There is a right and a wrong way to use a hand pump. The wrong way is to rest the wheel against your thigh and pump like crazy. While effective, this puts undue stress on the valve stem, increasing the likelihood of damage.
Try resting the wheel against the ground and propping up the pump with a log or rock, so the head of the pump is in line with the valve.
Not only does this lessen the stress on the valve stem, it also gives you a firm surface to push against when inflating your tyre.
Even better, use a hand pump with an extendable hose to lessen stress on the valve stem.
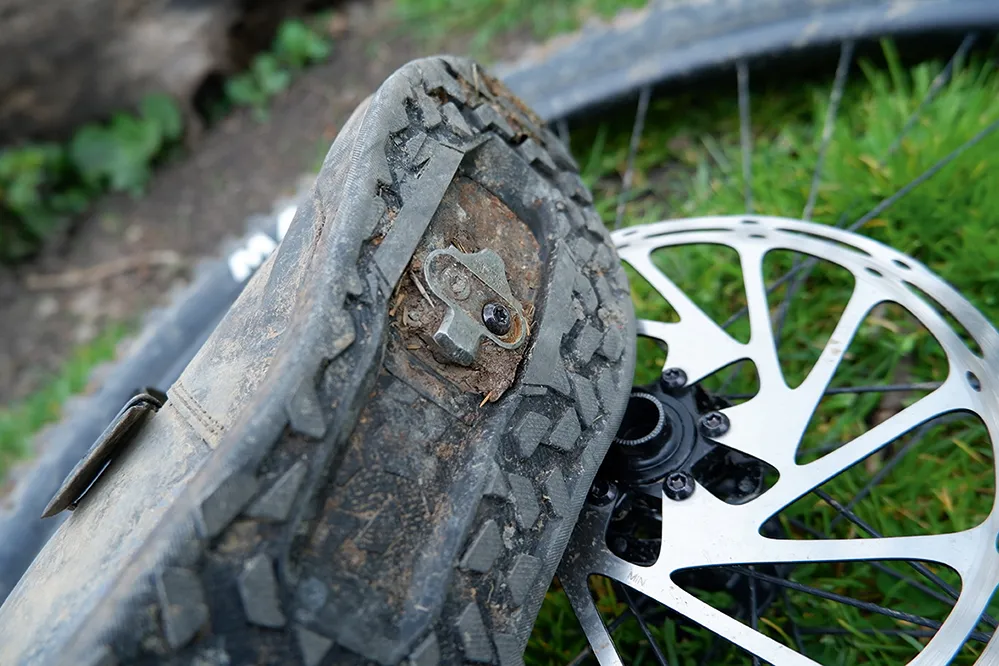
2. Give sidewall tears the boot
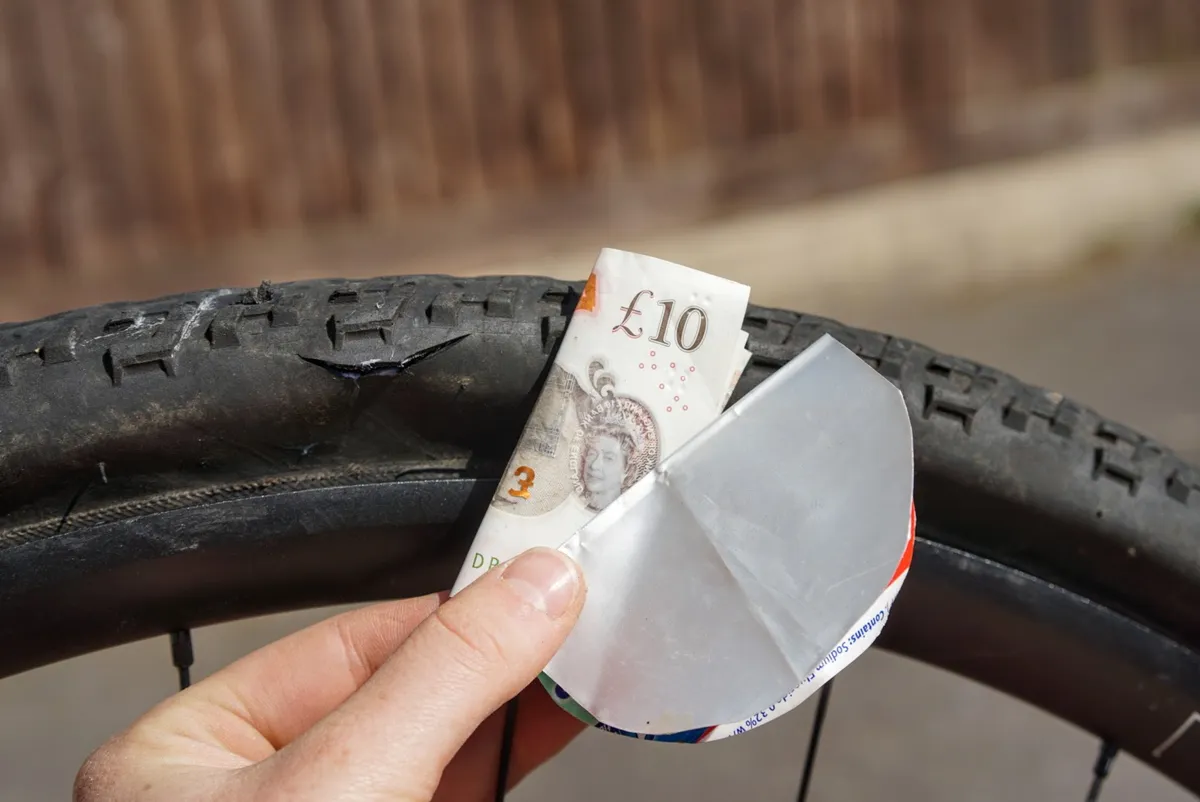
Tubeless sealant does a good job of stopping small punctures from ruining your ride, but cuts larger than a quarter of an inch often require the use of a tube and a tyre boot.
If you simply install a tube without bothering to cover a torn sidewall, you may notice the tube starting to bulge through the tear, soon to be followed by a loud “bang!” and then a long hike out of the woods…
Keep your used energy gel and bar wrappers close at hand, not just to avoid littering the trail, but also because they come in handy in situations such as this.A wrapper makes a great tyre boot in a pinch and there are other ways to fix an inner tube without patches.
For a more permanent fix, consider using a tyre boot such as those from Park Tool.
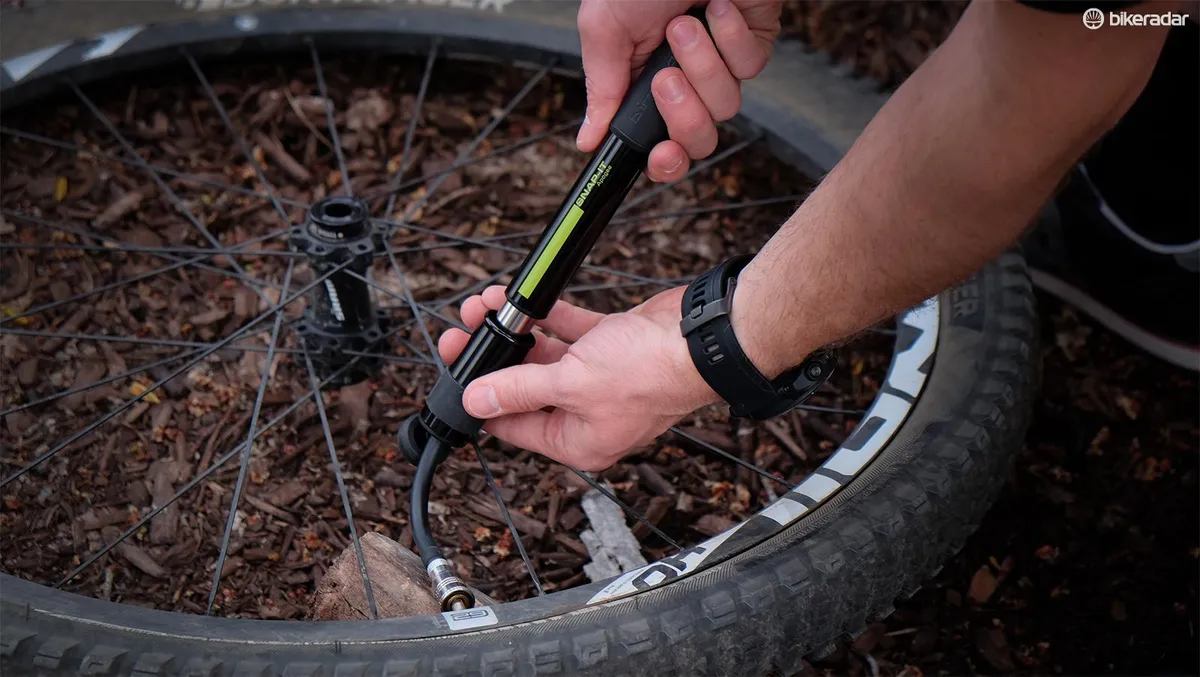
3. Carry the right repair kit
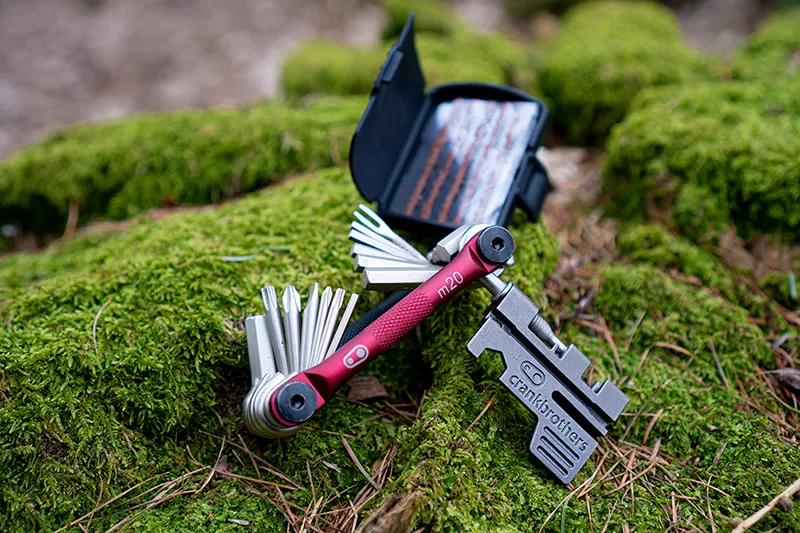
Top of our repair kit essentials is a multi-tool.
There are countless multi-tools on the market. The best bike multi-tools have built-in chain tools, so consider investing in one to remove the need to carry a separate chain tool with you.
A broken chain can be one of the most jarring mid-ride breakdowns. It happens under power, usually while you’re really cranking up hill (or shifting when you shouldn’t be).
While it’s not nearly as common as getting a flat, it does happen and you should always be prepared to fix it with the proper tools.
Be sure to pack a master-link as well.

We’d advise carrying a rudimentary repair kit with the following items:
Rubber gloves; zipties; duct tape, wrapped around tyre levers; spare master-link; master-link pliers; multi-tool with chain breaker; tyre plugs with installation fork.
4. Fix a cleat with your bike’s 'back-up bolts'
Picture this: you just finished a gruelling hike-a-bike section, you have clipless pedals and go to clip in, but something feels sloppy.
Then you realise you’re missing a cleat bolt. Fear not, your bike has 'backup bolts' you can use in just such a situation.
In a pinch, a rotor bolt will work as a cleat bolt. Is running five rotor bolts safe? It's safe enough to get you home.
It might not be the ideal, but World Cup weight weenies have been making do with less than a full complement of rotor bolts for years.
Even downhillers including Steve Peat have been known to use just three rotor bolts. You are not Steve Peat and we're not endorsing this solution for weight savings, but it will get you home while allowing you to use both pedals.
To mitigate risk, take a rotor bolt from the rear wheel, and practise clipping in and out a few times before you start riding again to ensure there are no interference issues between the new bolt and the pedal.
5. Saddle rail fix
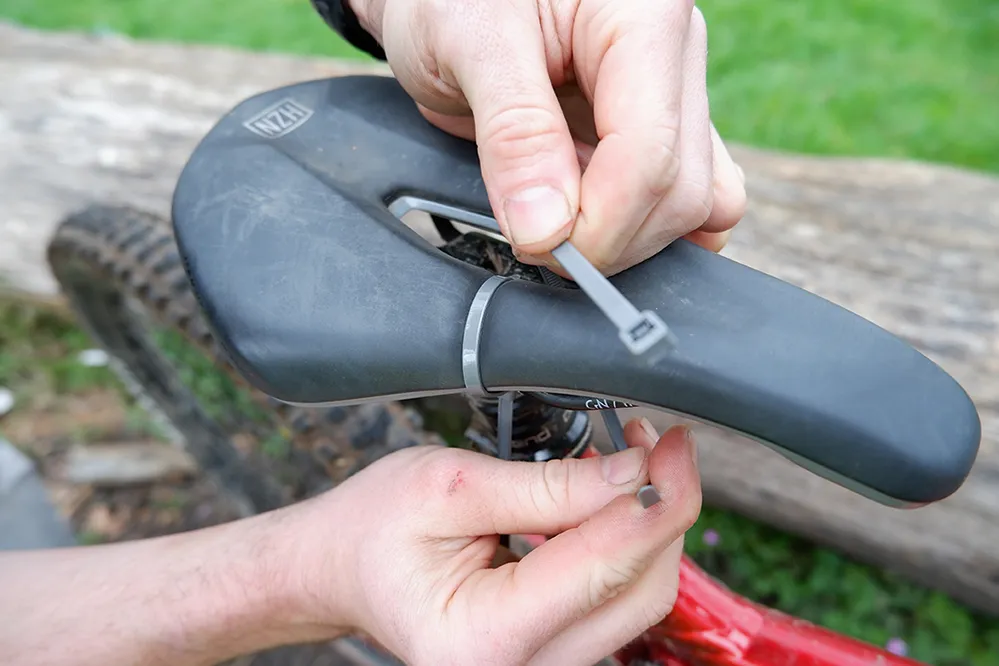
Saddle rails snap surprisingly frequently.
If this happens to you, you may be able to use zip ties to hold the hull of the saddle in a workable position until the end of the ride.
Where they need placing will depend on the design of the seat, but this works in most situations.
6. Snapped spoke spin
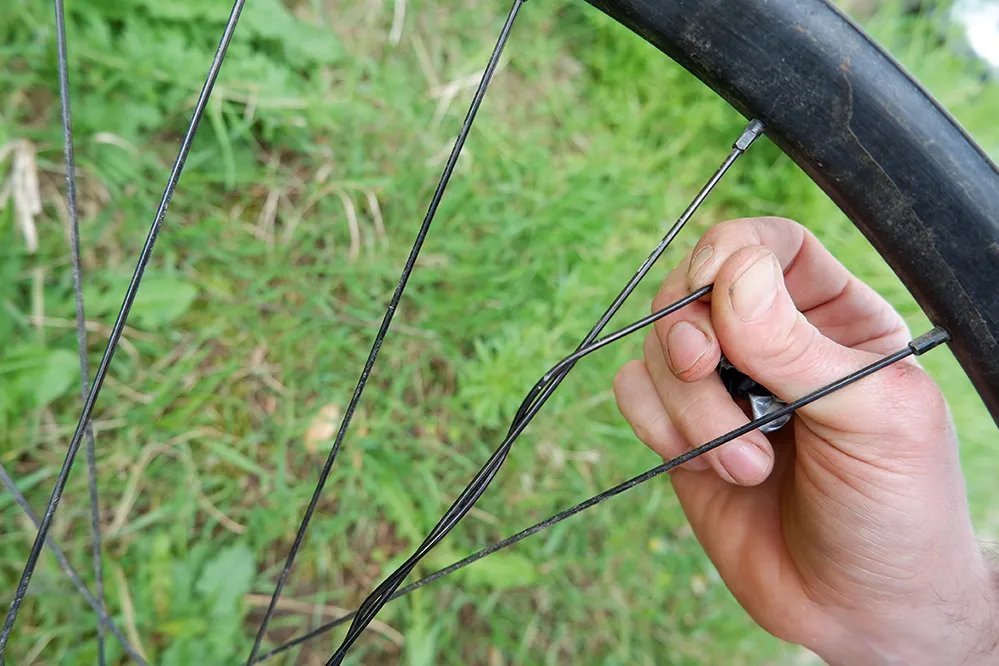
We've got tips for replacing a snapped spoke when you're back home, but here's how to get back if one breaks on a ride.
Wind the spoke around a neighbouring spoke to prevent it flopping around and potentially damaging the frame.
If the break is near the hub, it could pierce your rim tape.
You could also use duct tape to secure the loose spoke.
7. Singlespeed conversion
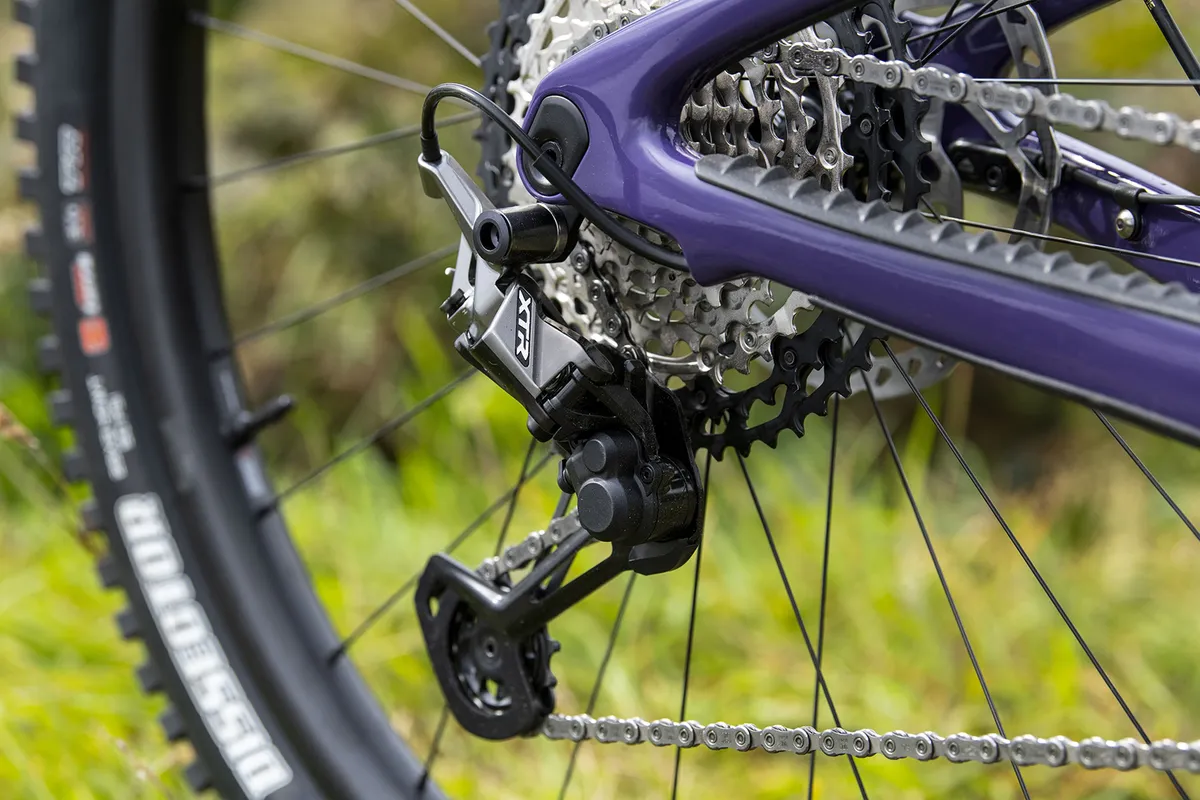
If you damage your derailleur hanger, hopefully you've packed a spare.
But if you happen to ruin your derailleur hanger and rear derailleur, then this last-resort repair will enable you to pedal home.
This repair is easier – and more reliable – if you ride a hardtail. It can be done with a full-suspension bike too, but it requires extra steps to work reliably.
We've got a more detailed guide on how to perform a singlespeed conversion, but for now here are the essential steps.
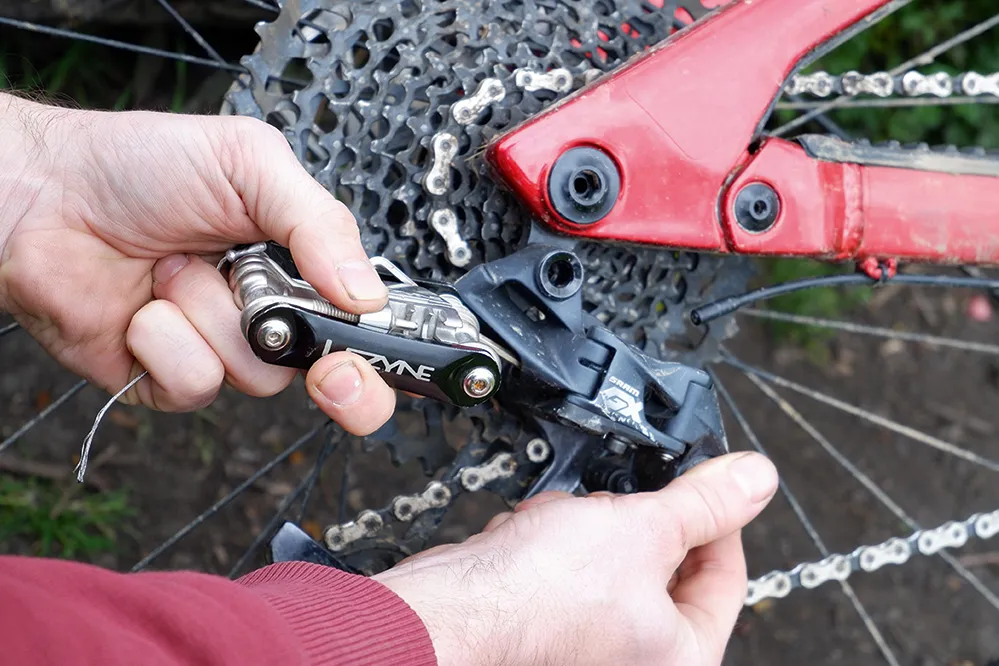
Remove what remains of the rear derailleur by unbolting it from the hanger. Take the rear-derailleur cable and loop it around the seatstay so that it won’t get tangled in the drivetrain.
Open the quick-link or remove a pin with your chain tool (using the quick-link is generally preferable, but you're going to be shortening the chain anyway).
Attempt to find a workable gear combination with the straightest chainline possible. Use the middle chainring on a triple crankset, the small ring on a double, and, well, the only chainring on a 1x drivetrain.
Find a gear combination that will work without too much slack in the chain and splice the chain back together.
If you have a full-suspension mountain bike, be aware that most suspension designs have some degree of fore/aft axle movement as the wheel moves through its travel.
This means that while your chain might appear reasonably tensioned when you’re hacking things together, the chain will become too loose or too tight as the rear suspension compresses. To counter this, lock out the rear suspension.

If you have a shock pump handy, inflate the rear suspension to the point that the suspension won’t compress in the open position (but be sure to stay below the shock's maximum air pressure, which is usually printed on the shock body).
High air pressure plus the lockout will minimise any rear-suspension movement that could compromise chain tension.
Have a trailside repair tip you’d like to share? Sound off in our comments section below.