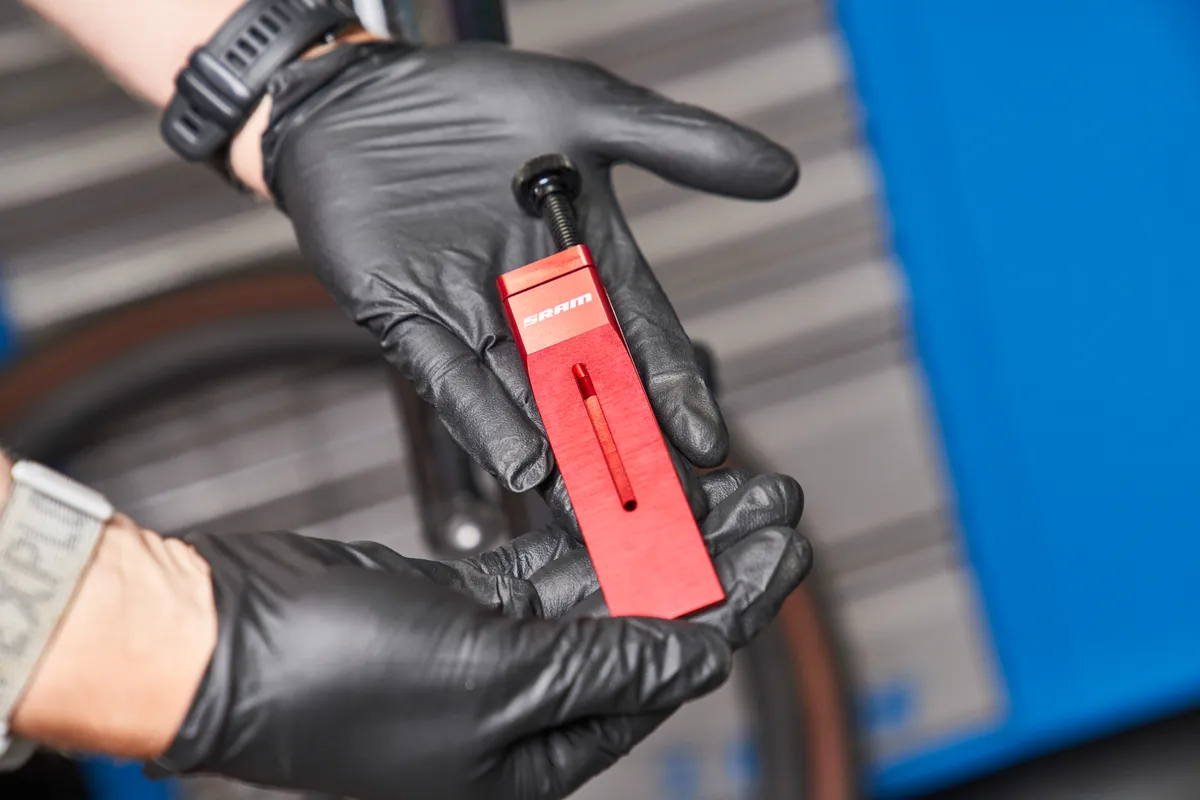
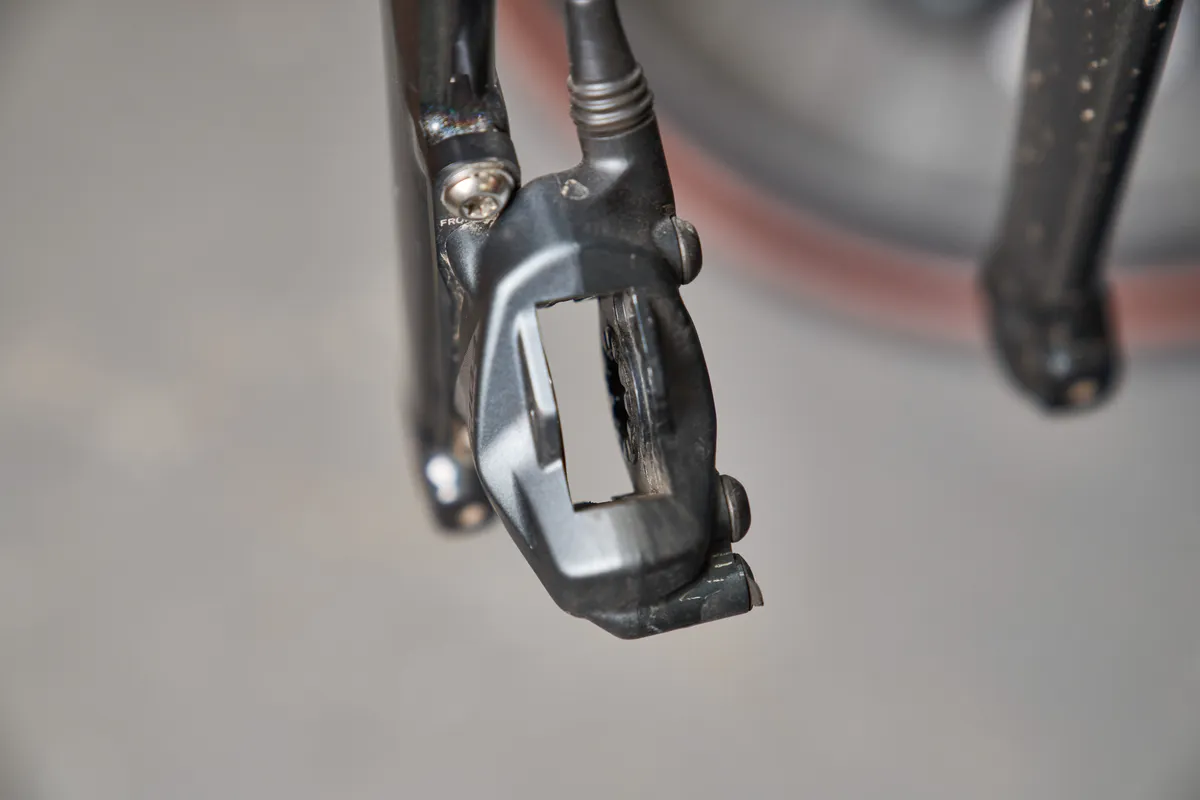
Disc brake pads are a consumable component on your bike, and it goes without saying it’s important to keep them in good condition.
Low-power braking, an ear-scraping howl when braking in the dry (it's normal for some noise in the wet) or excessive lever travel can all be symptoms of worn out or contaminated disc brake pads. Thankfully, replacing them is a quick and simple job.
If you want to know more about pads specifically, including the best material to choose, we've got a separate buyer's guide to disc brake pads.
How to change disc brake pads on a bike
The following steps apply to disc brakes on road, gravel, hybrid and mountain bikes.
Although we're working with a SRAM brake in this guide, the process is almost identical for brakes from Shimano, Campagnolo and other large manufacturers.
Tools required to change disc brake pads
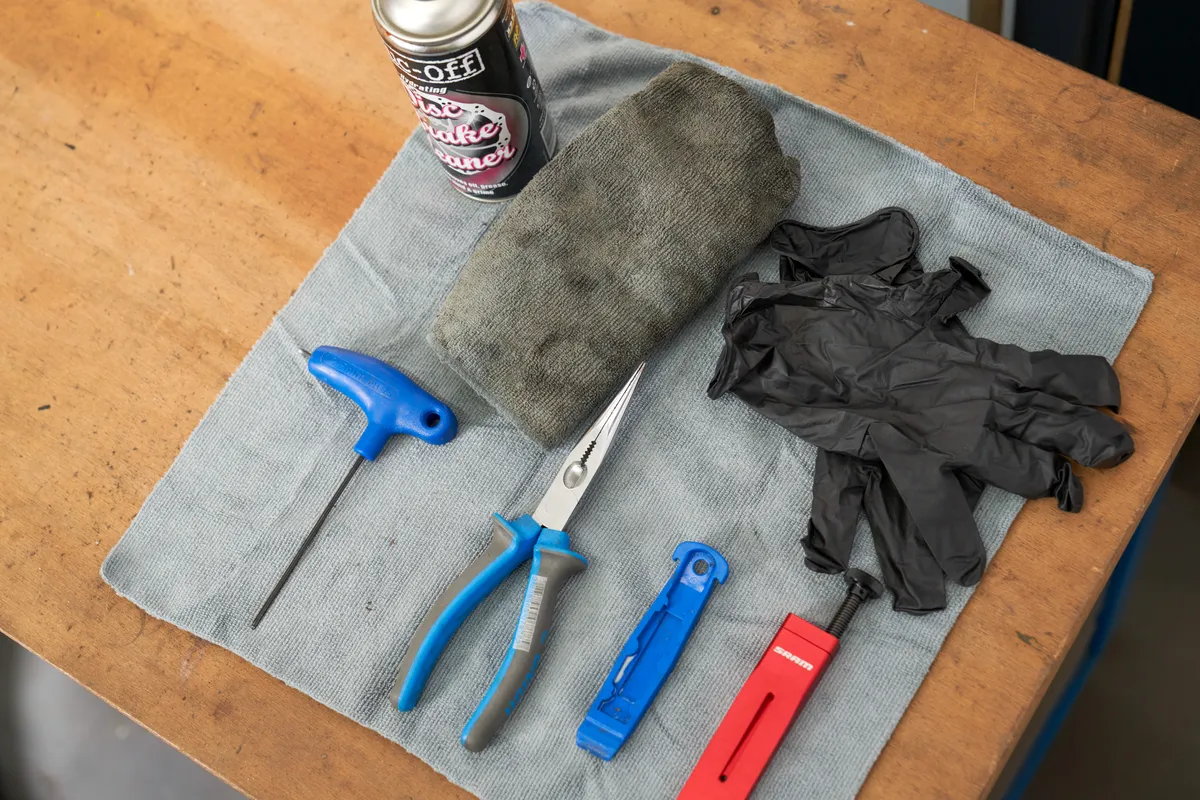
- Replacement disc brake pads
- Lint-free rag/paper cloth
- Appropriately sized hex key/flathead screwdriver
- Needlenose pliers
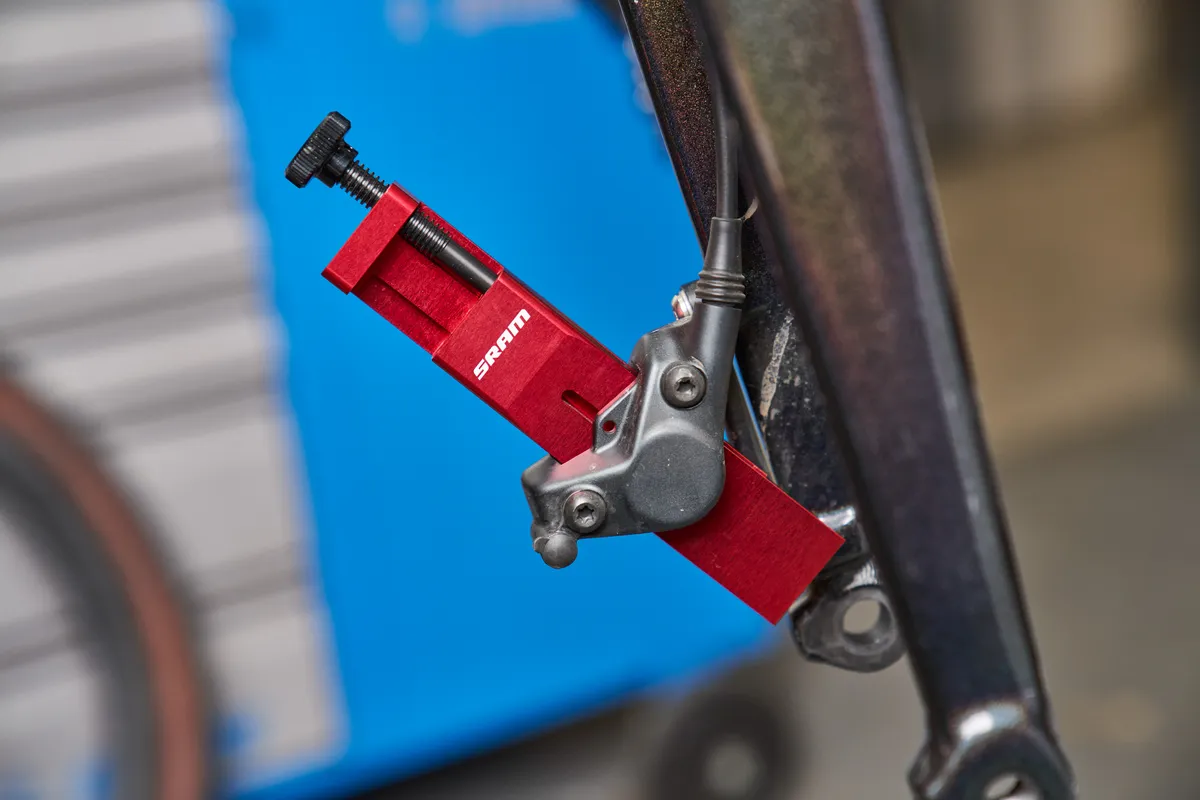
- Piston press or plastic tyre lever
- Disc brake cleaner or isopropyl alcohol
- Nitrile gloves
- Vernier calipers to measure the remaining pad material (optional but not essential)
Step 1
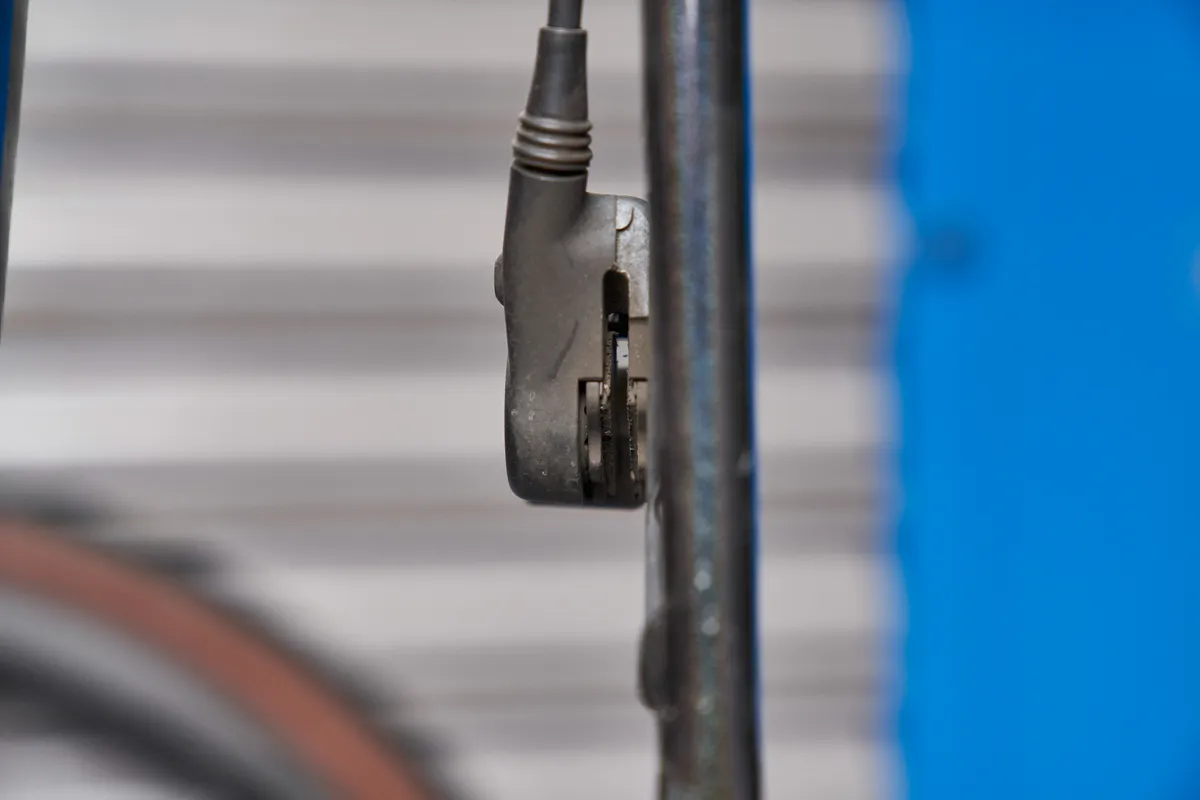
Remove the wheel from the bike.
If you're just looking to check the brake pads for wear, removing the wheel exposes the pads in the caliper so you can get a visual indicator of how much life is left on them. It can be helpful to use a flashlight.
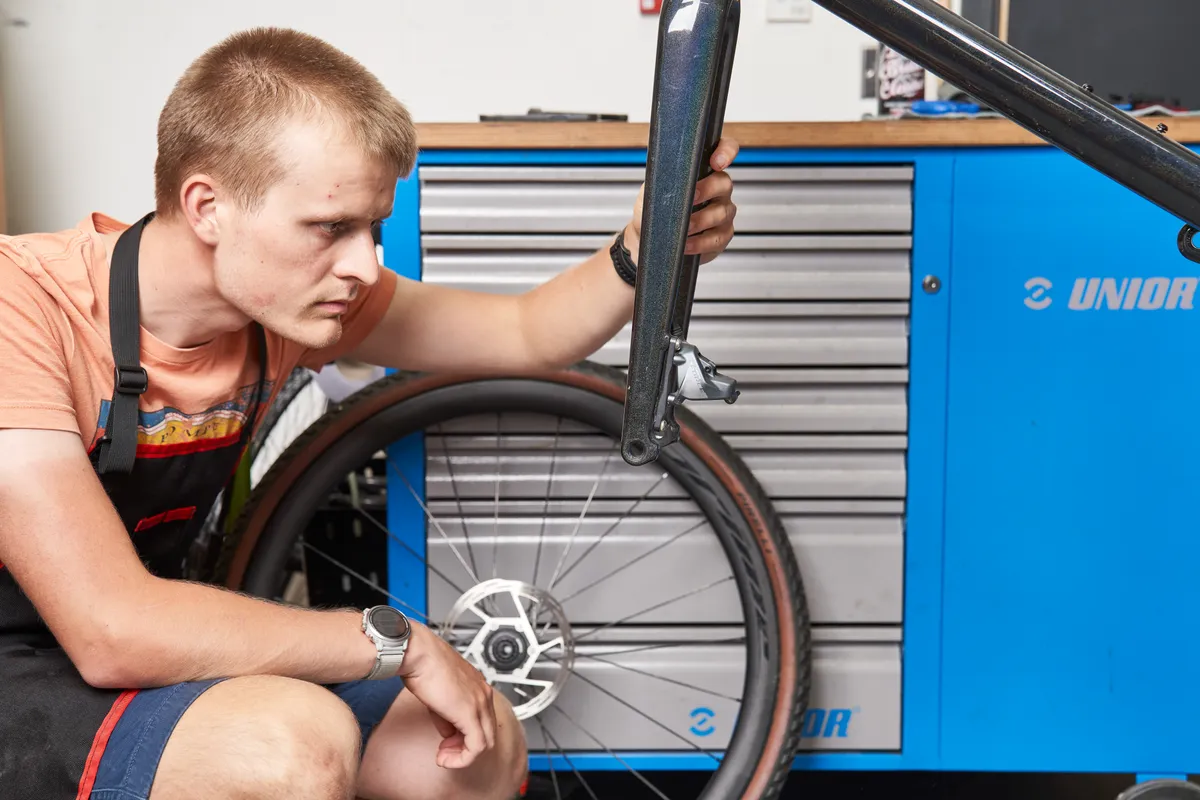
It’s important to check the pads regularly – if they wear down to the backing plate, the metal-on-metal contact of the pad backing plate will destroy the disc brake rotors very quickly.
If you're not sure if the pads need replacing, it's worth continuing to remove them so you can measure their thickness.
Avoid actuating the brake lever at this stage. If you're not careful, squeezing the brake lever after you've removed the disc rotors can force the pistons beyond their limits and compromise the hydraulic system, forcing you to need to bleed the brake.
Step 2
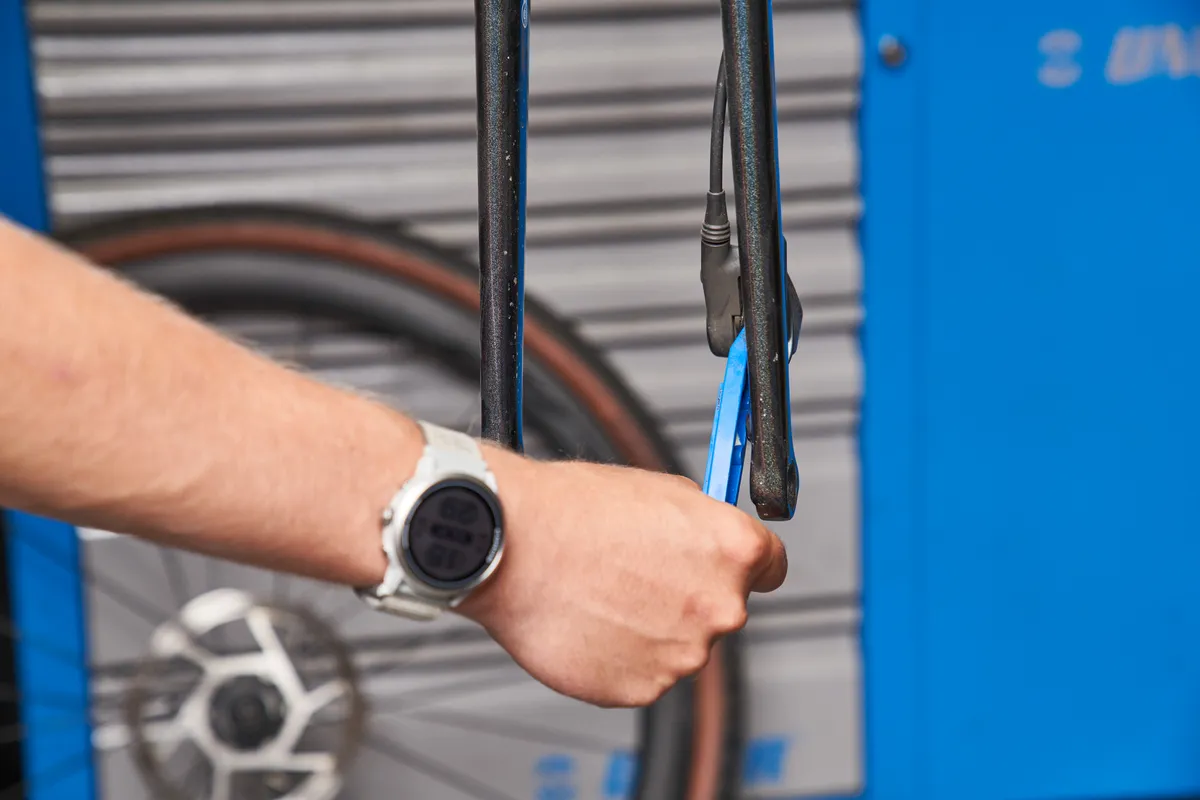
Before removing the disc brake pads, now is your opportunity to push the pistons back into the bores of the caliper. If you don't own a dedicated piston press, use a plastic tyre lever. If you're using a piston press that requires the pads to be removed, skip to Step 3.
It's better to do this now rather than with the new pads installed to avoid damaging them – given we're performing this procedure to replace the pads, it doesn't matter if we damage the old ones.
Gently push the old pads into the caliper until you cannot see any exposed piston.
Step 3
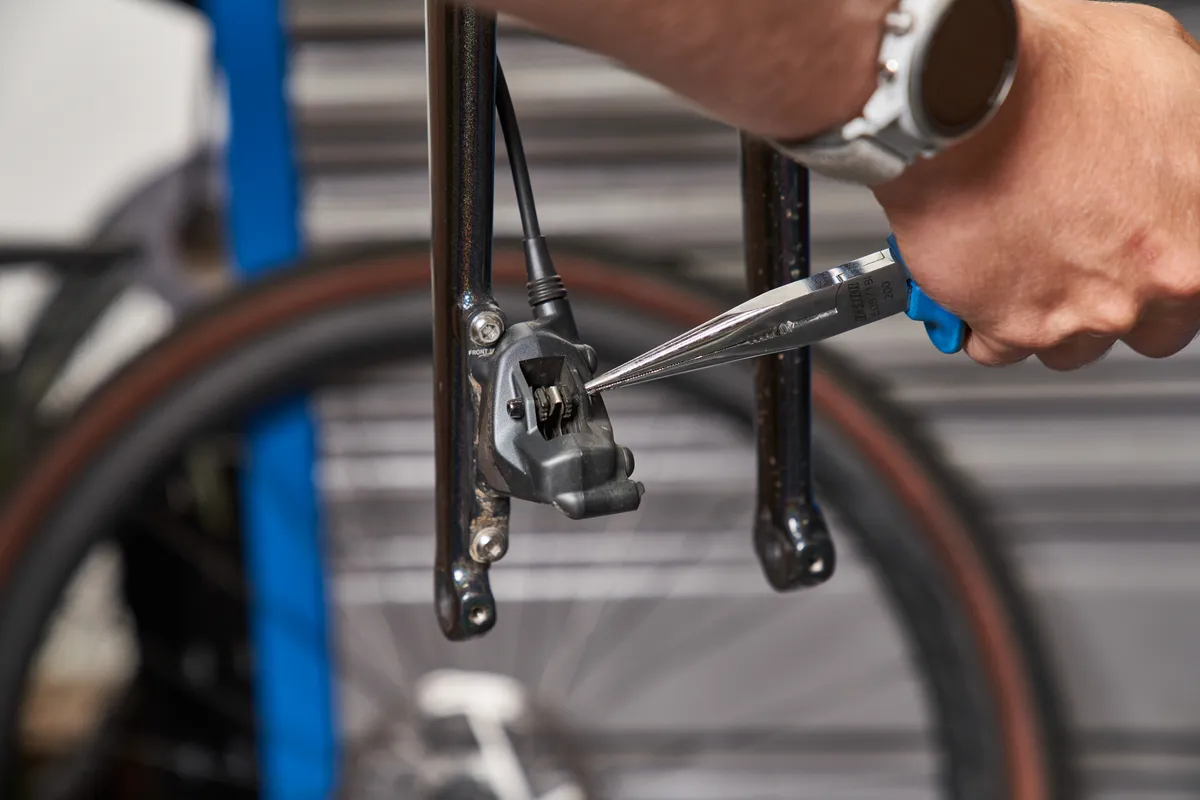
Remove the brake pads.
Most disc brake pads use an e-clip (a small metal disc that clips onto the end of the retaining bolt) to act as a failsafe if the retaining pin loosens. You'll need to remove this, either by hand or with needlenose pliers.
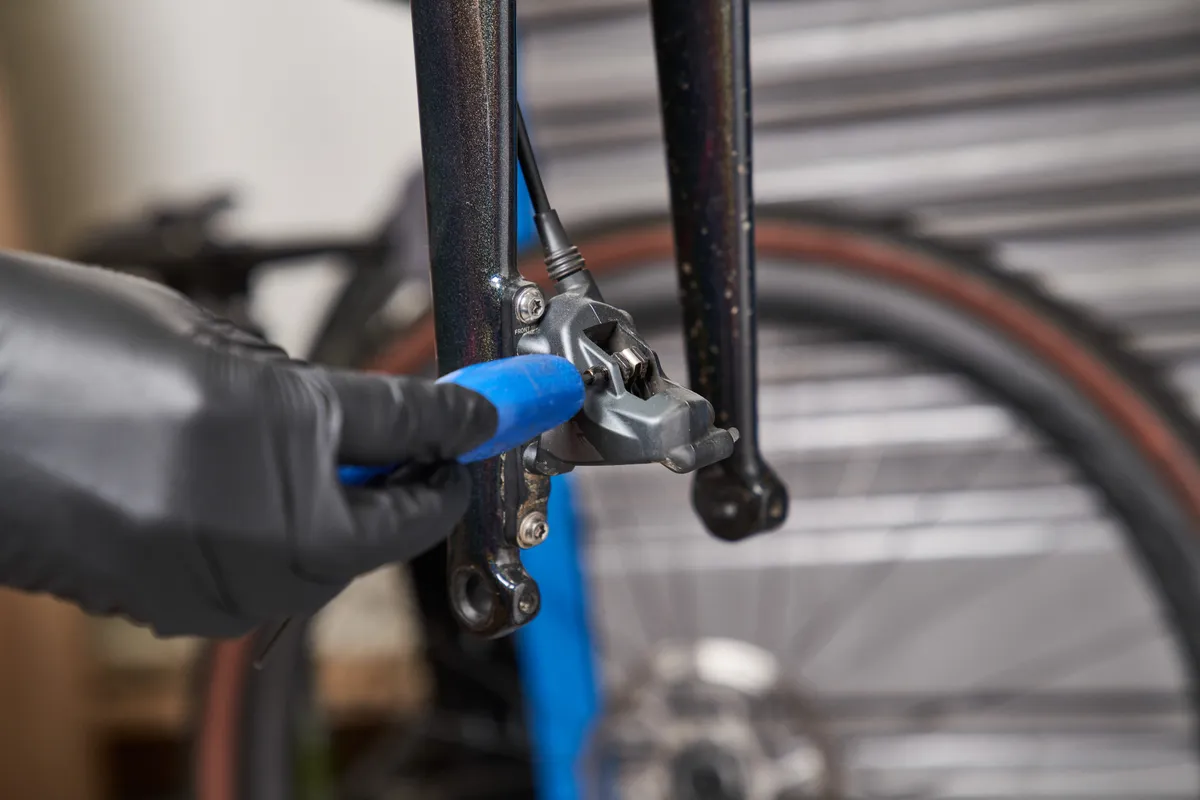
Some older Shimano brakes use a split pin, where you'll need to bend the ends straight first with needlenose pliers before it can be removed.
You can then remove the pad-retaining pin, which will typically require a 2.5/3mm hex key or a flathead screwdriver.
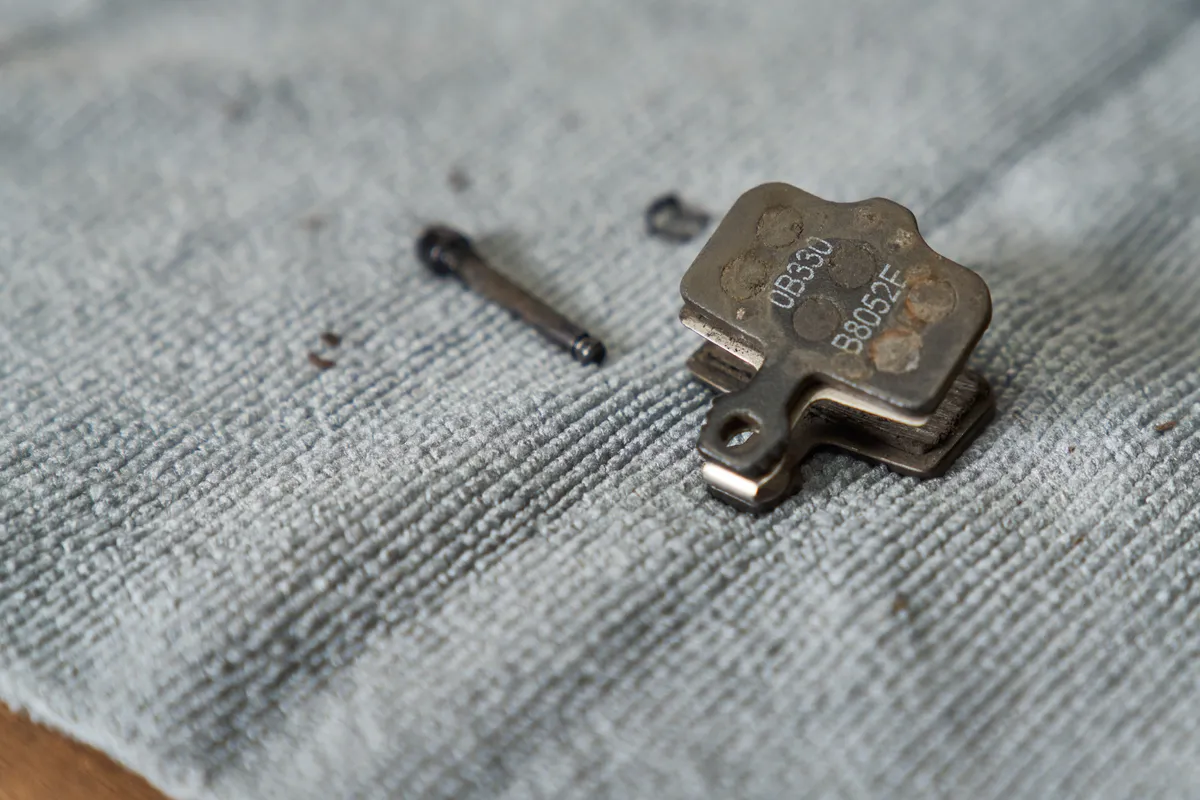
The pads will then remove from either the top of the caliper or the bottom, depending on the model.
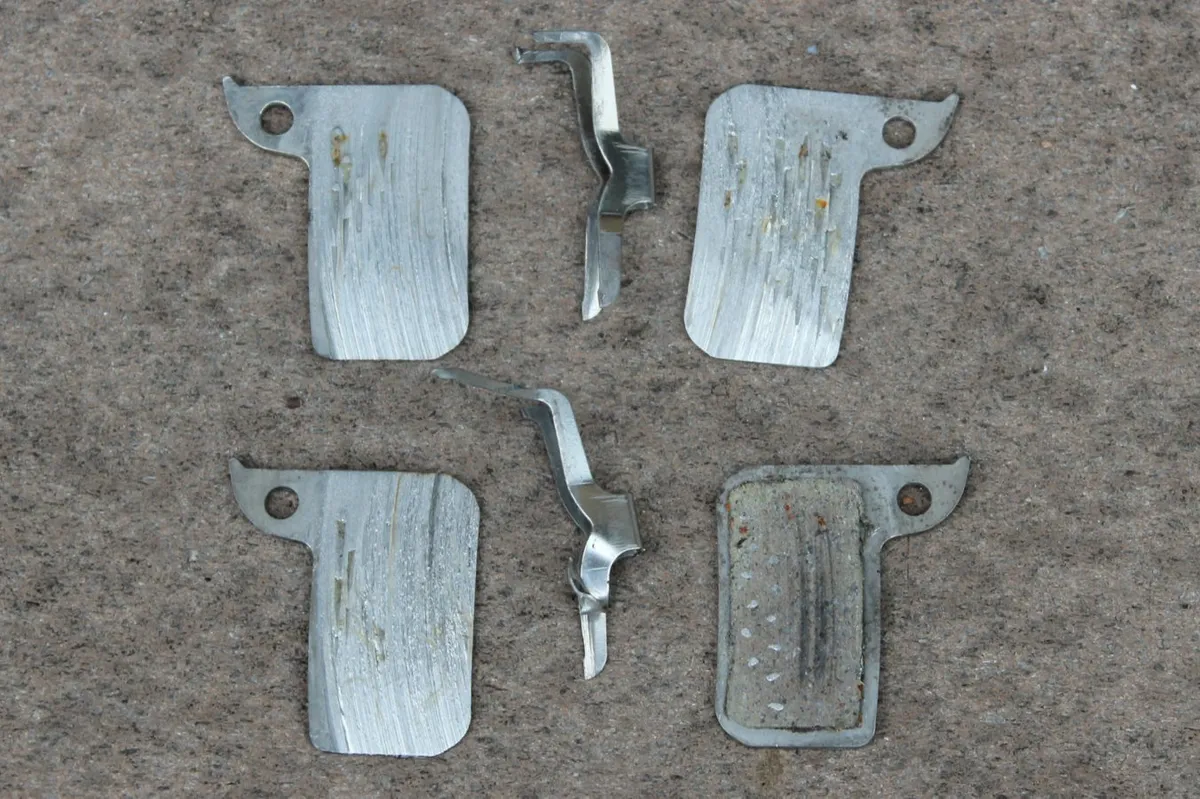
Most brake pads are held together by a spring, although Campagnolo and Magura models use magnets.
Step 4
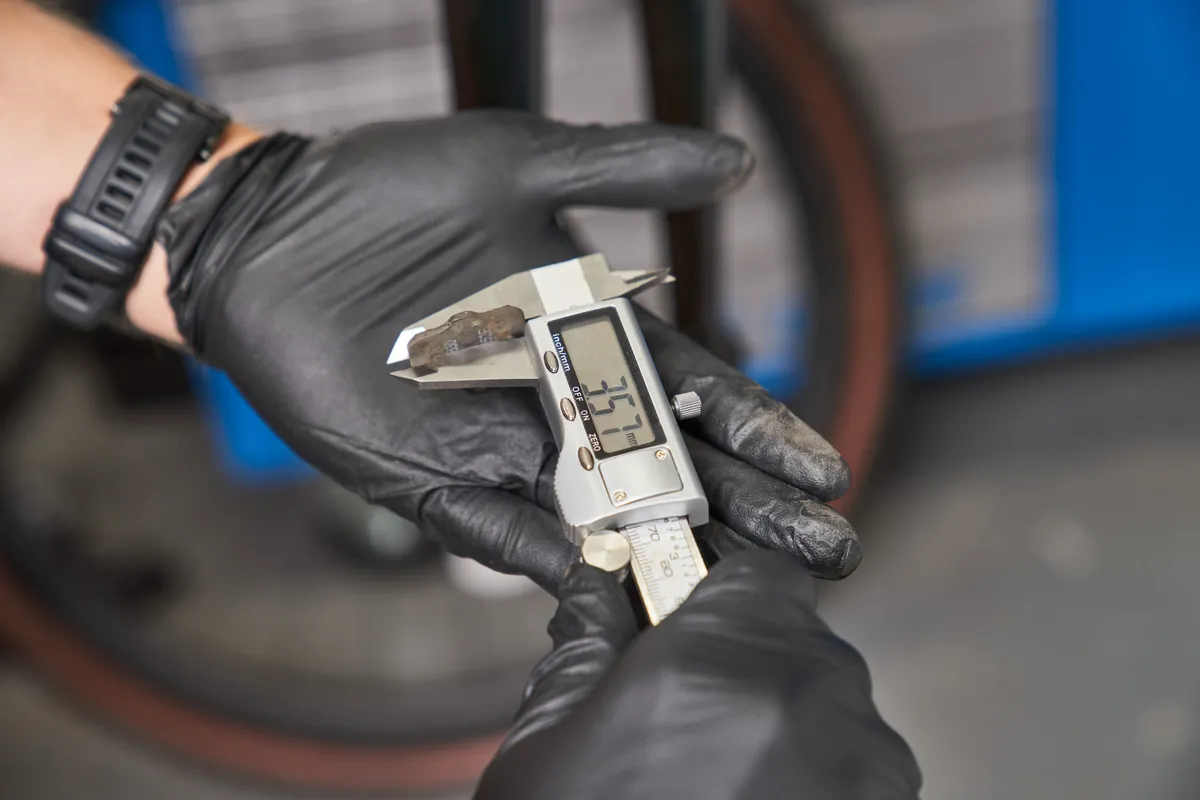
If you're not sure whether your pads are worn, you can measure the remaining pad material with a vernier caliper.
Shimano advises replacing the pads when there is less than 0.9mm of braking material left, whereas SRAM says the pad should measure 2.5mm, including the backing plate.
Campagnolo incorporates a wear groove into its pads, which when worn away, indicates they are ready for replacement.
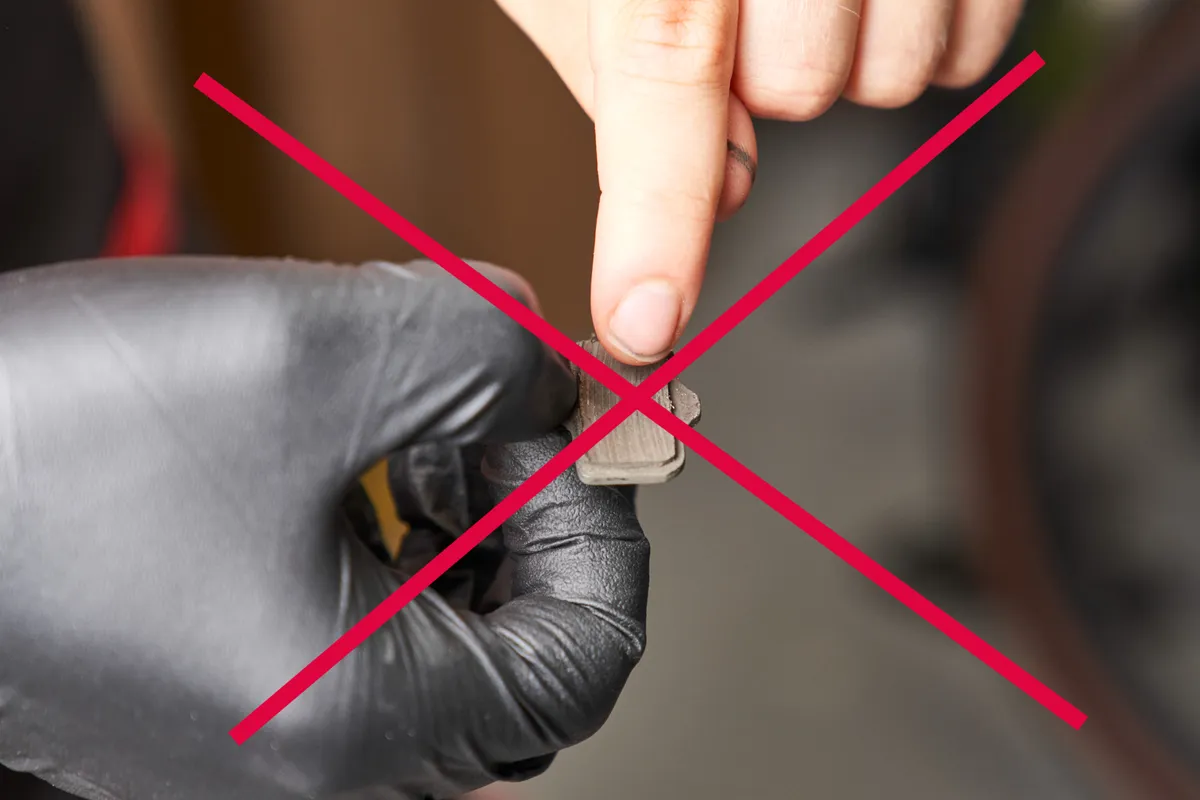
It's best to check both pads in case they have worn unevenly; you should go with the lower measurement.
Step 5
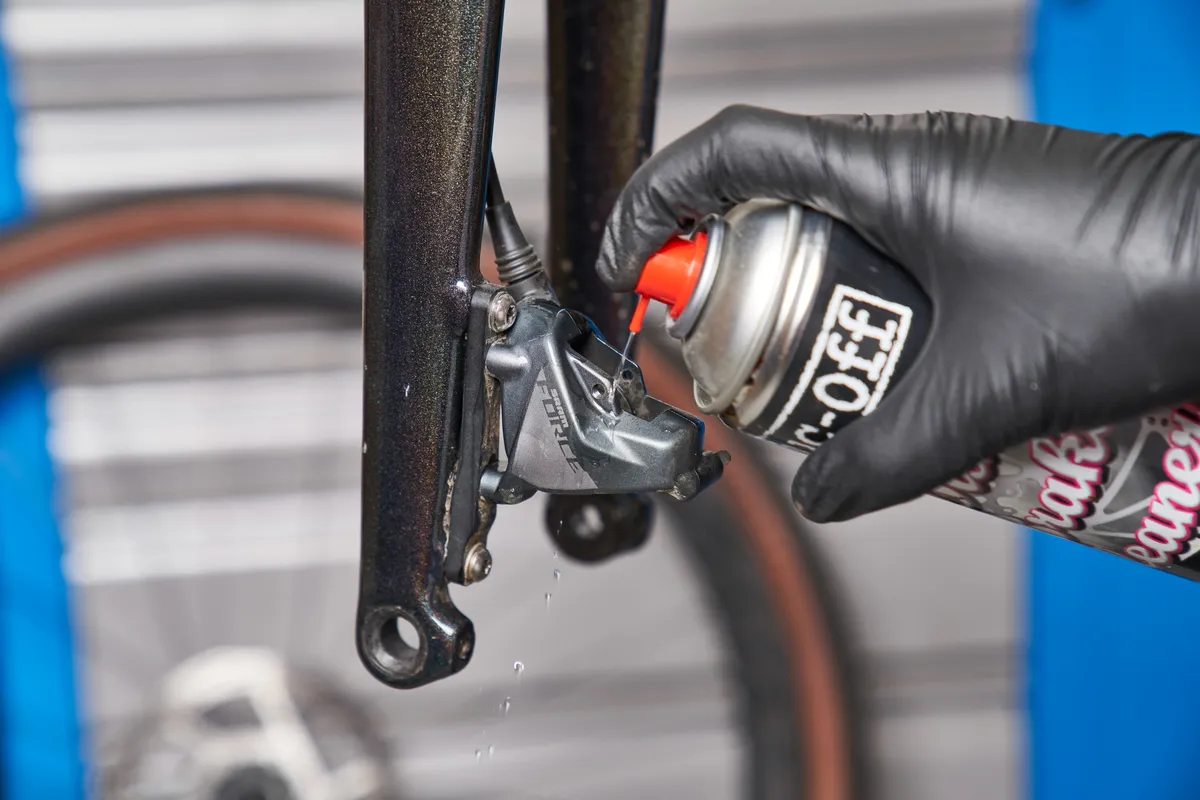
Before installing the pads back into the caliper, clean the brake caliper thoroughly using disc brake cleaner or isopropyl alcohol.
Now's also the time to push the pistons back if you're using a dedicated piston press.
Make sure you also clean the disc brake rotor thoroughly because if it's contaminated with oils or grease, this will transfer to the new pads – an expensive mistake.
If you're changing pad material (ie, switching from resin to sintered pads), it's recommended you also replace the disc brake rotor. However, provided you clean the rotor thoroughly, you are unlikely to have any issues.
Step 6
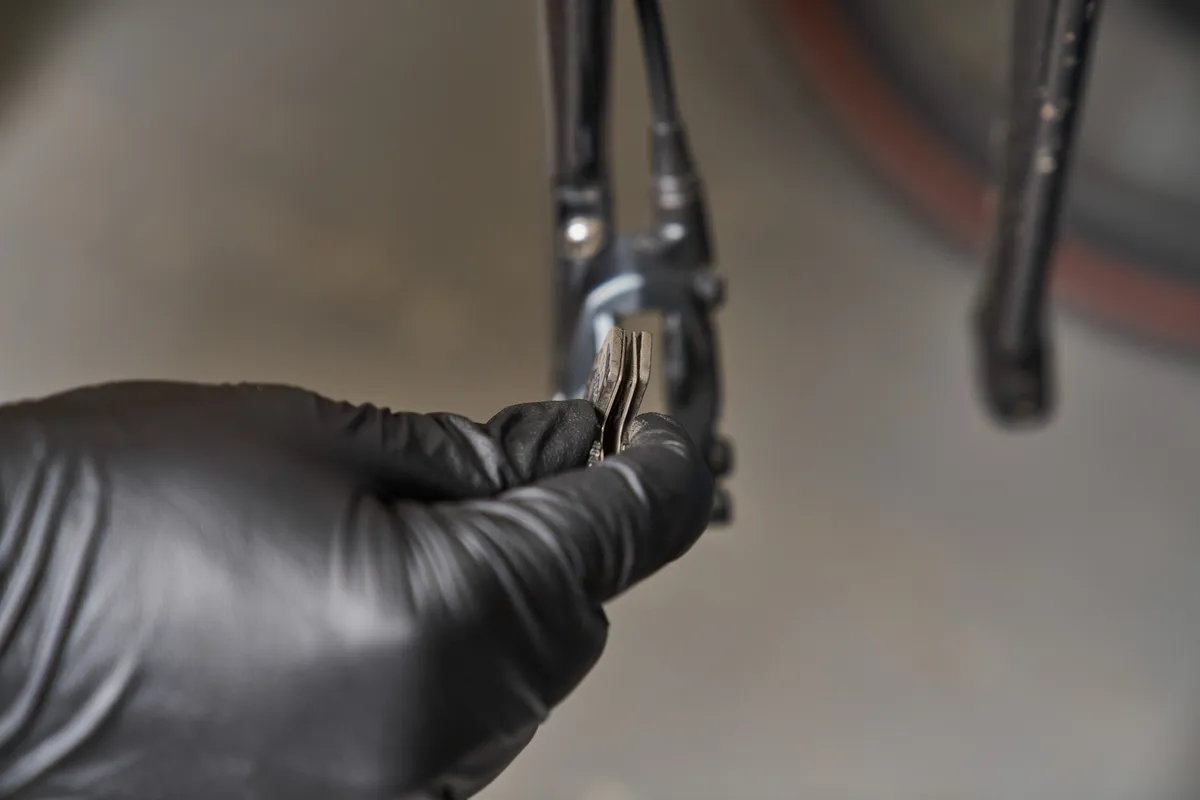
Install the new pads into the caliper (making sure they're the right way around because some pads are left/right-specific), along with the retaining pin and relevant clips. Make sure you avoid squeezing the brake lever.
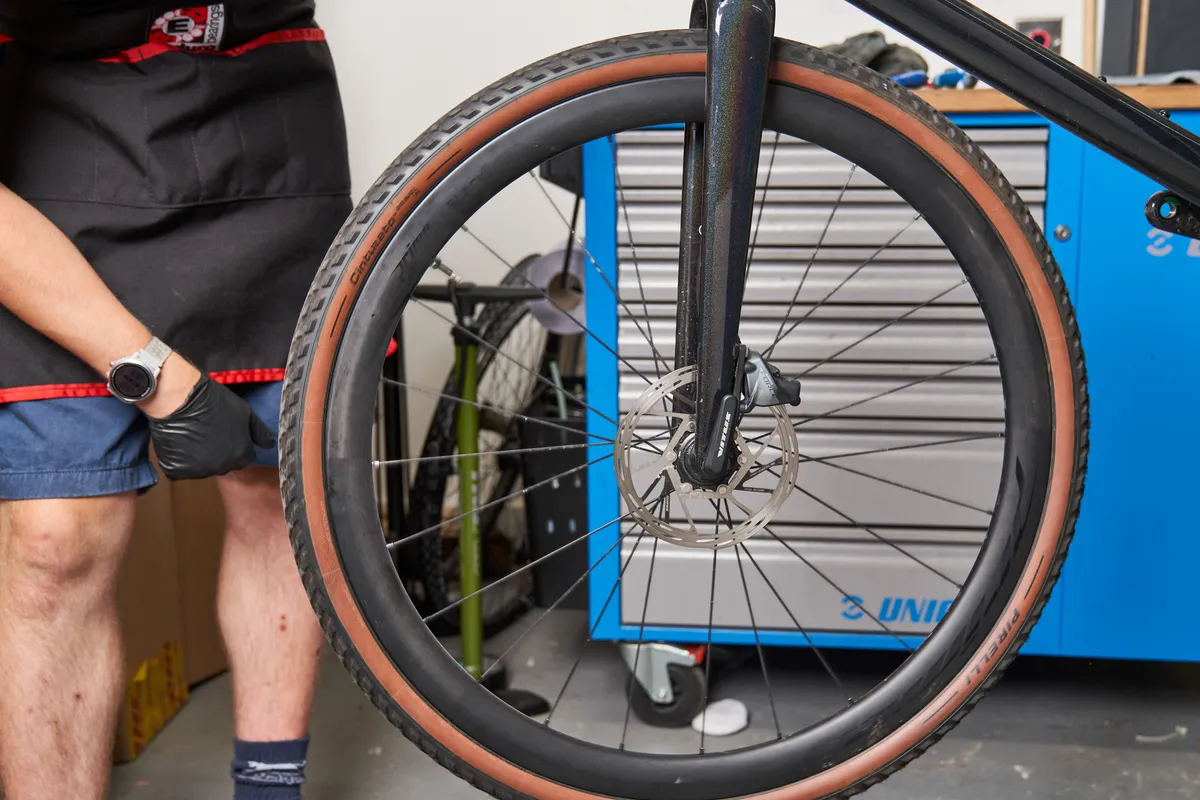
Reinstall the wheel into the bike. You may need to align the brake.
Once aligned, bed in the new disc brake pads in a safe, car-free environment to enable optimal performance.
