
For suspension forks to work effectively they need to be in as friction-free an environment as possible. That sounds easy enough until you consider the grubby places we mountain bikers ride our machines.
Given the relatively low weights and forces at work when riding a mountain bike off-road (in comparison with, say, aircraft undercarriage struts on landing) the fork has to be clean and well lubed if it is to be able to move rapidly enough to isolate you from the shocks.
To keep the outside out and the insides nice and oily, forks are fitted with seals. Telescopic forks usually have upper leg ‘stanchions’ and lower leg ‘sliders’, and the two pieces should move over each other with minimal effort. Servicing your fork's seals reguarly will keep it running smoothly.
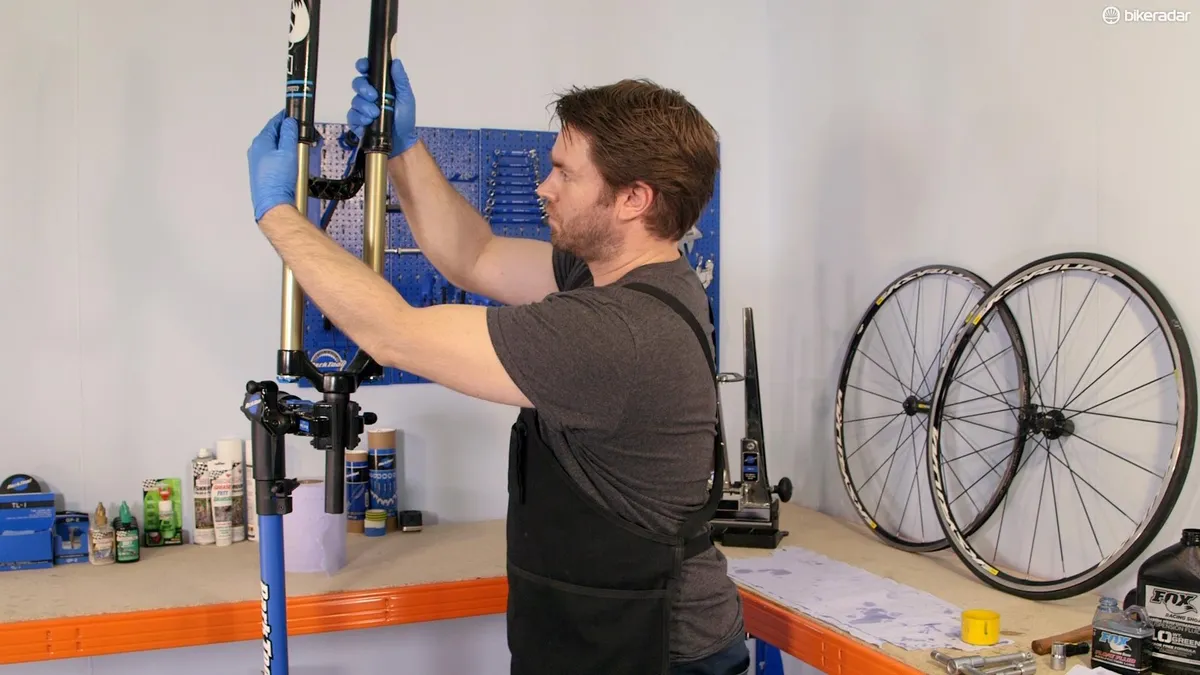
In the video below, BikeRadar's James Tennant explains how to perform this procedure, which is known as a 30-hour service. He's using a Fox 34 air-sprung fork, but the method applies to all Fox air sprung forks. It's important to note that this does not replace the annual service that your local Fox centre should perform.
How to service a Fox fork
How to service a fox fork
Video: How to service a Fox fork
Related: How to service a Fox shock
Tools needed
- Sockets
- Mallet
- Fox Float Fluid
- Suspension fluid
- Hex keys
- A large syringe, or some other way of measuring liquid
- Pick
- Rag
- Degreaser
- Paper cloth
- Gloves
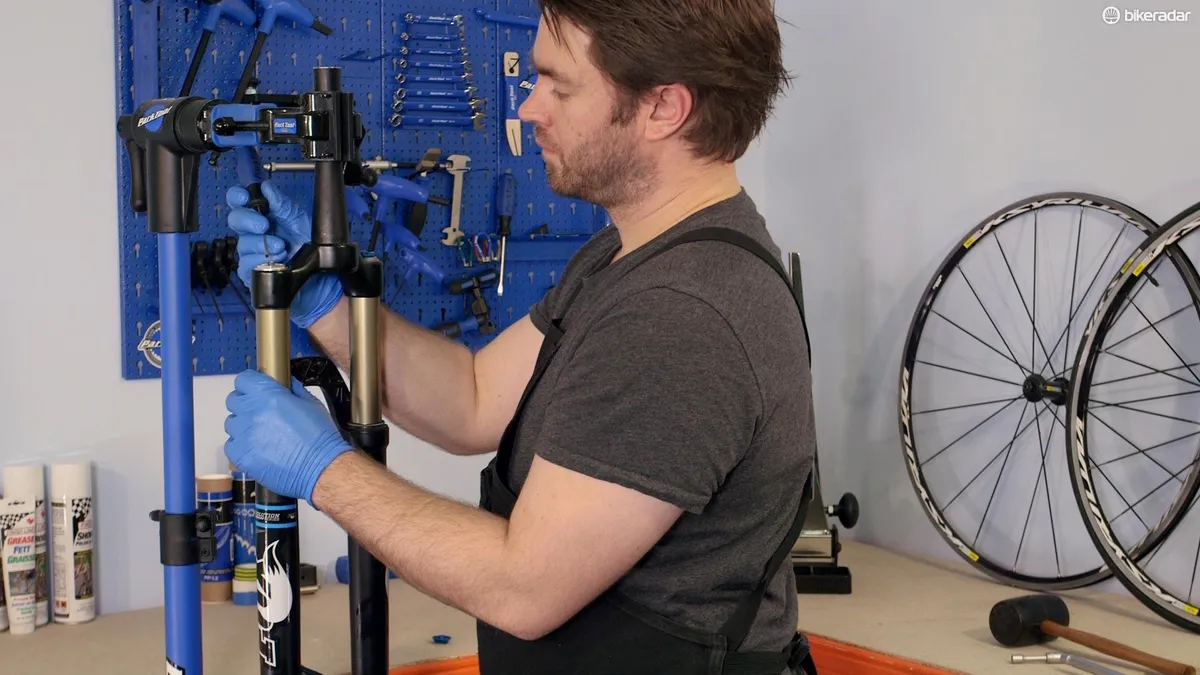
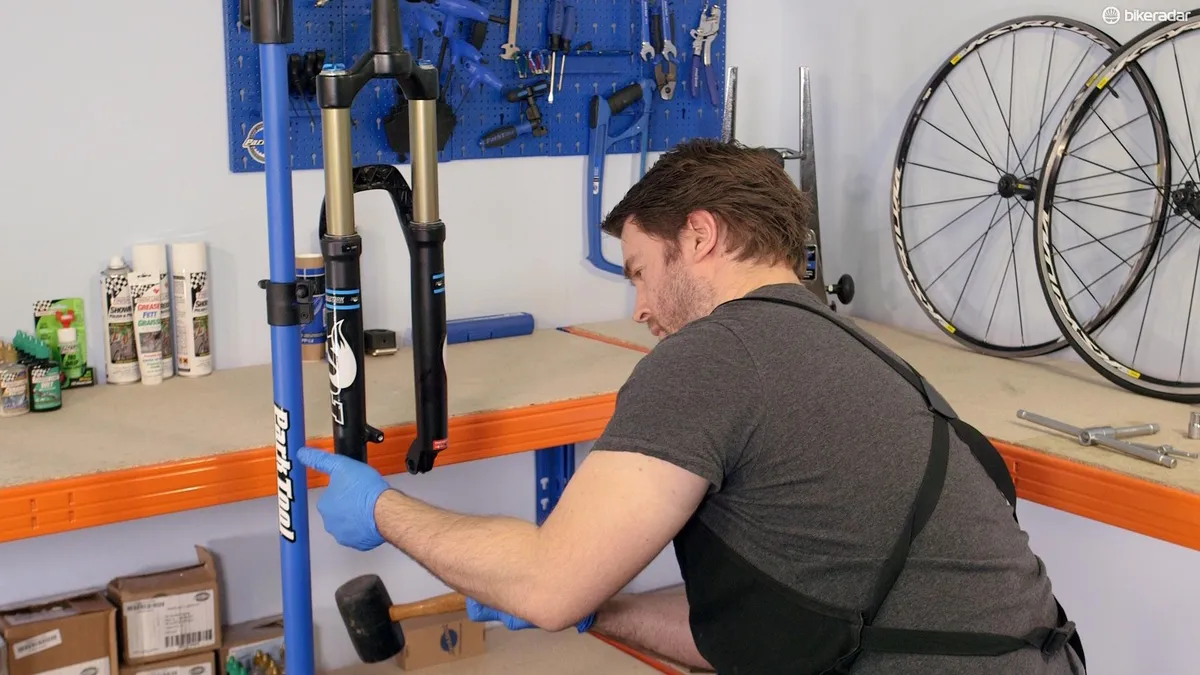
Remove the lowers
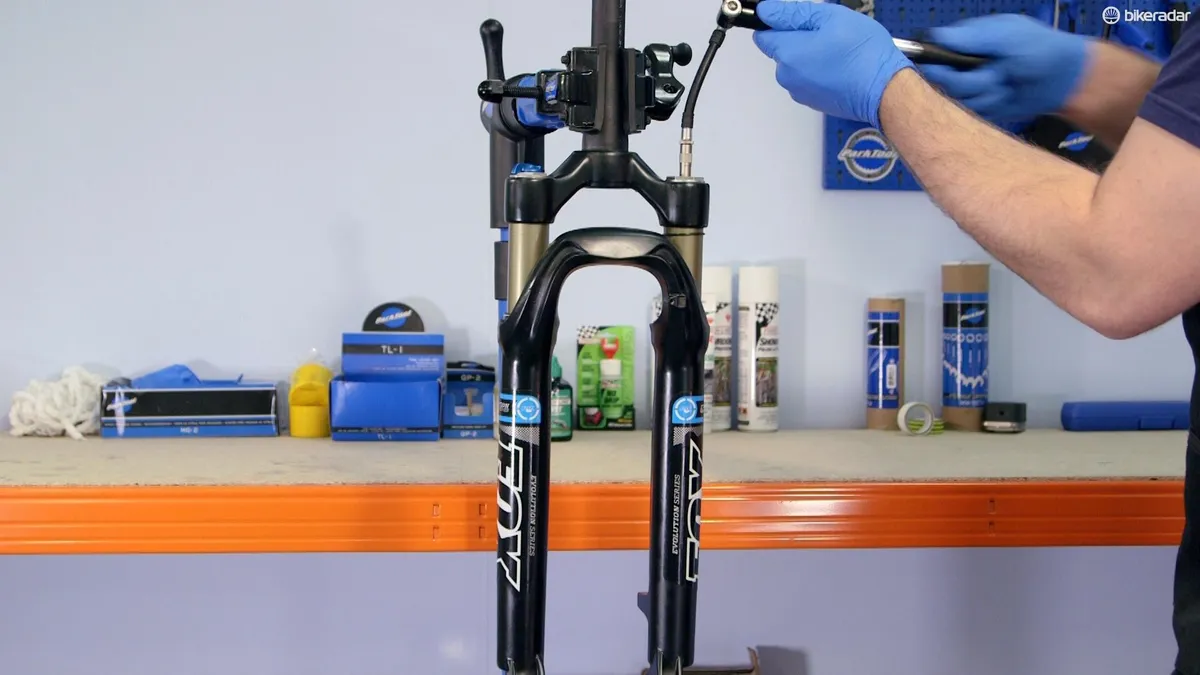
Clamp the fork in a workstand, unscrew the valve cap and release all the air from the fork.
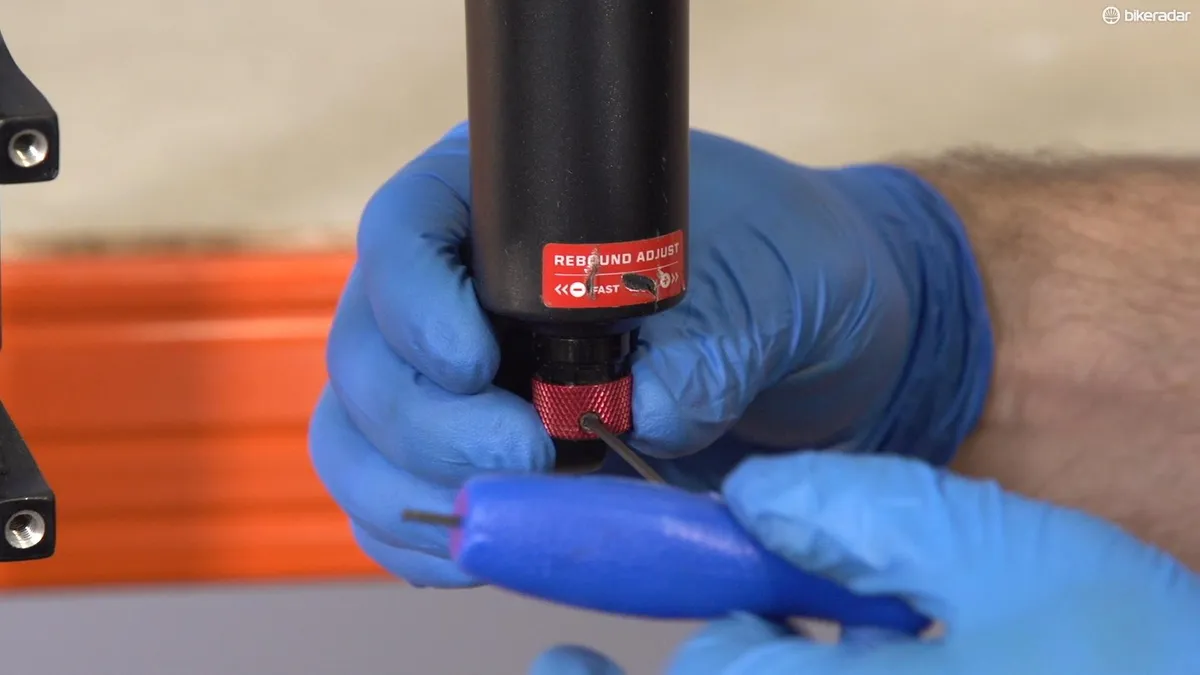
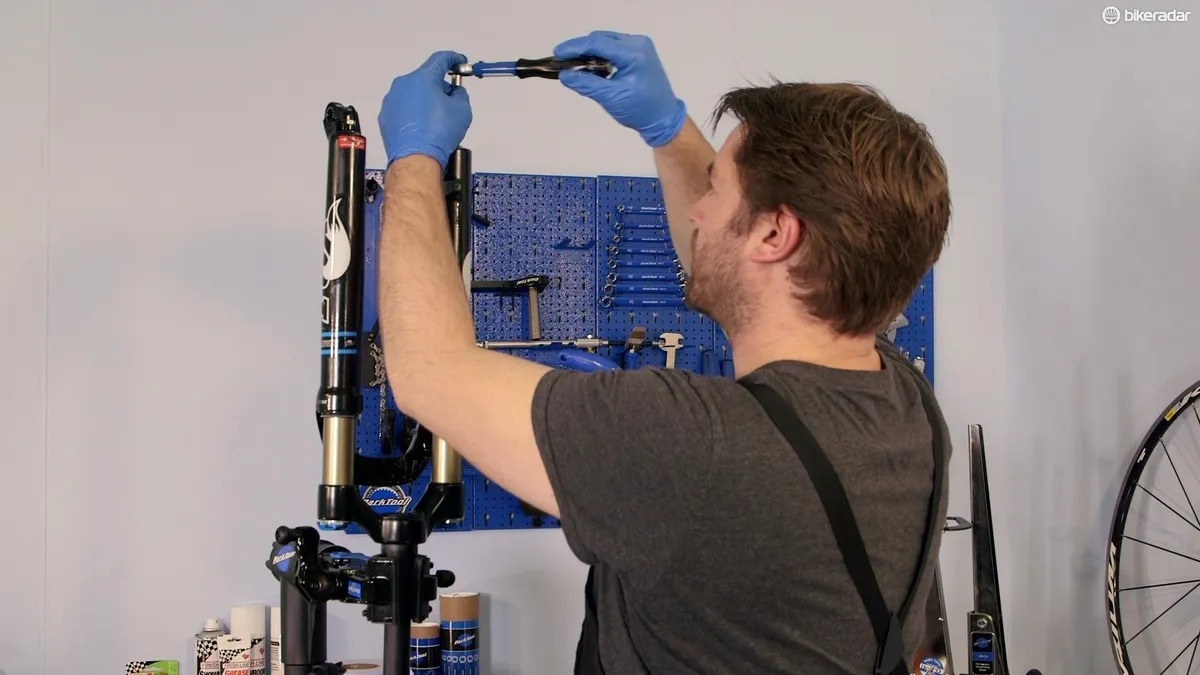
Then use a 2mm hex key to undo the lug screw from the rebound or compression dial depending on what what fork you have.
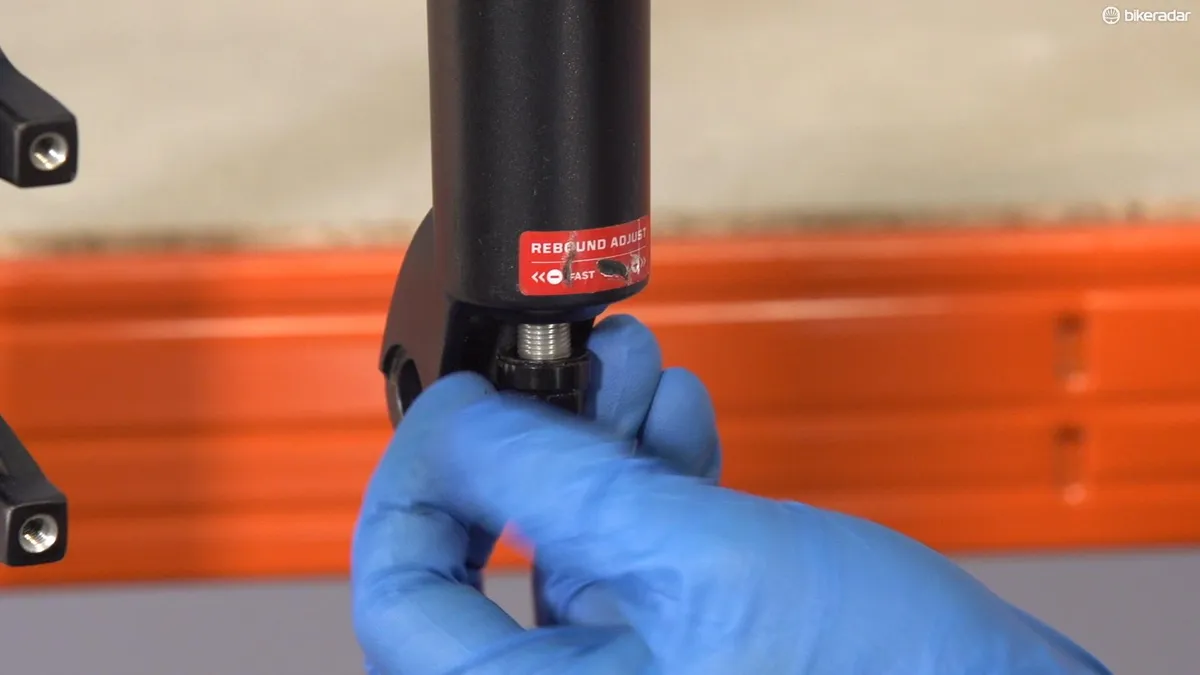
Use a socket to remove the nut from the right-hand leg. Socket sizes will vary, and some forks may use crush washers, which you can usually reuse. Do the same for the other leg, before returning the nuts to the thread.
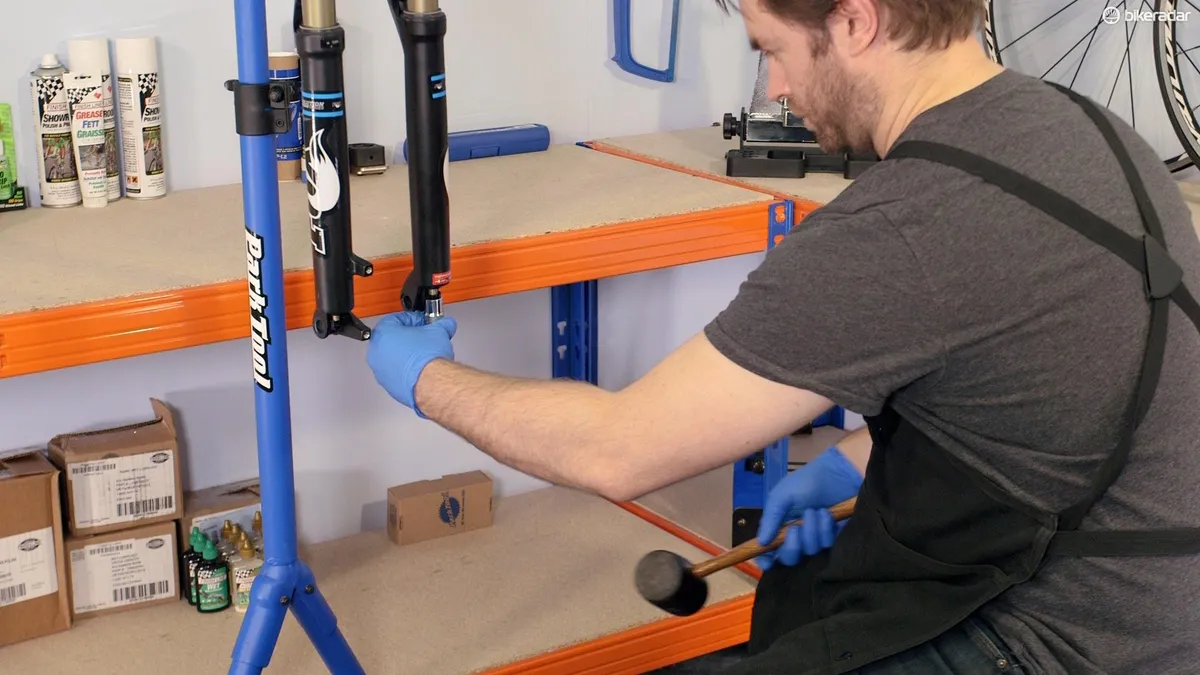
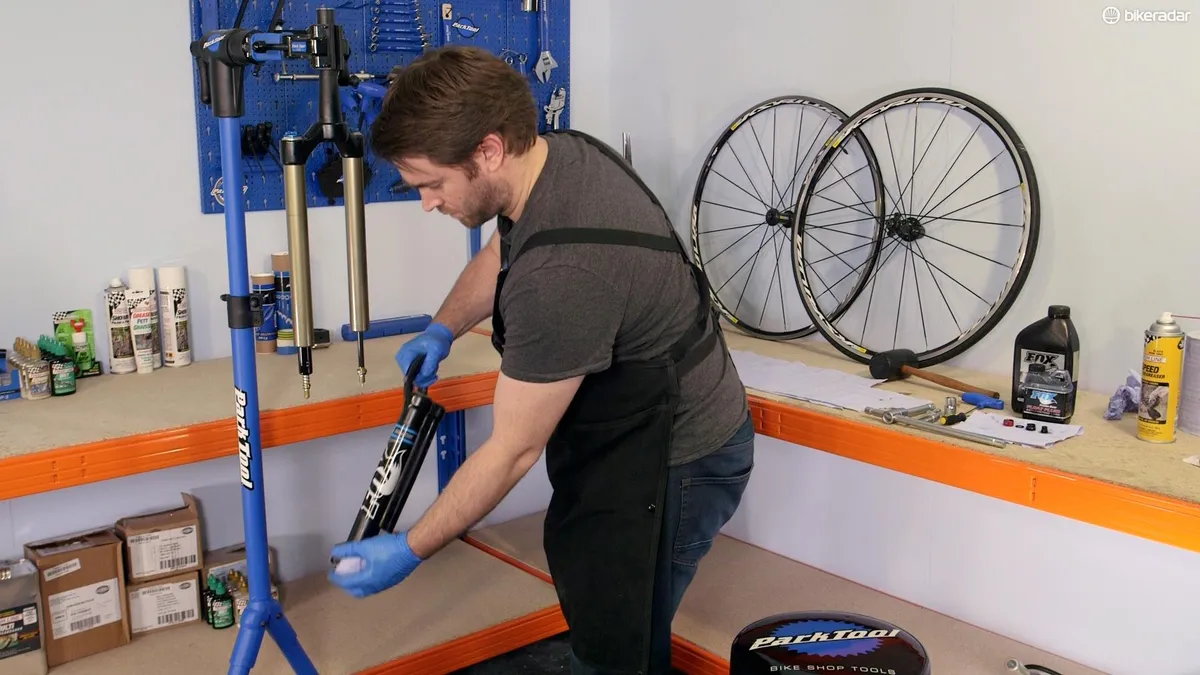
You now need to tap out the internals – many people recommend using a drift for this, but as long as you are very careful, you can use a socket and mallet to release the internals from the leg.
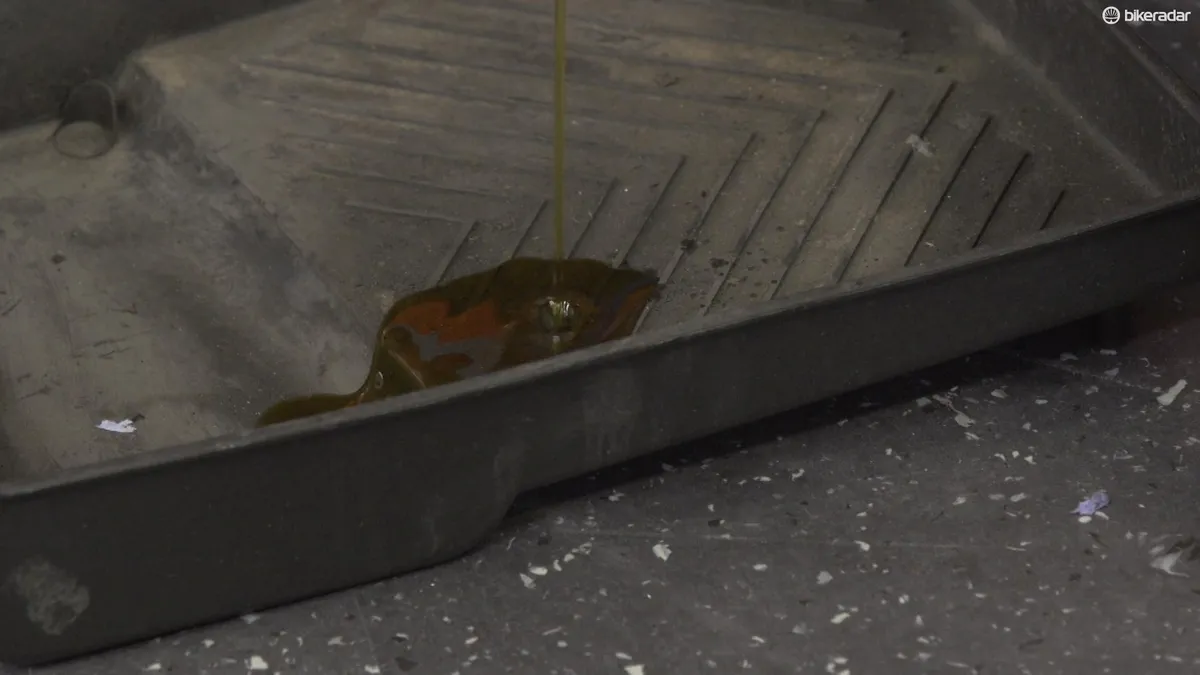
Position a tray or bucket under the fork to collect any suspension fluid that may leak.
Place the socket on the end of the nut, making sure it’s not in contact with any part of the fork internal.
Take a soft mallet and gently tap the socket until the thread is released. Be extremely careful while doing this – if you bend one of the rods, it will be expensive to replace.
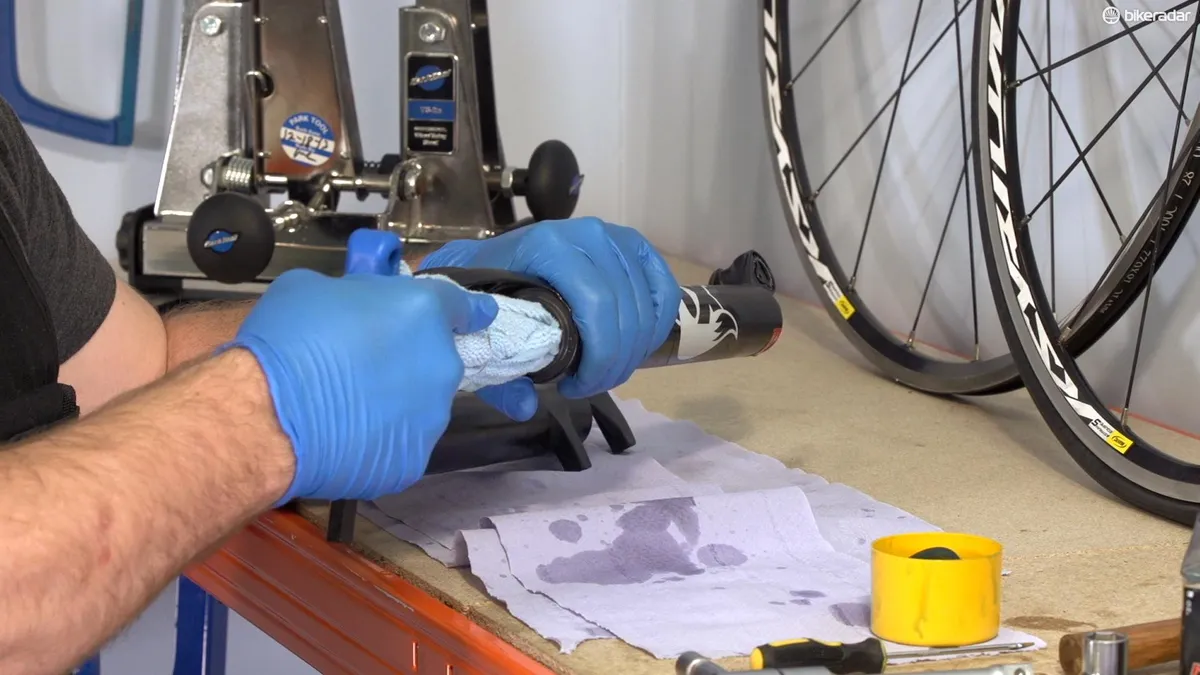
Once the internals are free, you can remove the fork lowers. Let the excess fluid drip away, then wipe down the internals with paper cloth.
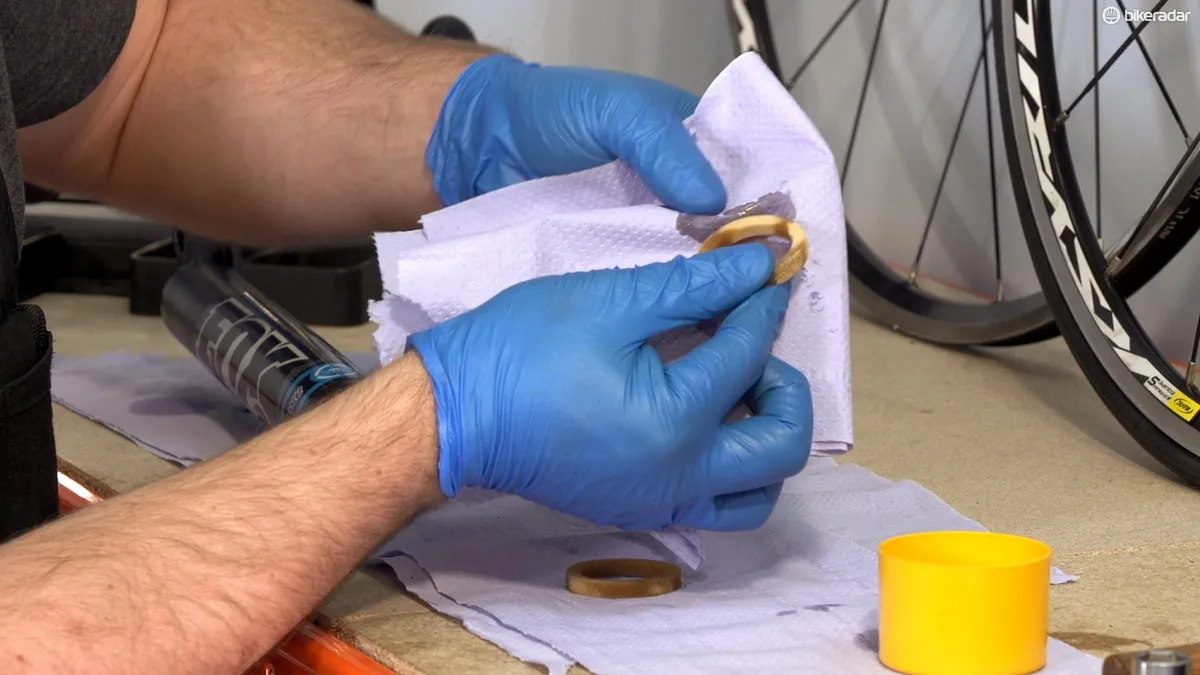
Clean the seals
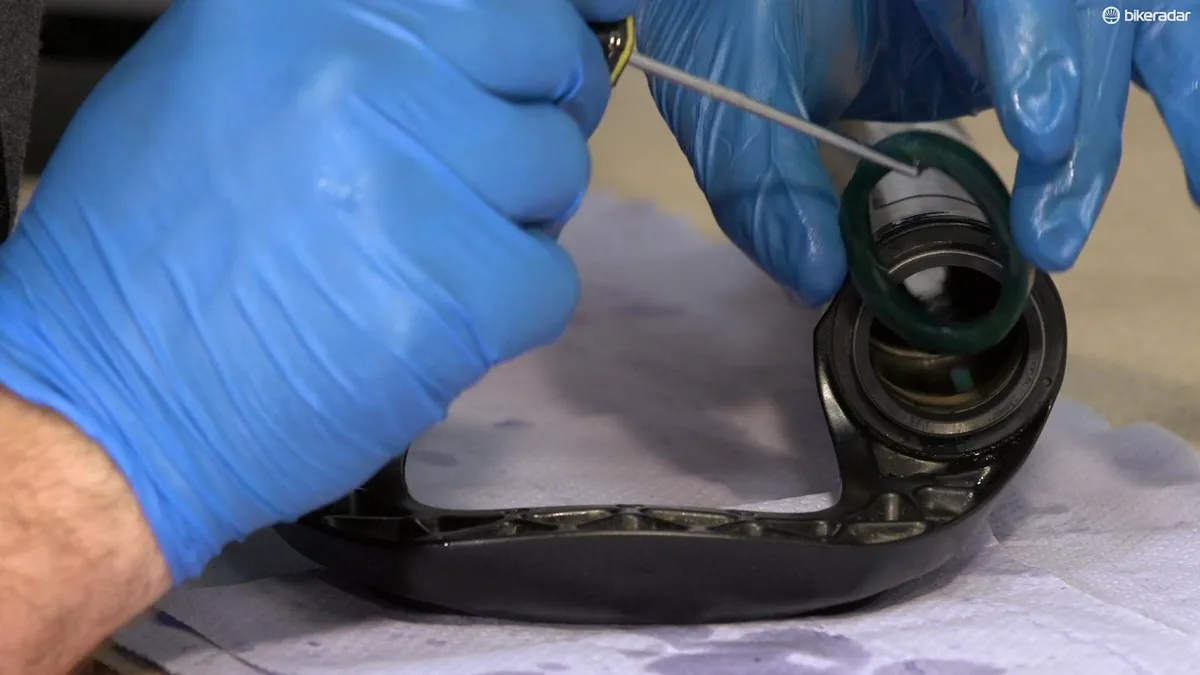
Use a pick to remove the foam rings that sit just below the seals, in each leg.
Press the rings into paper cloth to remove any old suspension fluid and dirt, then immerse them in Float Fluid for a few minutes.
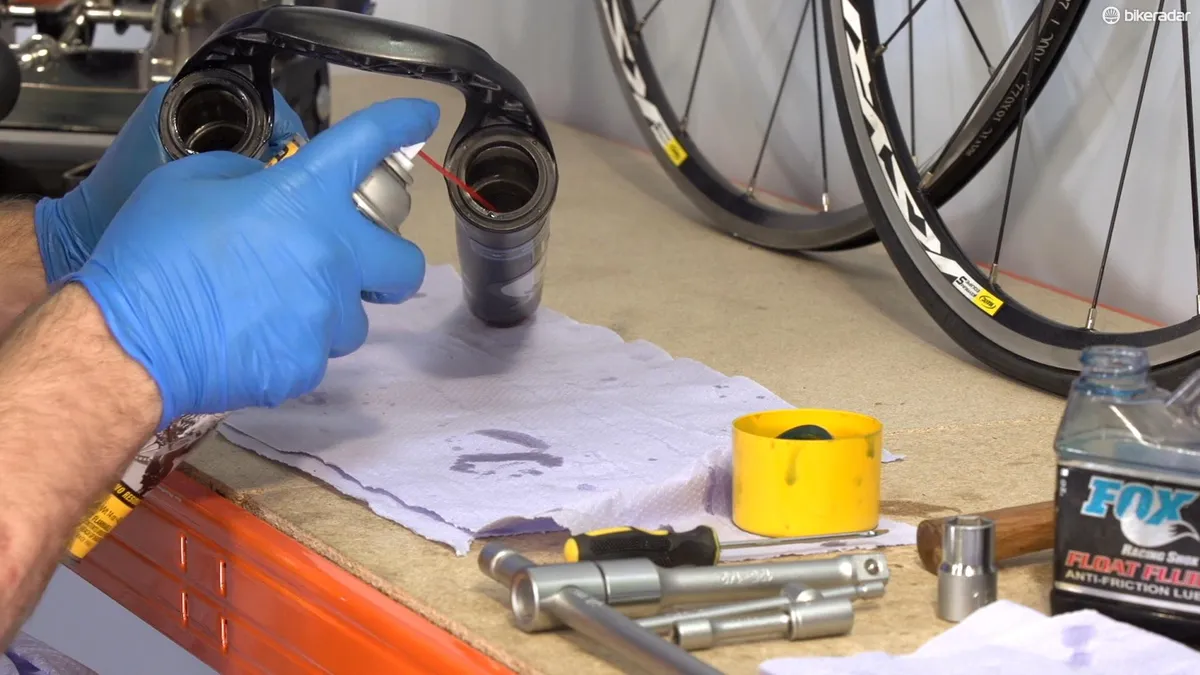
While the rings are soaking, you can get to work on cleaning out the inside of each leg. Spray in some degreaser, then use a rag wrapped around a long, thin item such as a large hex key to ensure that there is no dirt inside, or around the seals.
Finally, carefully return the saturated foam rings to the seals – the Float Fluid will be used to lubricate the fork stanchion.
Replace the lowers
Return the fork lowers and wipe off any excess fluid.
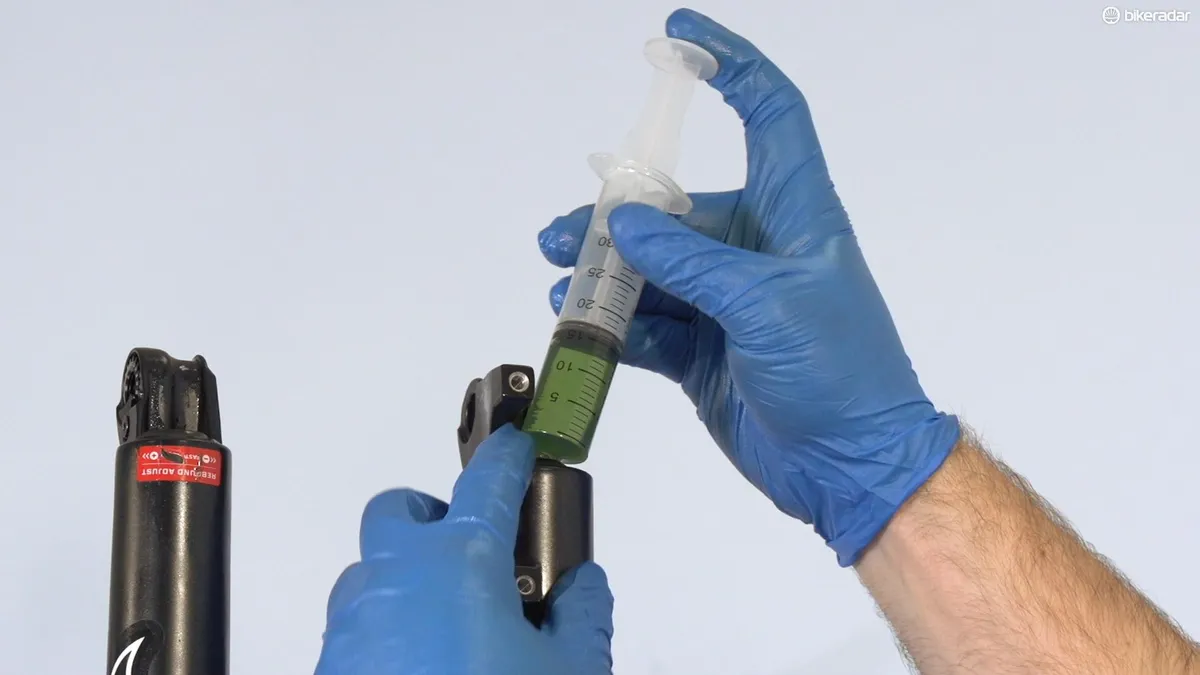
Use a syringe to insert the correct volume of suspension oil in each leg – take a look at the Fox oil volume chart if you are unsure. Remember, this is suspension oil, not Float Fluid.
Compress the fork fully and refit the nuts, not forgetting any crush washers you may have removed earlier.
Retighten the nuts, being careful not to over-tighten them – check for the correct torque values on Fox’s website, and use a torque wrench if you have one available.
Finally, refit any dials you may have removed.
You now need to pump 10-20psi of air into the fork, and give it a few compressions, in order to circulate the oil around the internals.
After that, you’re ready to set your sag and ride. If you’re not sure how, our guide will help you.
