
Giving your rear shock a basic service and regular clean will help keep your suspension running smoothly.
It's fairly simple process, with a few key things to bear in mind, so let BikeRadar's James Tennant talk you through it in the video below. There's a text explanation after the video too.
How to service a fox shock
Video: How to service a Fox rear shock.
This video is part of the Park Tool Maintenance Monday series. You can purchase the Park Tools used in the video at a number of dealers across the UK and internationally. For more maintenance videos, subscribe to the BikeRadar YouTube channel.
How to service a Fox rear shock
Tools needed
- A pick or small screwdriver
- Fox Float fluid
- Hex keys
- Shock pump
- Paper cloth
- Degreaser
1. Assess whether the shock needs a dedicated service
If the shock is ‘stuck down’, or shorter than normal when deflated, do not attempt to disassemble it – the shock will need to be sent to a dedicated service centre for repair.
If in doubt, take your bike to your local shop and have them check the shock for you.
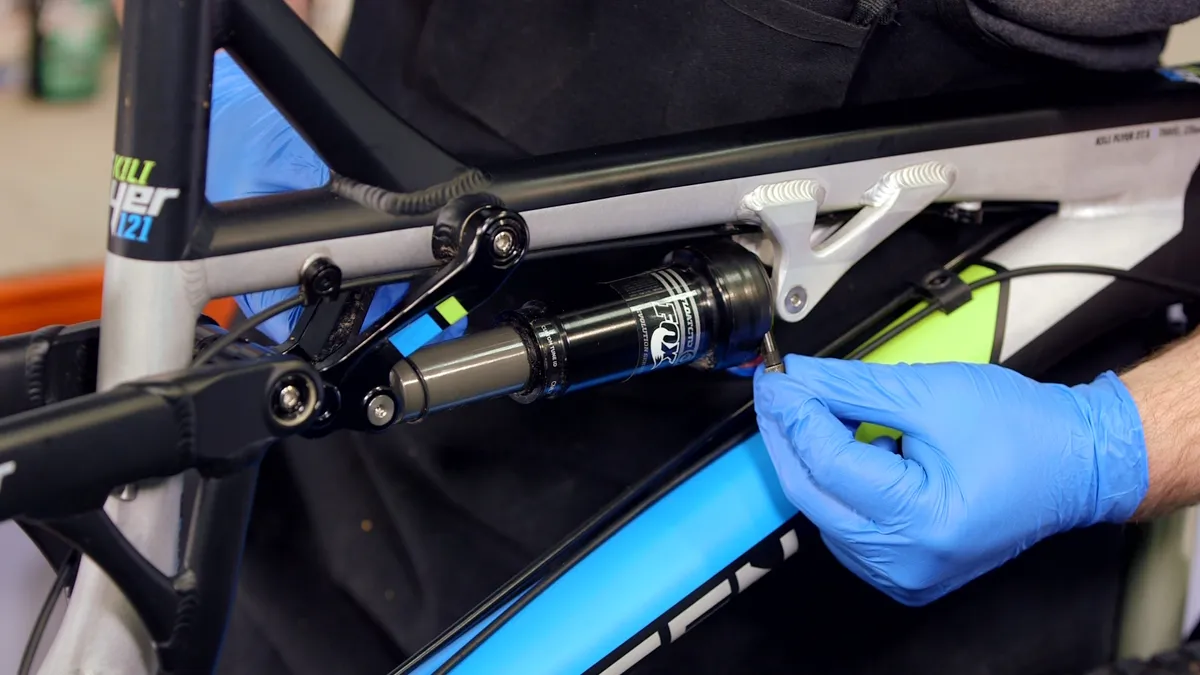
2. Deflate the shock, remove the bolts and inspect the cans
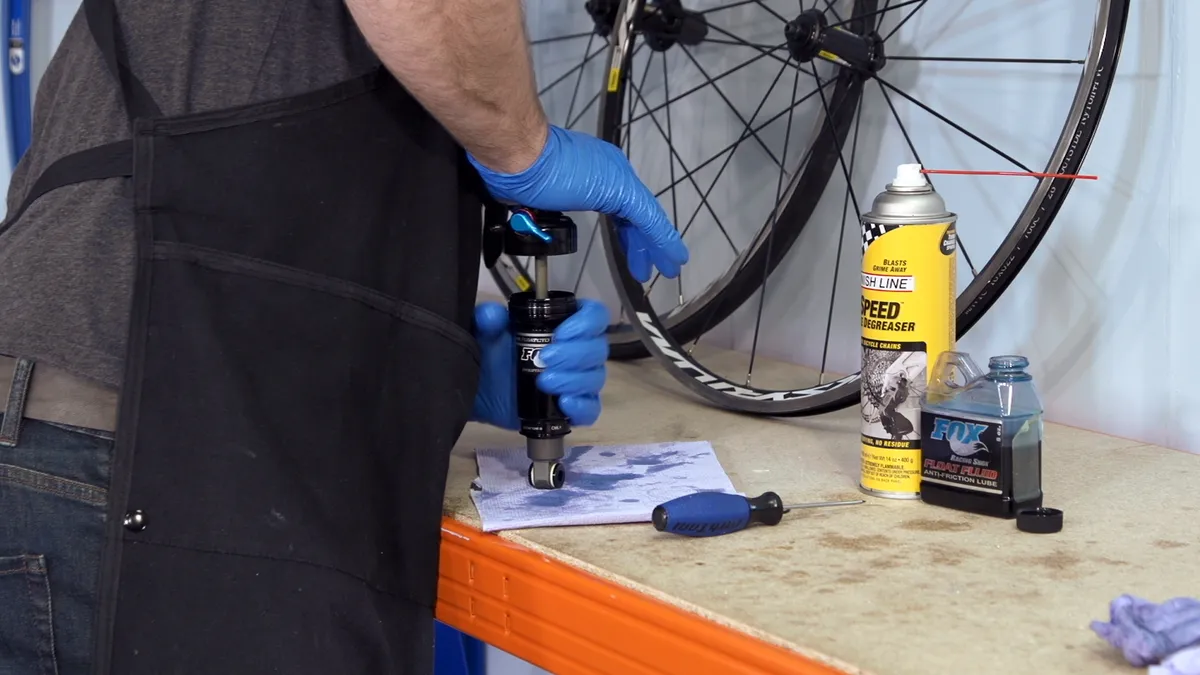
Fully deflate the shock by pressing on the valve with a small point. Remove the fixing bolts from the the end of the inner shock stanchion. Rest the rear suspension gently on the frame with some paper cloth or a rag wedged between any contacting areas.
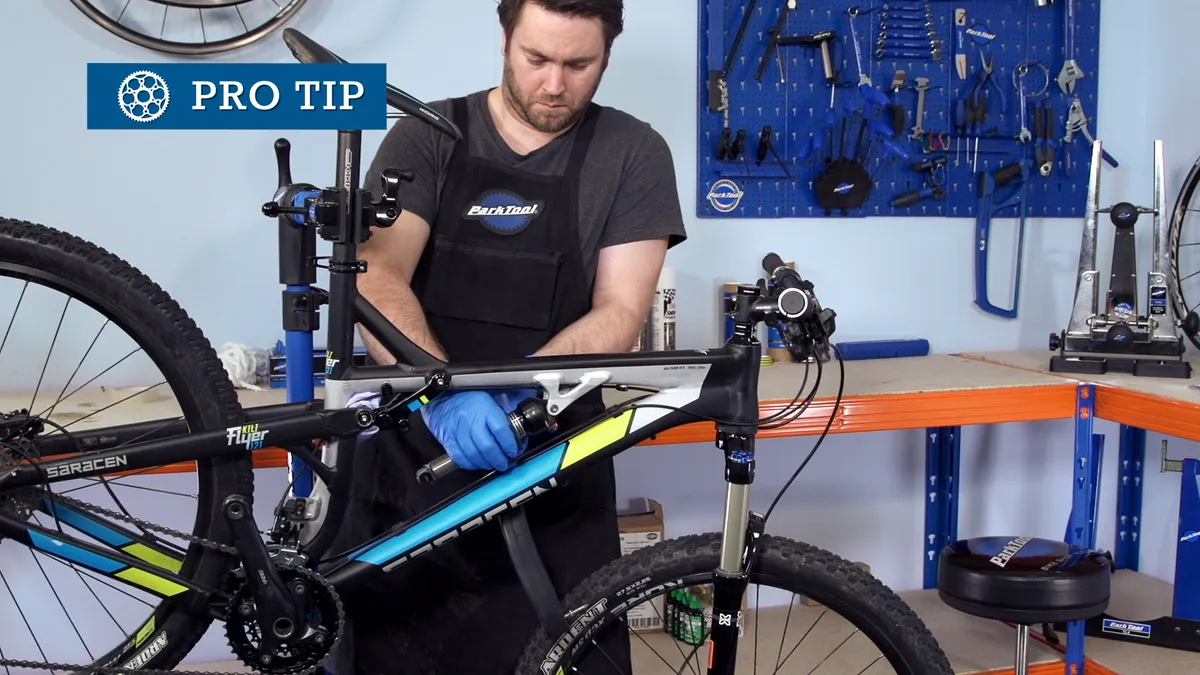
When you’re happy there’s no air left in the system, you can twist the larger part of the can in order to loosen it. (If you’re having trouble unscrewing the can, wrap an innertube around it – the increased friction and leverage will allow you to apply more force.)
When the larger can is loose you can unscrew the other mounting bolt and remove the shock from the bike.
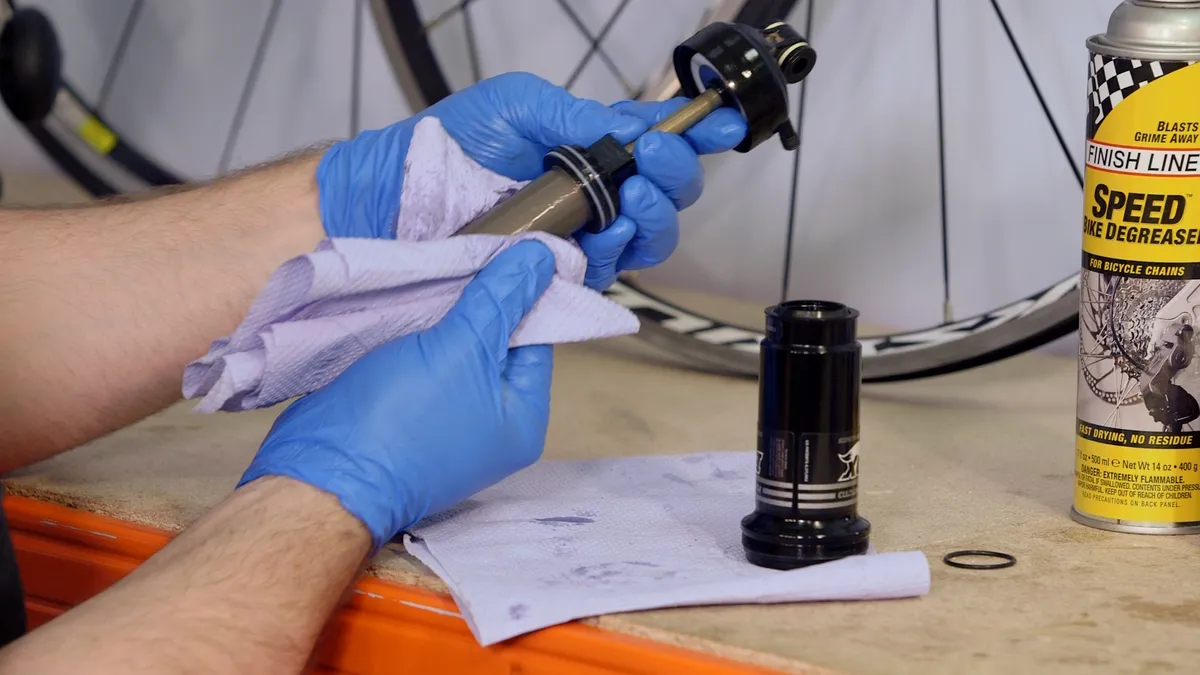
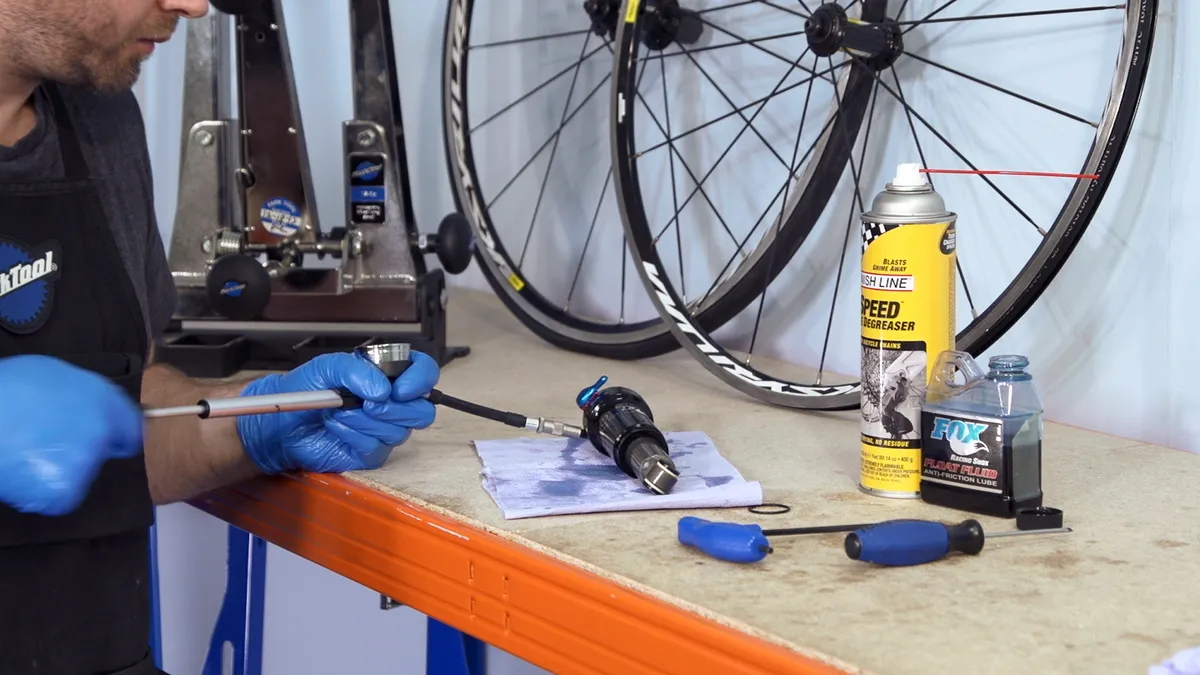
Inspect the shock visually, and remove any dirt using degreaser and paper cloth. Cover your work area with paper cloth, then fully unscrew the larger can, before separating from the rest of the shock.
3. Clean and lube
With some paper cloth and degreaser, wipe down the internals and make sure there is no dirt present.
Remove any dirt using degreaser and paper cloth: remove any dirt using degreaser and paper cloth
If you are going to replace the seals, now is the time to do it. There are seal kits available for Fox rear shocks, but you shouldn’t need to replace them if you get it serviced regularly. It’s not advisable to remove the seals unless you have replacements, as removing them usually damages them.
Ensure there is absolutely no dirt under any of the dust seals by applying a tiny amount of Float Fluid to some paper cloth and wiping it away. The paper cloth can be used to wipe around the screw threads to ensure there’s no debris.
Take some more float fluid and apply it to the seals on the inner and outer part of the shock. Put a few millimetres of float fluid on each of the shock stanchions and distribute it evenly over the surface.
4. Assemble and install
Ensure that the shock is in descend mode (on a CTD shock) or the open position (on any other Fox shock) and that the rebound is set as slow as possible, Then manually compress the shock body and screw in the can. You shouldn’t need any more rotational force than can be applied by simply twisting – if you feel like you're forcing it, stop and check that you haven’t got it cross-threaded.
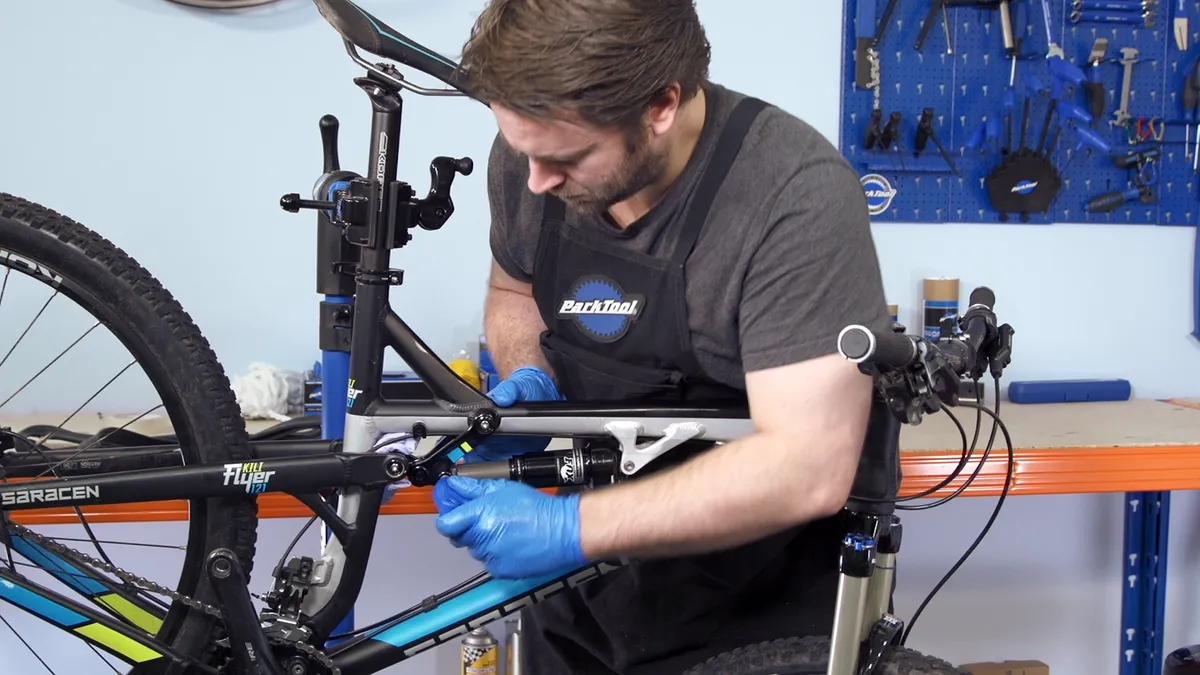
Pump in about 100psi into the shock. The shock can now be returned to the bike. Don’t forget to reinstate the sag marker ring.
You may find the body is twisted so that the eyelets don’t align. If that's the case, simply twist the body of the shock so they’ll fit – this will not damage the shock.
Finally, set your sag as normal.
