The sealant used in a tubeless tyre setup is designed to plug small holes quickly, often without you even realising.
However, sometimes the size or location of a puncture will require more than just tubeless sealant to fix it.
Here, we outline how to repair a punctured tubeless tyre using tubeless plugs, stick-on patches, or by sewing a large rip.
We'd also recommend regularly checking the condition of your tyres because it's part of maintaining a tubeless setup.
What do you need to repair a tubeless puncture?

To repair a tubeless tyre puncture, you will require
- Tyre levers
- Tubeless repair plug tool
- Tubeless repair plugs
- Pump
You may need a tyre patch and/or a needle and thread for large cuts or stubborn punctures.

You may also require:
- Fresh tubeless sealant if your old sealant has dried up
- Replacement rim tape if the original tape is damaged
- An inner tube if you can't repair the tyre
How to fix a hole in a tubeless tyre using a tubeless plug

Tubeless puncture plugs are a quick and typically effective way to repair a punctured tyre.
With these, there is no need to remove the tyre – plug, re-inflate and go.
There are many tubeless repair kits on the market, but most work similarly, using a rubber plug to fill the hole.
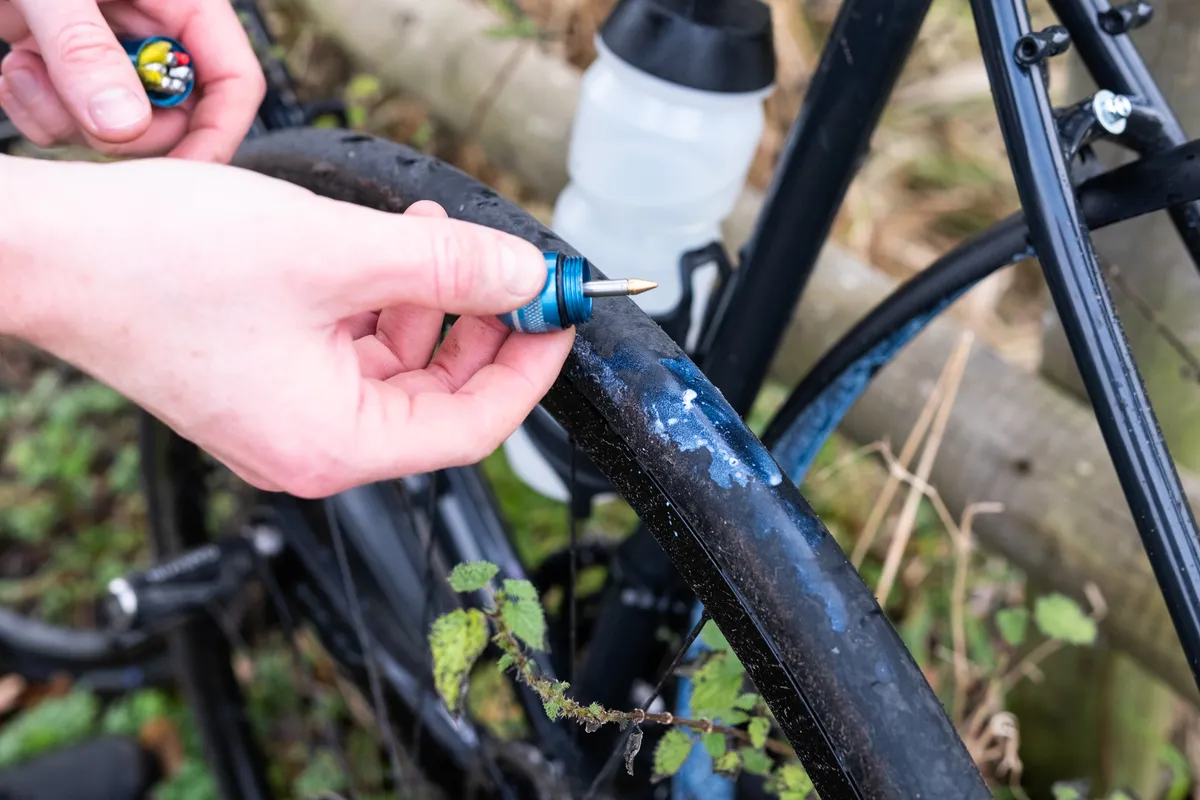
Once you’ve found the puncture, remove any offending items (a pick or a small pair of pliers are a useful addition to your tool bag).
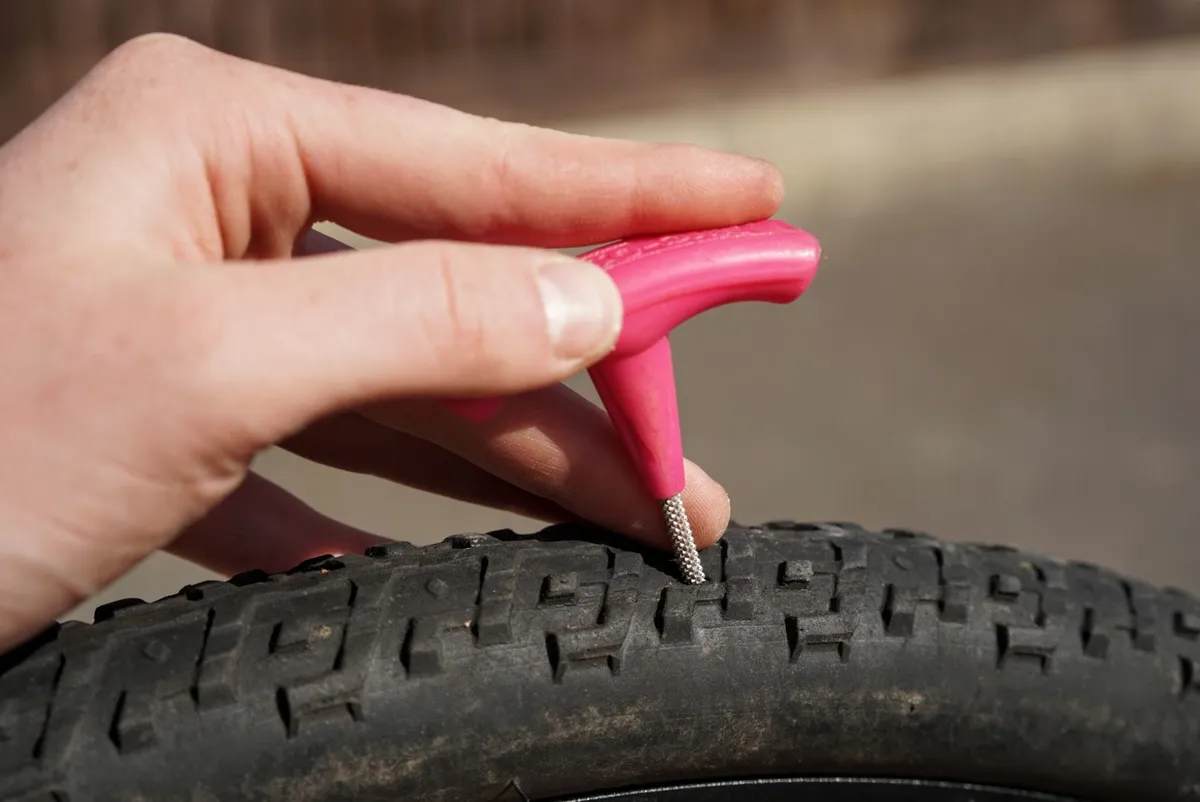
Next, use your tubeless plug tool to create a sufficiently large hole for the plug to enter.
Carefully insert the spike into the tyre to avoid damaging the rim tape, and twist to give a clean, round hole.
Tubeless puncture repair tools typically use a pronged fork that holds a rubbery plug – sometimes known as a bacon strip – or a metal spike containing a plug.
In either case, fit a tubeless plug to the head of the tool. Most tools will come with a choice of different plug sizes to suit the size of the hole.

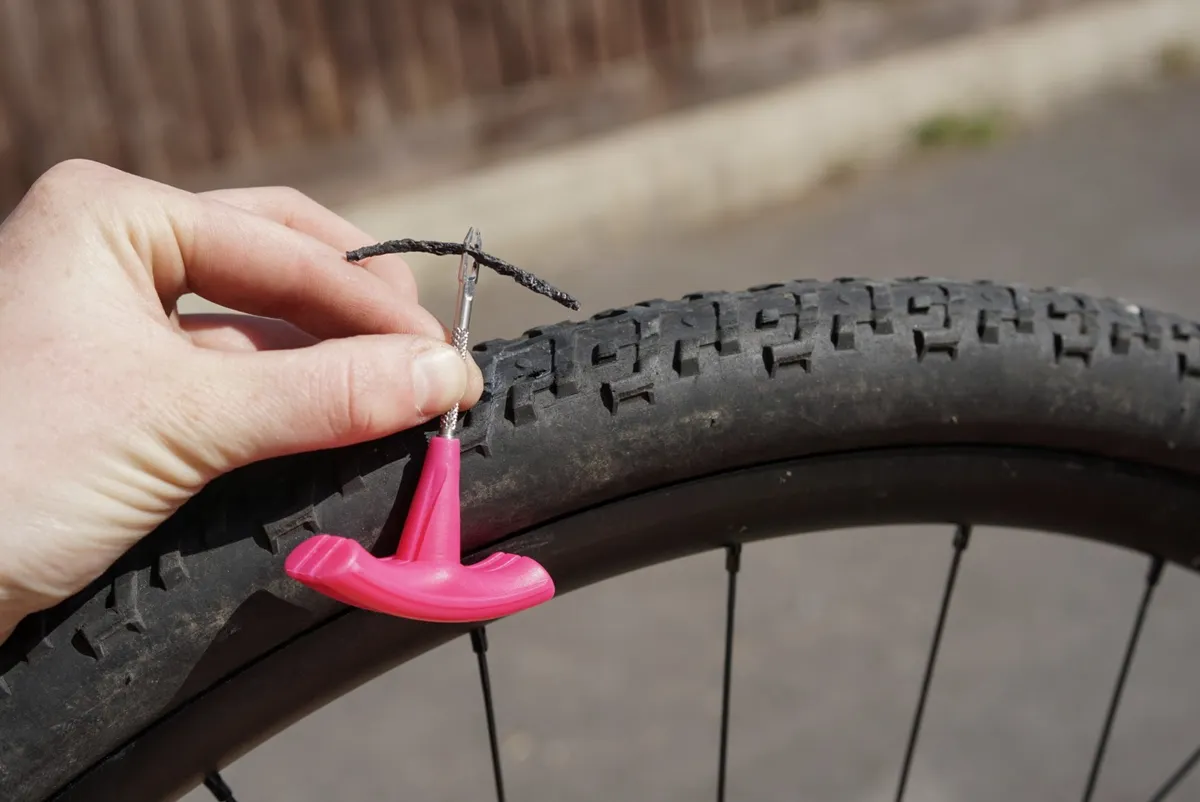
With the plug in the centre of the tool, insert it into the tyre, ensuring you don’t push through fully.
Then twist carefully to slowly remove the tool, leaving the end of the plug on the outside of the tyre.
Inflate the tyre to your desired pressure, taking additional caution with high-pressure road tyres, and rotate the wheel so the plug is at the ground for a few minutes before you get going again.
This will enable some sealant to flow into the repair and fully seal things.

You may need to trim the length of plug that's left behind, but take care not to cut it too close to the tyre.
How to patch a punctured tubeless tyre
It may be necessary to patch the tyre internally for stubborn tubeless tyre punctures.
The process for this is very similar to patching an inner tube.
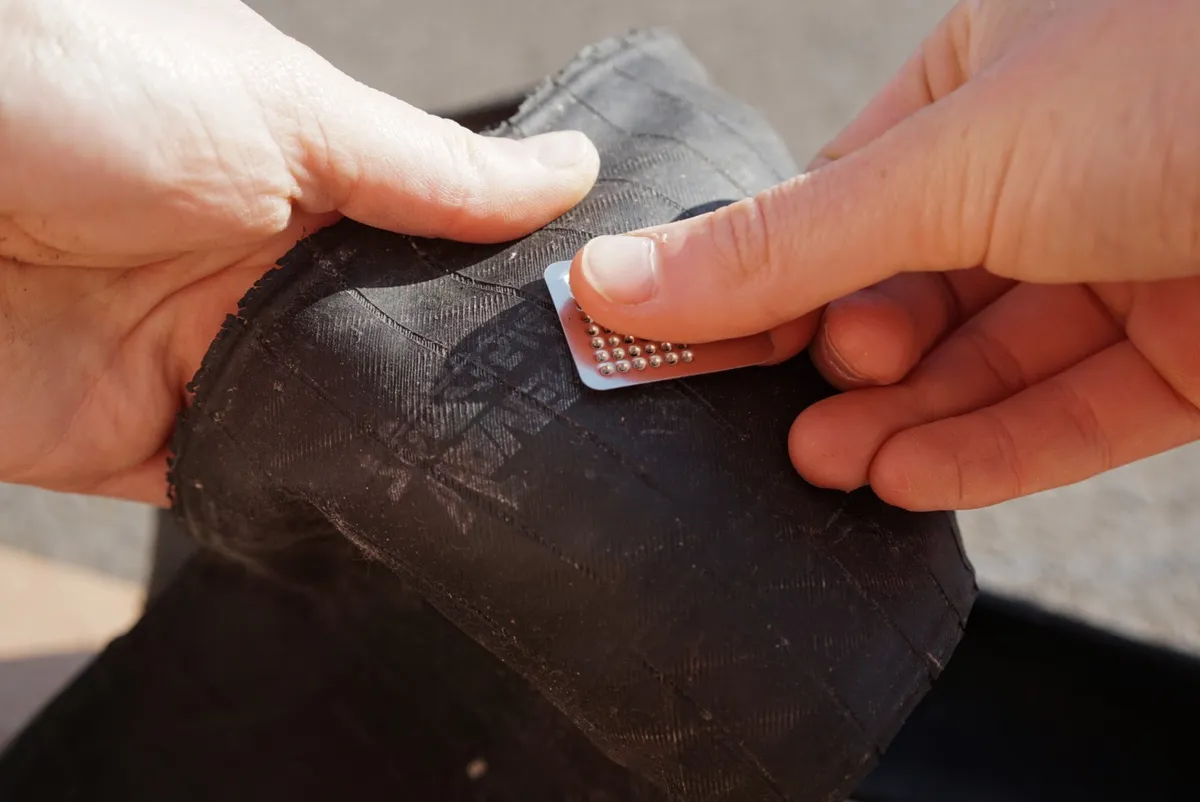
First, you’ll need to roughen the surface that you want your patch to adhere to, using a little sandpaper, making sure there’s no debris left from the puncture. Cleanliness is key when it comes to glueing patches.
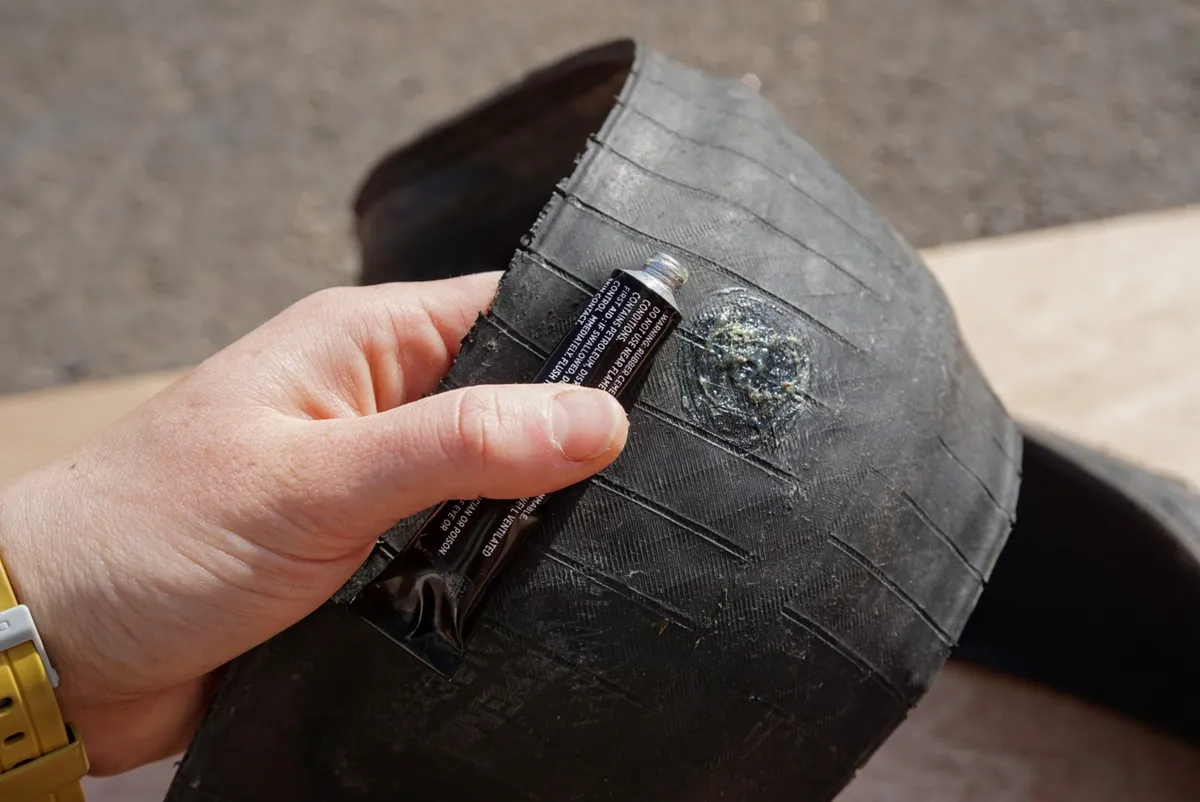
Add some vulcanising rubber solution to the area where you want to add the patch, waiting for it to become tacky as per the kit instructions.
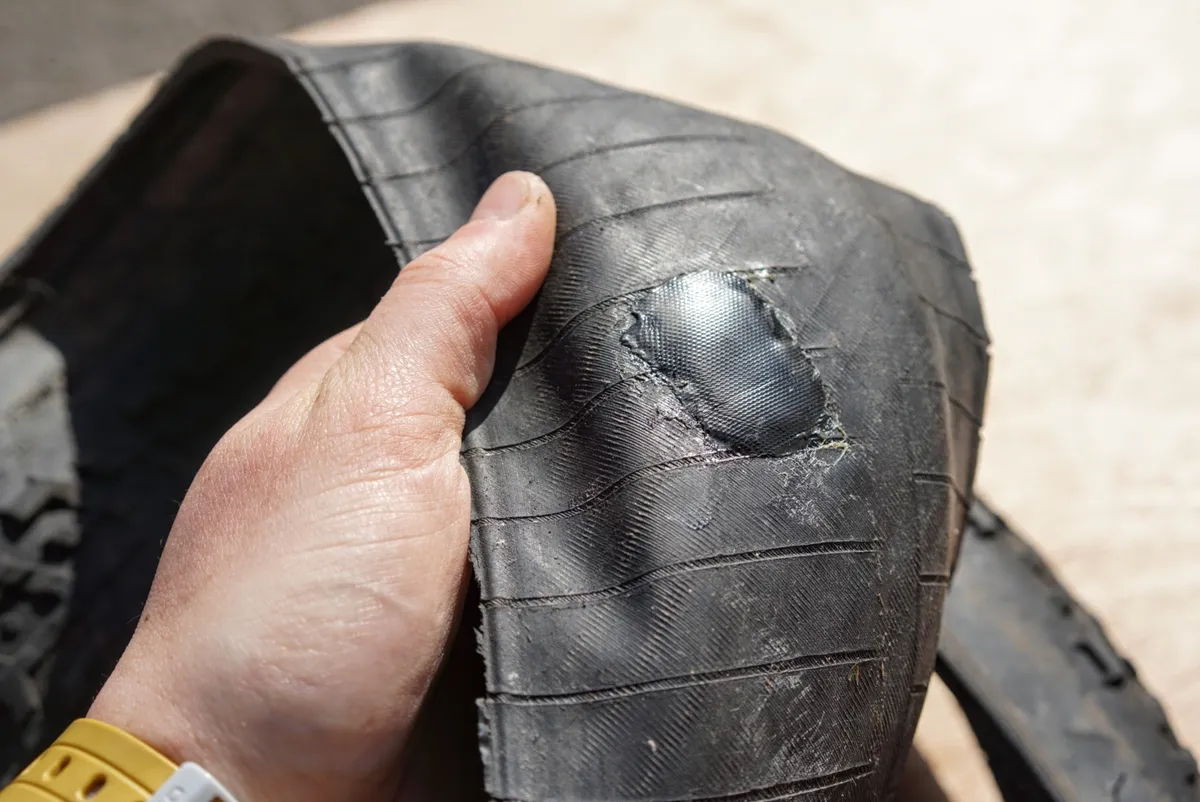
Add the tubeless tyre patch and press down firmly. Try to avoid touching the surface that is to be glued because this can contaminate the adhesive.
Depending on the patch type, these may need minutes or hours to dry, before (re)setting the tyre up tubeless.
If successful, a patched tubeless tyre can last for many rides, often to the end of the tyre’s life.
How to repair serious tyre tears
A torn tyre can be a rider’s worst nightmare. These repair options should be viewed as a way to help you limp home before fitting a new tyre, rather than a long-term solution.
How to patch a tyre with a tyre boot
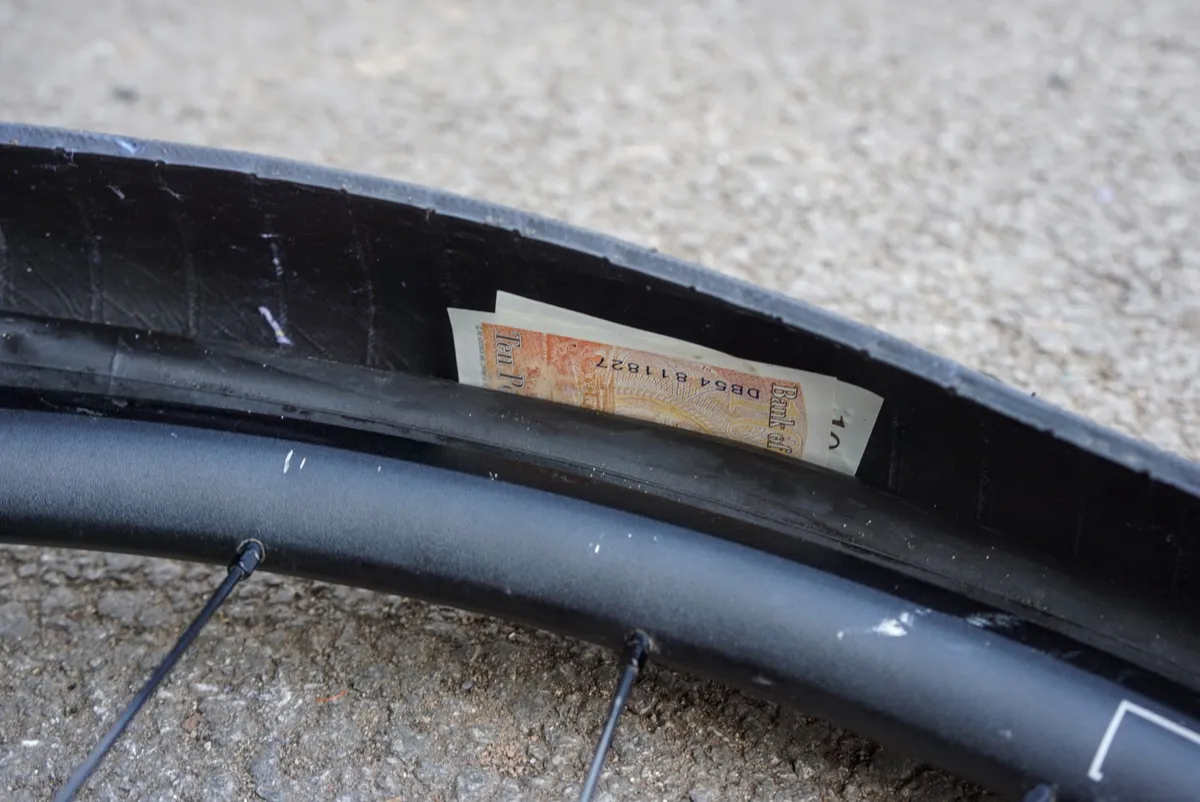
A tyre boot can be placed without any adhesive, held in place by an inner tube.
This flat boot keeps a flush internal surface to prevent the inner tube from bulging out the slashed tyre.
You can buy pre-made boots or make one out of several materials – toothpaste tubes, a section of inner tube or cash notes all work surprisingly well.
How to sew a torn bike tyre

If you don’t have a boot but you do happen to have tooth floss and a needle, you can sew up a torn tubeless tyre.
Using stitches perpendicular to the direction of the slash can help hold the casing together before you insert an inner tube.
If you use this method, it’s a good idea to add something between the sewn rubber and inner tube, such as a strip of strong tape.
If you are heading to the hills for an extended bikepacking or touring trip, packing a needle and thread is a good idea for this and any other fabric repairs.
When to give up and put in a tube
No matter how hard you try, there’s always the chance a tubeless tyre might not be fixable on the road or trailside. Inserting an inner tube can be a mucky business with sealant already in the tyre, so it’s generally a last resort.
Before fitting an inner tube, thoroughly check the tyre for any punctures or offending items such as thorns. Just because you’ve found one, doesn’t mean there won’t be more embedded in the rubber waiting to puncture your inner tube.
You can still get snakebite punctures with tubeless too, so make sure you’re running adequate pressures in your tyres, especially over harsh or rocky terrain to avoid a nasty double puncture from an impact on the rim. These are notoriously tricky to fix, with holes often too close to the tyre bead.
Besides punctured tyres, there are other things that need careful maintenance to keep your tubeless setup running smoothly, including the rim tape, tubeless valves and sealant.
It can be pretty hard to sort these on the go, so that’s when you might need to pop in a tube and leave the closer inspection until you’re home.