Now more than ever, it’s important to look after your bike parts. Quality is higher than it has ever been, but arguably so is the cost of components.
Simple interventions such as bedding in your brakes or letting your bike dry off before putting it away are free, but can make a big difference to the life expectancy of expensive kit.
Sticking to service intervals, and using good-quality cleaners and lubricants can increase costs slightly in the short-term, but will pay off in the long run because you'll extend the lifetime of your components.
Here are some of the best ways to prevent premature wear and help your bike’s components last as long as possible.
Bed in your brakes
Bedding in brakes is important to ensure consistent, effective braking performance, but it also prevents premature wear.
Properly performed brake bedding heats the brakes steadily and deposits a layer of friction material evenly across the braking surface. Future use of the brakes should then be quieter, more consistent and generate the optimum amount of stopping force without overheating the pads.
Overheating causes the pads to glaze, preventing the brakes from working properly.
It’s sometimes possible to bring brake pads back to life after glazing has taken place, by using abrasives such as emery paper to remove the top layer of material. This is a great hack to save money on replacement pads, but it’s time consuming, reduces the life of the pad, and isn’t always successful – it's much better to get them bedded in properly in the first place.
Traditionally, bedding in brakes is done by applying consistent pressure over a number of long and steady applications, letting the brakes cool off in between. Descending a slight decline and then allowing the brakes to cool on the way back to the top before repeating is usually seen as the best way to do this.
Some mechanics (especially on the racing circuit) like to add a thin film of water, which they believe helps the process.
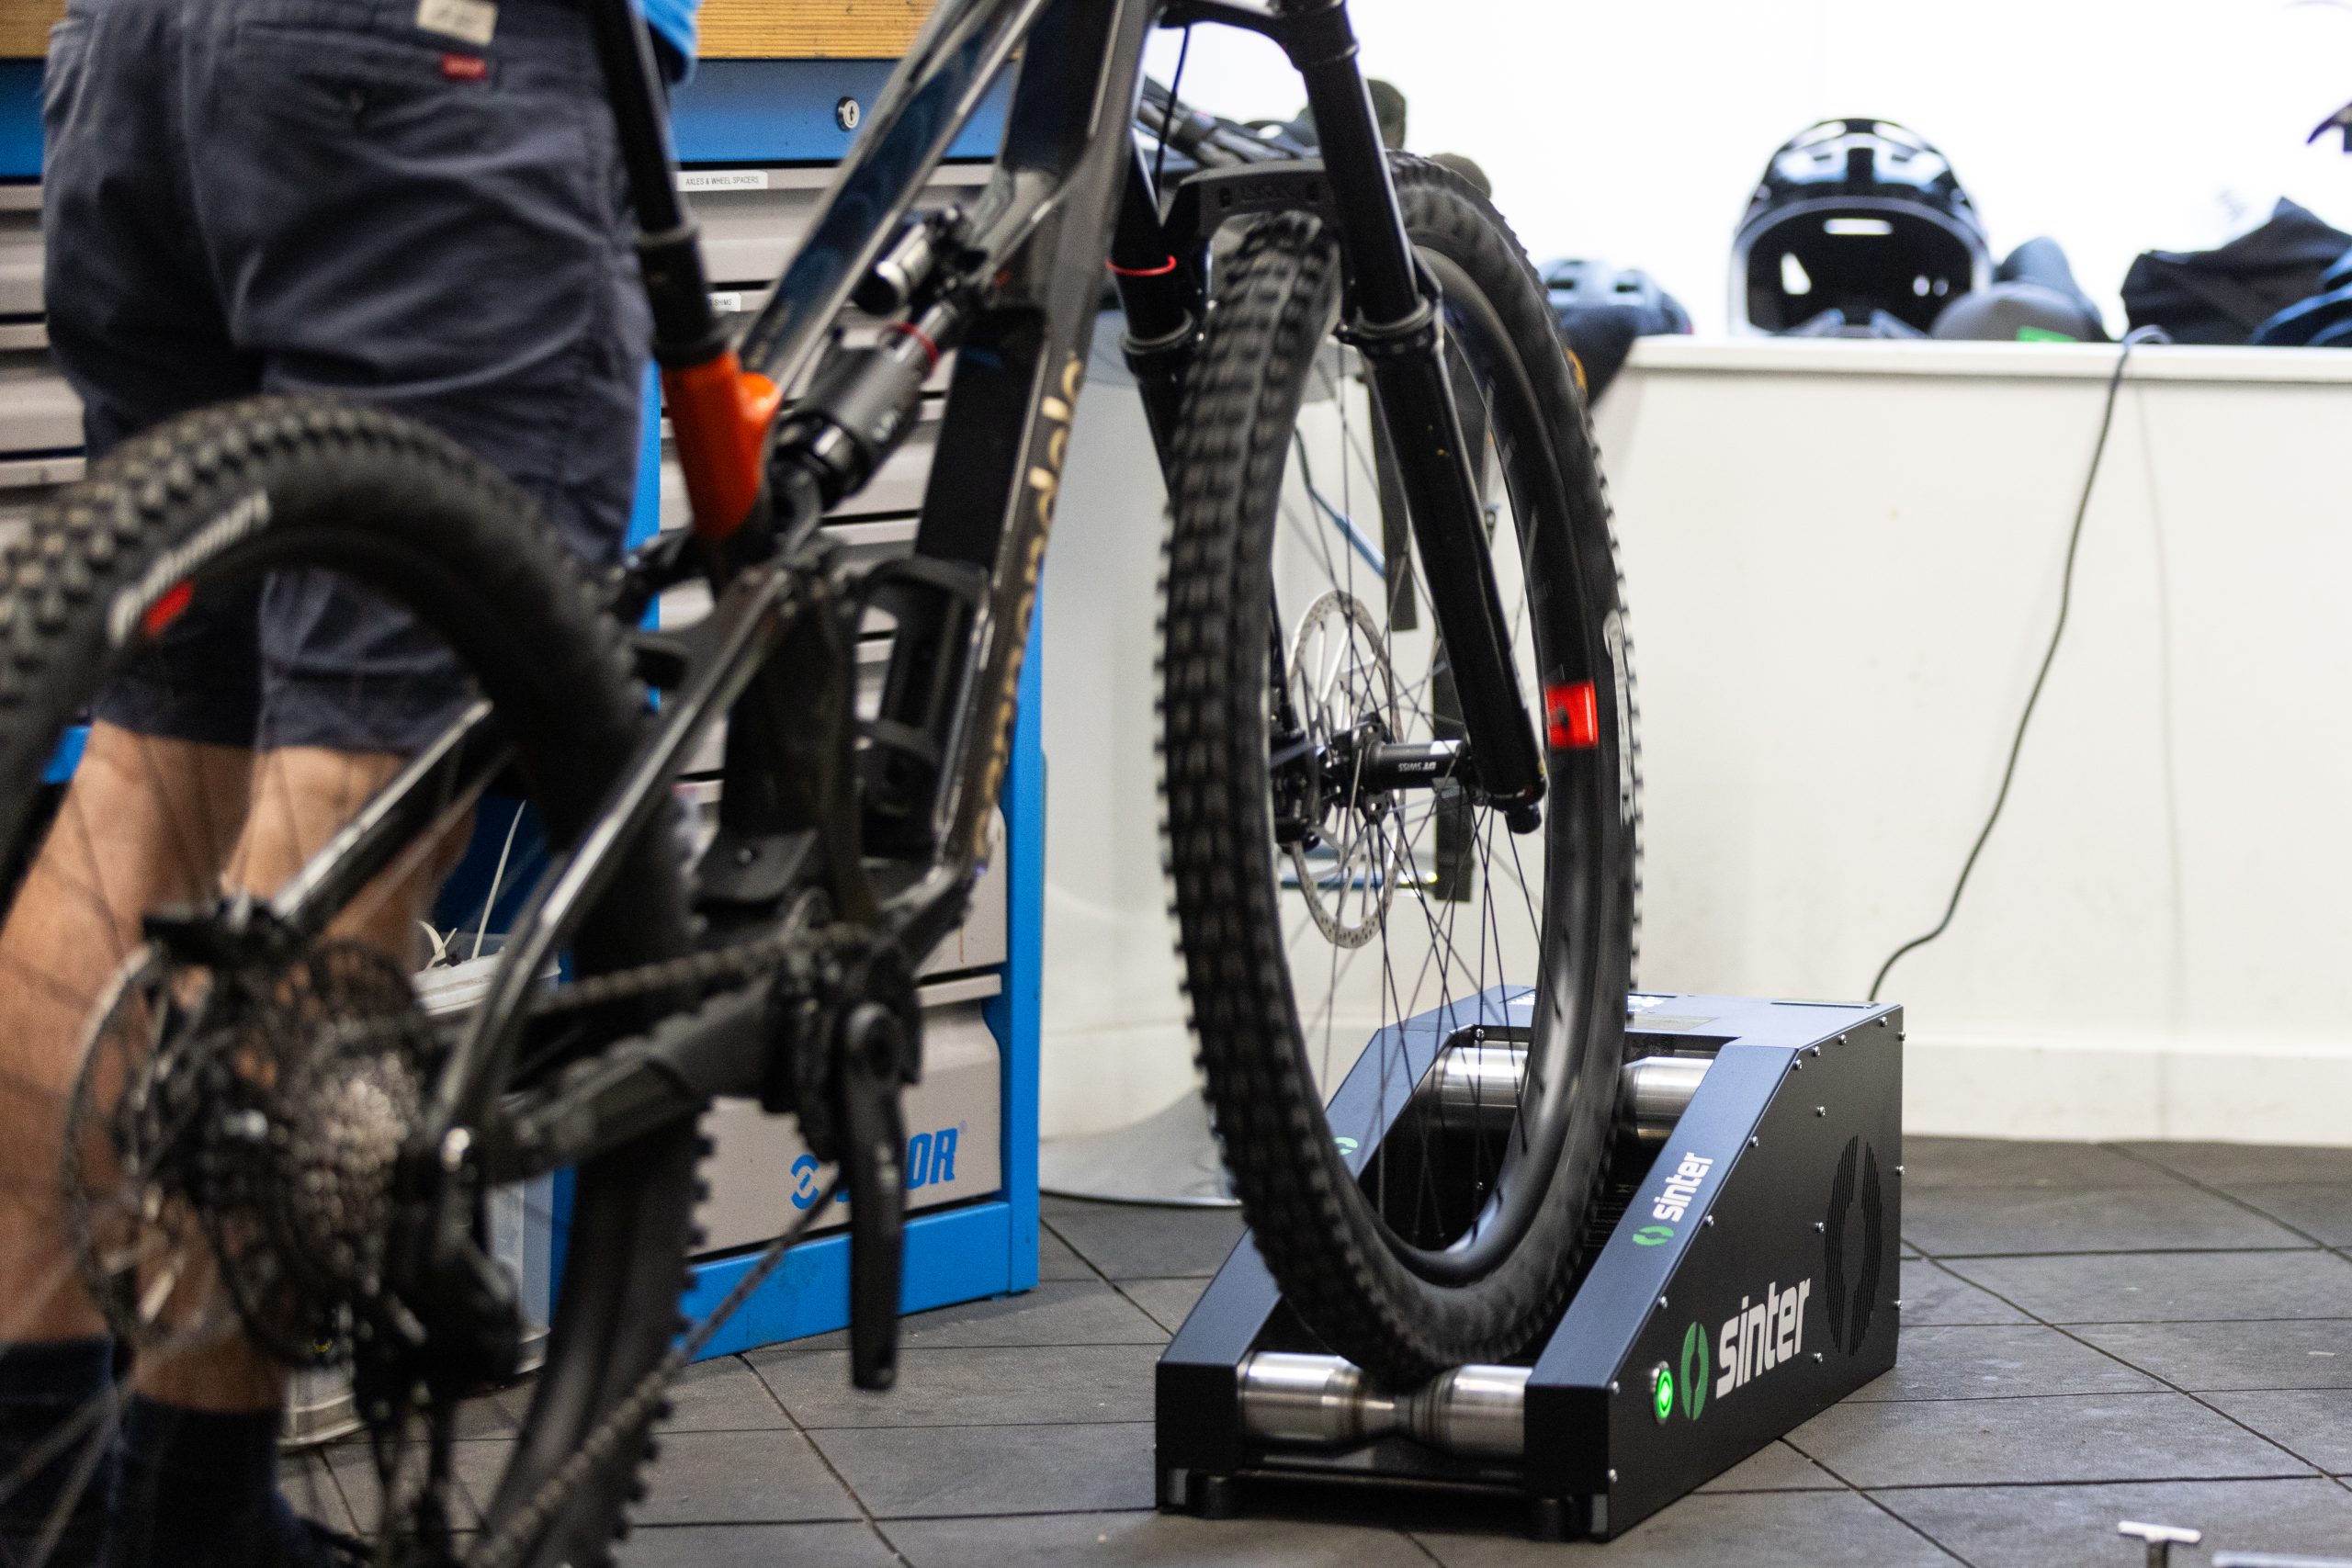
Sinter Brakes has an intelligent Smart Bedding Machine. It has a motorised roller to turn the wheel and an onboard computer to direct you when, and how hard, to apply the brakes. It’s not cheap, at nearly £2,500, but it means bike shops who own one can bed in your brakes properly before you get the bike back.
Clean and lubricate your chain properly
Chains are among the hardest-working parts of your bike, transferring power from the rider to the rear wheel. The chain is exposed to the elements, which can wash away or contaminate the lubricant crucial to keeping things running smoothly, and minimising wear and corrosion.
Bicycle chains should be lubricated before every ride, and an important (and sometimes neglected step) is removing excess lubricant before you set out. This can be done by wiping the chain with a cloth or paper towel. Failure to do so leads to a build-up of dirt around the drivetrain, causing further issues, including premature wear of the plates, rollers and pins.
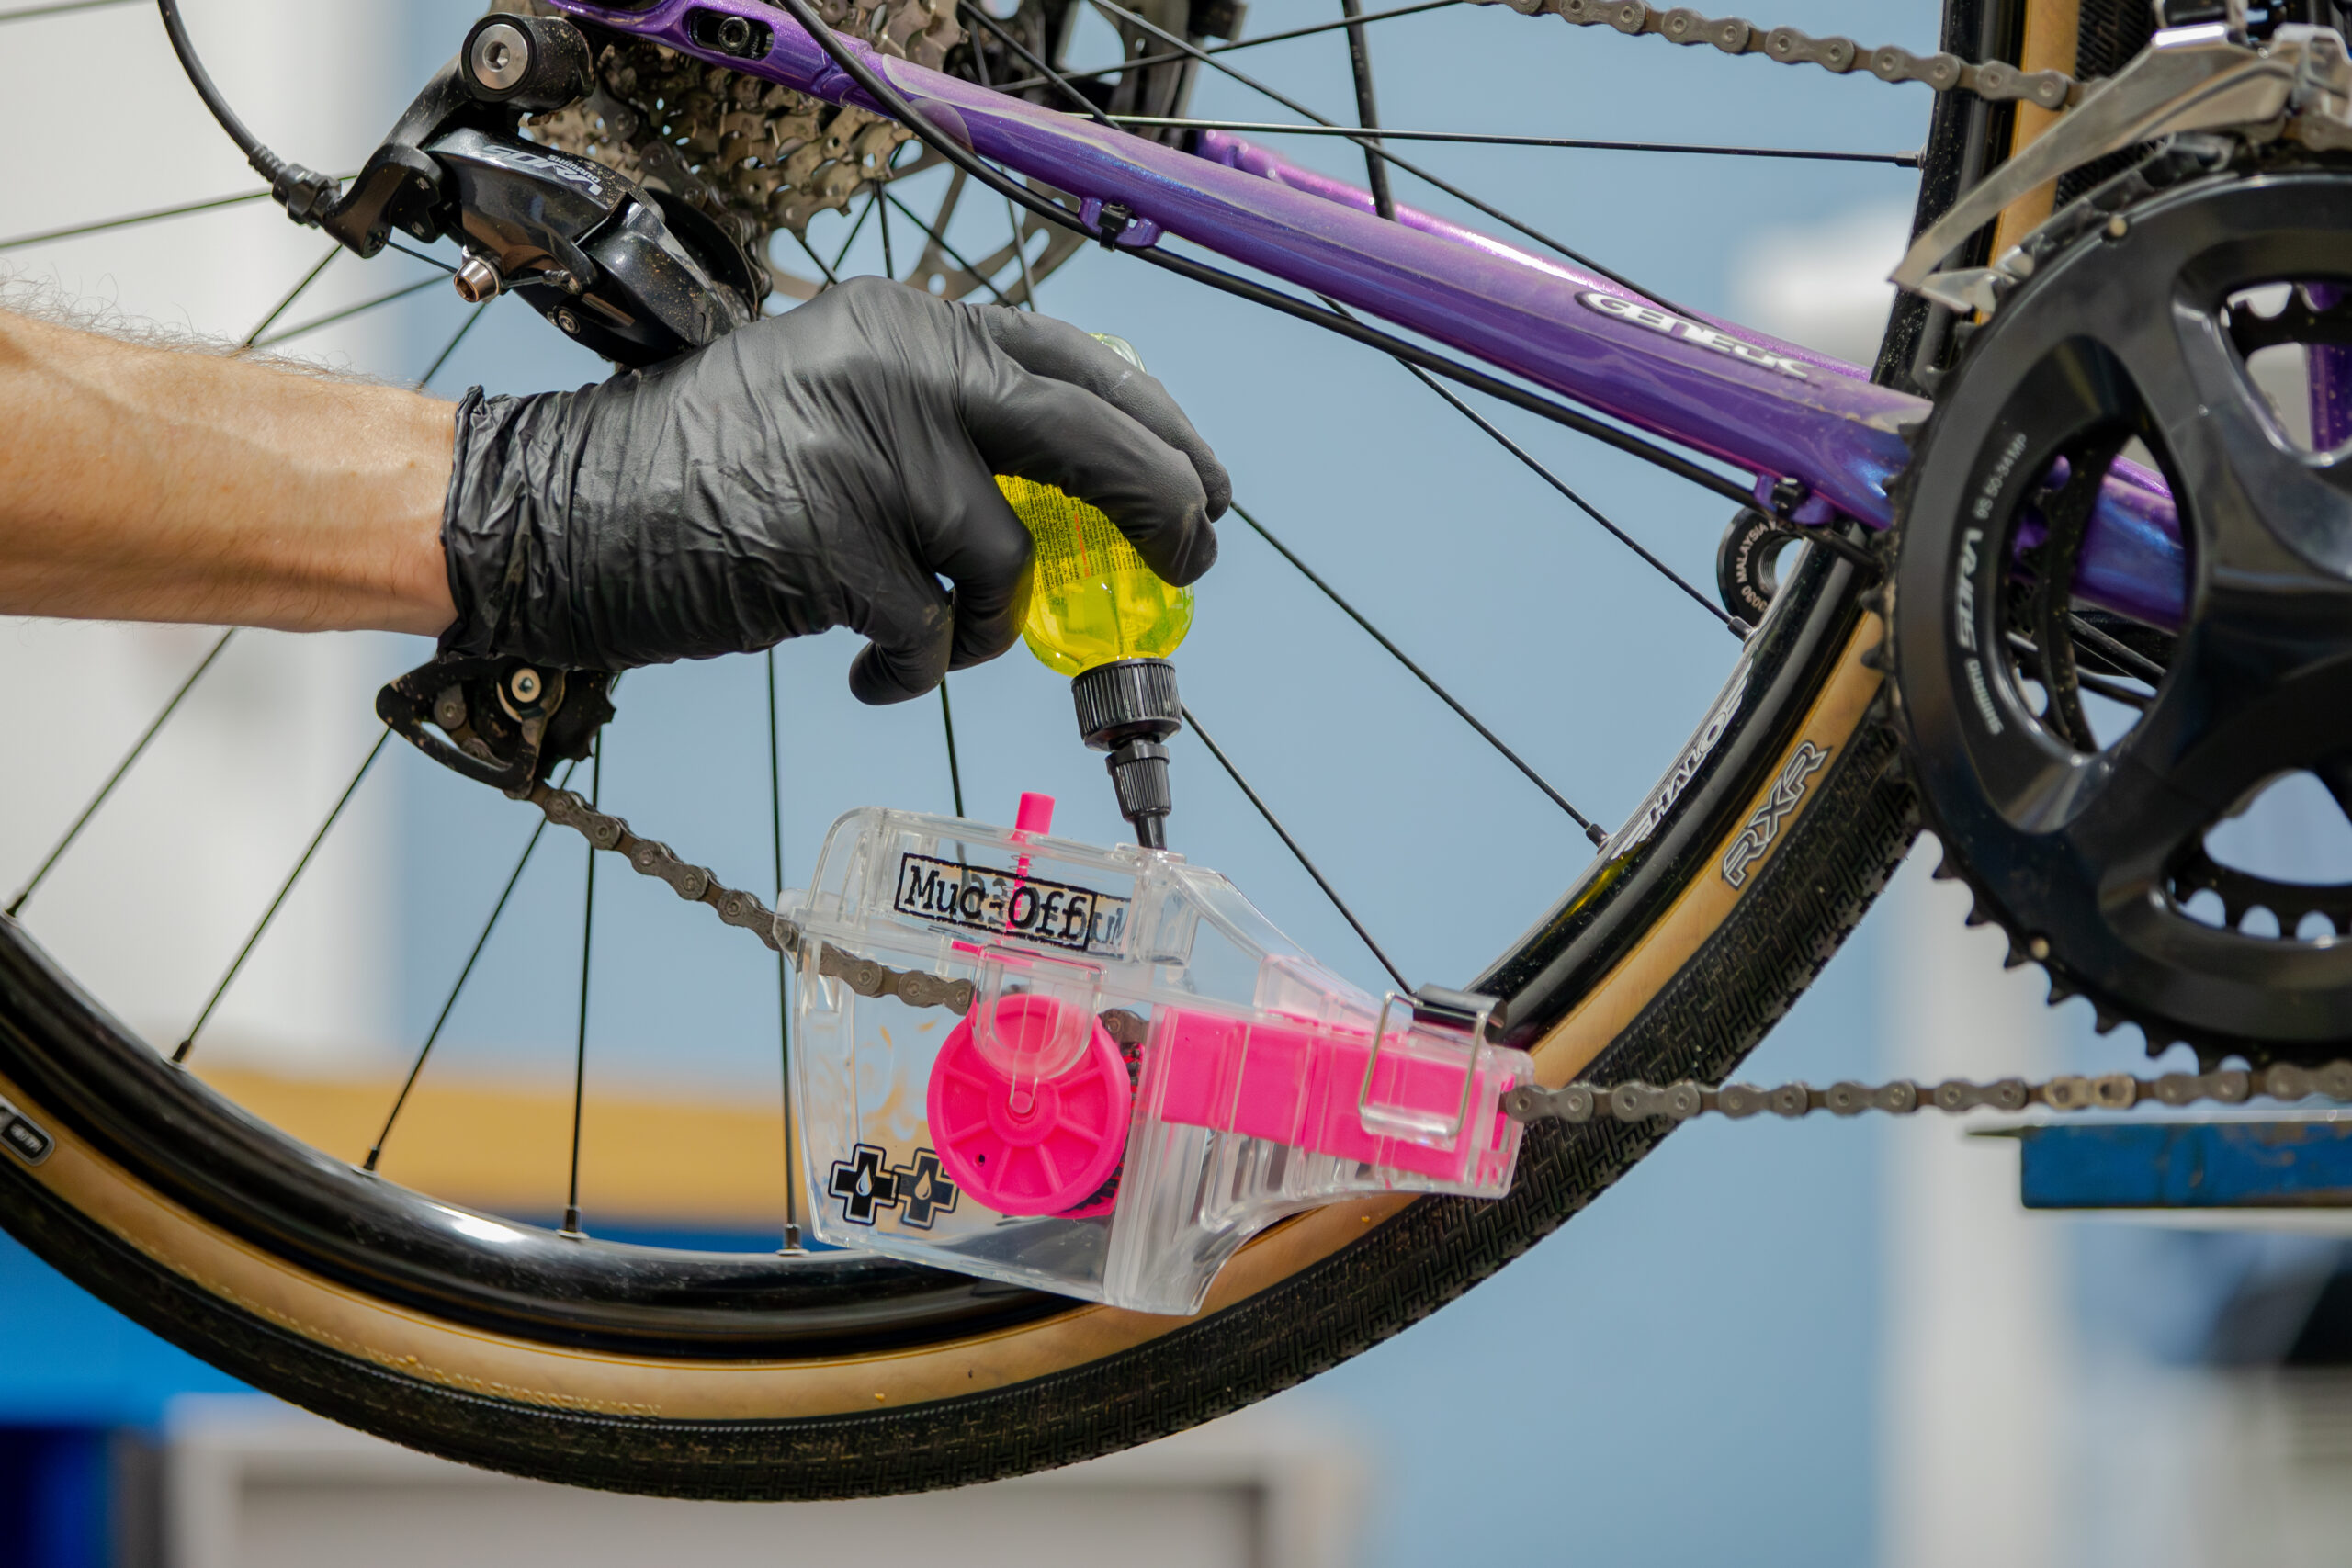
The chain should be cleaned periodically, too, using a brush and drivetrain cleaner or a chain-cleaning machine. Once it’s clean and free from grime, lubricate it again and go riding.
Failure to clean and lubricate the chain correctly will lead to noise, loss of power, poor shifting and premature wear – which can translate to the expensive cassette and chainring, too.
A clean and well-lubricated chain is the key to a smooth-running, efficient and long-lasting drivetrain.
Don’t pressure wash your bike
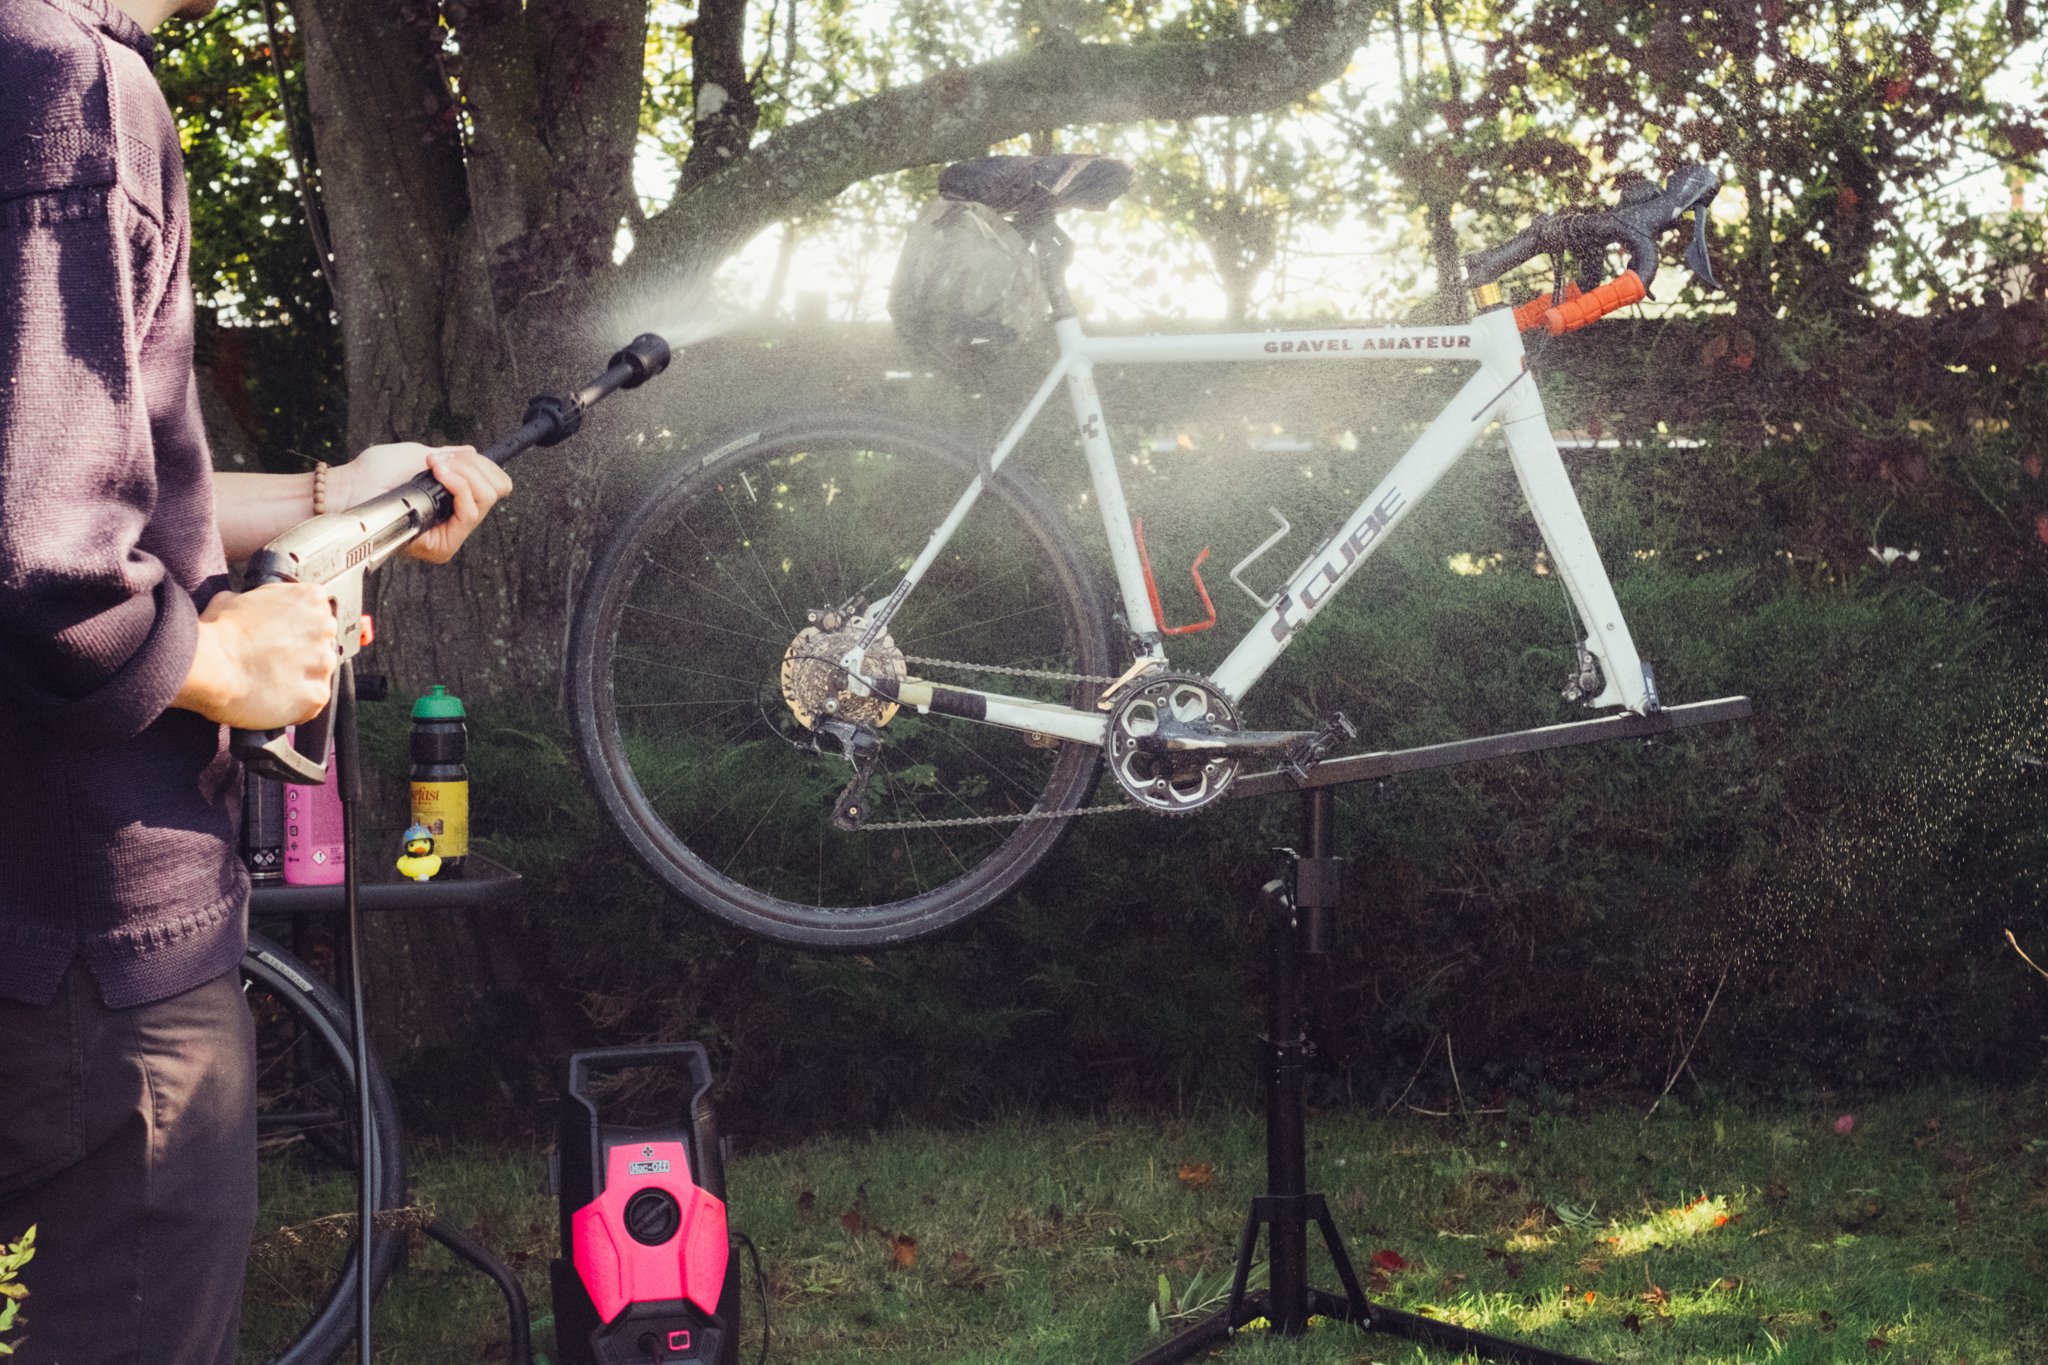
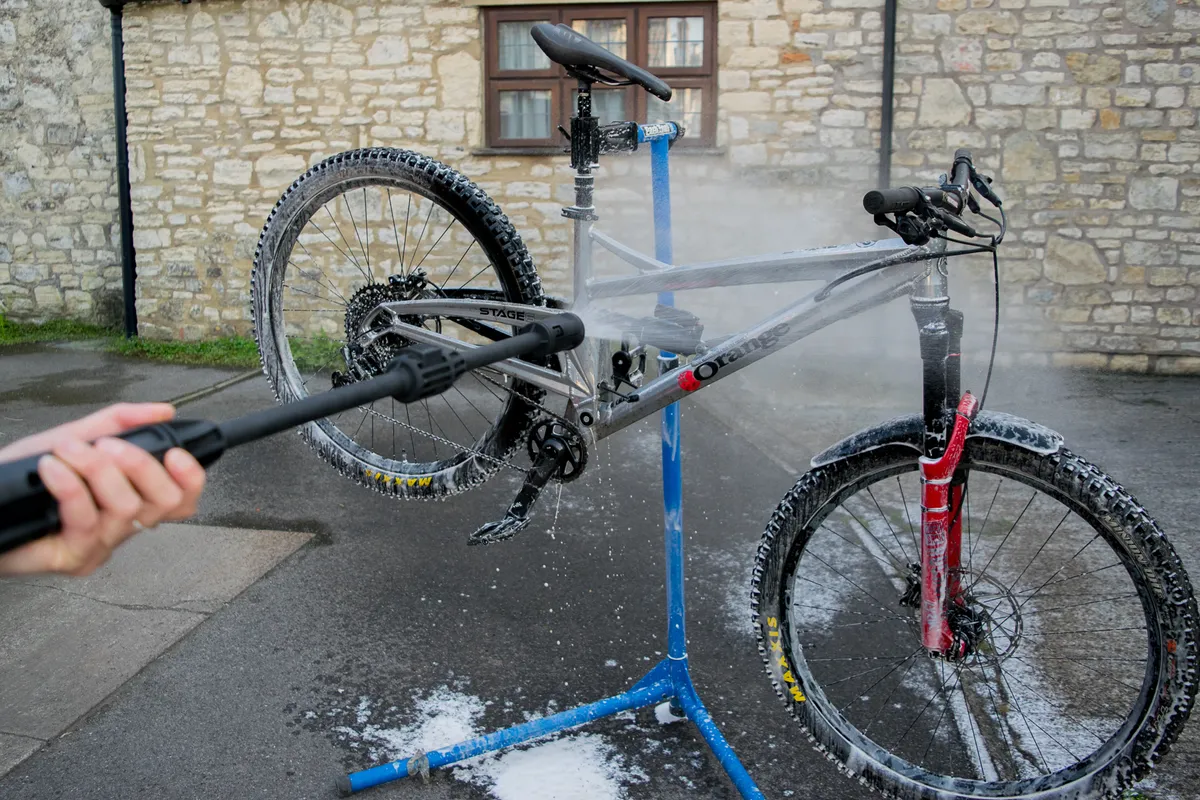
In severely muddy conditions or on race weekends, pressure washing a bike can be the most efficient way to clean it. However, after these situations it’s usually necessary to strip and clean the bike and inspect the bearings anyway.
Aside from these scenarios, many mechanics would advise against jet washing because the high pressure involved is likely to create water ingress into ‘sealed’ bearings in components such as bottom brackets, headsets and hubs.
The water ingress can lead to contaminated grease in the bearings, causing extra friction, premature wear and – if left long enough – corrosion.
Cleaning your bike usually involves a low-pressure hose, bike wash liquid and a brush.
Dry off your bike
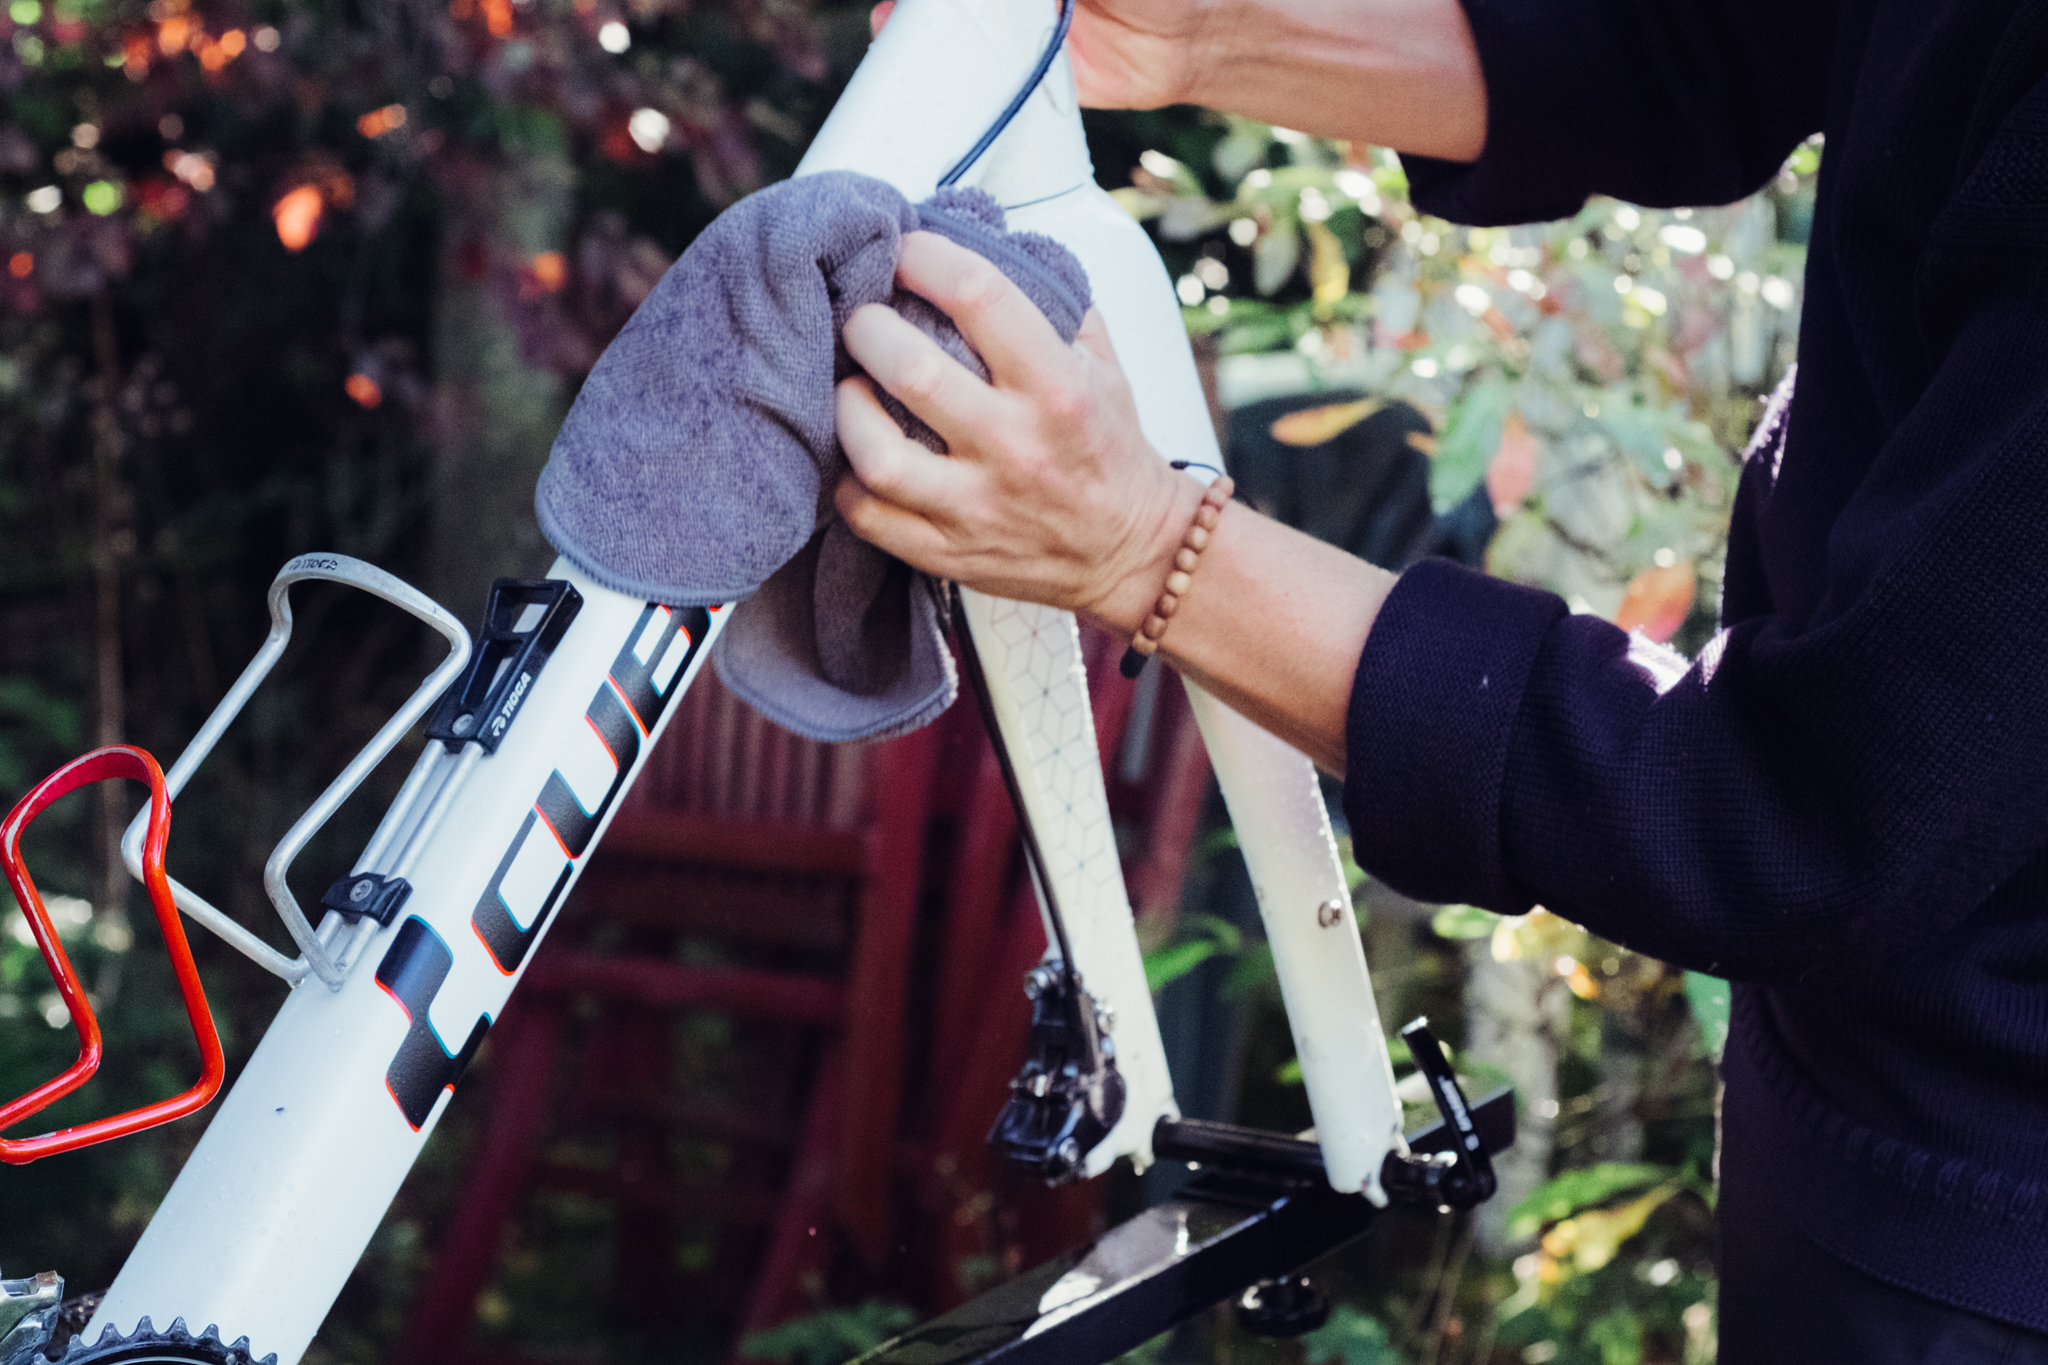
Washing your bike is important, but so is drying it. Bikes are often stored in cold places such as garages or bike stores, where they won’t get a chance to dry if put away wet. Water left on bikes in these conditions can cause a range of components, from rims to handlebar tape, to degrade or corrode.
The best way to dry a bike is to mop it with a microfibre cloth and leave it in the fresh air for water to evaporate. This is particularly important because it’ll rid the water from hard-to-reach places such as the spoke nipples, as well as nooks and crannies around the shock of a full-suspension mountain bike, and from absorbent components such as handlebar tape and some saddles.
Drying your bike properly will prolong the life of metal components and prevent any nasty smells or unsightly corrosion to boot.
Avoid riding in especially poor conditions
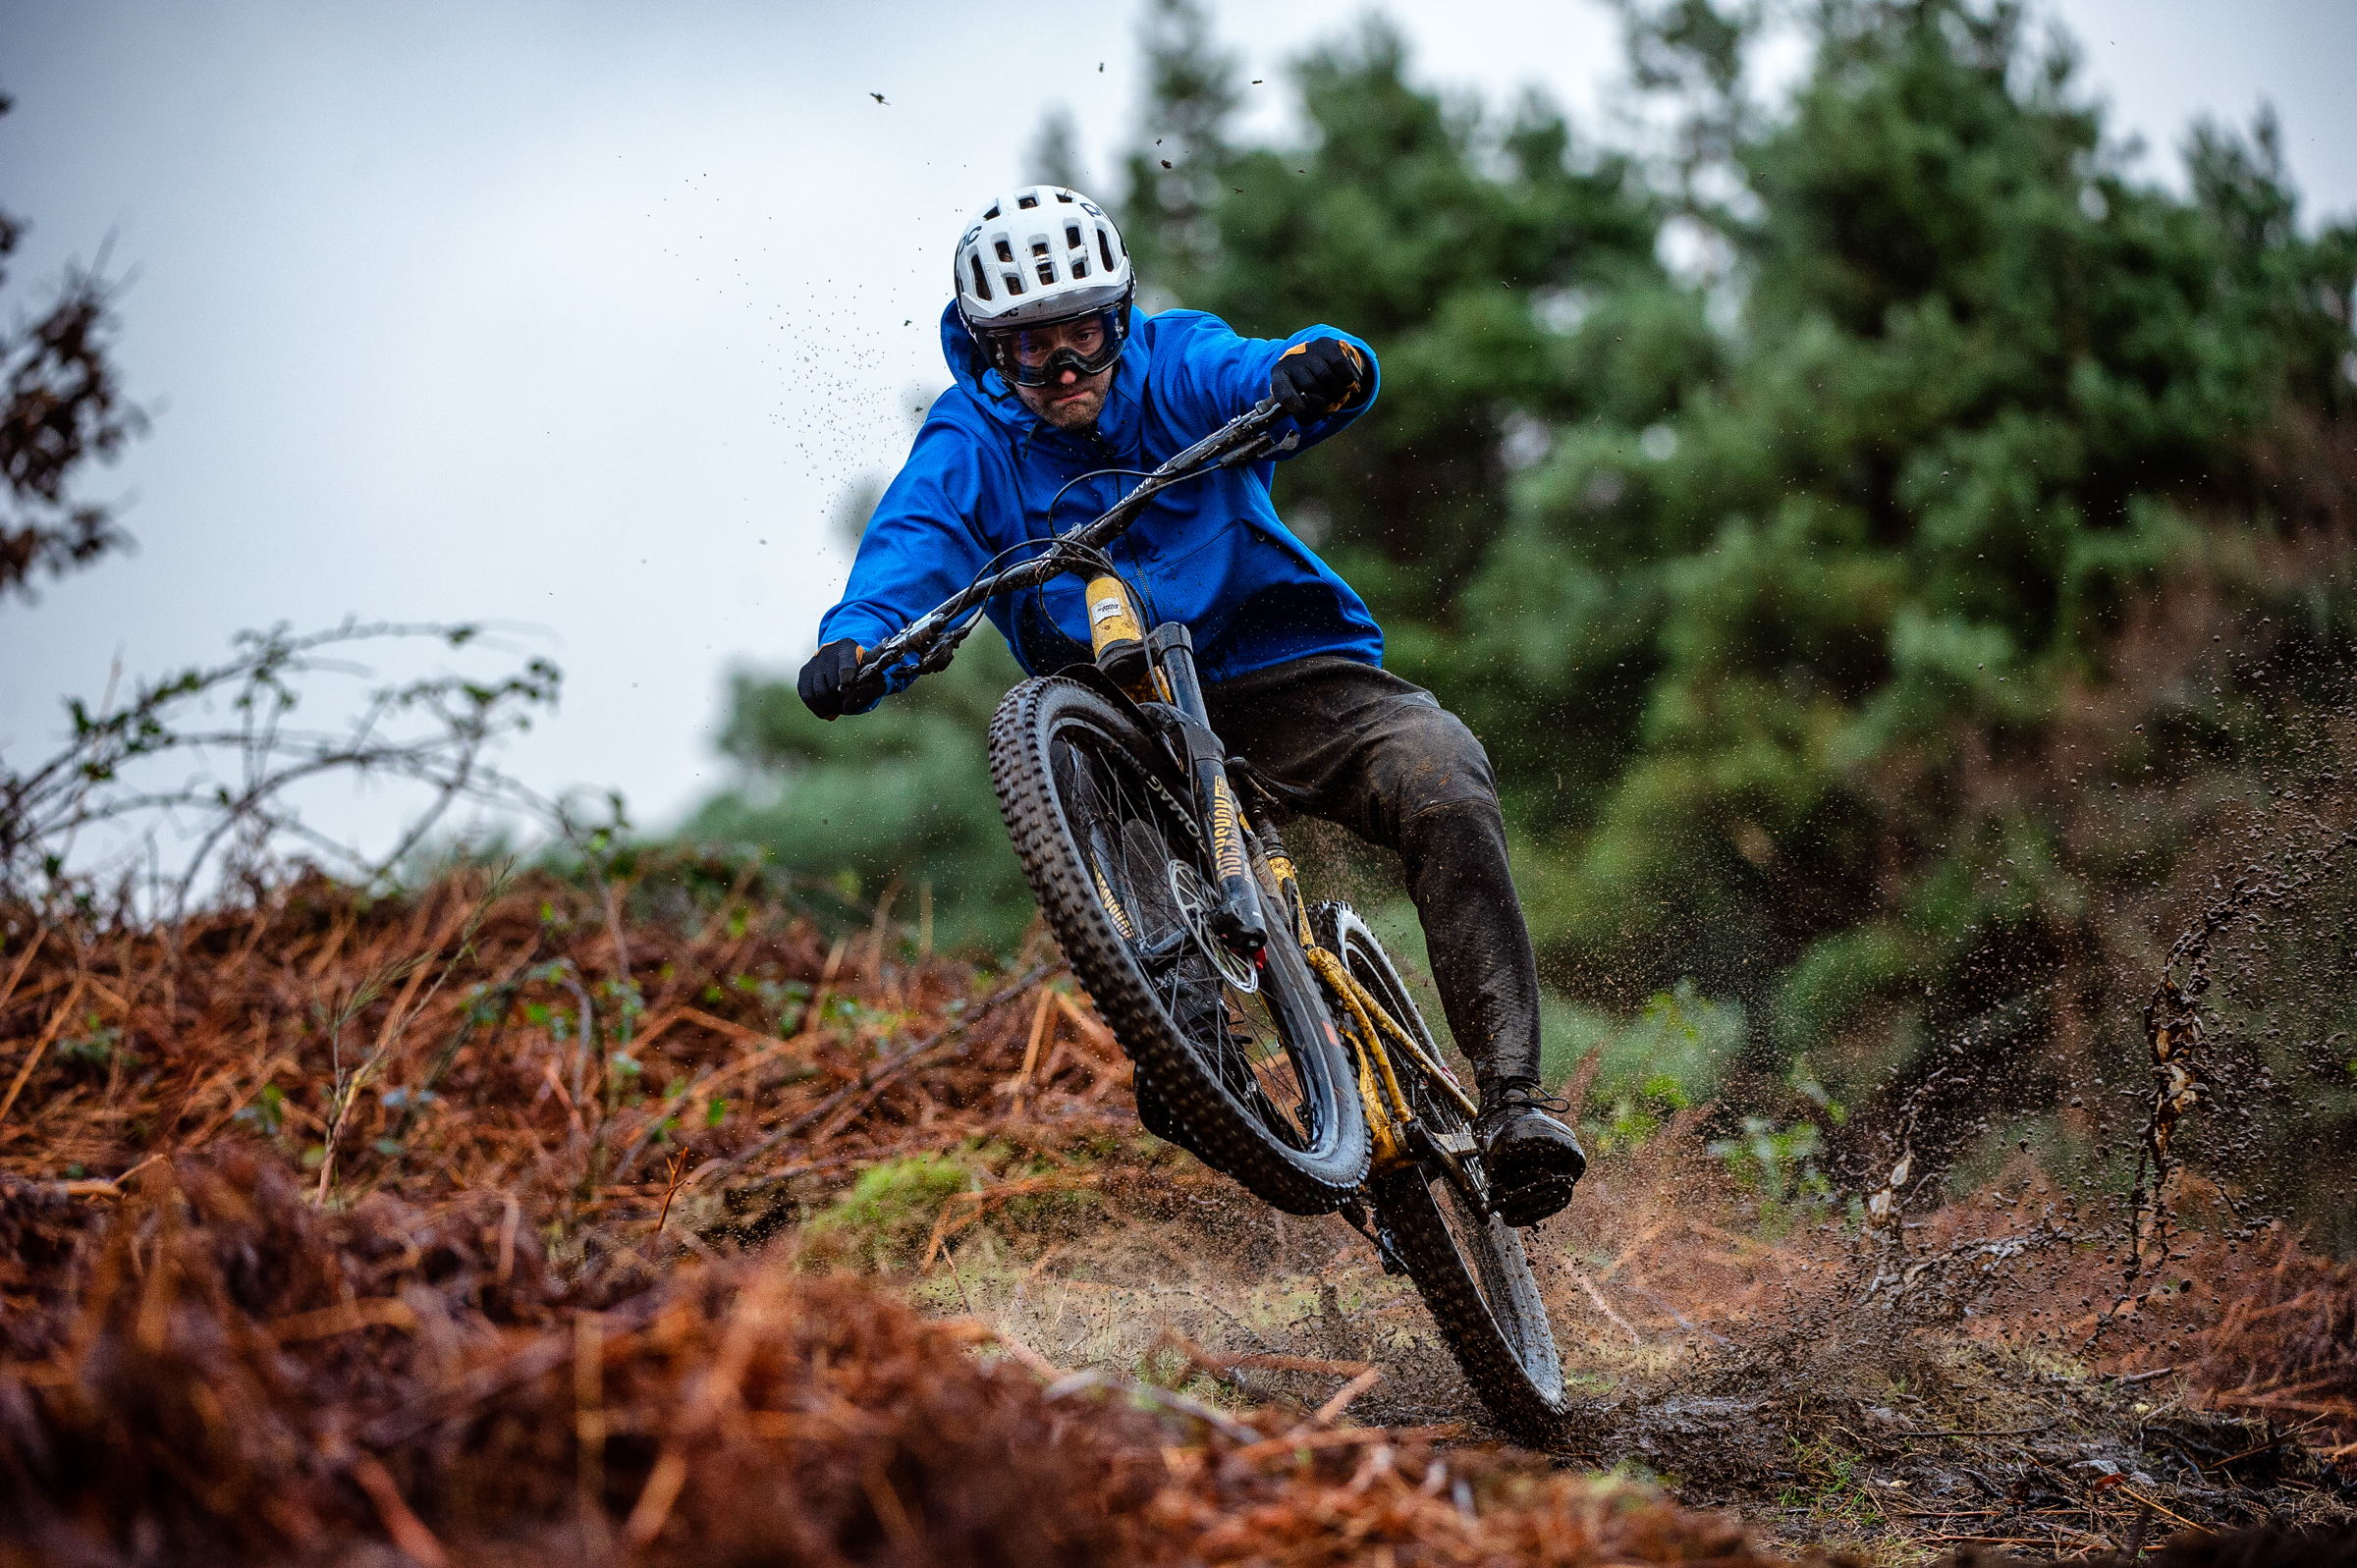
This isn’t particularly rock 'n' roll, because riding whatever the weather can be a great way to challenge your mental toughness and bike-handling skills.
However, cold winter weather with water and salt on the road can play havoc with road bikes – accelerating wear. This is particularly detrimental if you succumb to the understandable temptation to put your bike away without a proper wash and dry.
For the knobbly-tyre brigade – riding in sloppy or gritty muddy conditions is great fun, sliding around on the trails. But these conditions are exactly the ones that grind down your brake pads and can cause accelerated drivetrain wear, as the mud makes its way where grease once was.
When you do want to get out in wintry conditions, pay particular attention to cleaning, drying and re-lubricating your bike afterwards to minimise any wear or corrosion.
Perform lower-leg and air-can services
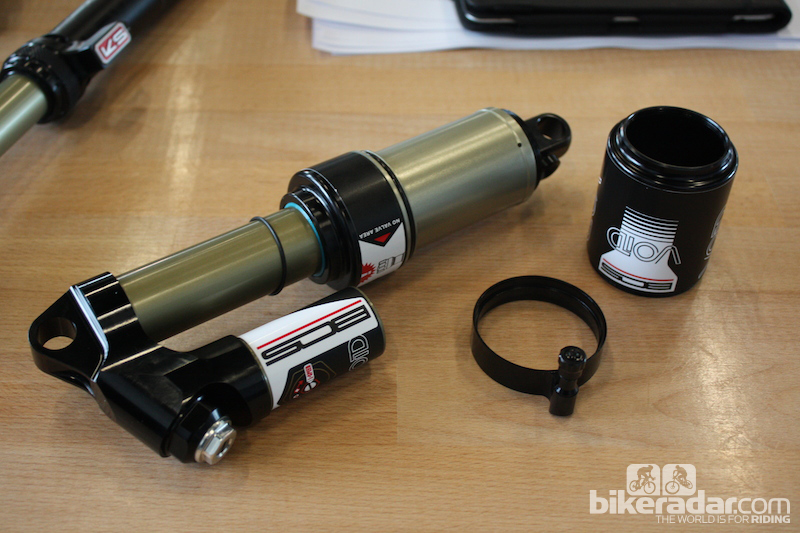
Suspension forks and rear shocks are some of the most expensive and hard-working parts of a modern mountain bike (and even some gravel bikes). They work smoothly because they use plastic bushes to slide over a metal stanchion on a film of lubricant, minimising friction.
However, if the oil inside them degrades, becomes contaminated with dirt or leaks away, additional friction can creep in, hampering suspension performance and speeding up the wear of smaller parts such as seals and O-rings.
In the worst-case scenario, leave things too long and you could risk shock bodies and fork stanchions being written off entirely, the cost of which can stretch to hundreds of pounds.
Performing a lower-leg service on a fork or an air-can service on an air shock is a job that can be done by a competent home mechanic, or your local bike shop.
A lower-leg service typically involves removing the base nuts from the fork and removing the lower legs from the stanchions, cleaning them, re-lubricating the foam rings below the seals and refilling the forks with oil.
An air-can service for an air shock involves removing the air from the shock and unscrewing the air can, before cleaning the internals and refilling the shock with fresh oil. It’s best practice to replace the seals at the same time.
Most manufacturers recommend performing these procedures every 30-50 hours of riding and sell service kits with the consumable parts required to carry out the procedures. Fortunately, these only cost a small amount and can help save you hundreds if you keep your fork or shock running smoothly.