Coil-sprung suspension is a low-stiction, low-maintenance approach to suspending your mountain bike, with less heat build-up than air suspension.
However, unlike air suspension (where you just increase or decrease the pressure inside the air spring with a shock pump), you need to choose the correct coil spring for your weight and riding style.
In the cycling world, it is most common to see coil shocks on mountain bikes designed for gravity-focused riding such as enduro and downhill bikes.
Air springs are lighter than coil springs, but can experience performance losses due to the increased number of seals required, and suffer from heat build-up during prolonged hard use.
Selecting the right spring for your bike is critical. Here’s how to do it…
- Coil shock vs air shock – which is best for you?
- Best mountain bike rear shocks in 2025: 10 of the best coil and air shocks plus our buyer's guide
Material world
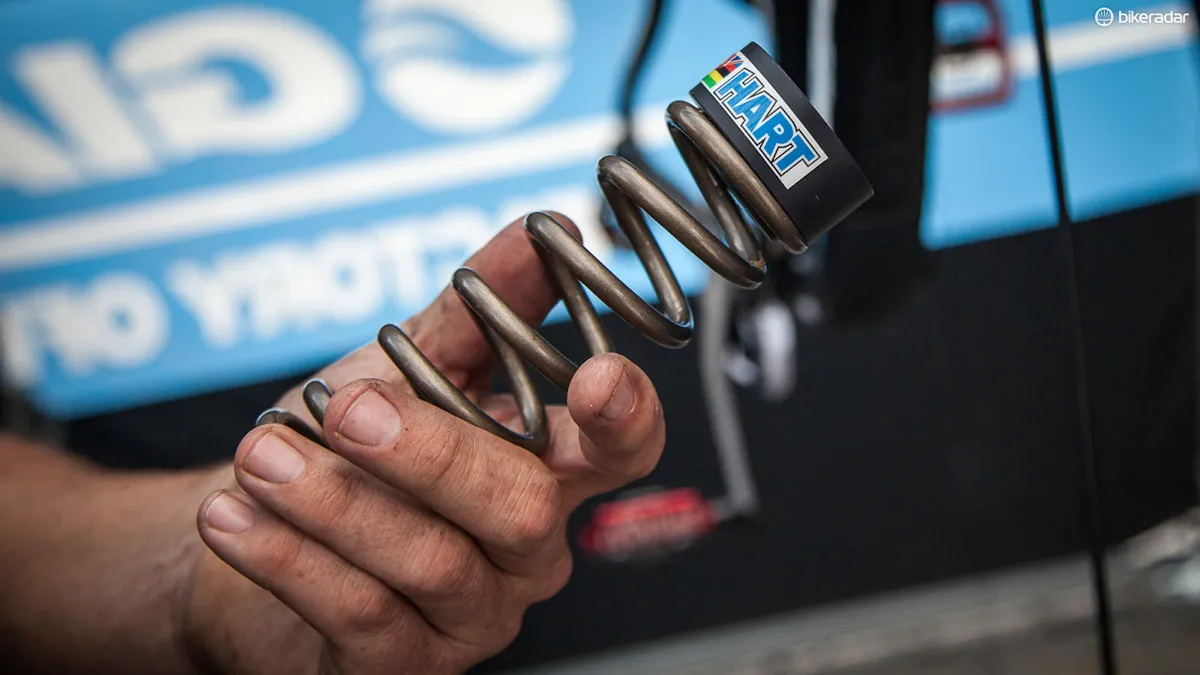
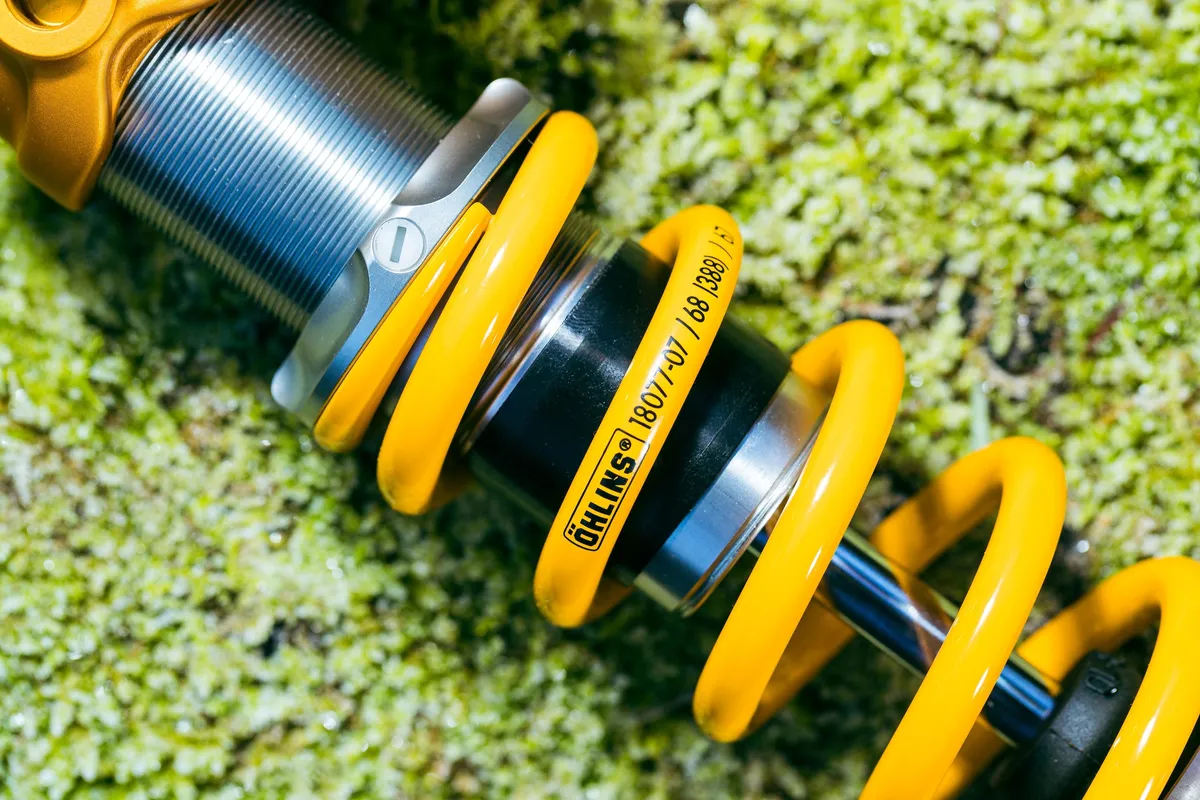
Coil springs are made from metal wound into a coil, and sit around the outside of the shock body on a rear shock, or inside one of the fork legs on a suspension fork.
Coil springs are usually made of spring steel, but more exotic springs are made of titanium to reduce weight. Spring steel is a mixture of iron and carbon, and titanium alloys have metals such as aluminium and vanadium mixed in to give the properties required.
Steel springs are the cheapest option, but are considerably heavier than the more expensive titanium equivalent.
How to work out the right spring rate for you (and what that means)
Spring rate is a measure of how much force is needed to compress or extend a spring a given distance. It's typically expressed in units such as pounds per inch on mountain bikes, but it can also be in Newtons per millimetre.
A higher spring rate is shown by a higher number, which indicates a stiffer spring, requiring more force for the same amount of compression.
Sag is the amount the suspension compressed underneath the weight of the bike and rider, when at rest on a level surface. Usually, this is between 25% and 30% for most applications, but bike manufacturers will tell you the optimum amount of sag for their suspension design. The right spring rate is the one that yields the right amount of sag for your bike.
Manufacturers will usually have recommended spring rates for the weight of the rider. These are approximate, but provide a baseline to start from.
Bikes are usually supplied with different springs, based on their sizing, assuming that MTBers requiring larger frames are heavier than smaller riders requiring smaller frames.
How to measure sag

Measuring the sag on a coil shock is straightforward, but there are some key steps you need to follow.
Set your preload

There is a threaded collar on the rear shock, which controls the level of preload. Wind the preload collar all the way off to its minimum setting. This is where the spring’s preload is as slack as possible, while keeping the spring secure on its perch when the bike is in the stand.
Preload is the pressure applied to the spring before any weight has been put on the bike.
SRAM says in its suspension theory guide that preloading a spring “results in a breakaway force and stiffer spring feel”. Increasing preload mainly alters the initial part of the stroke, making it harder to get the shock moving, and it will subsequently return to full extension more aggressively.
Position the bump stop

There is a rubber bump stop on coil shocks to prevent the shock and spring perch making contact, and to add progression to the spring curve at the end of the stroke.
In order to measure the sag, move the bump stop down the shock shaft until it’s resting against the body of the shock.
Climb onto the bike

Next, sit on the bike while wearing your riding gear on a flat floor and lift your feet off the ground gently. You may find it easier to lean the bike up against something.
Next, climb off the bike gently without bouncing on the suspension.
This will compress the suspension and push the bump stop down the shock shaft.
Measure and calculate your sag

If you’re solo:
- 1. Measure the distance between the bump stop and the shock body.
- 2. Next, you need to find the shock stroke. This can usually be found on the manufacturer’s website, but can also be measured.
- 3. Make sure to measure the whole of the shock’s shaft (including the bump stop) as the length of the stroke.
- 4. To calculate your percentage sag, take the sag measurement in millimetres and divide it by the shock stroke (in millimetres) and multiply by one hundred. This gives you your percentage sag.
If you have a friend to help, there is an alternate approach:
- 1. Measure the distance between the shock eyelets. Using the centre of the shock bolts is the easiest way to do this. There is no need to use the bump stop with this method.
- 2. When the suspension is compressed by the rider, measure the distance between the shock eyelets again.
- 3. Next, you need to find the shock stroke. This can usually be found on the manufacturer’s website, but can also be measured.
- 4. Make sure to measure the whole of the shock’s shaft (including the bump stop) as the length of the stroke.
- 5. Your sag measurement in millimetres is the eye-to-eye length of the shock when fully extended, minus the eye-to-eye measurement when the shock is compressed under the weight of the rider.
- 6. To calculate your percentage sag, take the sag measurement in millimetres and divide it by the shock stroke (in millimetres) and multiply by one hundred. This gives you your percentage sag.
How to manage an incorrect amount of sag

If the percentage sag is too low (for example, under 25%), the suspension is too stiff and you need to fit a softer spring. If the percentage sag is much greater than intended (for example, more than 30%), you need to source a stiffer spring to reduce the amount of sag.
However, if the sag is only slightly more than you would like, it is possible to increase the preload.
Preloading a spring is not ideal: it makes the suspension feel harsh off the top (start) of the travel, but it can be used to make minor adjustments to sag.
Preload is increased by tightening down the preload collar on the coil spring to compress it.
Keep preload within safe limits

Remember, it's important not to add too much preload. Adding too much can cause damage to the suspension because the spring can become coil-bound. This is a condition where the gaps between the coils are too small and they crash into each other.
This can damage the spring and the suspension components. Suspension manufacturer Springdex stipulates a maximum of two turns of preload should be applied (after the collar has contacted the spring).
Buying a new coil spring
If your coil spring is too stiff or too soft, it will be necessary to source a replacement.
Coil springs are usually available in 50lb/in increments, but some come in 25lb/in increments. If your sag is close to the figure you’re aiming for, you might look at changing stiffness, but in small increments.
If your spring is much too soft or hard, you may need to source a spring 100lb/in away from your current one.
There are some wonderful online retailers that are usually the best place to find a replacement coil spring. Supporting your local bike shop is always something we recommend at BikeRadar, but due to the number of different lengths, diameters, stiffness options, manufacturers and materials involved, it is difficult for bike shops to stock all the permutations you might require.
Speaking to specialist suspension tuners is a great place to start because, in my experience, they’re friendly, enthusiastic, knowledgeable and hold an excellent amount of stock.
Buying second-hand on sites such as Facebook Marketplace can also save money.
Swapping a coil spring on your shock

To swap the coil spring on your shock, first remove the shock from the bike. This is usually done by undoing two bolts, one at each end of the shock.
It is easier to have the bike off the floor for this job, so put it in a bike repair stand if you have one.

Before you can remove the spring from the shock, check the mounting hardware on the shaft end of the shock is narrower than the spring, or you will need to remove it.
The mounting hardware usually consists of a hollow metal bar inside a bushing with spacers on either side. This is best removed using a specific tool called a shock hardware removal tool. If you do not have one of these, it is often possible to remove the shock hardware using a vice and some spacers or sockets.

Next, you must release all of the preload from your spring by loosening the preload collar until the spring is loose on the shock body.

To free the spring, slide the spring retainer up the shock shaft towards the shock body and remove it from the shock. Now, you can remove the spring by sliding it down over the eyelet and off the shock.
Fit the new spring onto the shock and refit the spring retainer.
Nip up the preload collar so it’s pressed up against the spring and just starting to show resistance.
Refit the shock hardware (if you removed it to create space for the spring).

Bolt the shock to the bike and torque the fastenings to the manufacturer's recommended settings.
Now it’s time to check the sag again and reset the spring preload if required.
Spring calculators

If you’re struggling to find the right spring rate, can’t find a manufacturer’s recommendation, or need some reassurance before you spend your hard-earned money, you can use a spring calculator.
Companies such as RideFox, TF Tuned and J-Tech all offer free online spring calculators, which are a great resource if you’re trying to find out which spring to use. They use clever algorithms, which take into account obvious variables such as rider weight, but also other factors such as riding style and bike geometry.