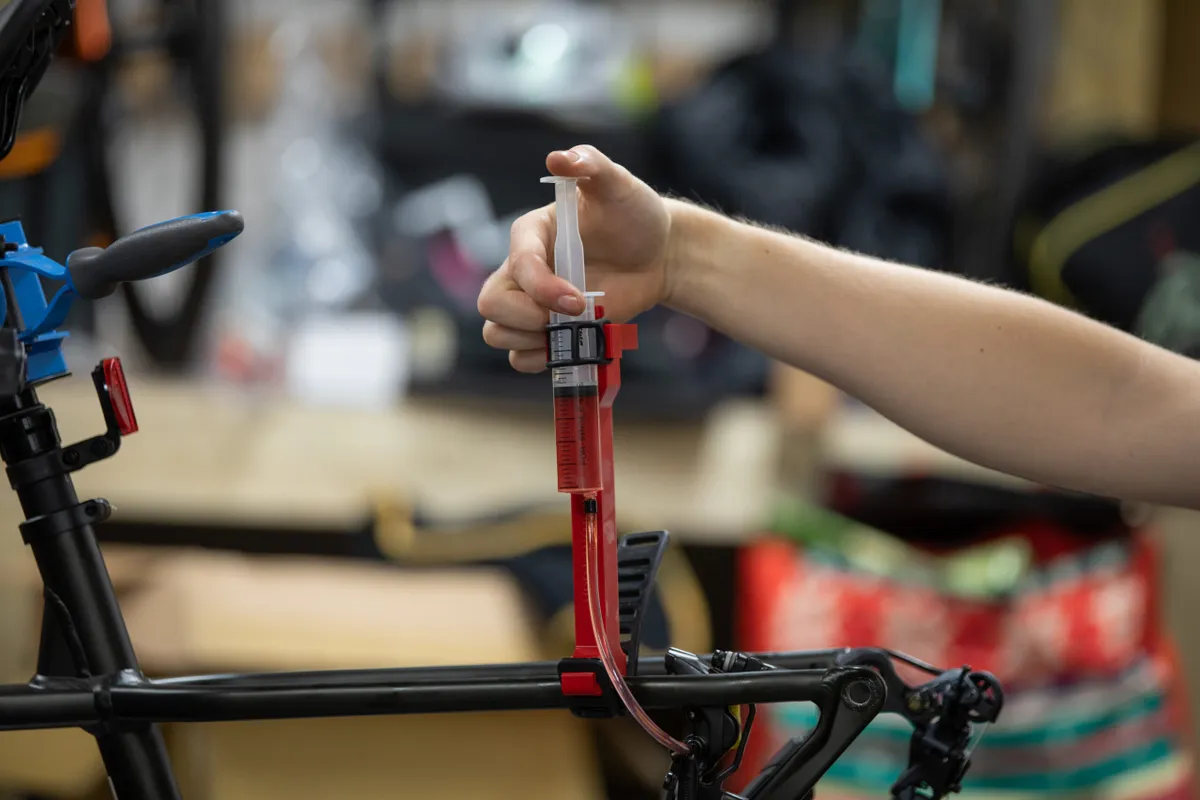
If you’ve got your bike out and the brakes are mysteriously squealing, the braking surfaces could be contaminated. If this happens, not only can the noise be embarrassing, it can also lead to a loss of stopping power.
If you own a set of Shimano hydraulic disc brakes and have suffered from this, here's the best way to bring them back to full health, with a few options depending on your budget and level of experience.
However, if your brakes aren’t working properly and you’re in any doubt, be sure to take your bike to the local bike shop and explain the issue. It’s really not worth having an accident for the sake of saving a few quid.
Clean up the discs
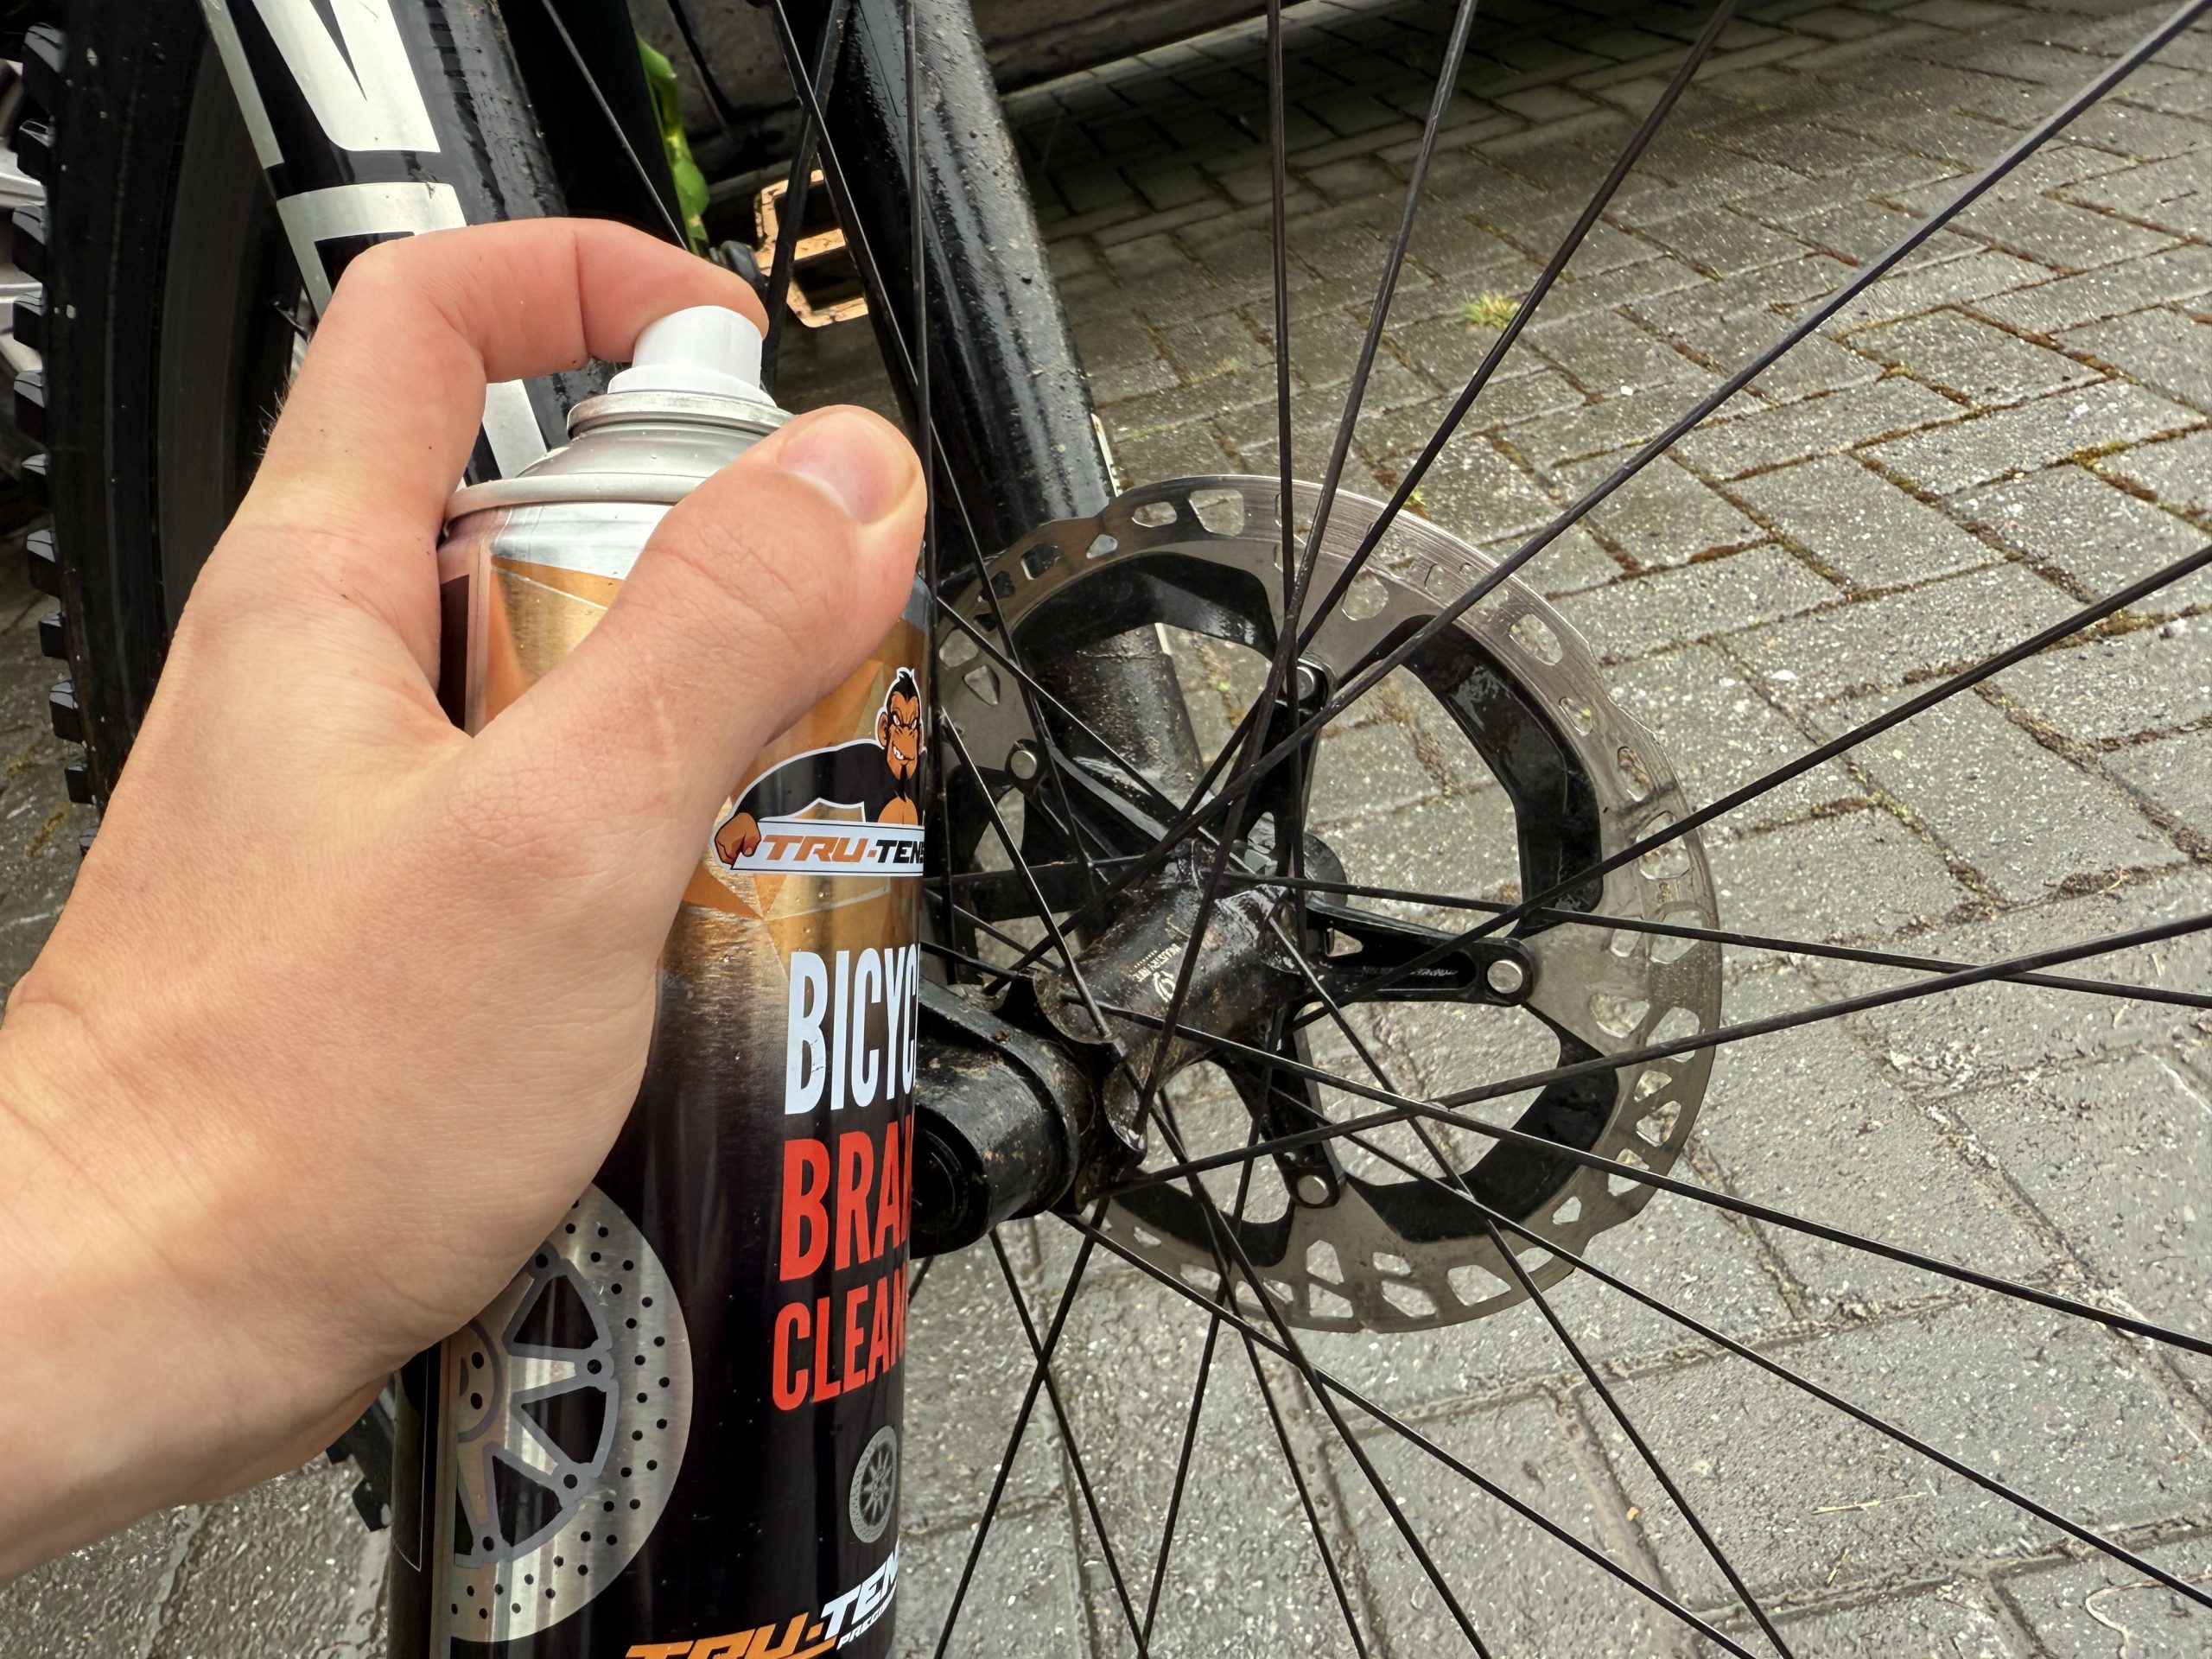
Remove the wheels and clean the disc rotors thoroughly with disc-brake cleaner – douse them and wipe them down with a clean rag.
Next, wash the rotors thoroughly with clean water. This is an important step to remove any residue of disc-brake cleaner and contaminant.
This process should have got rid of any contamination, but in doing so it will also have removed the crucial layer of pad material coating the rotor (which is laid down during the bedding-in period). This means you must bed the brake in properly again later.
Clean or replace the pads
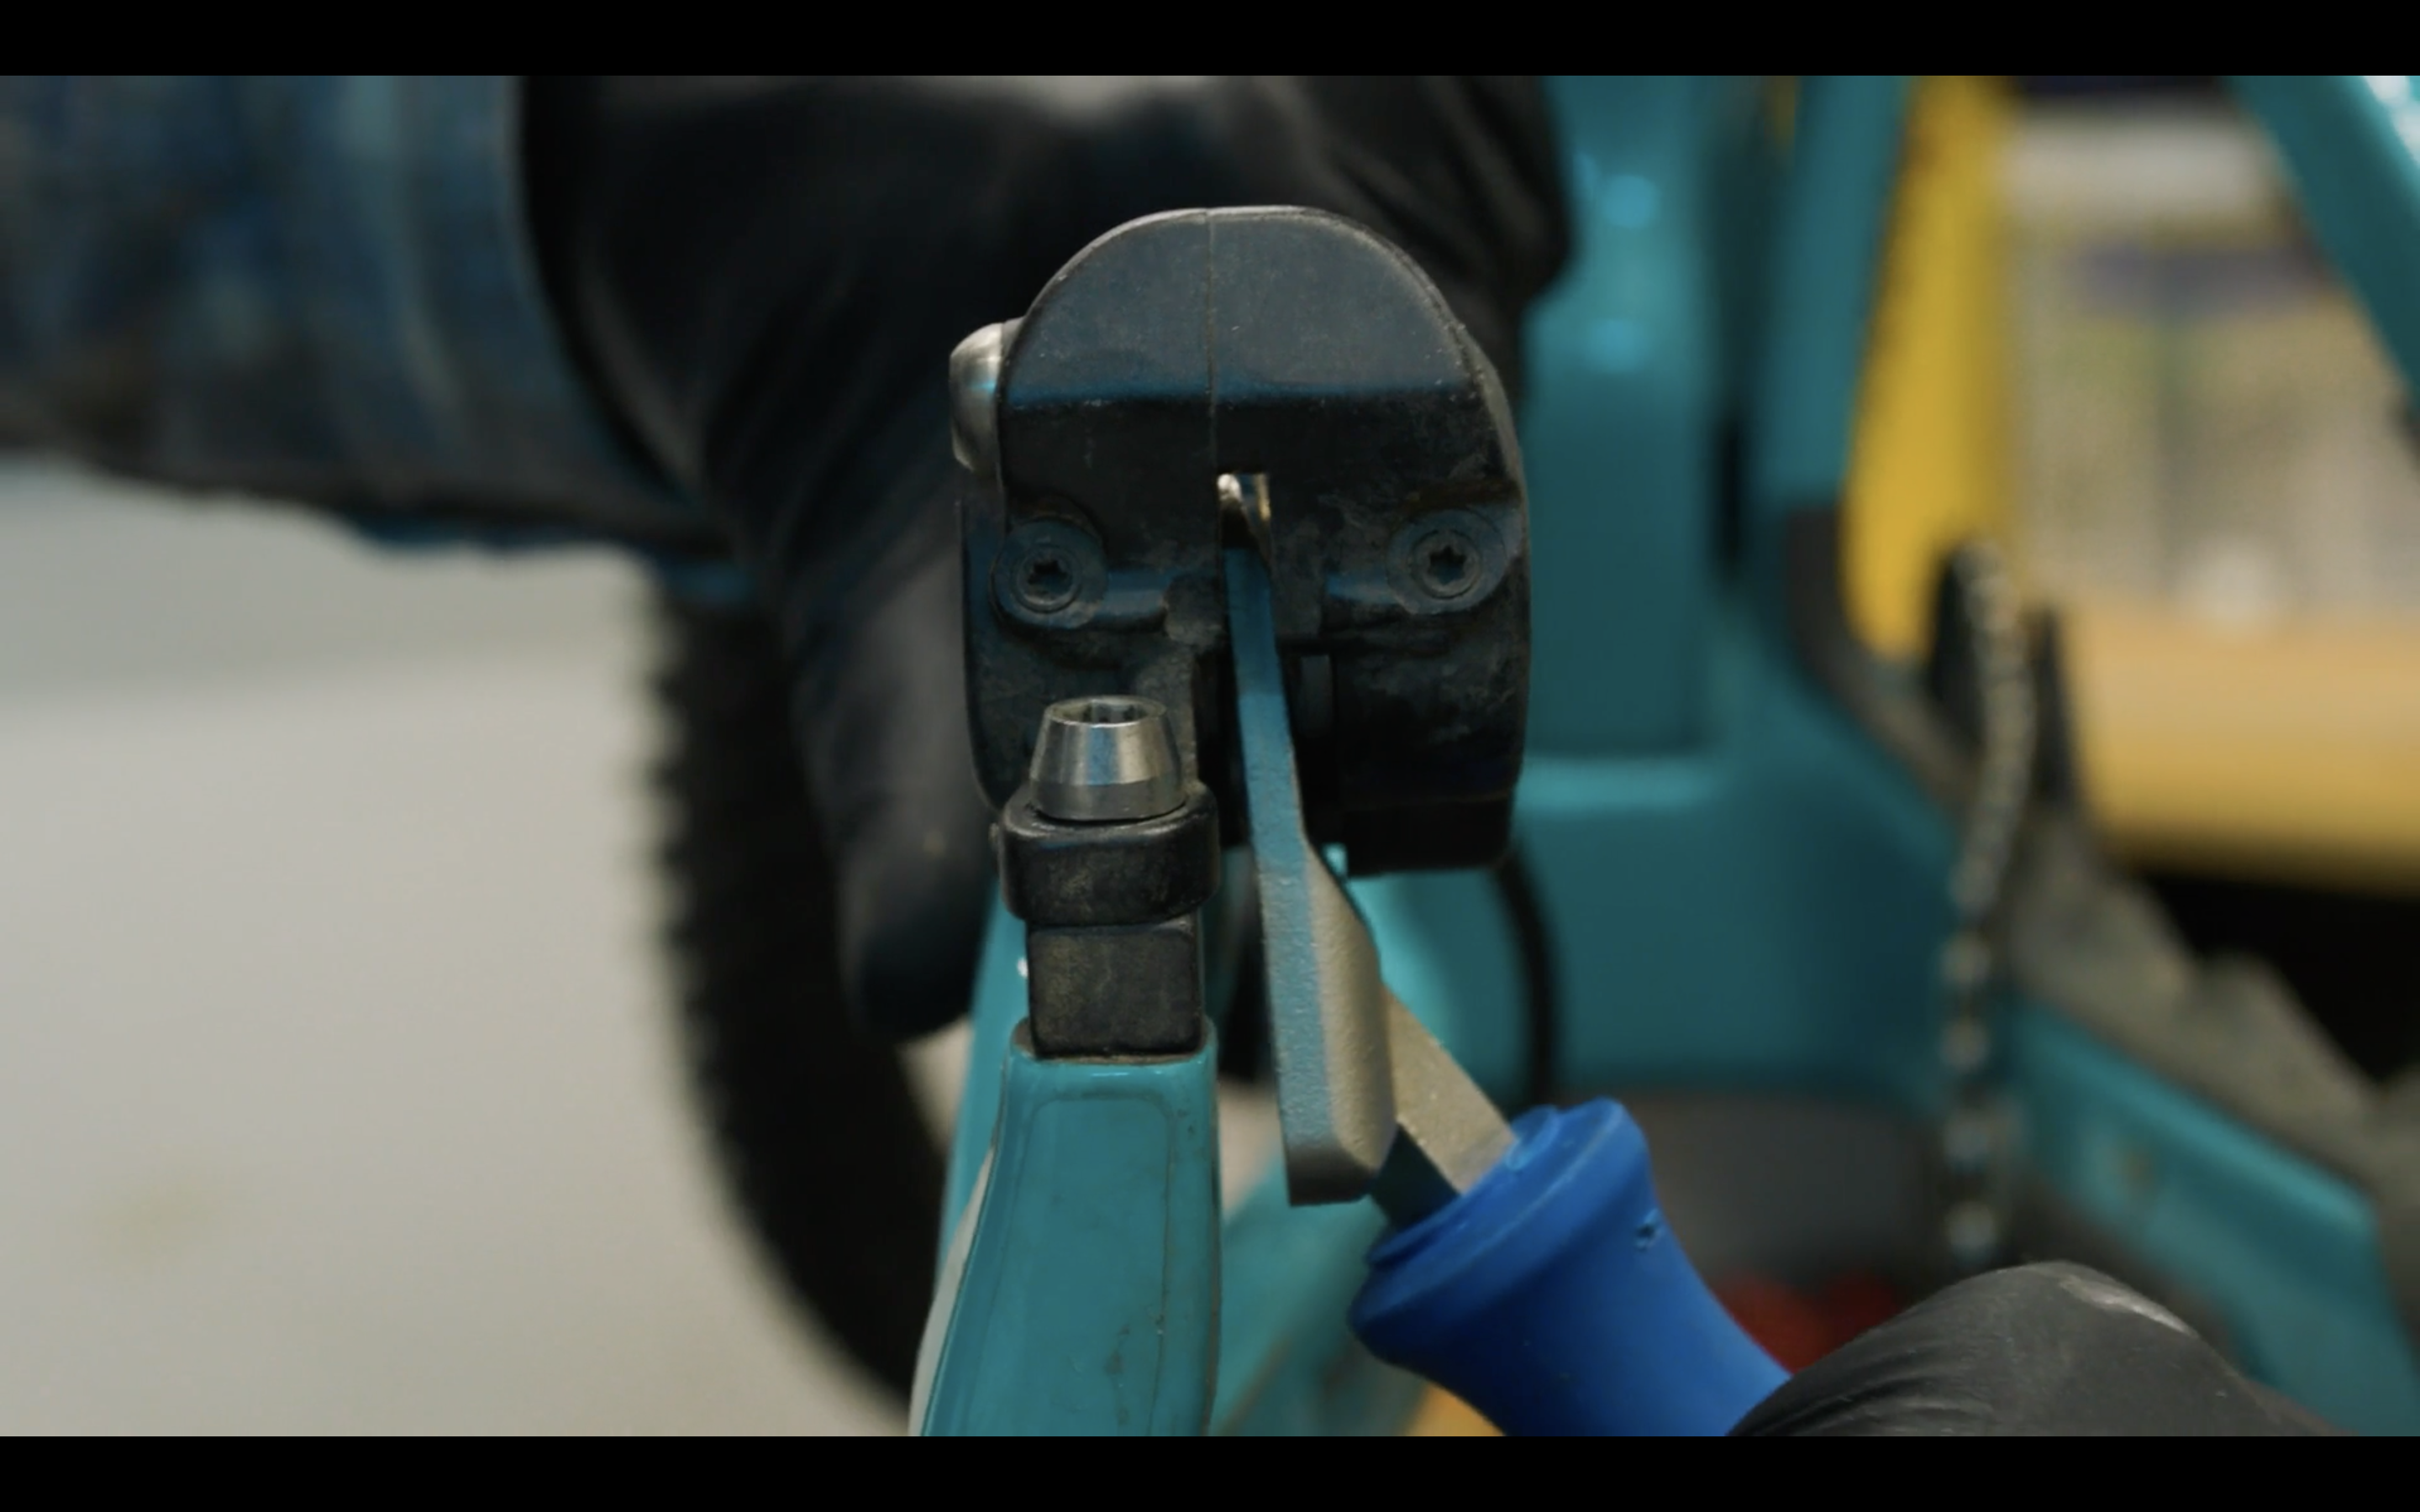
Use a push-back tool or tyre lever to push the pistons home in the caliper and then remove the brake pads.
Hit the caliper with a good spray of brake cleaner and mop it up, getting into all the nooks and crannies.
This one might sting, but the best thing to do now is to bin your brake pads. Any contaminants tend to be absorbed by the pad material and it’s very difficult to get rid of them fully. There are usually both OEM (original equipment manufacturer) and aftermarket disc brake pads available.
If you’re on a tight budget, though (especially if you’ve bought posh finned or titanium-backed pads), you could try to revive them.
Reviving your pads
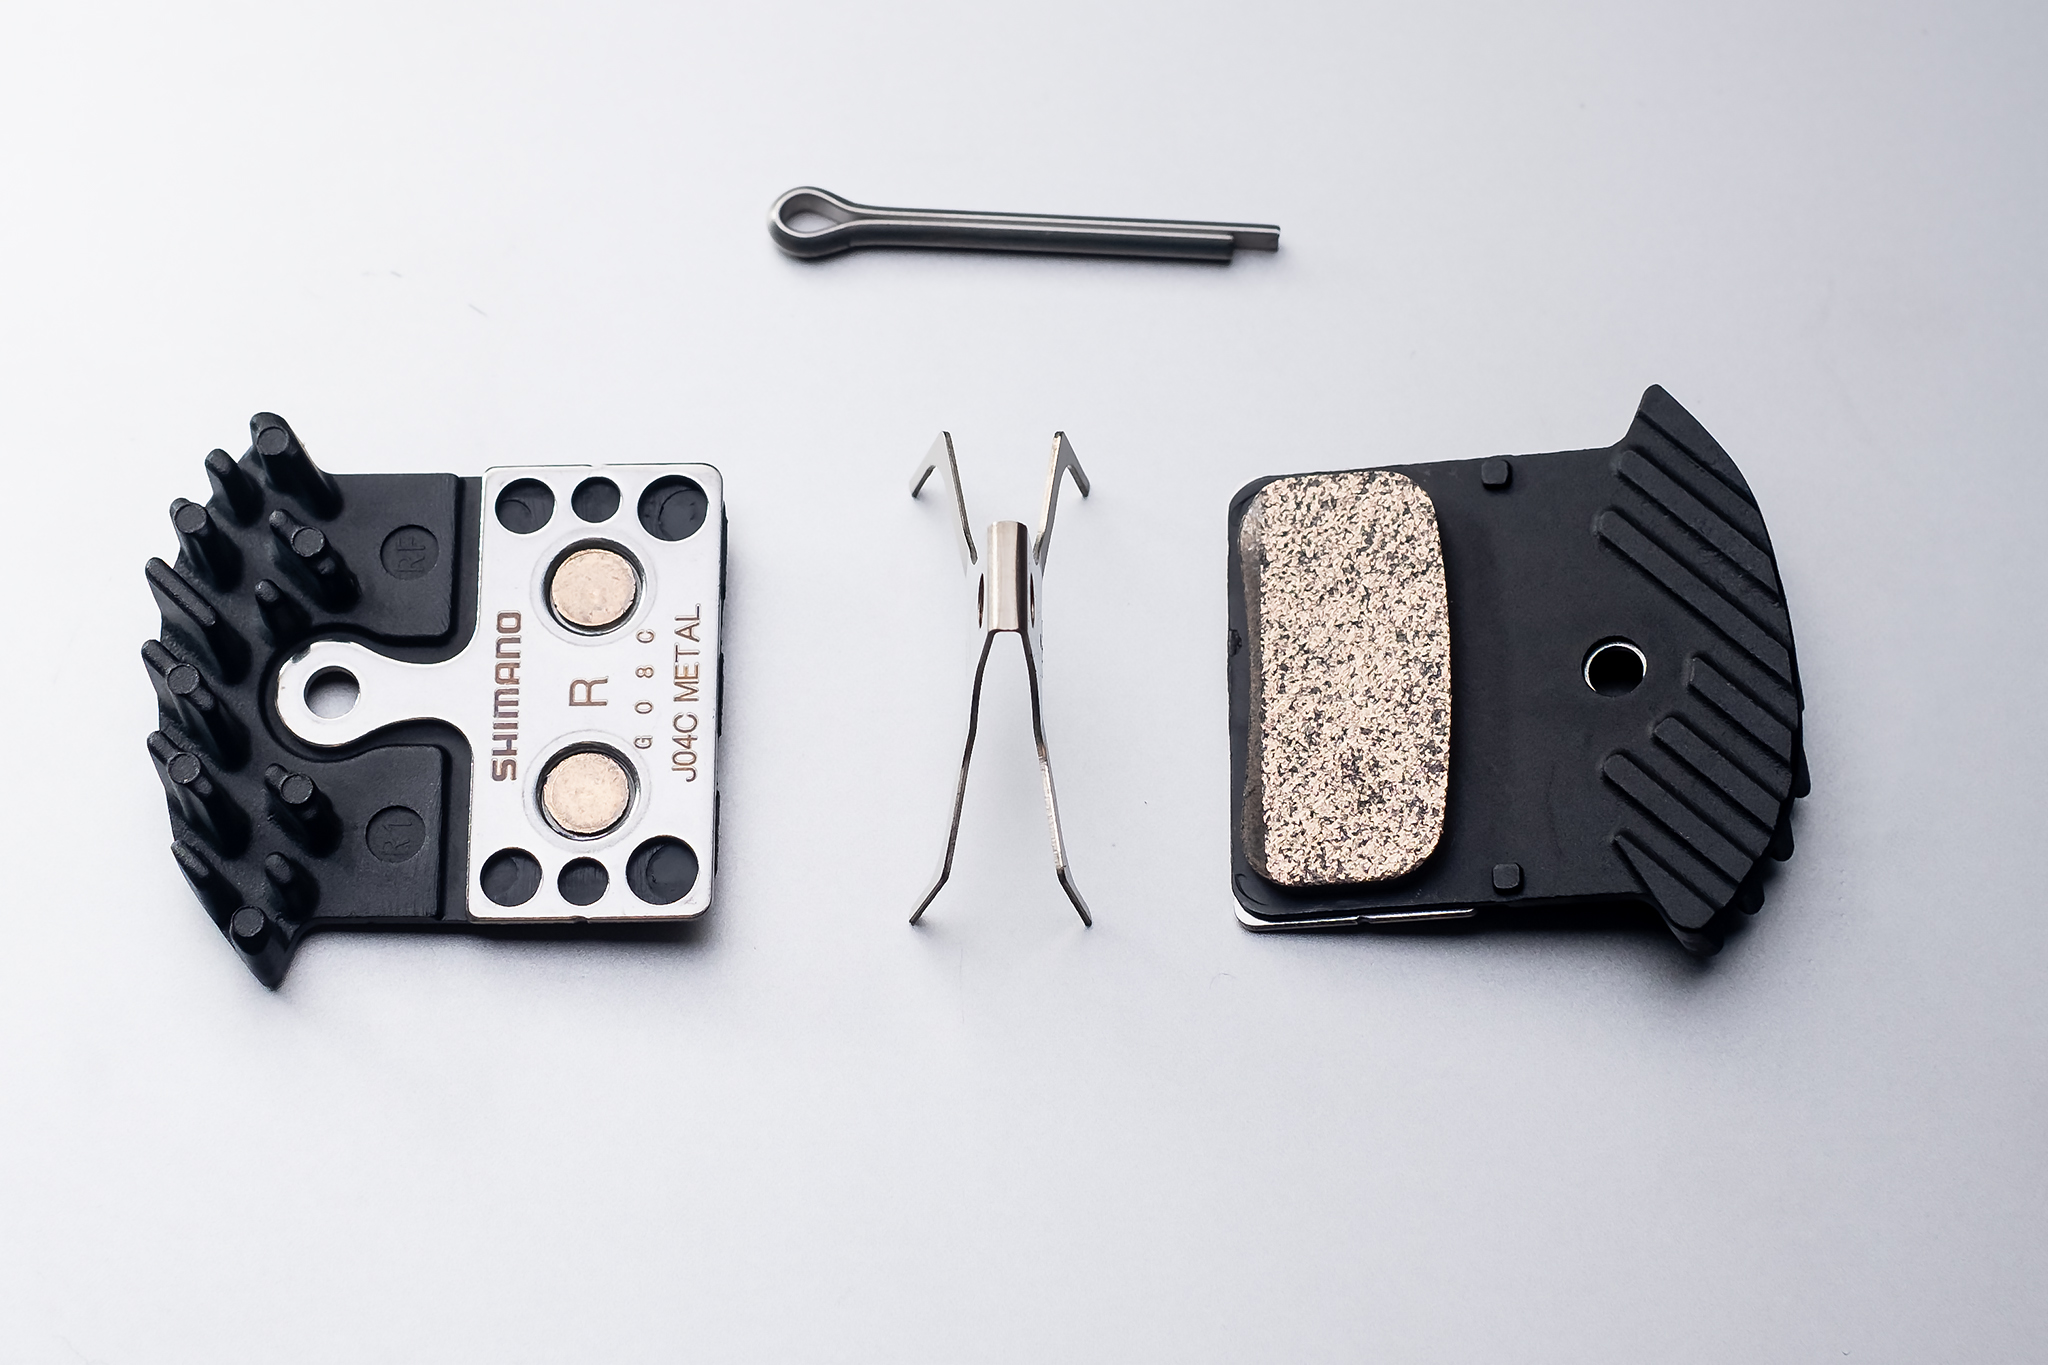
If you’re replacing your pads (the best solution), skip this step.
With the pads removed from the bike, hit them with a dousing of your disc-brake cleaner and then let it evaporate completely. This may take a few minutes.
The next part of the process should only be carried out by adults and done very, very carefully. Before getting stuck in, have a read through the steps and be sure you have the equipment necessary and are confident in undertaking the job.
Fire the pads thoroughly with a propane torch, or over a gas hob, and you might be able to see the contaminants bubbling off – it’s essential to make sure you’re wearing an appropriate respiratory mask, eye protection and fireproof gloves, in a well-ventilated area and using fire-resistant tongs to hold the pads.
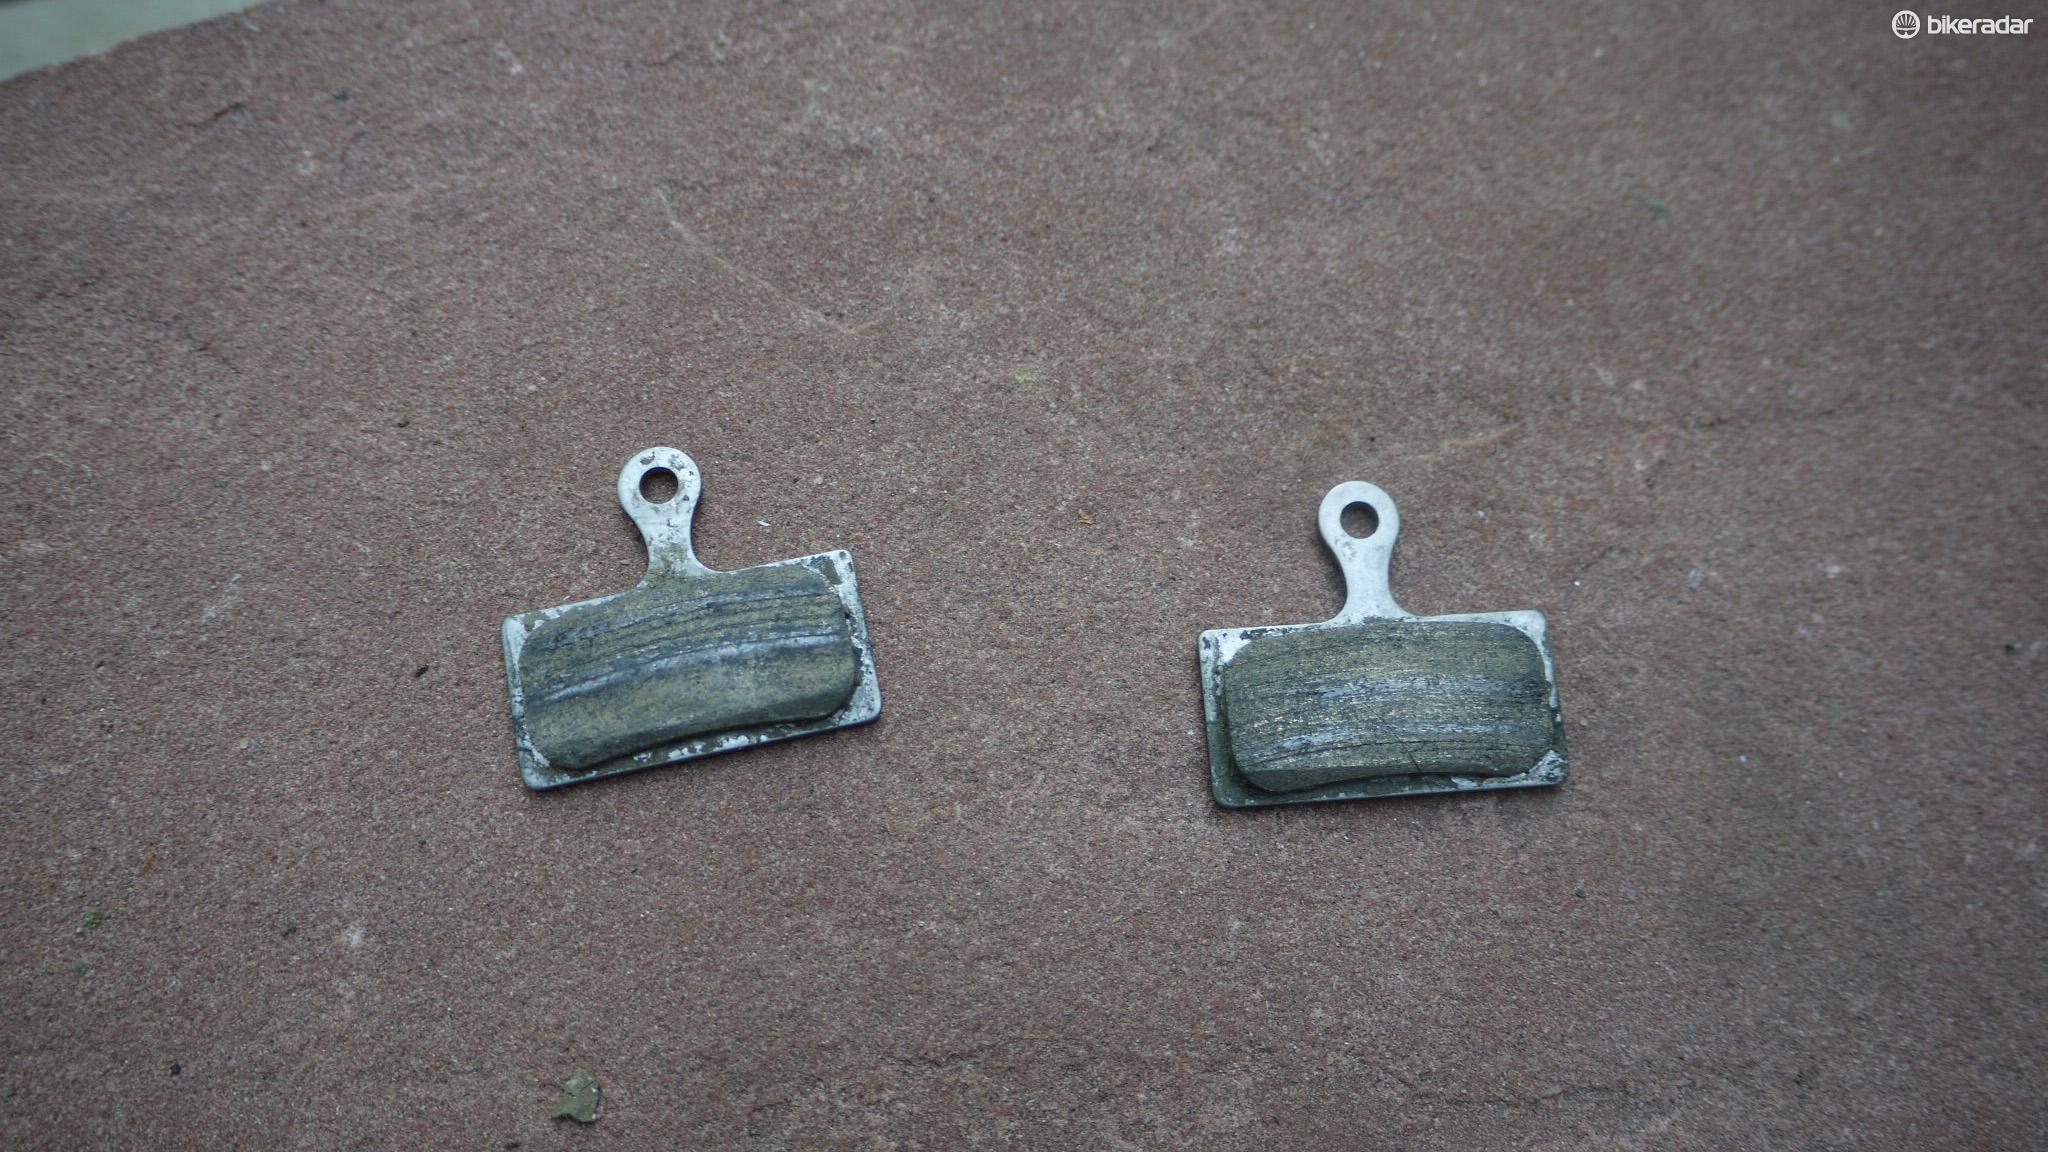
Next (once the pads have cooled to room temperature), use some fine emery paper or sandpaper to take the glazed, shiny surface off the face of the brake-pad material.
Place the abrasive paper on a flat surface and move the pad over it in a figure-of-eight motion to shave off the top layer of material. You know you’ve taken off enough material when the shiny layer is gone and the pad has a uniform matt finish.
Refit the pads and wheels
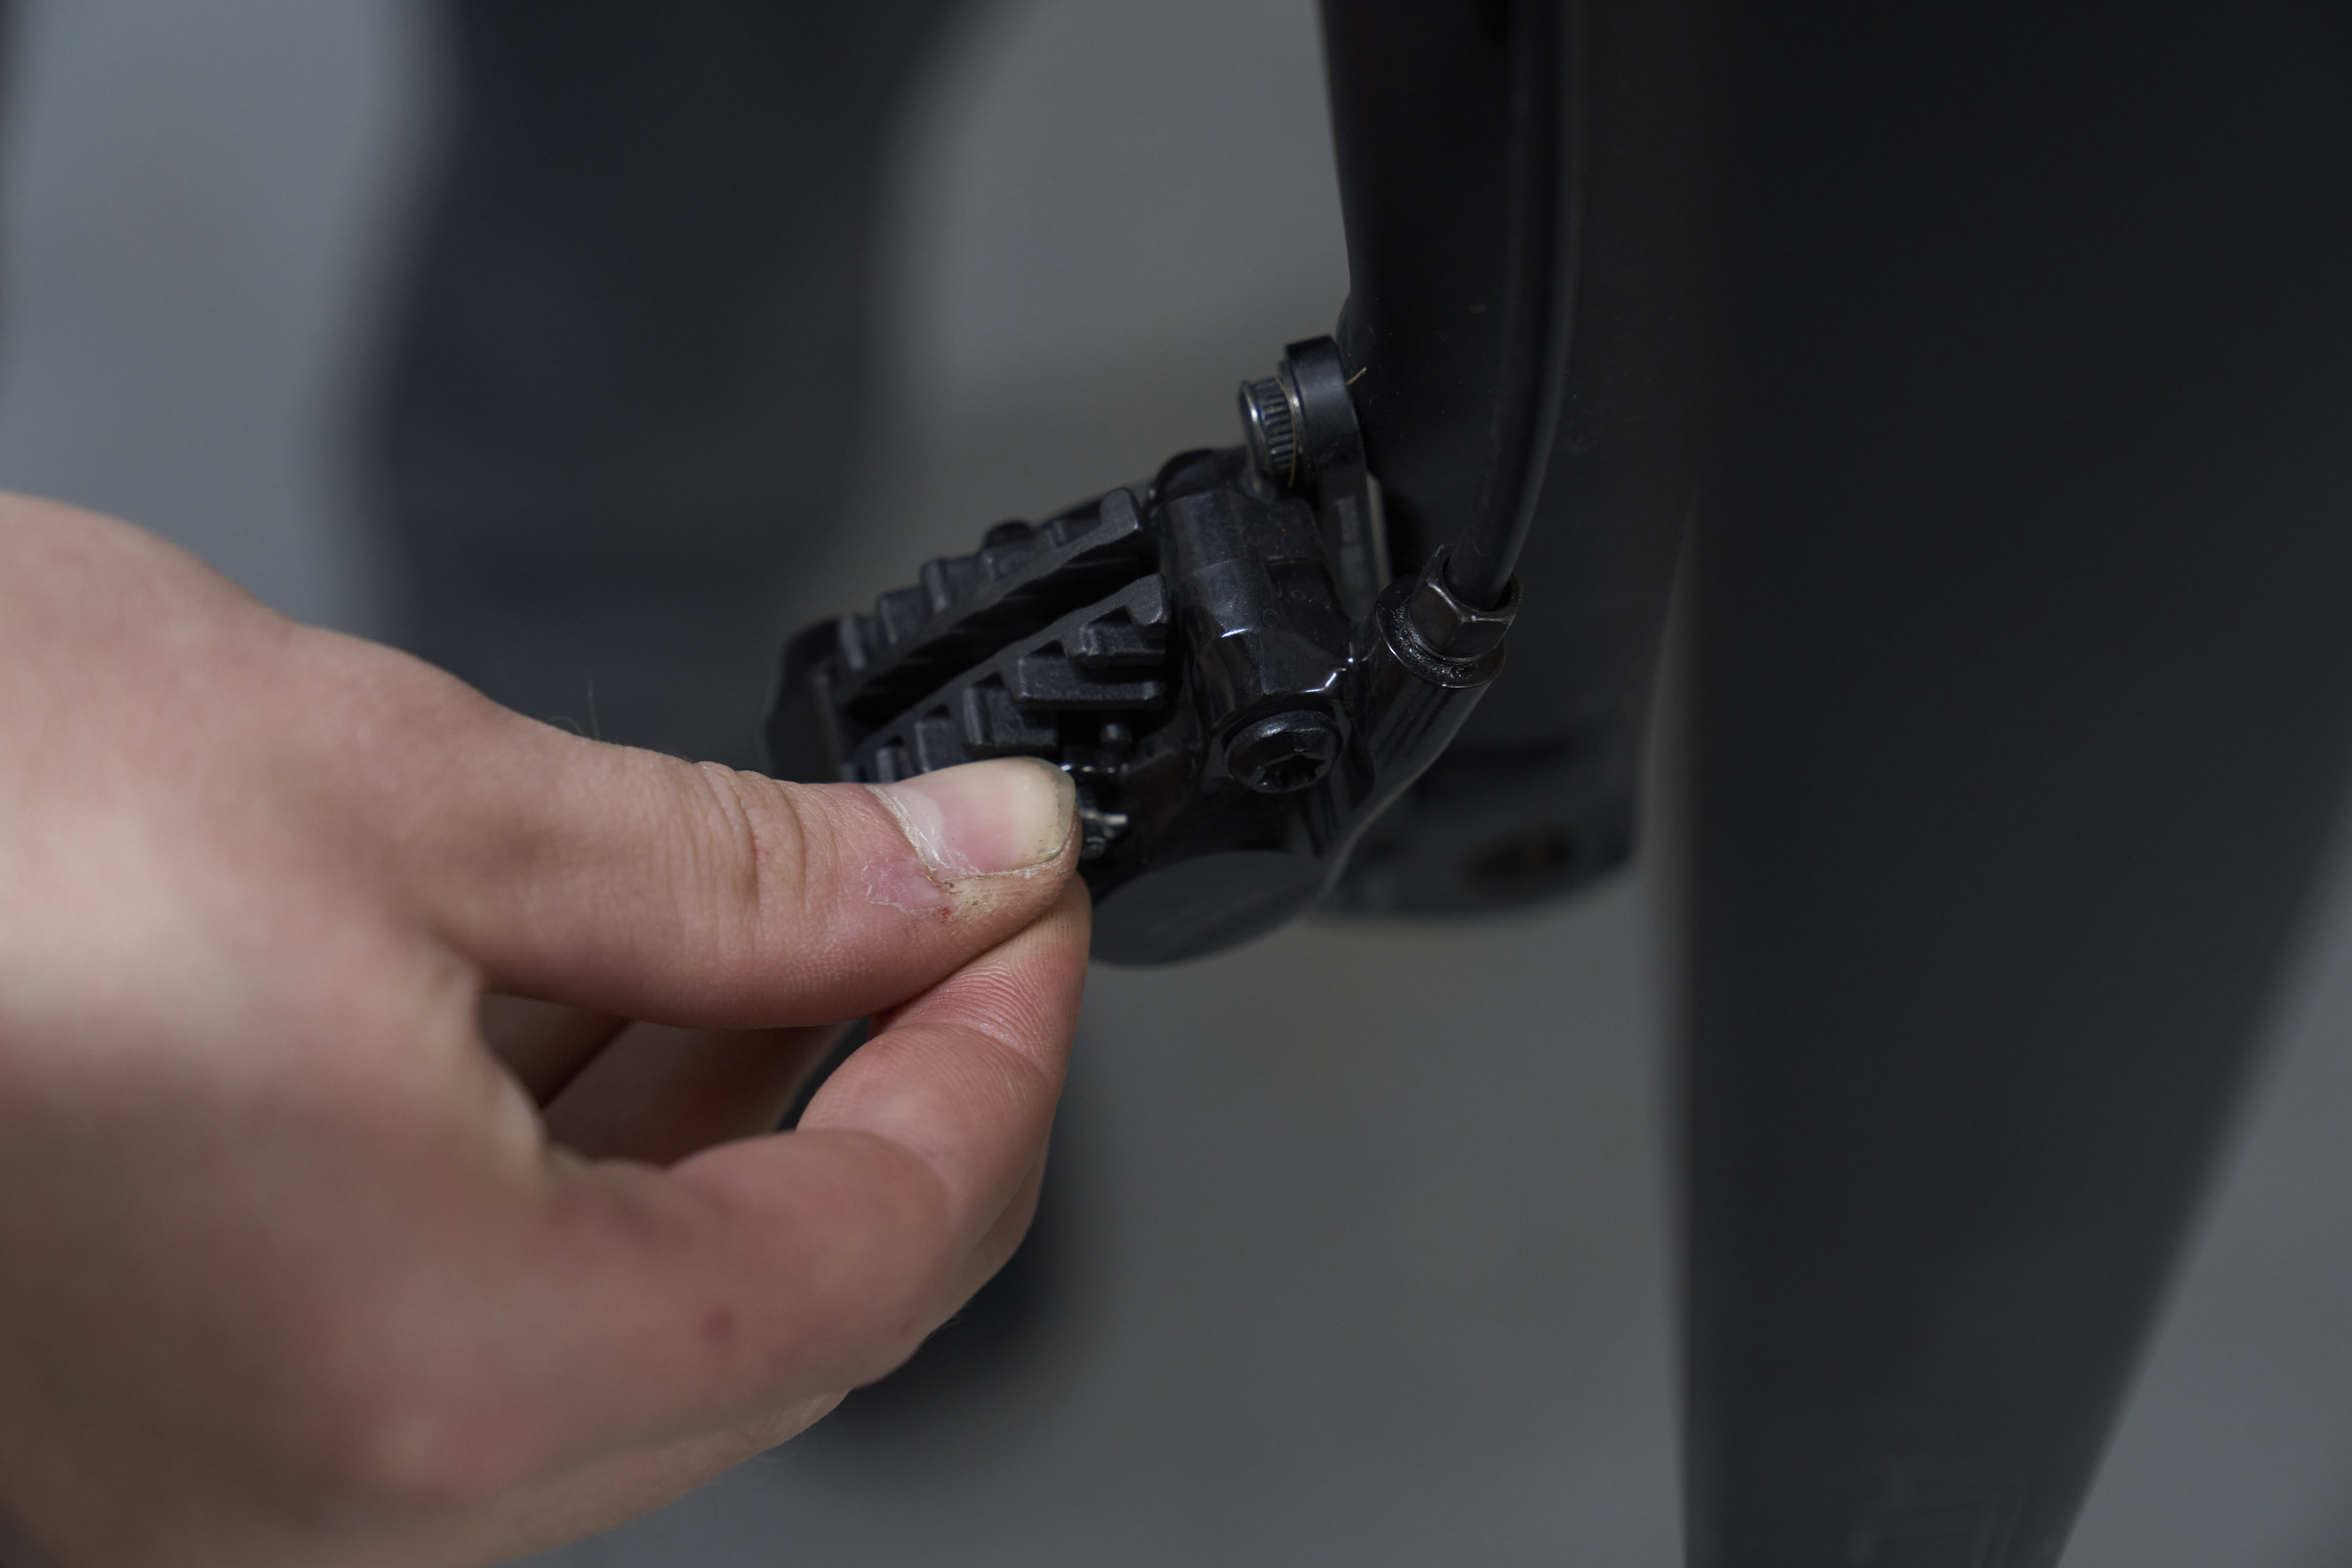
Fit the replacement pads into the calipers, make sure they’re secured properly, then refit the wheels into the bike.
Give the brake levers a couple of pumps to return the pistons (and pads) to their optimal position – modern disc brakes are designed to take care of the size of this gap for you automatically when you use the brakes in the normal fashion.
Bed in the brakes
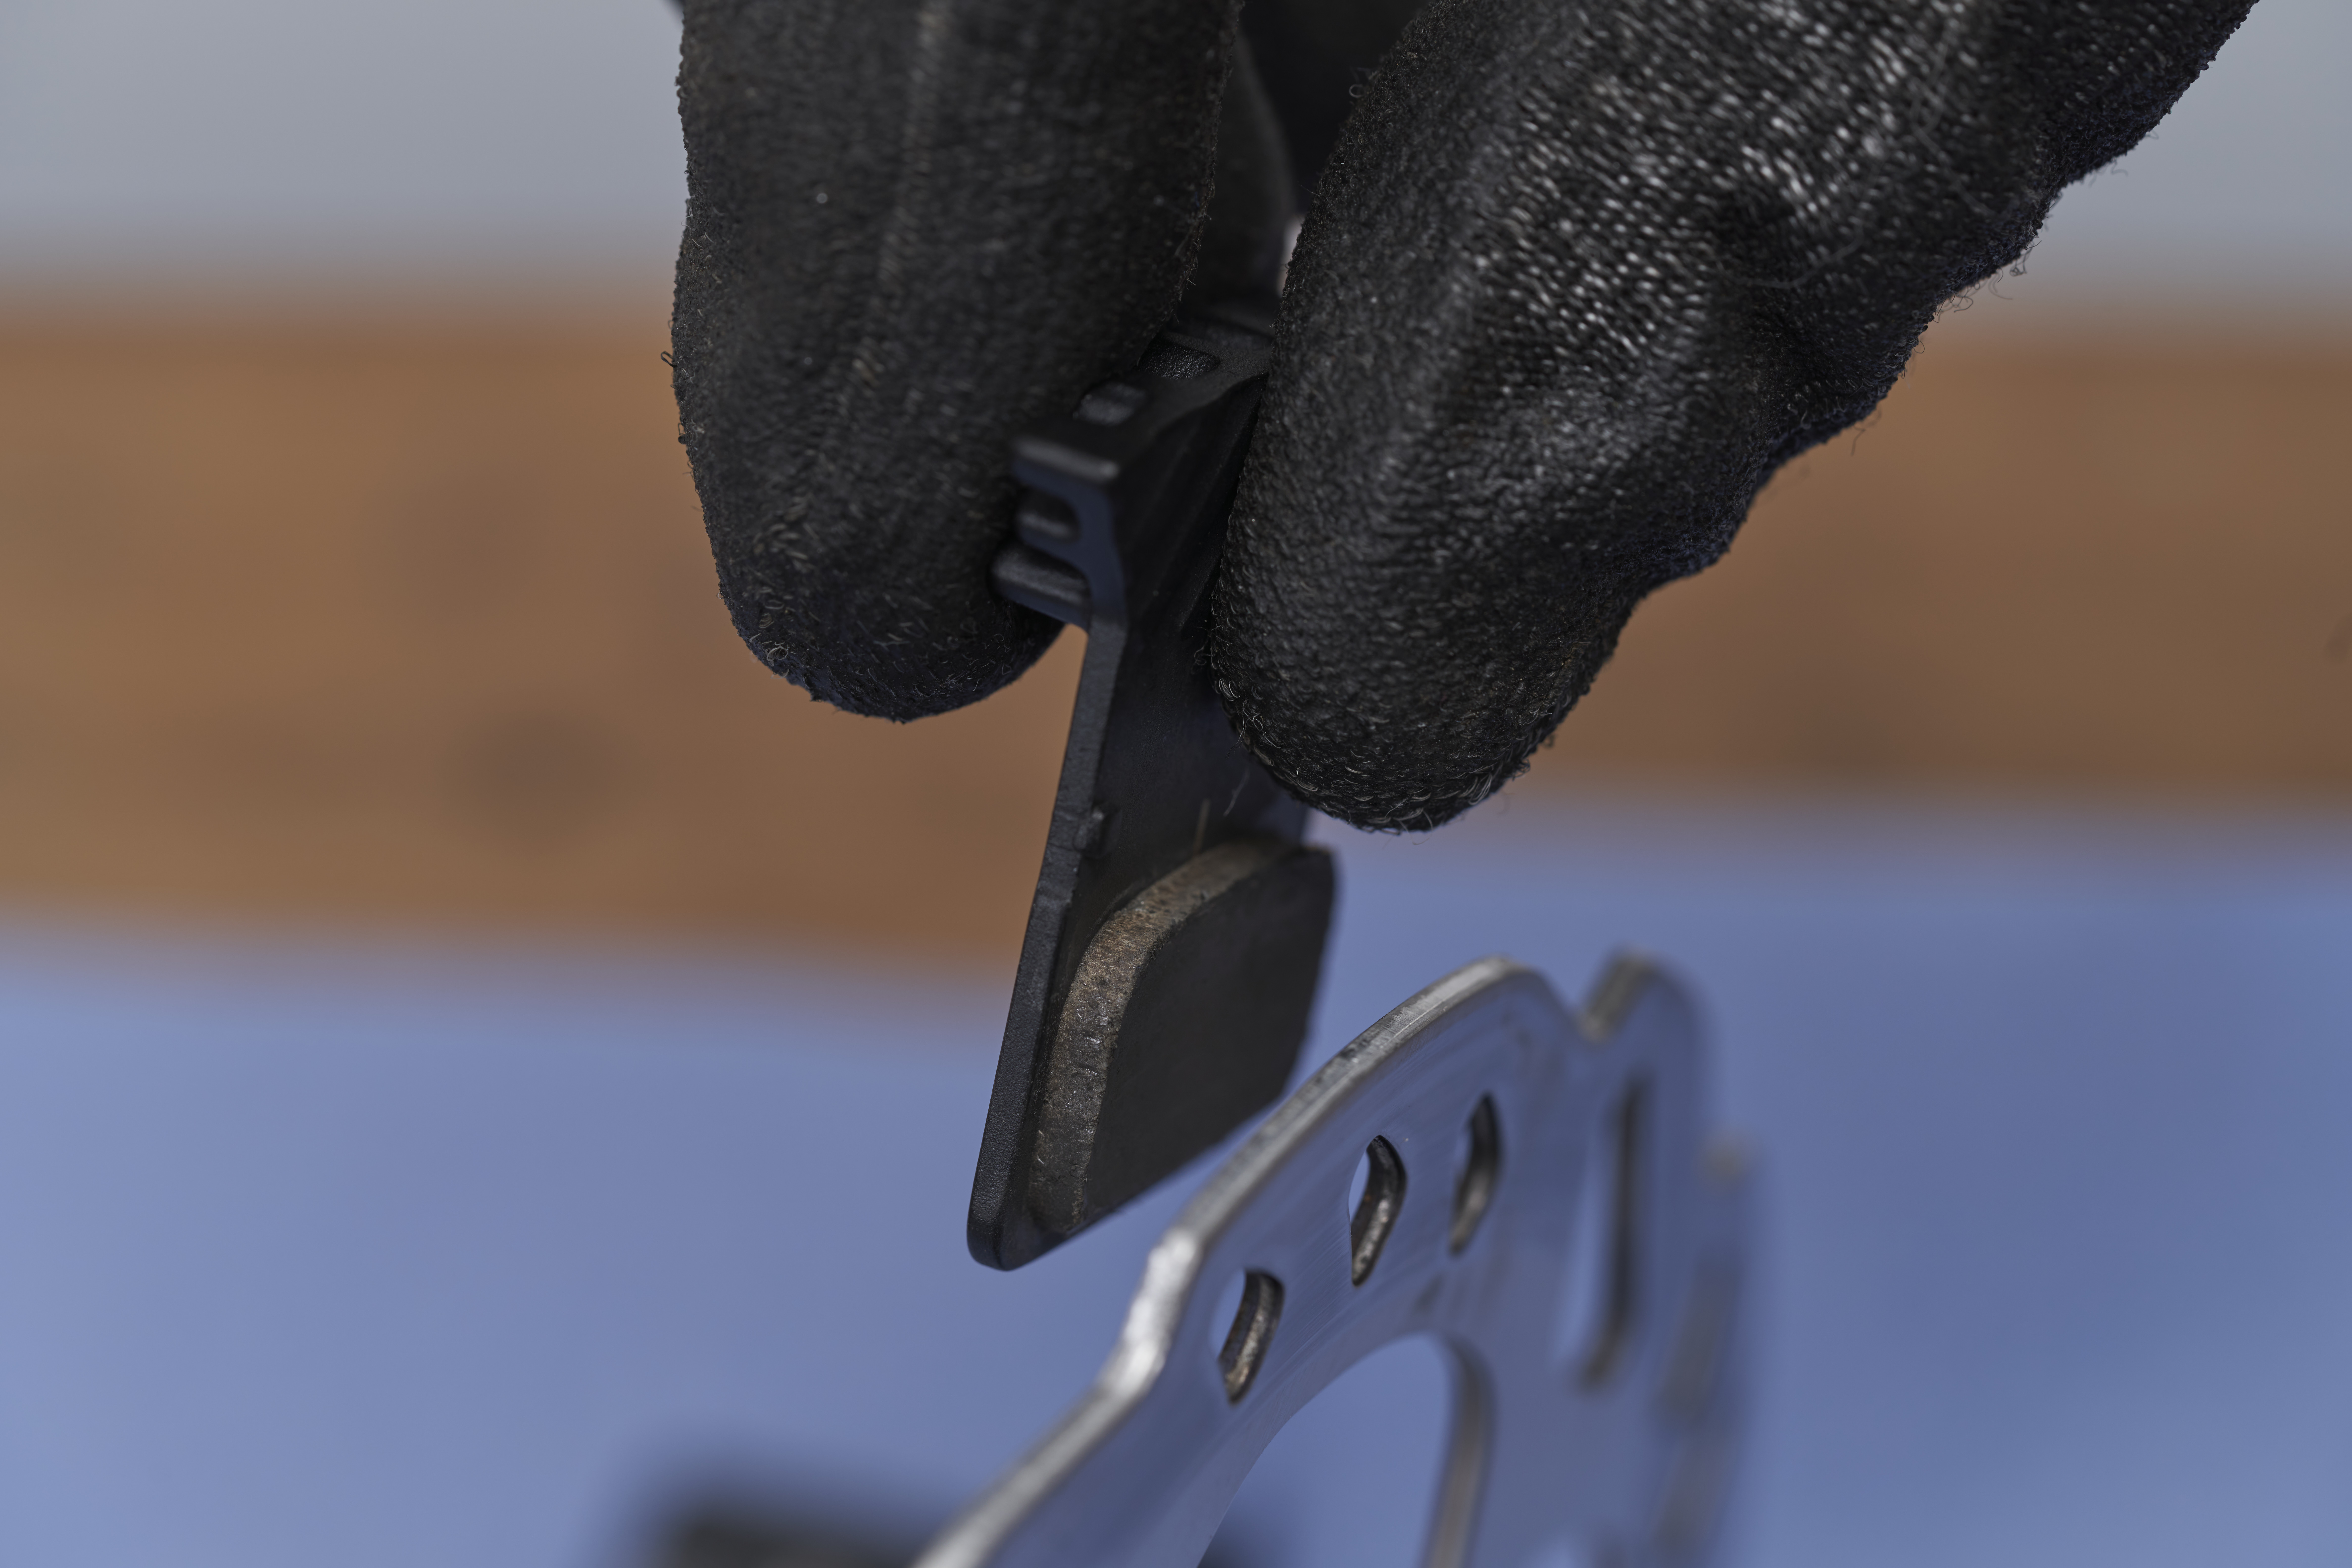
Now you need to bed in your disc brakes. Bedding in new brake pads and/or disc rotors is an important step before using your bike on the trail.
The process does a number of important things. Firstly, it deposits a layer of friction material on the bare metal of the brake disc, creating an optimum surface for friction generation. Secondly, it smooths out any imperfections on the pad or rotor surface. Finally, that material that's been evenly deposited on the pads will help to optimise modulation and minimise vibration.
- 1. Find somewhere safe, flat and smooth (ideally a tarmac surface) to ride your bike.
- 2. Ride at a jogging pace and continue pedalling while you slow down the bike to walking pace using one of the brakes. Repeat this 10-15 times and then move onto the next brake.
- 3. (optional) I like to make a slurry by spraying a thin layer of clean water onto the rotor before I start the process. I’m no brake scientist, but this method has always given me good results regardless of exactly why it works.
- 4. Test your brakes by riding your bike as normal. Hopefully the contamination (and the dreaded squeaking) will be completely gone and your brakes will be functioning as they should.
If the symptoms aren't gone, or return over the next couple of weeks, it’s worth checking your caliper seals are intact and not leaking. The presence of contaminants (including mineral oil) on your rotors can cause the squeaking you’re experiencing.