Adjusting your saddle angle or tilt can be a good way to improve your comfort on the bike.
An incorrect saddle angle can cause common types of pain from cycling, impair your ability to produce power and prevent you from getting into your desired cycling position.
Thankfully, it’s pretty easy to find and set the correct saddle angle for you and your bike and we explain how below.
How to adjust saddle angle or tilt
1. Adjusting a twin-bolt clamp
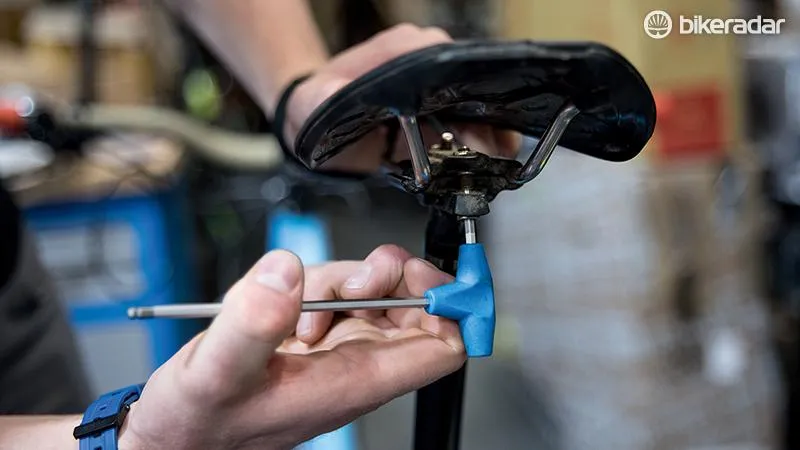
If your seatpost has a twin-bolt clamp (skip to step 5 if you have a single-bolt post) and you want to tilt the saddle nose down, use the correct size Allen key (usually 5mm) to loosen the rearmost bolt a few turns (anticlockwise).
There are various ways of securing a saddle to a seatpost, but this system – where bolts at the front and rear of the seatpost head are tightened to clamp the saddle rails in place – is the most common, due to its versatility and robustness.
To tilt the nose up, loosen the front bolt.
2. Set the fore/aft position
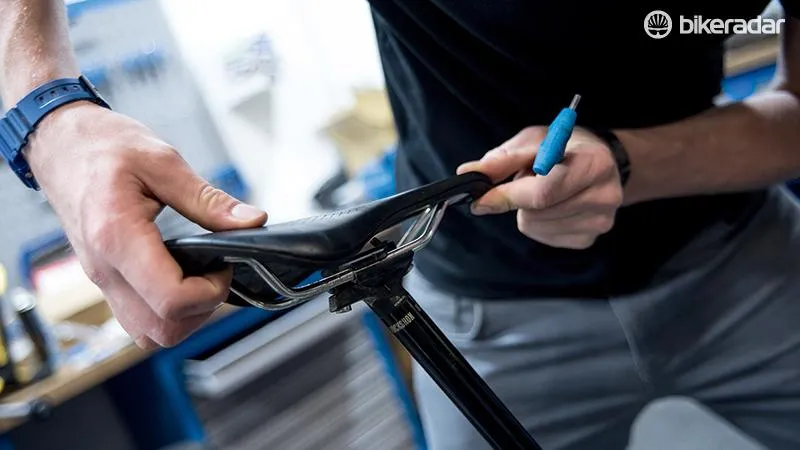
While the bolts are loose, think about adjusting the fore-aft position of the saddle.
Sliding it forwards to decrease saddle setback will give your bike a steeper effective seat tube angle.
This makes a mountain bike feel more eager on the climbs. On a road or gravel bike, this puts you in a more aggressive and potentially more aerodynamic and powerful position.
It can also make the handling feel more direct on any bike.
Moving the saddle back to increase setback can make you sit more upright and slow down the steering.
3. Adjust and tighten
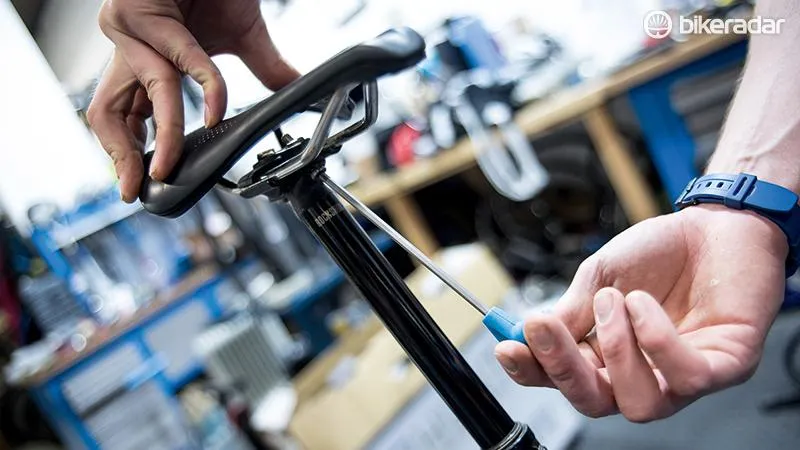
If you loosened the rear bolt in step 2, tighten the front one (clockwise), and vice versa.
To drop the nose down further, loosen the rear bolt some more (anticlockwise) and then re-tighten the front one (clockwise).
Do the opposite to lift the nose higher.
4. Check the torque
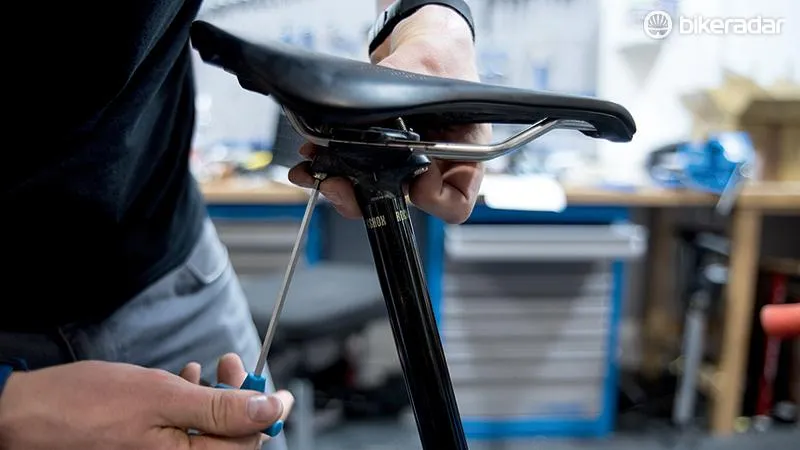
Once you’re happy with the saddle angle and fore-aft position, tighten each bolt alternately until both are done up tight.
If possible, look up the seatpost manufacturer’s recommended torque settings for these bolts, and tighten to their specifications with a torque wrench.
5. Single-bolt post
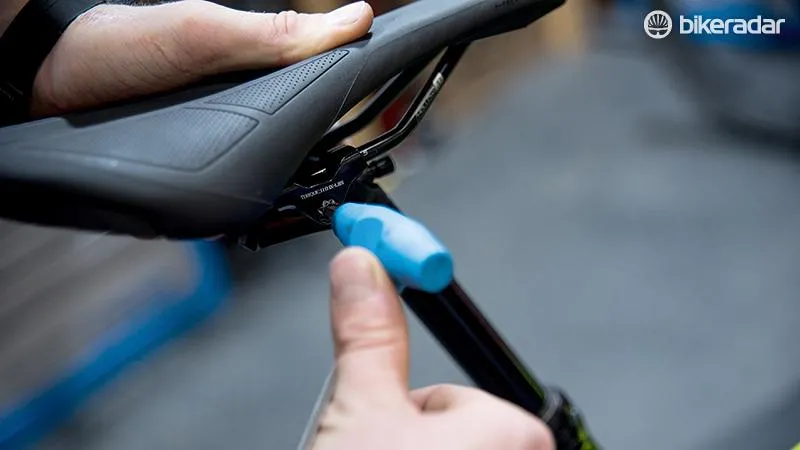
On a single-bolt post, use the correct-size Allen key to loosen the clamp bolt (anticlockwise) until the mechanism moves freely.
Adjust the angle of the saddle, and the fore-aft position too if necessary, and then re-tighten the bolt (clockwise) to the correct torque.
6. Check the position

Go for a ride. If the saddle is too high at the front, you may find it a strain to hold yourself forwards on climbs.
Dan Smith, a bike fitter from UK Bike Fit, says: “Tilting the saddle up brings the nose up into your soft tissue and up into your pelvis, forcing your pelvis to roll backwards.
“That problem only gets worse when you start going uphill or leaning into the bike to put down an effort.”
Pressure on soft tissue could lead to groin pain and saddle sores, while posterior pelvic tilt could cause lower-back pain.
Smith says: “If you tilt the saddle nose down, you throw all of your weight onto your hands.”
Hand and wrist pain are likely consequences.
What’s the best saddle angle for you and your bike?
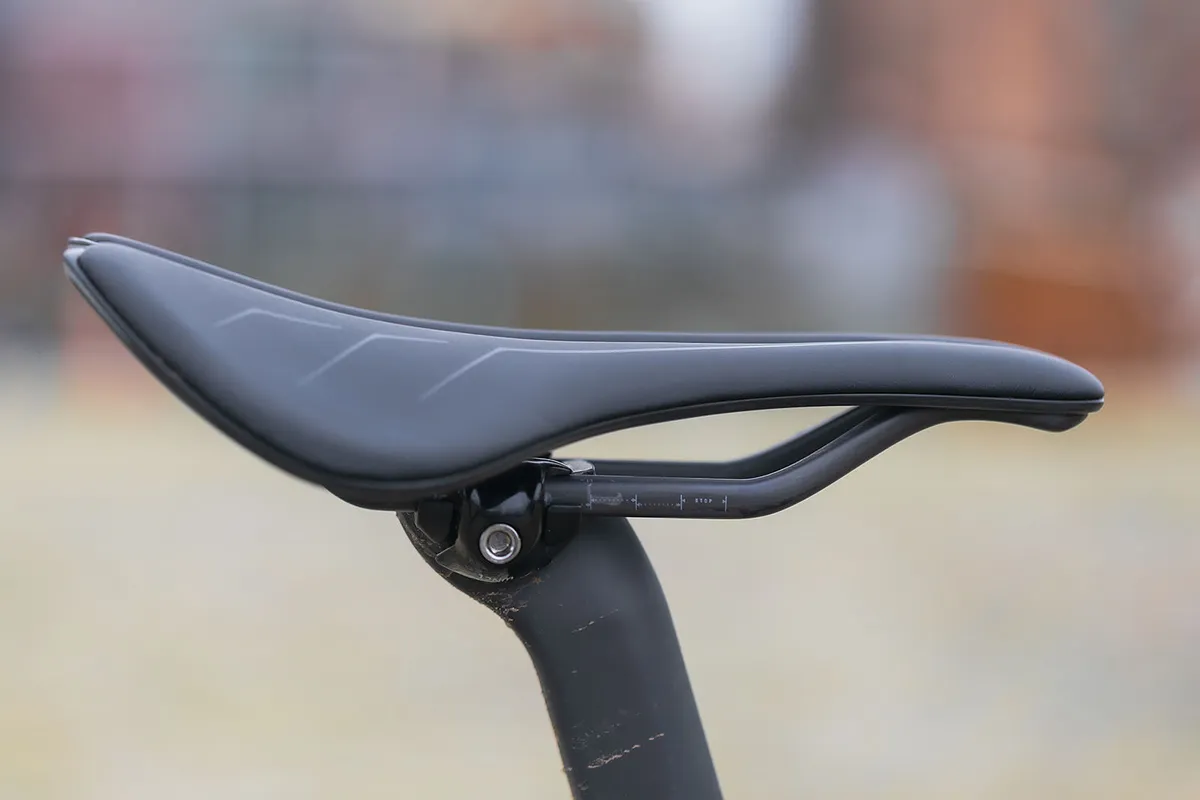
Nearly all road bike saddles and mountain bike saddles, are designed to be ridden in a horizontal position.
Smith says: “If they're uncomfortable in the horizontal position and comfortable in a tilted position, then it's the wrong saddle.
“Only a few very specific saddles, like the ISM and time-trial and triathlon saddles are designed to be ridden nose-down.”
A small amount of tilt (within 2.5 degrees of level front to back) supports the majority of your weight on your sit bones and minimises pressure on your perineum, according to a consensus reached by the Medicine of Cycling Bike Fit Task Force.
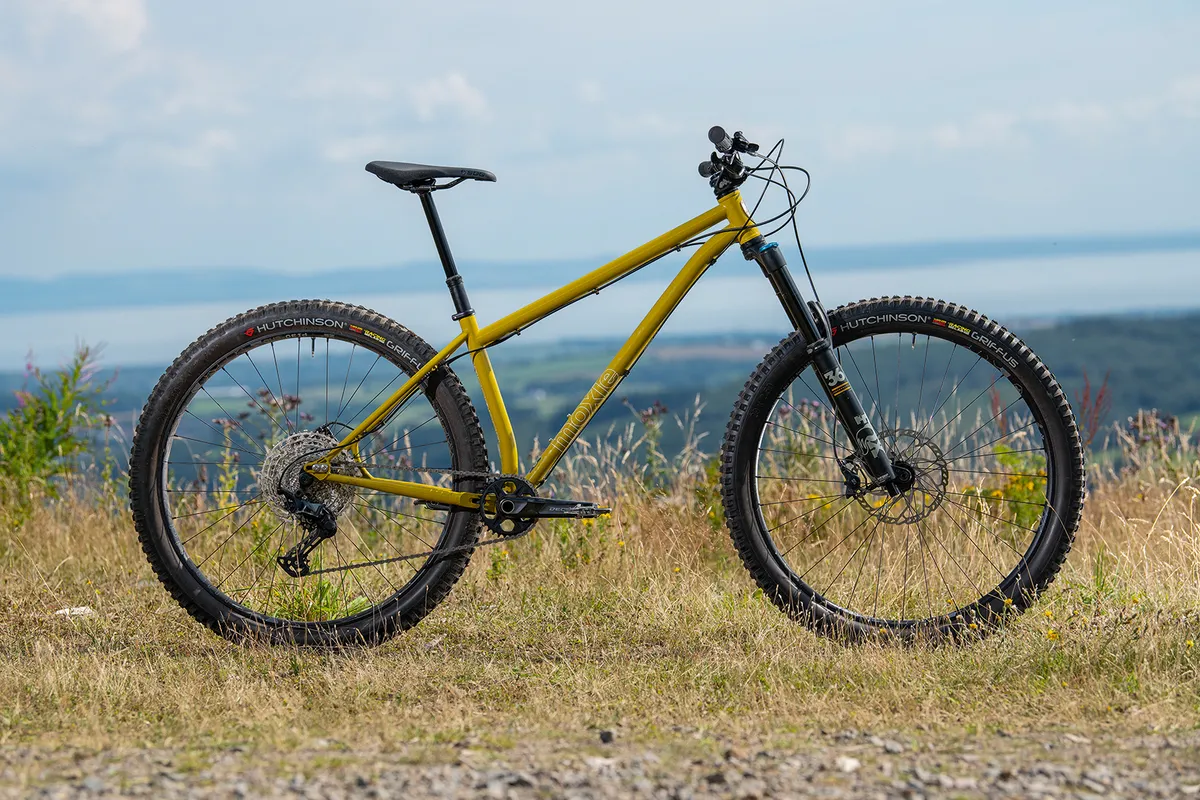
But on a full-suspension mountain bike, it can be good to tip the nose down slightly. This compensates for how the rear suspension sags considerably further than the fork when you’re sitting in the saddle.
Whichever type of riding you do, if you’re unsure which saddle angle is best for you, a professional bike fit is a good idea.

