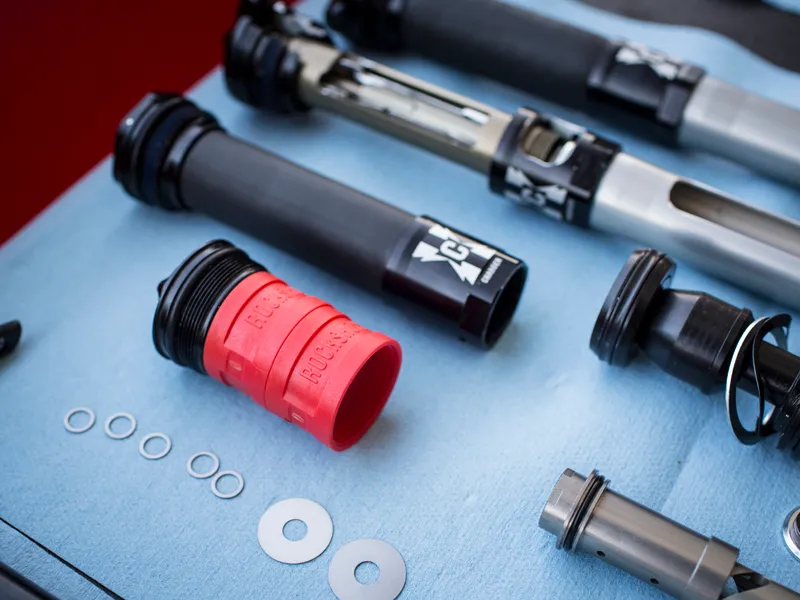
Volume spacers are small plastic pucks housed out of sight in the air chamber of your mountain bike fork or shock.
These little pieces of plastic, also known as bottomless tokens or volume adjusters, are an easily overlooked part of mountain bike suspension.
They play a large role in the overall feel and performance of your suspension setup.
What do volume spacers do?
Volume spacers reduce the air volume of your suspension’s air chamber by physically taking up space.
To understand how volume spacers work, we need to understand the characteristics of the air in your suspension’s air spring.
As the suspension moves through its travel, a piston compresses the air in the air spring. The more air is compressed, the more force is required to compress it further. The relationship between compression and the force required to compress it is not linear. In the context of a spring, this creates a progressive spring curve.
By contrast, most standard coil springs are said to be linear. The force needed to compress a coil spring is directly related to how much it is compressed. To compress a 500lb/in coil spring one inch requires 500lb of force; to compress it two inches requires 1,000lb of force.
By adding volume spacers to the air chamber, the volume of air in the spring is reduced. By reducing the air volume in the chamber, the natural progressivity of air comes into play sooner. This causes the suspension to ‘ramp up’ (become noticeably more progressive) earlier into its travel.
In the same way, increasing air volume (by removing a spacer) decreases the progressivity of the air spring. This will reduce the amount of ramp-up, enabling you to use full travel more easily.
What difference do volume spacers make on the trail?

So, by adding a volume spacer to the air chamber, the air volume decreases. Decreased air volume makes the spring curve more progressive. This means more force is needed to compress the suspension the further it moves into its travel.
How do these changes translate on the trail? You could potentially run less pressure (for improved small-bump sensitivity) without losing bottom-out resistance or mid-stroke support. This is because adding volume spacers makes your suspension more progressive.
However, most suspension forks and rear shocks come with at least one volume spacer pre-installed. So, you may want to remove a volume spacer to match your weight or riding style.
Removing a volume spacer will reduce the amount of force needed to bottom out your suspension. This enables it to use its travel more freely and generously.
Additionally, removing a volume spacer instead of dropping pressure (spring rate) maintains your sag point. This is especially important for lighter riders near the lower limit of the fork or shock’s pressure range.
How do I know if I need to add or remove volume spacers?
Before deciding to add volume spacers to your suspension (or remove them), it’s important to consider whether the rest of your suspension settings are correct. First, make sure your sag is correct, then take a look at your rebound and compression damping.
If your sag is correct and you have achieved your desired damping setup, it’s time to consider adding or removing volume spacers.
My sag is correct but I frequently bottom out my suspension
If you frequently find yourself harshly bottoming out your suspension, multiple times per ride, you will benefit from adding volume spacers.
Adding a volume spacer or two will greatly increase your suspension’s bottom-out resistance, as well as slightly increasing your mid-stroke support, while maintaining your sag point.
My sag is correct but I never bottom out my suspension
If your suspension is at the recommended sag setting and struggles to use the full travel, try removing volume spacers.
This will enable your suspension to use its full travel more readily without dropping air pressure and compromising your sag point.
Using volume spacers to increase small-bump sensitivity
Do you want your suspension to offer more sensitivity over small bumps, but find that simply reducing the air pressure also leads to unwanted harsh bottom-outs?
In this scenario, adding a volume spacer while incrementally reducing air pressure may help you achieve the ideal suspension setup. This will increase sensitivity around the sag point while still ramping up enough in the end-stroke to give you sufficient bottom-out resistance.
How to install volume spacers
If you want to tune your suspension with volume spacers, it’s important to consult your manufacturer’s manual for the following:
- Type of volume spacer needed
- Number of spacers pre-installed
- Maximum number of spacers
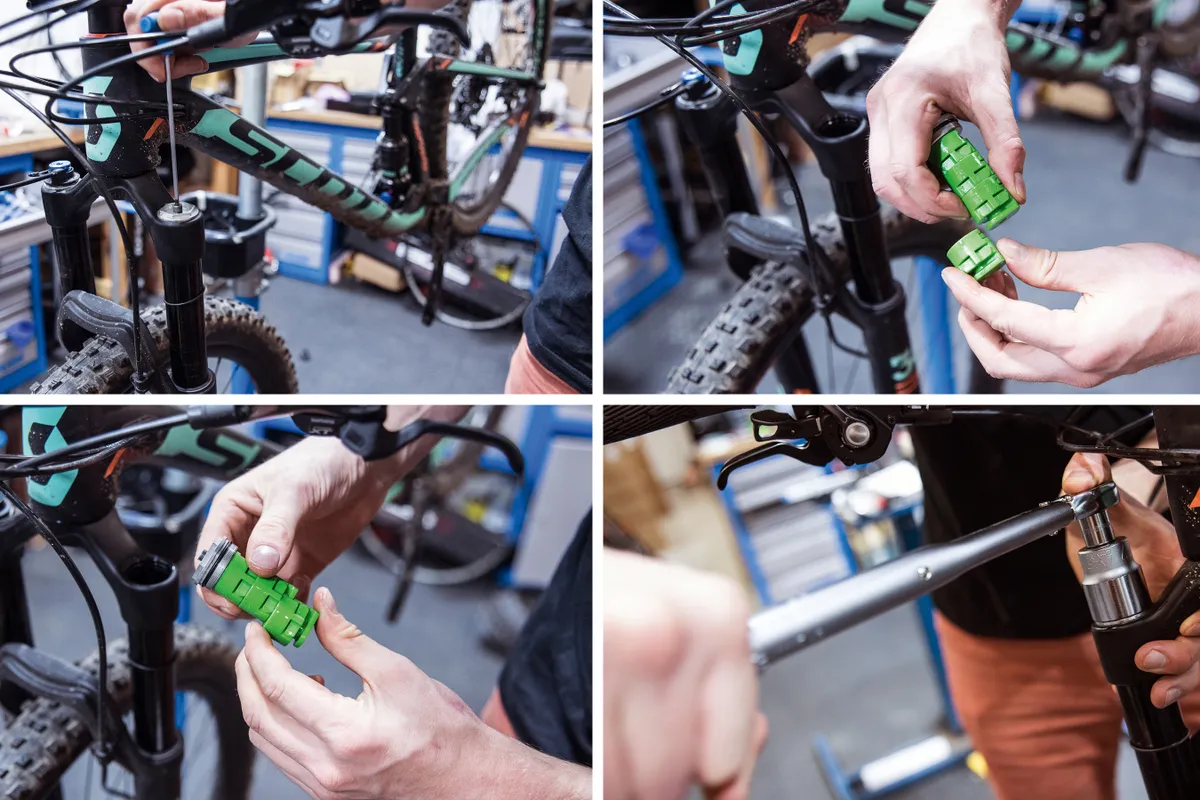
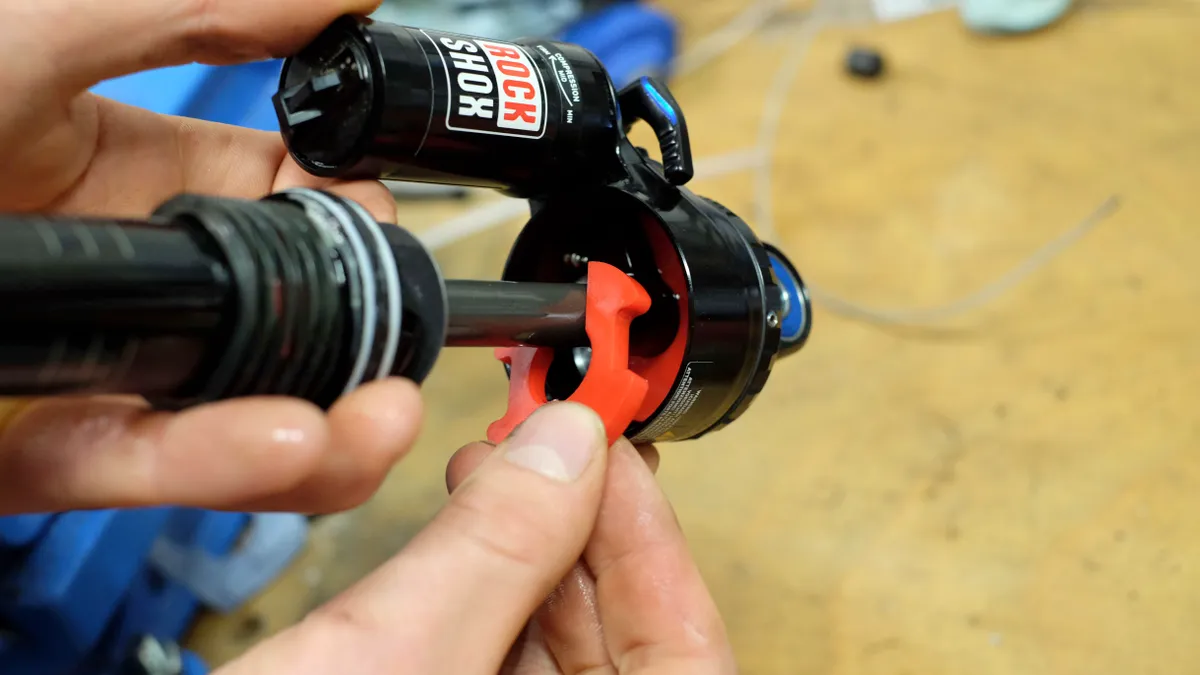
The process of installing (or removing) volume spacers in Fox and RockShox suspension is quite straightforward. The spacers come in the form of plastic tokens, which clip or thread onto each other.
Below, we’ll outline the basic step-by-step instructions for adding or removing volume spacers. However, it’s important to note these steps may differ based on brand and model.
- Note your air pressure and clean your suspension
- Depressurise your air chamber fully (very important)
- Remove the fork top cap or shock air can
- Make note of the existing volume-spacer setup
- Add or remove volume spacers
- Reinstall the top cap or air can
- Re-inflate your air chamber
- Test ride and make a note of your results
How many spacers do I need?
There’s no magic formula to tell you how many volume spacers you need because this comes down to a number of factors that will be unique to yourself, your bike and the terrain you ride.
However, we recommend taking time to find the correct setup. Volume spacers can make a big difference, so incrementally adding or removing volume spacers one at a time is the best practice.
If you have the time, spending a day at your local bike park or uplift trails is a great way to dial in your suspension. Playing around with your volume spacer setup every few runs while repeating the same trails will give you the best chance of noticing how your suspension changes and the knock-on effect this has on your body position, grip, confidence and fatigue levels.
Overall, volume spacers are an effective and relatively inexpensive way of levelling up your suspension performance on the trail.