Whether you ride a hardtail or a full-suspension mountain bike, its suspension has one main job – to absorb impacts from the trail by compressing and then return to its original position, in a controlled manner, ready to absorb the next impact.
Compression and rebound damping help dissipate or control the energy created when your mountain bike’s suspension compresses or extends.
Optimised compression and rebound damping setup is crucial for good suspension performance.
Compression-damping adjustment enables you to fine-tune how much energy the damper dissipates during compression, slowing down (or speeding up) how quickly the fork or shock moves through its travel.
Rebound-damping adjustment enables you to fine-tune how quickly the suspension returns to its original position after absorbing an impact.

There are big gains to be had here. When set up correctly, suspension will effectively absorb impacts and forces from the trail, while maximising grip and delivering a smooth and balanced ride.
On the other hand, a poor compression and rebound setup may make your bike feel harsh or unsupportive, while losing grip and disrupting balance.
In this guide, we explain how compression and rebound damping work and how to adjust them.
Rebound, compression and other suspension basics explained
Fork and shock anatomy explained
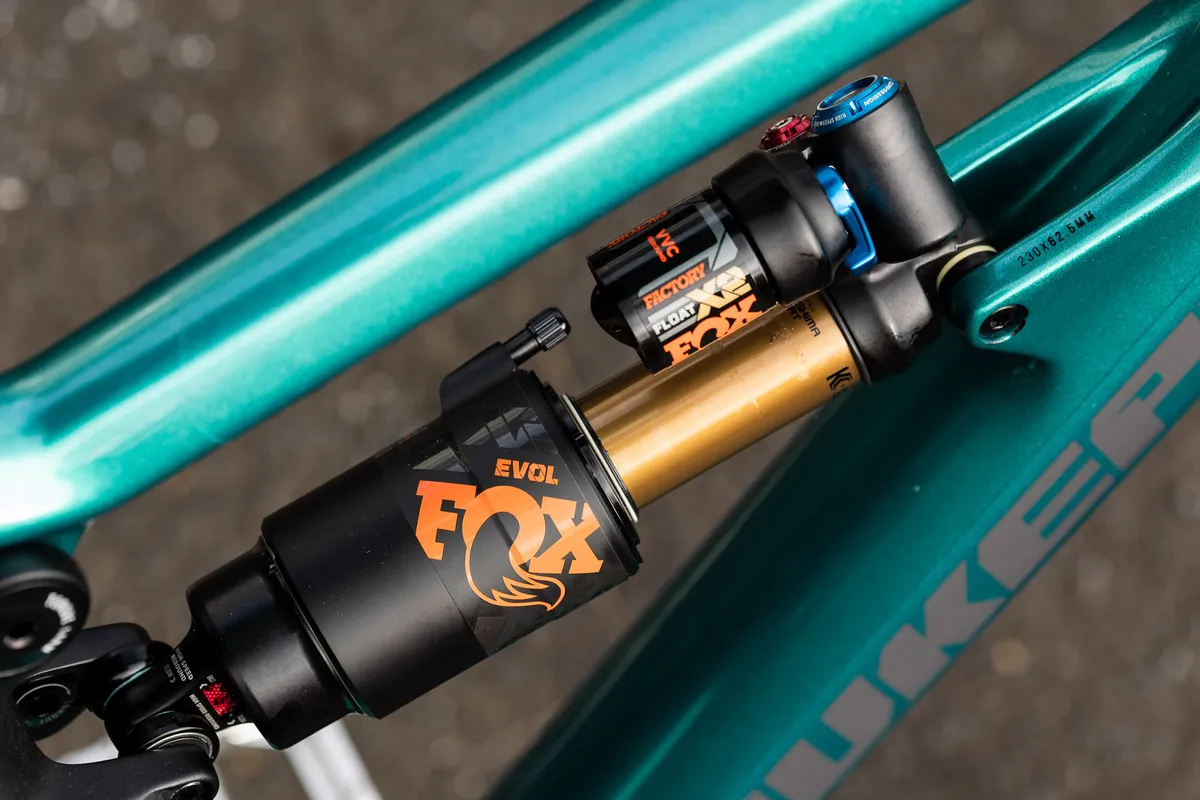
In its most basic form, suspension starts with a spring.
A spring can be constructed from coiled metal, just like a mattress spring, or from a gas inside a sealed chamber.
Both coil and air springs provide the resistance to suspend or support you and your bike’s weight on the trail, and also resist forces exerted through the suspension when it compresses over a bump.
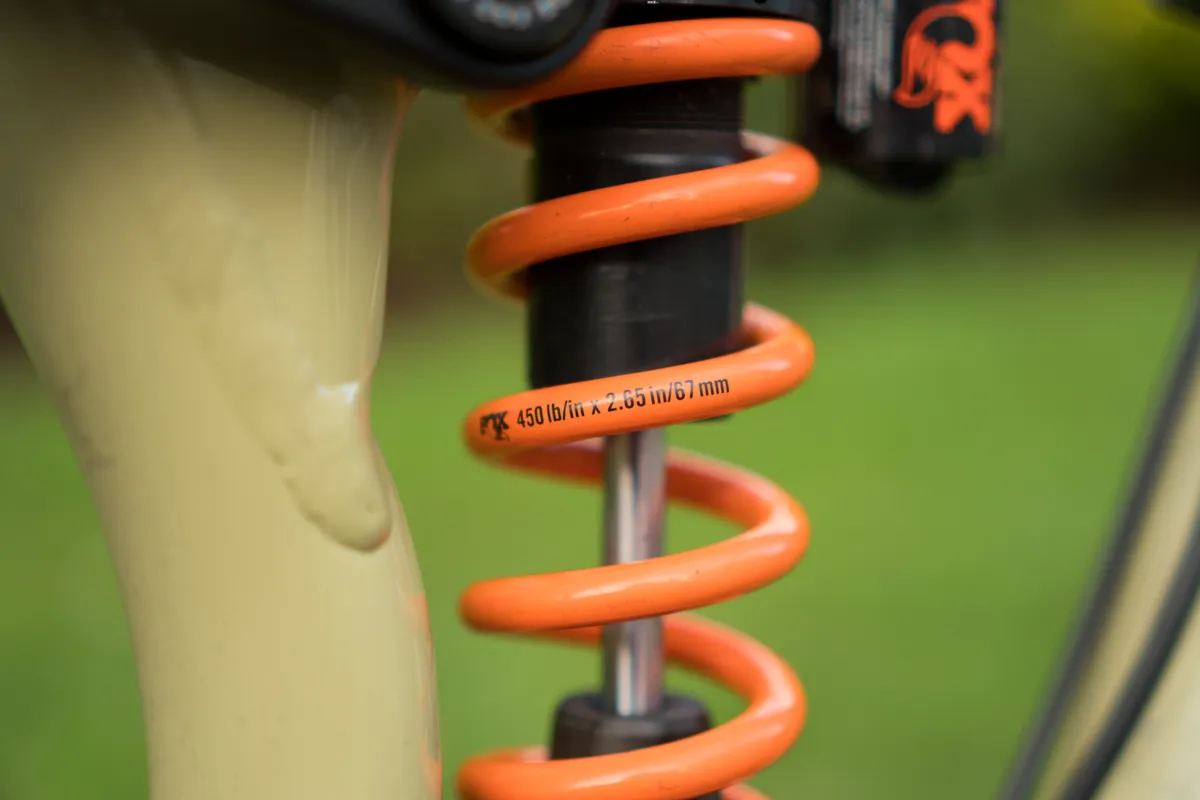
Likewise, both coil and air springs have a ‘spring rate’. This is used to describe the amount of force required to compress the spring in Newtons per millimetre or pounds per inch of travel.
Coil springs have a linear relationship between how much they’re compressed and the force required to compress them. Coil spring rates are usually denoted in pounds – therefore a 200lb per inch spring will need 200lb of force to compress it one inch.
The force required to compress it has a linear relationship with how far it is compressed. To compress a 200lb spring two inches will require 400lb of force, and four inches 800lb of force, and so on until it is fully compressed.
This relationship between the force required to compress the spring and how far it compresses is why coil springs are described as linear.
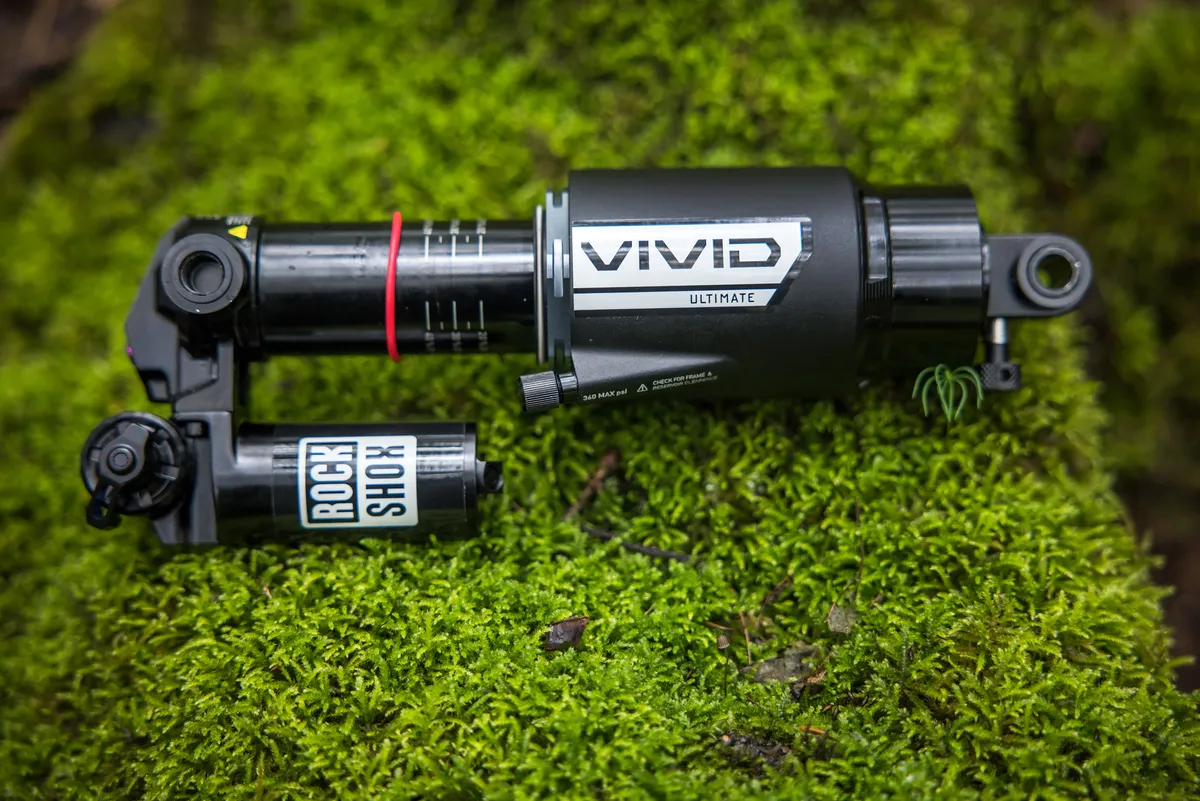
Air springs, however, are progressive. How much force it takes to compress an air spring a certain distance isn’t linear – it becomes progressively firmer as it is compressed.
There are various ways in which suspension designers adjust these behaviours to suit their intended purposes, and there are certainly pros and cons to air and coil suspension, but for now, we’ll leave it at this: air and coils are both effective means of creating a spring.
What is damping?

So, we’ve learnt that mountain bike suspension uses an air or coil spring to absorb impacts. However, without damping, your fork and shock would be little more than a pair of pogo sticks bouncing uncontrollably off every rock and root, resulting in poor bike handling. That’s not what we want.
Damping is designed to control the movement of your suspension, dissipating the energy created during compression and extension in a regulated and adjustable way.
As mentioned, there are two types of damping: compression and rebound.
What is compression damping and why is it a bit like a coffee filter?
Compression damping controls the force that moves a fork or shock through its travel, using oil.
This oil circulates through a compression circuit that’s designed to restrict its flow.
Restricting the oil’s flow makes the suspension feel firmer, causing it to compress and extend more slowly. At the extreme end, it can stop it from moving altogether; this is known as a lockout.
Free-flowing oil will make the suspension quicker to compress and extend, and also make it feel softer.
What is a compression circuit?

What’s a compression circuit, you ask? Well, the exact mechanics will differ by make and model, but in general, a compression circuit is composed of small metal plates, called shims, as well as ports and valves, designed to regulate the flow of oil.
Think of the compression circuit as being like a French press for coffee.
When you apply pressure, the fluid – or coffee – moves through the mesh filter.
If there were more mesh openings, you would be able to press down with less effort. Conversely, if there were fewer mesh openings, it would require more force to press the plunger down.
Finally, if the plunger didn’t have any mesh openings for the coffee to pass through, it wouldn’t be possible to compress the plunger – you would be 'locked-out' of your coffee (a dreadful thought).
Rebound damping explained

Now we’re at the point in the movement, where your suspension has compressed, so it’s done half of its job.
The fork or shock will now want to rebound back towards its fully extended state.
The speed at which it rebounds is controlled by two things.
Firstly, the more a spring is compressed, the quicker it seeks to return to its uncompressed state. Think back to the linear relationship between the amount of force required to compress a spring and how far it compresses – fully compressed, it ‘stores’ more of that force.
When a fork or shock is close to full travel, it will try to extend much quicker than if it was half or one-quarter compressed.
Secondly, the rebound damping controls or dissipates the spring’s forces, slowing down the shock or fork’s rebound speed until it returns to full travel or compresses again.
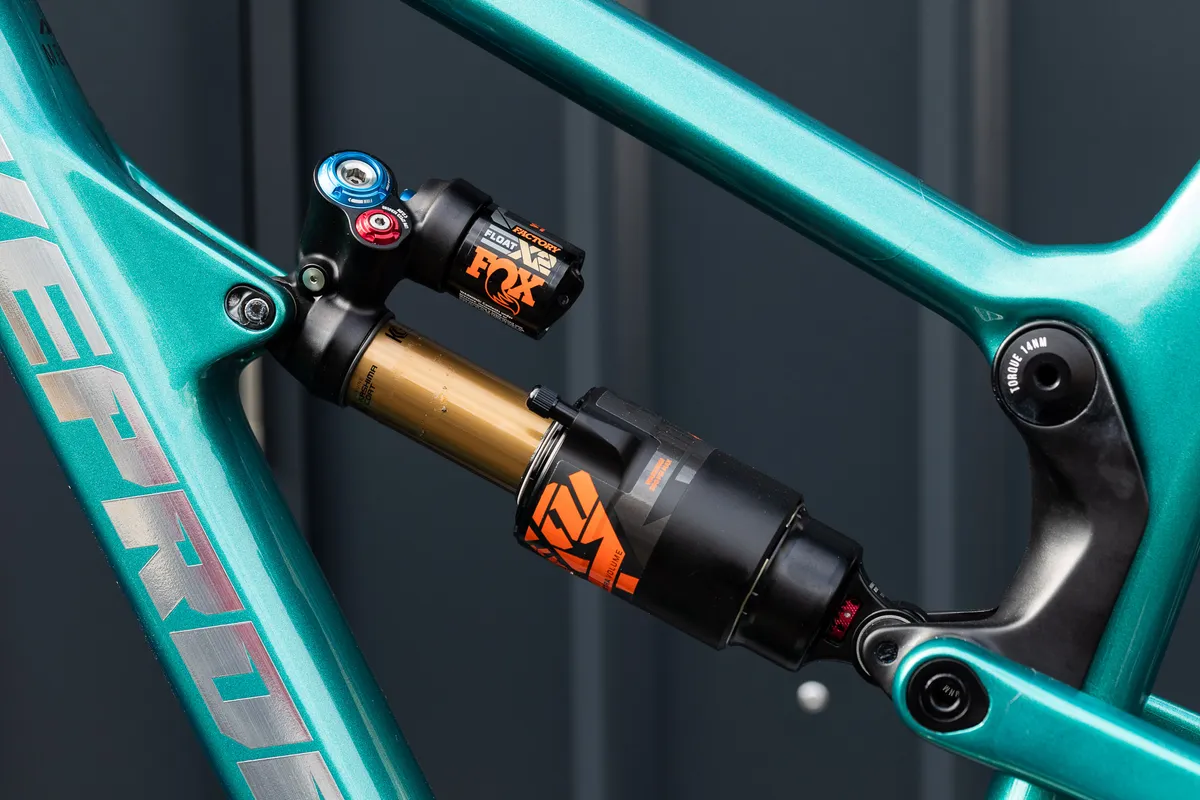
Much like a compression circuit, rebound damping relies on oil moving through valves and shims to regulate the speed at which the suspension extends after being compressed.
The coffee-as-oil analogy holds true here as well. When the flow of oil is restricted, your fork or shock will return slowly to its full travel. When there’s no restriction on the flow of oil through the rebound circuit, the spring – be it air or a coil – will rapidly 'spring back' from an impact.
Rebound damping adjusters on Fox and RockShox suspension (among other brands) take the form of a red-coloured dial. On most forks, it's found at the bottom of the right fork leg.
Striking a balance between how fast and slow the suspension rebounds is key, but more on this later.
Compression damping explained
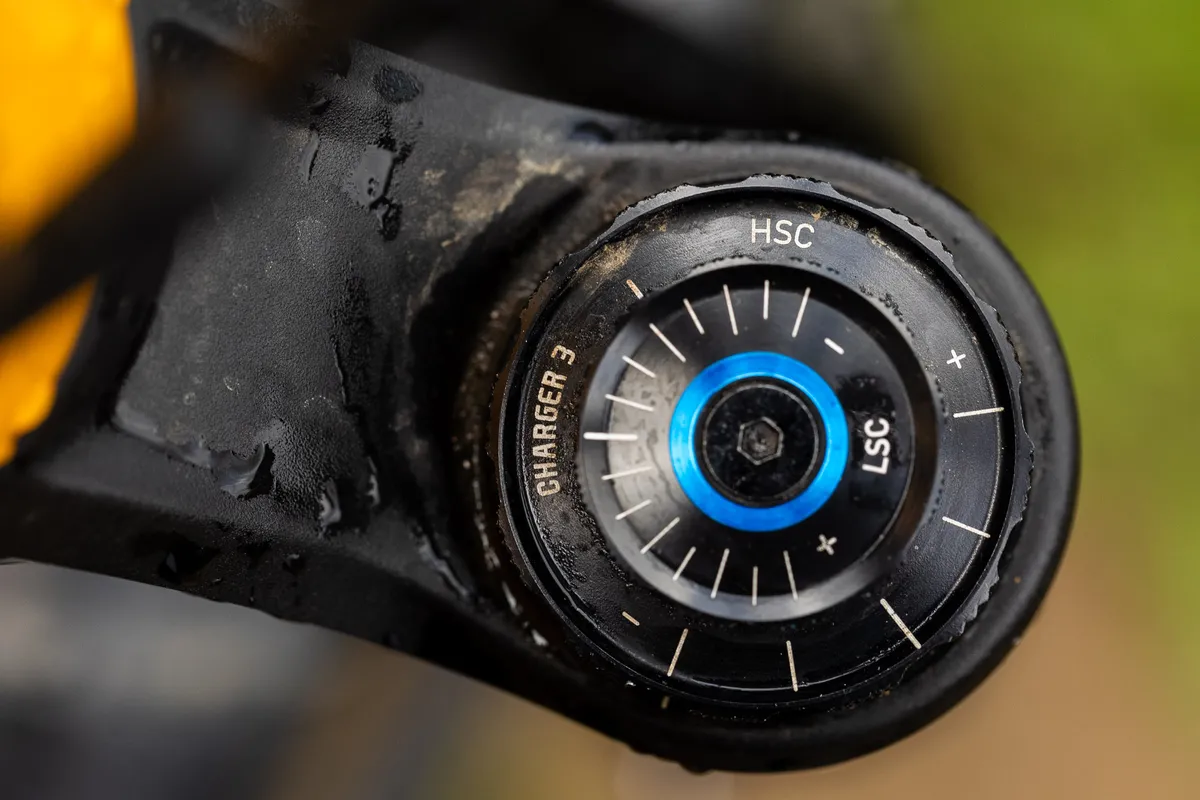
On many suspension forks and shocks, compression damping takes the form of a dial and/or a lockout lever. Both Fox and RockShox, among other brands, use blue-coloured dials to denote compression adjustments on their forks and shocks.
Turning these knobs and/or dials clockwise will gradually restrict the flow of oil through the compression circuit, thereby making your suspension firmer during compression.
When your suspension is open, the flow of oil through the compression damper is less restricted, helping it freely absorb impacts (think free-flowing coffee).
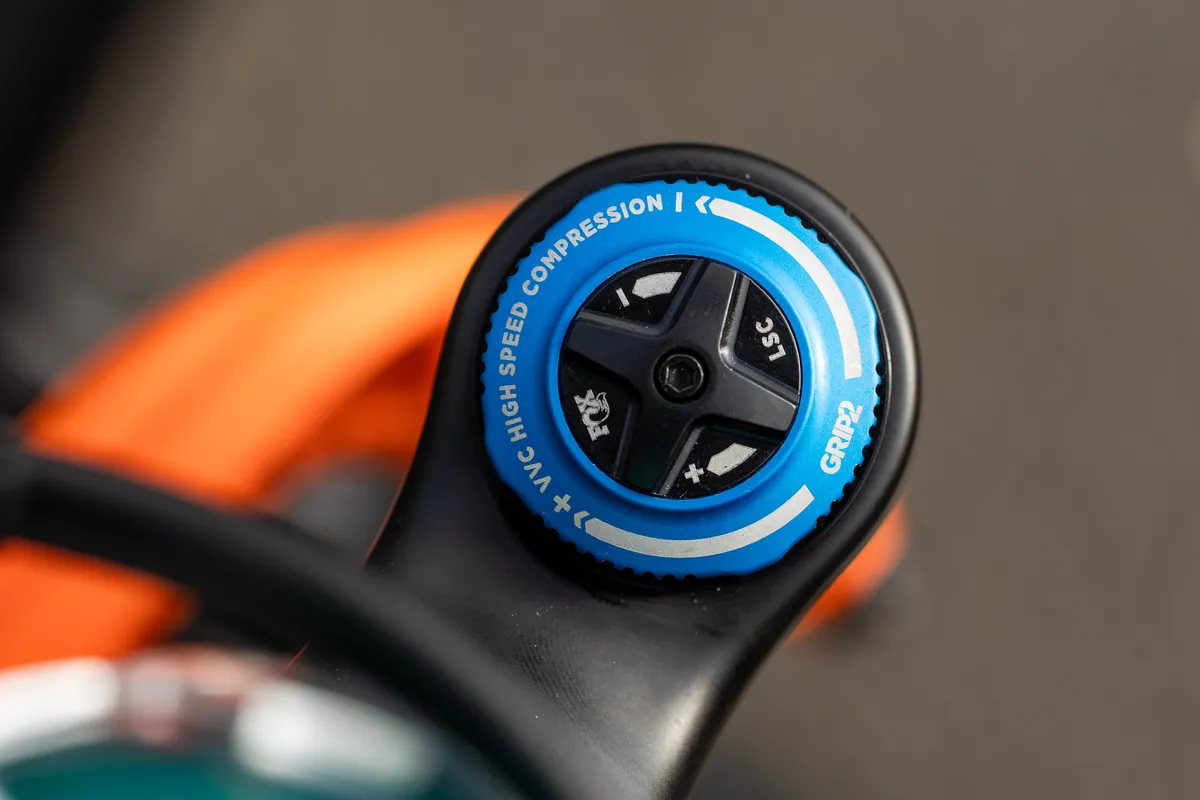
Increasing the level of compression damping is useful for controlling how much your suspension compresses in certain scenarios.
When riding through compressions or around high-speed berms, you don’t want your suspension to use too much of its travel – doing so can result in destabilising changes to the bike’s geometry, and not leave any travel left to absorb bumps.
Firming up the damping circuit helps combat unwanted suspension movement such as pedal bob, enabling the rider to conserve energy for when it’s needed most. Smooth, rolling trails are an example of terrain where you might want to consider firming up your bike’s suspension.
And what about the times when you want to be completely locked out? Well, if you’re looking to keep suspension movement to a minimum while pedalling on the road or climbing smooth trails, consider flipping the lever into the firmest compression setting.
Dedicated threshold or lockout levers – that are separate from the standard compression adjusters – are fitted to some shocks and forks for this very purpose.
How to adjust rebound damping
Let’s take a look at how to adjust the rebound on suspension by Fox and RockShox. As the two biggest players in the MTB suspension industry, they are the most commonly seen brands out on the trails.
While the level of compression-damping adjustment varies depending on the price point of the fork or shock (with more premium options often offering more adjustability), rebound adjustment is found on all Fox and RockShox mountain bike suspension.
However, don’t despair if you are running suspension from another brand – the adjustments on your fork or shock are likely to be similar.
How to adjust rebound on RockShox suspension

RockShox takes the very user-friendly approach of using a tortoise and a jackalope (a mythical creature that is part hare and part antelope) to tell you which way to turn the rebound knob in order to increase or decrease the speed with which the suspension extends after being compressed.
Turning the knob all the way counter-clockwise, as indicated by the jackalope, will open up the rebound circuit, allowing oil to circulate freely and the suspension to rebound rapidly.
On the flipside, going 'full tortoise' will restrict the flow of oil to the point where your fork or shock returns slowly to its full travel.
How to adjust rebound on Fox suspension
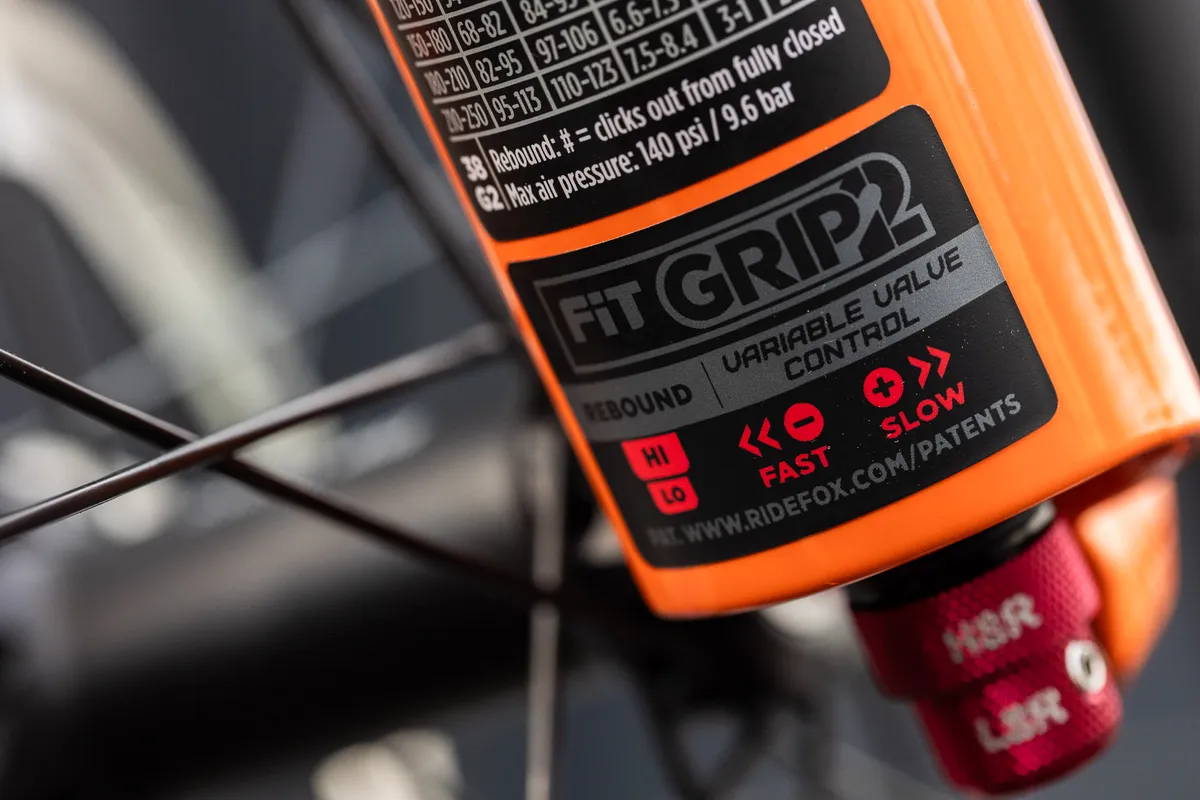
Fox, on the other hand, takes an approach that requires the user to be a bit more in tune with what’s going on inside the fork. The ‘plus’ and ‘minus’ labels on the company’s rebound knobs indicate the addition or subtraction of rebound damping, not the speed at which the suspension will recover from an impact.
With Fox, 'plus' means more rebound damping (slower rebound) and 'minus' means less rebound damping (faster rebound).
How fast should my rebound be?

A number of factors influence how fast you want your suspension to rebound: rider weight, speed, riding style and the terrain will all play a role.
It’s important to remember that suspension is intended to maximise traction; it does this by keeping your tyres in contact with the ground.
The key to adjusting your rebound is to find the sweet spot, where the suspension returns from an impact quickly enough to keep the bike’s tyres in contact with the ground as much as possible (which is going to provide traction), and to recover high enough into its travel for the next bump. However, it needs to be slow enough so as to not buck you around or break traction by ‘hammering’ the wheels on and off the trail’s surface.
Too slow, and the suspension will feel sluggish and can even 'pack down', meaning it doesn’t have time to extend enough between successive impacts to absorb the next.
Too fast, and your suspension will bounce off obstacles, thereby breaking traction.
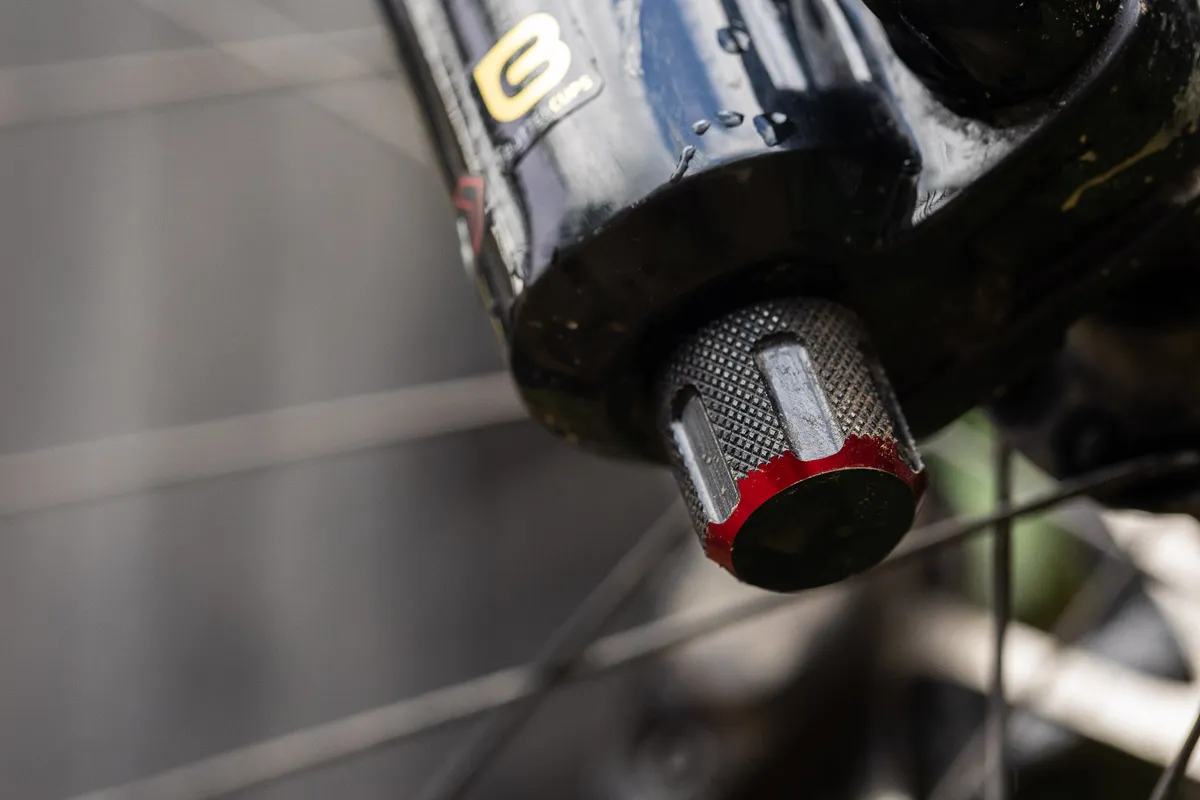
A good starting point is to turn the rebound knob to one extreme (it doesn’t matter which) and count the number of clicks or turns it takes to get to the other end of the range. Knowing how many points of adjustment the suspension has gives you a reference point to adjust it from.
To set up your suspension, find a section of varied trail you're comfortable riding, and set the fork and shock’s damping adjustments and spring rates to the manufacturer’s recommendations.
Then ride the trail repeatedly, making adjustments to each parameter (compression, rebound and spring) until your bike feels as though it's absorbing the rough bumps well, maintaining its geometry in compressions and turns, and not bottoming out harshly.
What about high- and low-speed compression and rebound?
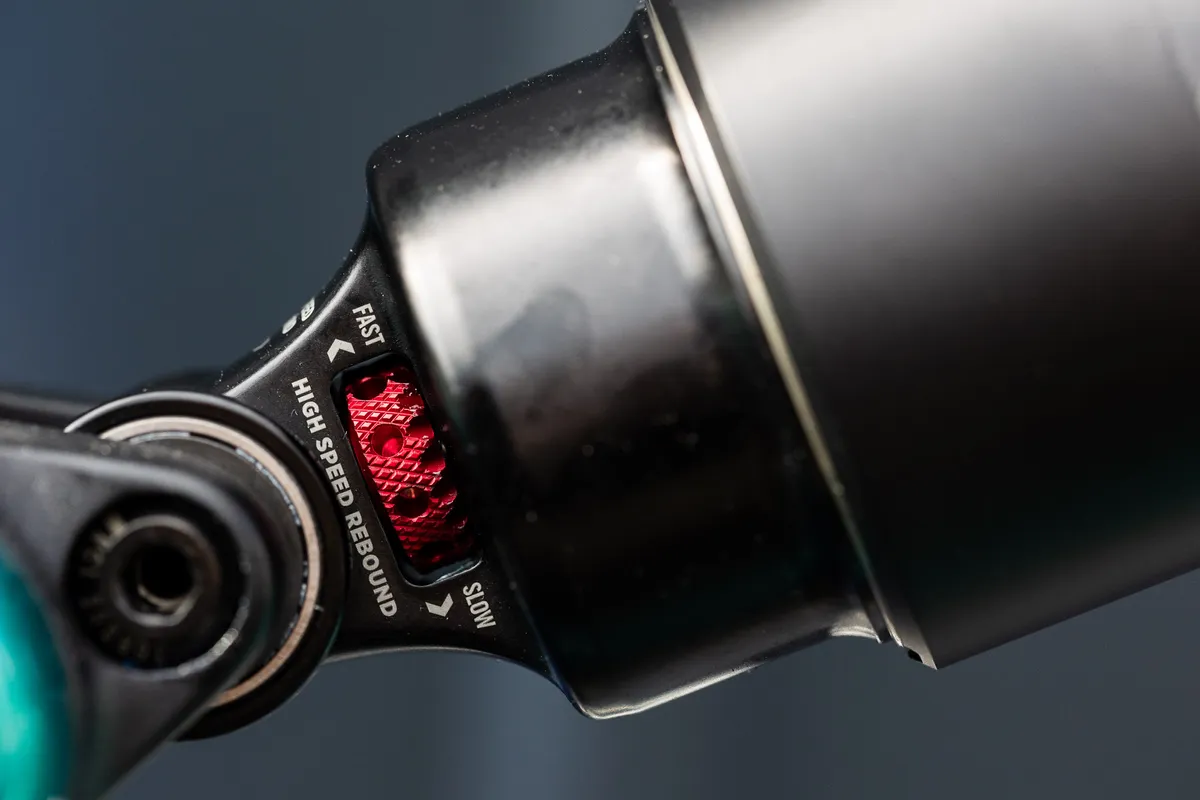
Some forks and shocks, such as the premium offerings from Fox and RockShox, offer adjustability of both high- and low-speed damping.
This is where things can get a little more complicated. The ‘high-speed’ and 'low-speed’ referred to here aren’t to do with the speed you’re riding at. Instead, they refer to the ‘shaft speed’ of the suspension (the speed at which the fork or shock compresses or extends).
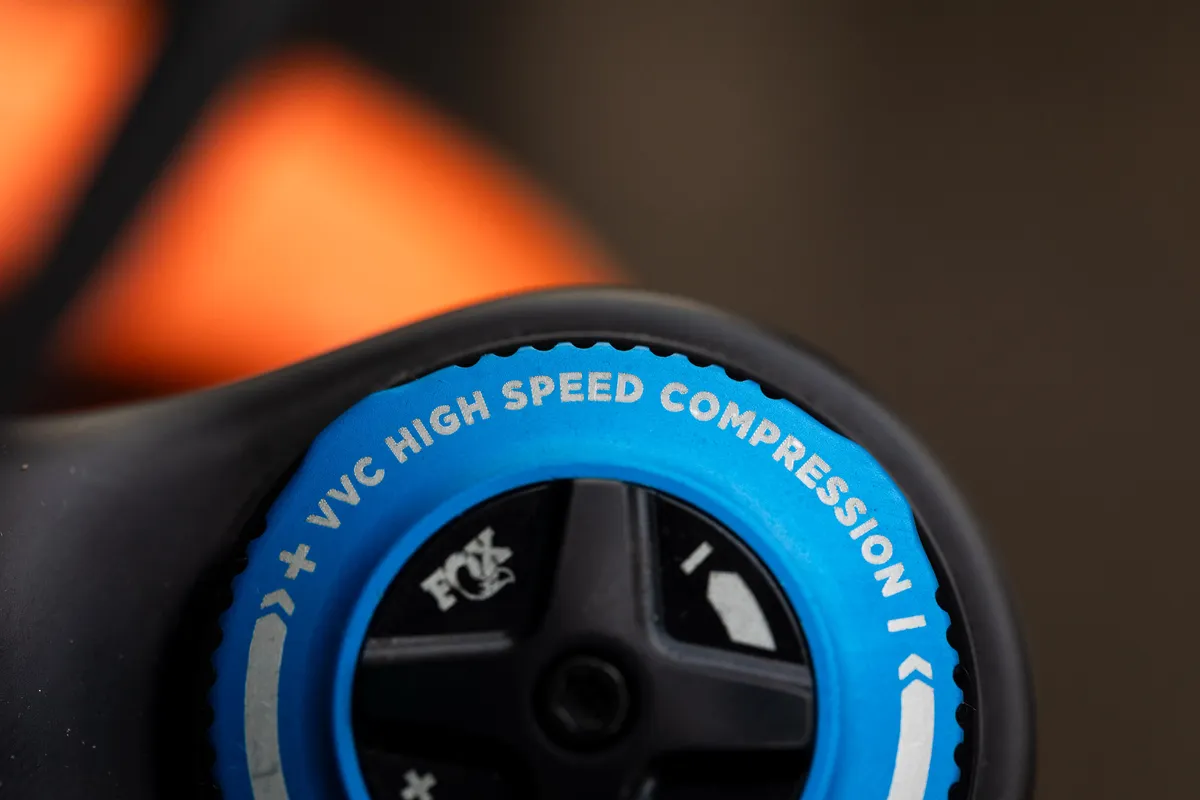
High-speed compression damping comes into play in scenarios such as hitting a square-edge bump hard. The suspension has to move suddenly and quickly to absorb the impact.
Low-speed compression damping comes into play in scenarios such as pushing the bike into a long berm, where the load on the suspension is gradual and prolonged.
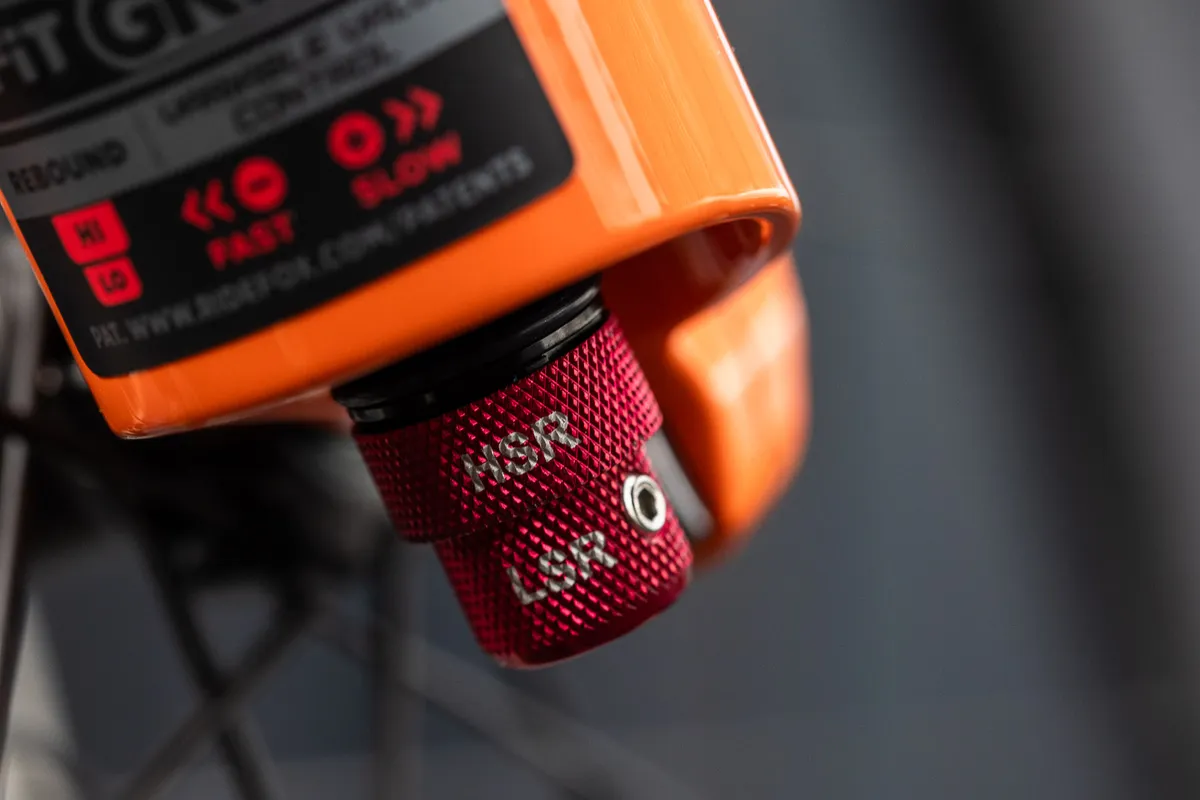
High- and low-speed rebound damping, as we’ve explained, is dictated by how deep into its stroke the fork or rear shock is. The further into their respective travel, the faster the shaft speed will be on its rebound movement.
If you want to adjust how quickly your suspension returns from deep in its travel, use the high-speed adjuster. To alter how quickly it returns from shallower in its travel, use the low-speed adjuster.
Unfortunately, the compression and rebound adjustments don’t work independently from one another; making changes to either the high- or low-speed damping will affect the other, and rebound adjustments can also change the compression damping.
Set your suspension up for you

There’s a lot going on when it comes to compression and rebound damping, and there will be an amount of trial and error involved in your learning.
However, while you may be tempted to try your favourite pro rider’s setup, we recommend getting to learn how the adjusters on your specific suspension work and taking some time to feel how different setups perform on the trails you like to ride.
