If you’re starting to venture into the world of riding with data, chances are you’ll have heard of training zones. In a nutshell, training zones enable cyclists to target specific physiological adaptations and, in turn, produce more effective results from their time in the saddle.
However, with numerous training zone models out there – covering both heart rate and power – and terms such as FTP, sweetspot, VO2 max and anaerobic threshold frequently bandied about, understanding and using training zones effectively can be complicated.
That needn’t be the case, though. In fact, using zones can simplify your training, whether that's road training, gravel training or mountain bike training. That's because using training zones adds structure to your riding, enabling you to hone the precise area of fitness you want to improve.
What’s more, using training zones is more accessible than ever, thanks to the increasing affordability of heart-rate monitors and power meters, as well as the fast-rising popularity of smart trainers and a number of indoor cycling apps.
So what exactly are training zones, how can you determine your zones and how do you use them? Let’s get stuck in.
- What are training zones?
- What are the benefits of using training zones?
- How many training zones are there?
- The six training zones explained
- How to set your training zones
- How to use your training zones
What are training zones?

First, what exactly are training zones?
Training zones are intensity regions that correspond to physiological processes happening inside the body. Cyclists can use training zones to target specific adaptations, from improving cycling endurance with base training to working on the ability to launch a max-power sprint.
Training zones are used to set a specific intensity at which to complete a ride, workout or interval, along with the duration required.
Those intensities can be determined using heart rate, power or even ‘feel’ (known as ‘rate of perceived exertion’). For example, a training plan or workout may require you to complete intervals in ‘zone three’.
It’s not just about pacing your efforts, though. Using training zones will ensure you’re not working too hard on recovery rides or when resting between intervals.
Your specific training zones are personal to you and are based on your level of fitness. What might correspond to ‘zone three’ for one rider will differ for another. We’ll get on to how to set your training zones later in this article.
What are the benefits of using training zones?


There are a number of benefits to using training zones, regardless of whether you’re new to structured training or a professional cyclist.
"If you're motivated to see how good you can get, then it's very important to have structure in your programme and follow the science,” says Carol Austin, medical doctor and former head of performance support for Team Dimension Data.
Intensity zones allow you to follow a more structured and precise approach to training, enabling you to target specific areas of your fitness and manage your workload to avoid overtraining, while helping you or your coach track your progress over time.

Stephen Seiler, exercise physiologist and professor in sports science at the University of Agder, Norway, says using a structured approach helps avoid the plateau many riders experience after an initial period of training.
"That’s the most common training mistake," he says. If your riding focuses too heavily on the same type of training – going out and riding hard for an hour, for example – at some point you'll stagnate, Seiler says.
"When you get to that point, then you need some structure,” he adds. “Intensity zones help to manage the [training] stress while we try to achieve adaptations.”
Training using your zones is a win-win situation; one that keeps your training balanced and specific at the same time. Using training zones also helps ensure your recovery rides – or the recovery periods between high-intensity intervals – are sufficiently easy to allow your body to rest and adapt to the work you’re putting in.
Heart rate vs power for training zones
You can use either heart rate or power meter data to establish and use your training zones. There are pros and cons to both.
Heart rate straps are affordable, offer an easy route into training with data and can provide an indication of how your body is responding to training, but the data can be influenced by external factors (sleep, altitude, fatigue, caffeine, etc) and suffers from lag (it takes time for your heart rate to respond to your effort.
As for power meters, there's a growing number of options, at ever-more affordable prices, and the data is a direct and instant reflection of the work you're putting in. However, analysing power data can be tricky, with an overwhelming amount of information.
Using both a heart rate monitor and power meter provides the ideal setup, but there's no reason why you can't choose one or the other and train effectively. For a more in-depth view, we’ve got a separate feature on using heart rate vs power for training.
How many training zones are there?
Here’s where things can get complicated. Various training zone models use a different number of zones, including three, five, six and seven zones. All have their merits but we’ll focus initially on the three- and six-zone models here.
Three zones

A three-zone model is based on the body’s internal physiology and is split into zones equating to easy, medium and hard riding (or green, yellow and red zones).
“Most people can relate to the three-zone model," says Austin. "Easy riding [zone one] is where you can talk and breathe, and you can speak in sentences. Then you have a sustainable threshold where you can pronounce a few words [zone two], and then above that is the red zone, where you're speechless [zone three]."
This model is based on the rate of perceived exertion (RPE), or how the external workload feels. It is also referred to as 'riding on feeling,' and many professionals still rely on it despite having power meters and heart rate monitors, particularly at the sharp end of a race.

It also correlates with your body’s two physiological thresholds: your aerobic threshold, between zones one and two, and your anaerobic threshold, between zones two and three.
Aerobic threshold is an intensity at which you can theoretically ride for hours, with blood lactate levels only rising minimally compared to rest. At this intensity, you’re using more fat than glycogen as a fuel source. Although lactate doesn't cause muscle fatigue, its increased level in the blood correlates with that of metabolites that do. And lactate is easier to measure.

Anaerobic threshold, also commonly known as your FTP (functional threshold power), is the point at which levels of fatiguing metabolites in the blood are elevated but still under control. However, ride harder than this and you’ll quickly and unsustainably go into the red, with your muscles unable to process the amount of metabolites being produced.
At higher intensities, you start to use more of your limited glycogen stores as the primary fuel source.
The two lactate thresholds are almost specular to the ventilatory thresholds, identifying the two points where your breathing pattern (and gas exchange of O2 and CO2) also changes under stress.
Six zones

While the three zones above align to your aerobic and anaerobic physiological thresholds, it’s far more common to see training zone models with five, six or seven zones.
Why? In simple terms, they enable riders and coaches to target adaptations with more specificity, allowing you to further target areas of your form.
The training zones and how to use them

We’ll focus on a six-zone model for power here (Zwift and British Cycling also use six power zones), based on the zones originally produced by Dr. Andy Coggan.
If you’re using heart rate, then we’ll top out at five zones – the sixth zone, as we’ll come onto, is an all-out effort and your heart rate is not able to react quickly enough (basically, it’s as hard as you can go).
These zones are based on a percentage of your threshold heart rate or power. We'll cover how to find your threshold in the next section.
| Zone | Name | Heart rate (% of threshold HR) | Power (% of threshold power) | Typical duration |
|---|---|---|---|---|
| 1 | Active recovery | Less than 68% | Less than 55% | n/a |
| 2 | Endurance | 69-83% | 56-75% | 3+ hours |
| 3 | Tempo / Sweetspot | 84-94% | 76-90% | 20 mins to 1 hour |
| 4 | Threshold | 95-105% | 91-105% | 10 to 30 mins |
| 5 | VO2 max | More than 106% | 106-120% | 3 to 8 mins |
| 6 | Anaerobic capacity | n/a | More than 121% | 30 seconds to 3 mins |
Zone one – active recovery
- Heart rate (% of threshold HR) – less than 68%
- Power (% of threshold power) – less than 55%
- Typical duration – n/a
Should feel very easy with little pressure going through the pedals. Breathing will be light and conversation easy. Usually used after a hard training session, race or sportive to aid recovery.
Zone two – endurance
- Heart rate (% of threshold HR) – 69 to 83%
- Power (% of threshold power) – 56 to 75%
- Typical duration – 3+ hours
Conversation while riding should still be easy but your breaths will be a little heavier and more frequent than in zone one. Well-trained riders can ride for three hours (or significantly more) at this pace with adequate fuelling. Use this zone for your endurance training.
Zone three – tempo / sweetspot
- Heart rate (% of threshold HR) – 84 to 94%
- Power (% of threshold power) – 76 to 90%
- Typical duration – 20 minutes to one hour
Breathing is getting sharper now with more concentration required to maintain the effort. It's harder to talk and starting to feel uncomfortable.
Consecutive days of zone three training are possible but fuelling is important, especially if you are doing back-to-back days. The duration of zone three blocks depends on the intensity and experience of the rider. The lower end of zone three is known as tempo while sweetspot training lifts the intensity just below threshold.
Zone four – threshold
- Heart rate (% of threshold HR) – 95 to 105%
- Power (% of threshold power) – 91 to 105%
- Typical duration – 10 to 30 minutes
Regular conversation while riding at or around your Functional Threshold Power will be very difficult and your breathing will be heavy, but not strained. You will be feeling 'the burn' and it will require concentration and mental determination to stay in this zone, so it's usually broken down into blocks or intervals of 10 to 30 minutes.
It's best to schedule an easy day or recovery ride after a session with a solid amount of threshold work.
Zone five – VO2 max
- Heart rate (% of threshold HR) – More than 106%
- Power (% of threshold power) – 106 to 120%
- Typical duration – 3 to 8 minutes
This is a hard zone that's painful to ride at for more than a few minutes, so you should be suffering. Breathing will be heavy and the effort will be difficult to maintain. This is because you'll reach your maximum volume of oxygen consumption or VO2 max. If you have all the above sensations, you’re in the right place.
It'll be hard to get your average heart rate right during these efforts, so concentrate on how your body is feeling. The next day you'll want to stay in zone one or two.
Zone six – Anaerobic capacity
- Heart rate (% of threshold HR) – n/a
- Power (% of threshold power) – More than 121%
- Typical duration – Less than three minutes
These efforts are very painful and not far off full gas sprinting. They should only be sustainable for 30 seconds to three minutes. Any longer and you’re probably not trying hard enough!
It will be very hard to do sessions on back-to-back days. Heart rate is too difficult to go by in these efforts because of the lag in response from the effort being undertaken. Basically, it should hurt a lot.
How to set your training zones

There are a number of testing protocols to benchmark your fitness and set your training zones. Choosing the best method for you depends on several variables, including the time you have available, how often you want to repeat the test and how detailed you want the data to be.
How you test and calculate your training zones will also depend on whether you’re using heart rate or power data. If you’re using power, you have two options: an on-bike power meter or a power meter built into a smart trainer.
The growing popularity of smart trainers has given more riders access to power data. However, Eva Piatrikova, a researcher at the University of Bath, cautions against too closely comparing data from a smart trainer and data collected out on the road.
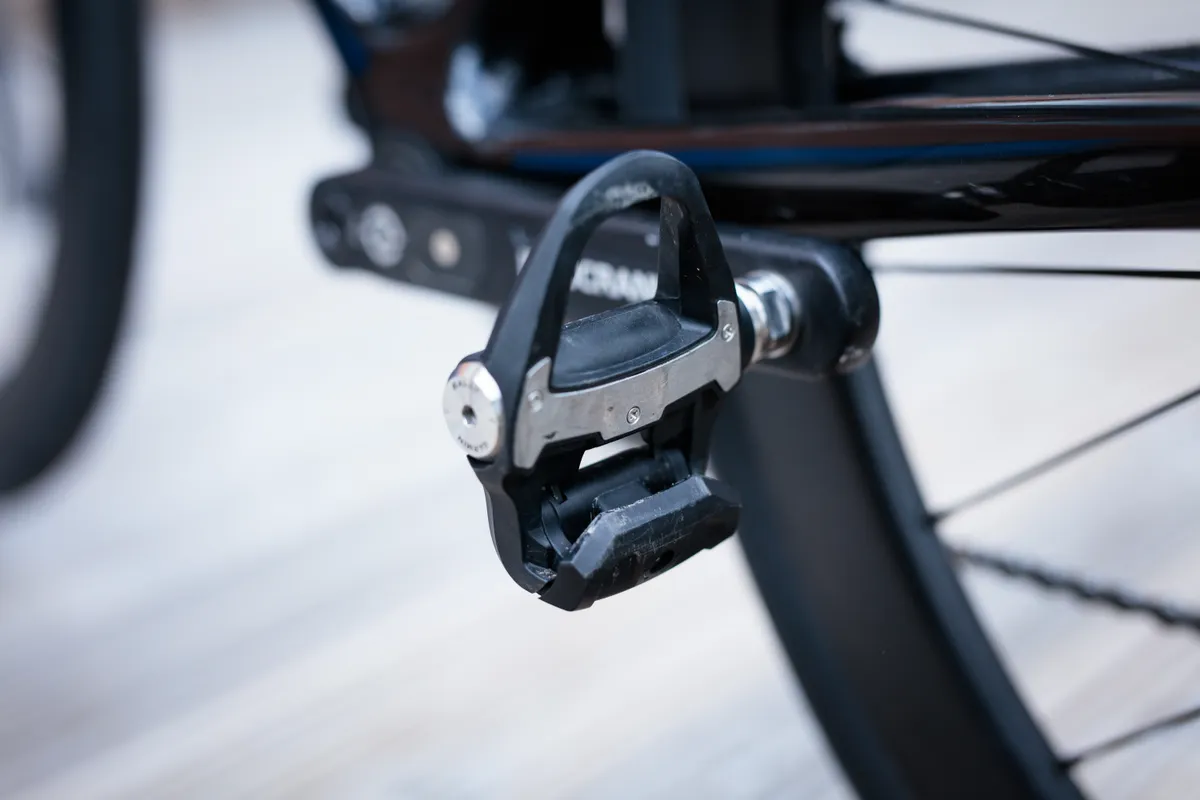
"Usually, there is a difference from the power recorded with a smart turbo trainer and a pedal power meter [or a crank-based one]," says Piatrikova, with riders typically able to produce more power outside, on their regular bike.
FTP test

The standard way to find your training zones – and the one you’ll have most likely heard of – is the Functional Threshold Power or FTP test, which provides an estimate of the maximum power output you can sustain for an hour.
An FTP test is simply an all-out, 20-minute effort. Go as hard as you can for 20 minutes and, once you're finished, take your average power for that 20 minutes and multiply it by 0.95. That’s your FTP and your training zones can then be calculated from there.
"If you can get a 20-minute stretch of road, that's fantastic,” says Austin. “But if you don't have access to that, you can still do your field test on your indoor trainer.”
The key is repeatability and consistency from one test to the next, according to Austin, so you can replicate the test in a controlled environment, monitor your progress and change your zones accordingly.
Many of the best bike computers offer pre-set FTP tests to follow, while the latest training apps also include workouts to find your FTP.
Threshold heart rate

Similar to a Functional Threshold Power test, you can also use your threshold heart rate to calculate training zones.
To find your Lactate Threshold Heart Rate, or THR, perform a 30-minute all-out time trial by yourself. You should do it as if it were a race for the entire 30 minutes, so expect it to hurt.
Ten minutes into the test, press the lap button on your heart rate monitor or bike computer. Stay focused and push hard through the remaining 20 minutes.
Once you have finished, press the lap button on your heart rate monitor again and look to see what your average heart rate was for the last 20 minutes. That number is an approximation of your THR and you can use it to work out the different heart rates for your training zones.
You should go hard for the entire 30 minutes, however most people doing this test go way too hard in the first few minutes and then gradually slow down. This technique will give you inaccurate results.
On that note, regardless of whether you’re testing your threshold power or threshold heart rate, pacing is key. The more often you do this test, the more accurate your threshold figure is likely to be because you will learn to pace yourself better from the start.
Ramp test

Threshold tests are very hard and, as we’ve already mentioned, it takes some practice to be able to pace an all-out effort for 20 minutes.
Shorter ramp tests can also be used to determine your FTP and are available on training apps such as Zwift, if you’re using a smart trainer. Here’s how to perform an FTP or ramp test on Zwift.
Pacing a 20-minute FTP effort is tough – both mentally and physically – whereas a ramp test involves performing intervals at ever-increasing power levels until failure.
It’s still very difficult, particularly at the end (expect it to hurt!), but the test protocol is controlled by the smart trainer, rather than relying on you to pace your effort.
Critical power test

For a more complete view of your power profile, and strengths and weaknesses as a rider, some coaches prefer a critical power (CP) test.
It’s a more involved process, requiring the rider to complete a number of max-effort intervals; either two or four efforts, between three and 20 minutes in length.
It’s a method often preferred by coaches and physiologists because, by having accurate data for a range of durations, the results can be used to see specifically where you need to focus your training efforts.
Six ways to use your training zones
Once you have completed a power or heart rate test and found your zones, you can use them in a number of ways to inform and assess your training.
Keep in mind that the training schedule that works the best for you is the one structured around your life, everyday commitments and riding goals.
1. Create your own training plan

If you're creating your own training plan, rather than following one prescribed by an app or coach, try not to overthink it. Keep it simple and read our indoor training tips.
Polarised training, also known as 80/20, has proved to be very effective for pros and amateurs alike and is one most experts use when setting a training plan.
Try to focus 80 per cent of your training sessions (not the total amount of training time) on easy efforts spent in the lower training zones (Z1 and Z2 if using a three-zone model), and only go into Z3 – or above your anaerobic threshold – for the remaining 20 per cent of the sessions.
2. Sign up for a training plan

Following a training plan is easier than ever, with a wide range of training apps offering ready-made plans for indoor cycling.
Those apps include Zwift (we've got a guide to the best Zwift workouts and training plans), Wahoo RGT, Rouvy, TrainerRoad and Wahoo Systm.
Some argue the gamification such apps have introduced is the future of cycling, while others claim indoor training is boring.
What these apps do offer is training plans targeting a range of goals or fitness improvements. They will also establish your baseline fitness (usually with an FTP test or similar), work out your training zones and tailor your workouts accordingly.
You can either complete the training session on a smart trainer in your pain cave, or some indoor cycling apps will transfer the workout to your bike computer for you to do outdoors.
Following an established plan takes a lot of the thinking out of the process. You just need to stick to it.
3. Work on your weaknesses

Knowing your zones enables you to target your weaknesses with specific sessions. Or, perhaps, more importantly, you can base your training around the specific requirements of a target race or event.
For example, if you're training for a long, mountainous sportive such as the Etape du Tour or Maratona dles Dolomites, being able to ride for hours, with prolonged periods climbing at tempo, will be more important than having a 20-second, 1,000-watt sprint in your locker.
4. Pacing

On a similar note, you can use your zones to pace efforts come race day. Using your zones doesn’t have to be confined to training; instead, you can use them to develop a pacing strategy or as a guide during an effort.
After all, there’s no point attacking a 30-minute climb at your five-minute max power. Better to pace yourself and arrive at the summit strong.
5. Go easy

Knowing when to go easy is key to any training plan. After all, it’s when you're resting and recovering that the body is able to repair and come back stronger.
Use your training zones to guide your recovery, as well as your efforts – whether that’s rest periods between intervals or during recovery rides.
It’s very easy to go too hard when you’re meant to be resting. And if you forget to recover and push through without rest, you risk completely burning out.
6. Work with a coach

Still not sure? If you’re serious about your performance, working with a professional cycling coach can help you tick all of the boxes above.