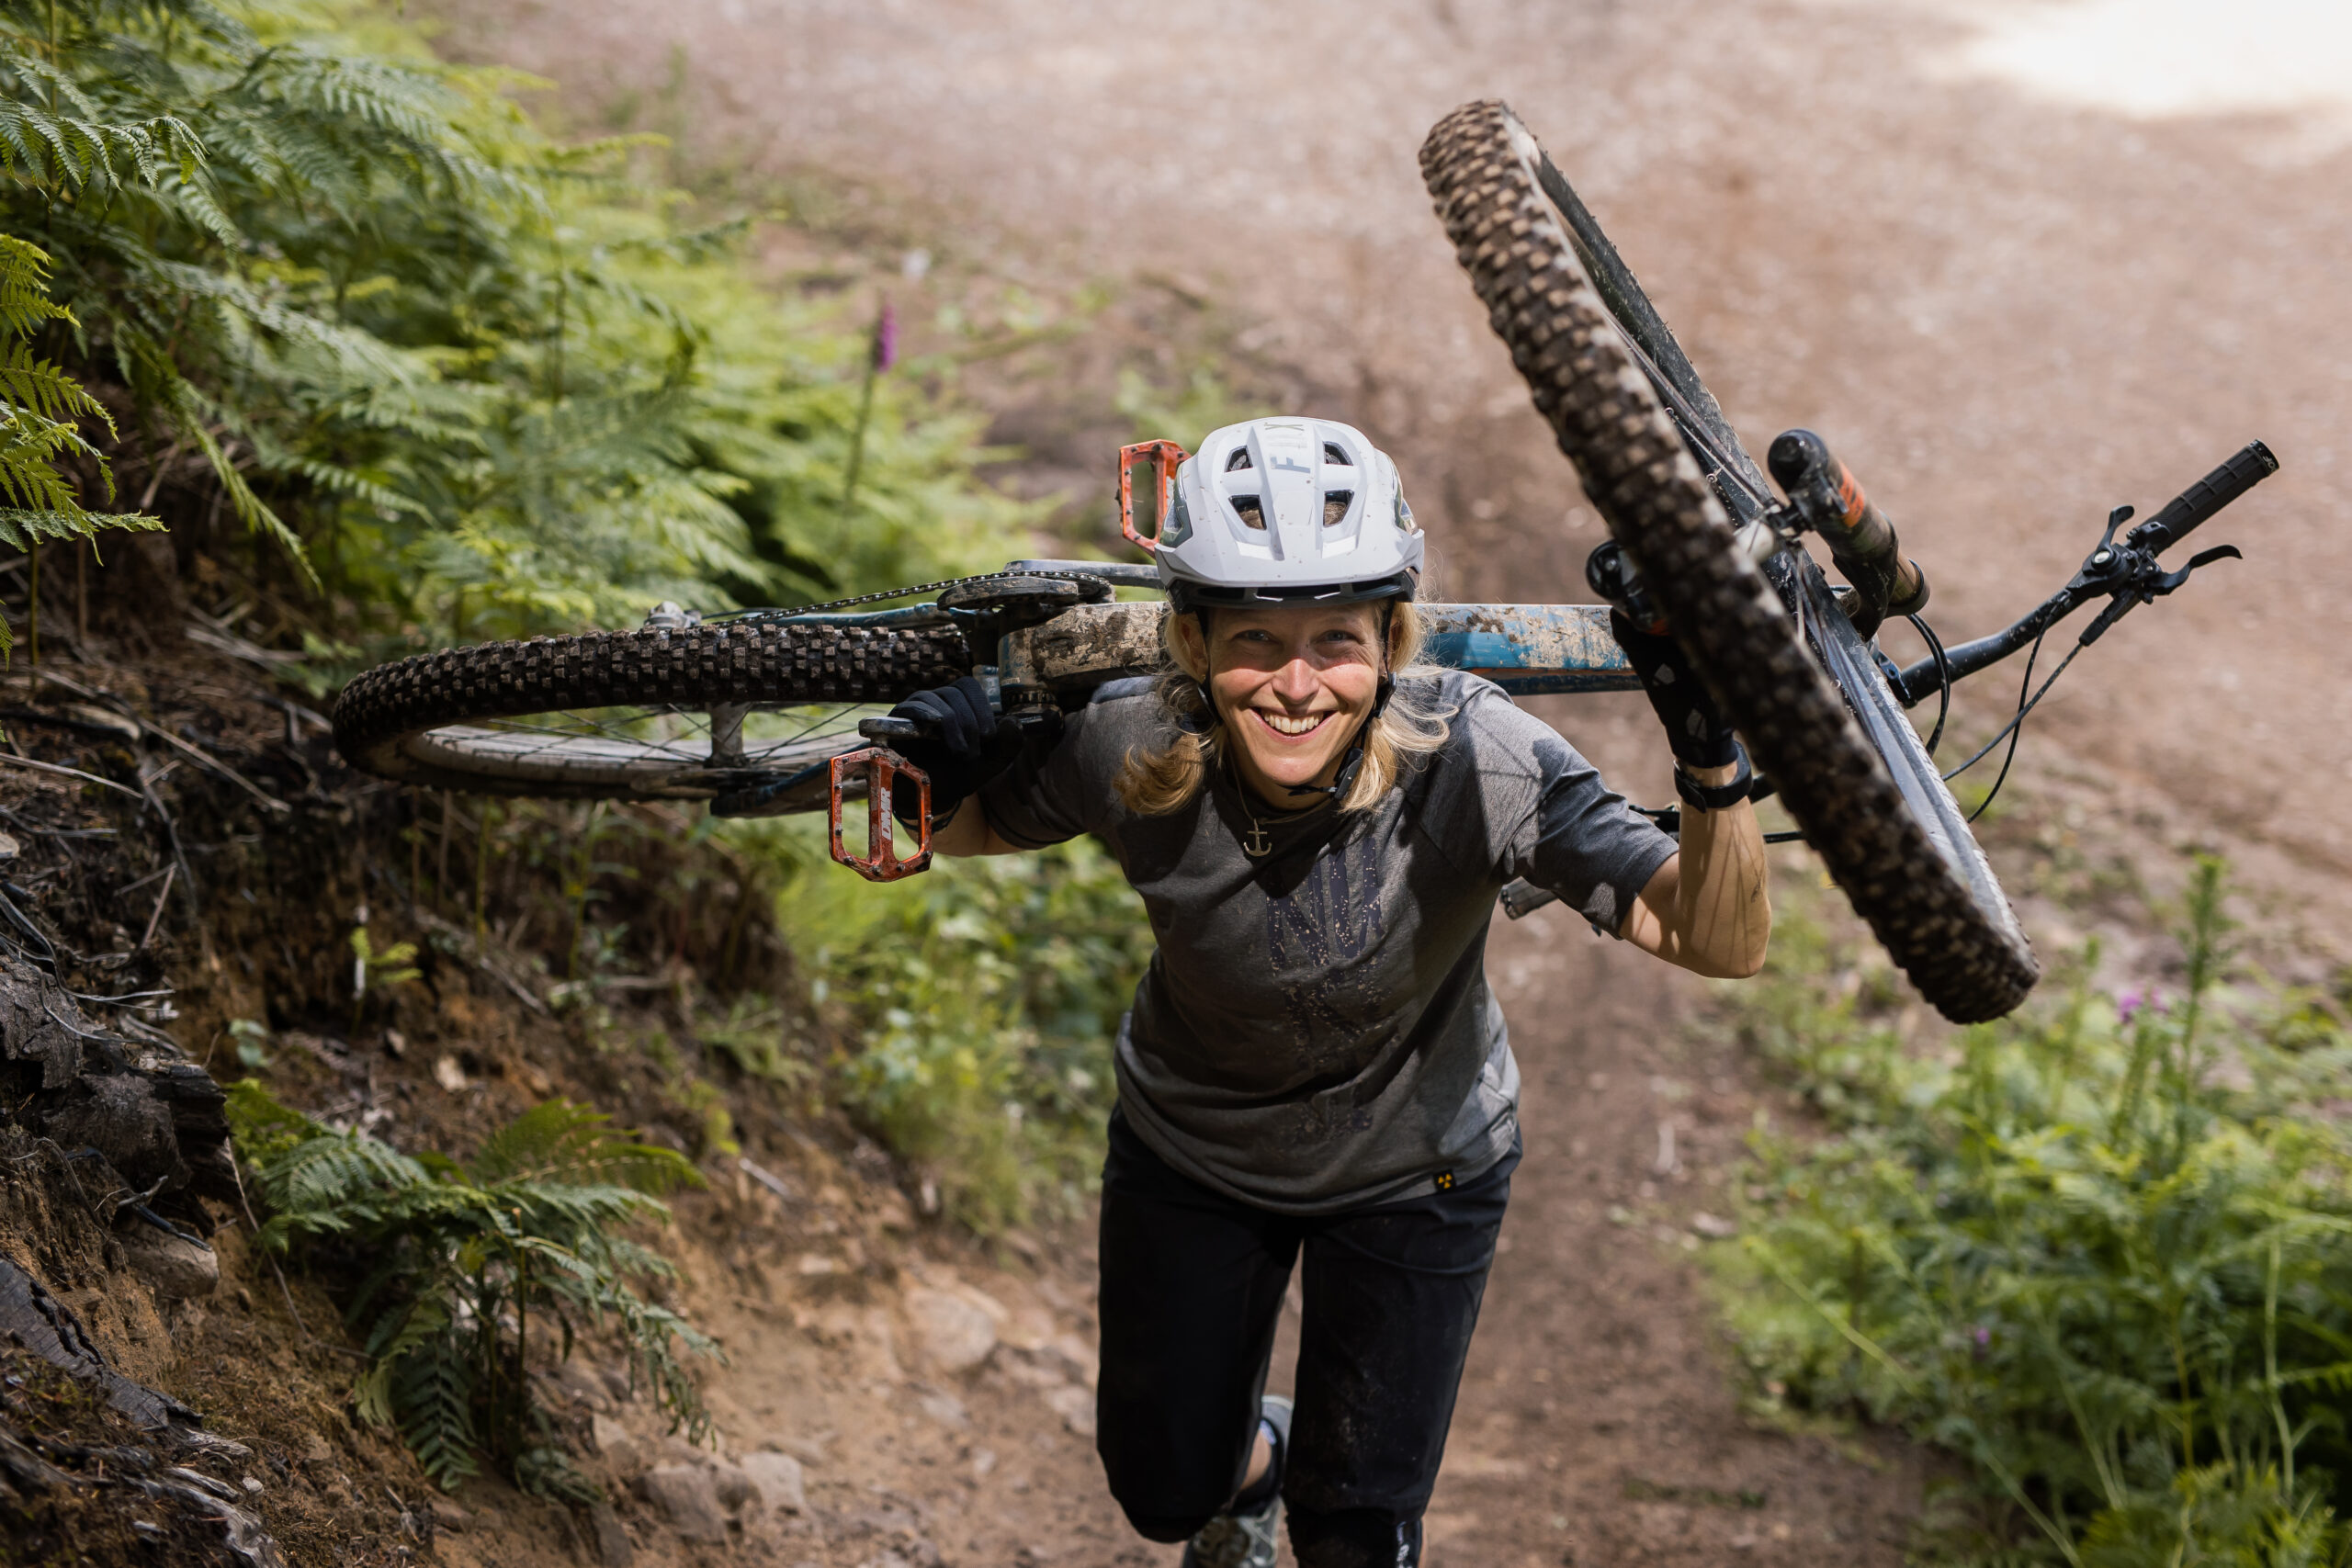
Whether you’re looking for a fun new way to explore the outdoors, get fit away from traffic, meet new people, or push your skills on off-road terrain, mountain biking has something to offer everyone.
Mountain biking can seem intimidating at first – all that unfamiliar kit, trail jargon and high-speed riding through rough terrain. But don’t worry: getting started is easier than you think
In this guide, we’ll walk you through everything you need to know to start your mountain biking journey – from choosing your first bike and essential gear to where to ride and how to build your confidence on the trails.
What is mountain biking?

Let’s start with the obvious: for many of us, the term ‘mountain biking’ is a bit of a misnomer – mountain biking needn’t take place in the mountains.
At its most basic, mountain biking is a way to explore tracks and trails away from paved roads and cars.
Equally, for some, mountain biking means jumping off cliffs high in the mountains and riding at unbelievable speeds.

Wherever you sit on that spectrum, and no matter your aspirations, mountain biking is a fantastic sport for all ages that is becoming increasingly accessible for all abilities – and you don’t need much more than a bike and a helmet to get started.
Like all sports, there are sub-disciplines with different styles of bicycles developed to meet the particular needs of those terrains.
What is a mountain bike?
A mountain bike is purpose-built for off-road riding, with wide knobbly tyres for grip, suspension to absorb bumps and a strong frame designed to handle rough terrain.
The shape (geometry) of a mountain bike puts riders into a position that encourages controlled, comfortable and safe riding off-road. Flat handlebars and wide-range easy gearing enable riders to tackle terrain with ease – both up and downhill.
If you already own a gravel bike or hybrid, you can get a taste for off-road riding on gentle terrain, but they’re no match for a dedicated mountain bike.
There are lots of other features that define a mountain bike – check out our buyer’s guide to the best mountain bikes for more info.
What kind of mountain bike should you start with?
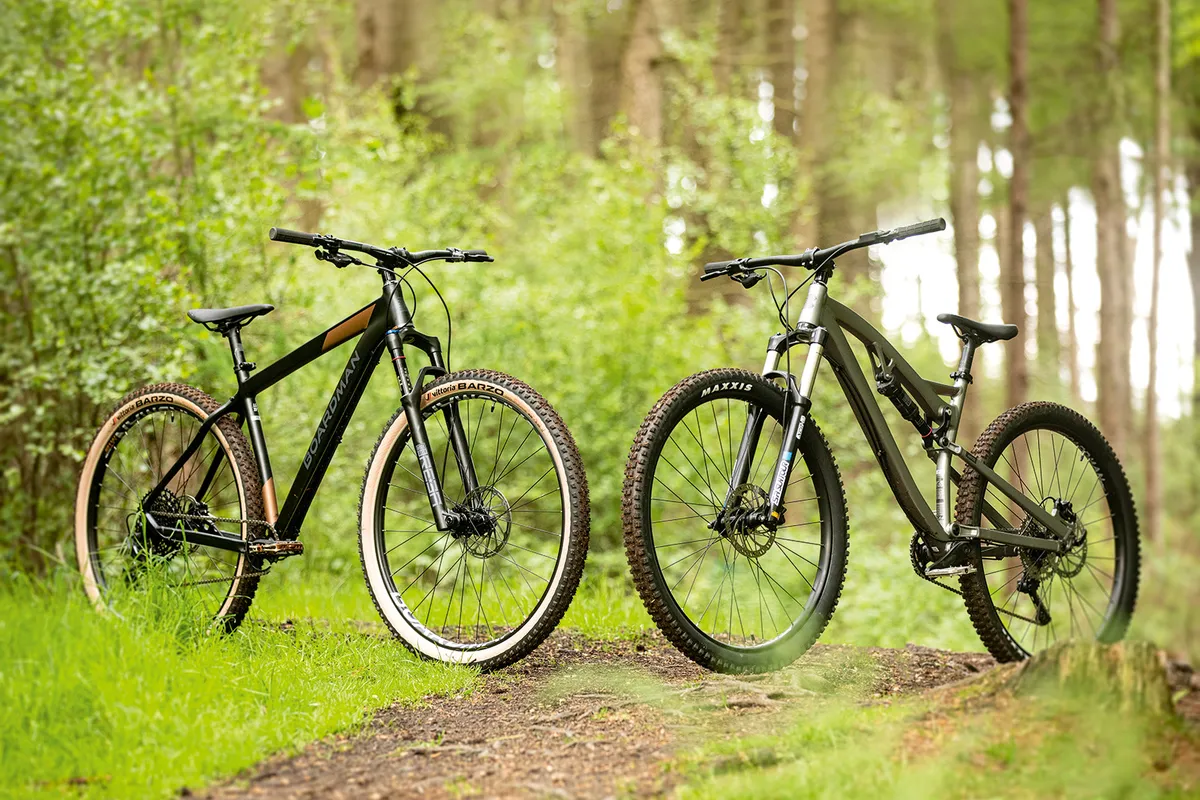
At their most basic, mountain bikes can be split into two forms: hardtail or full-suspension.
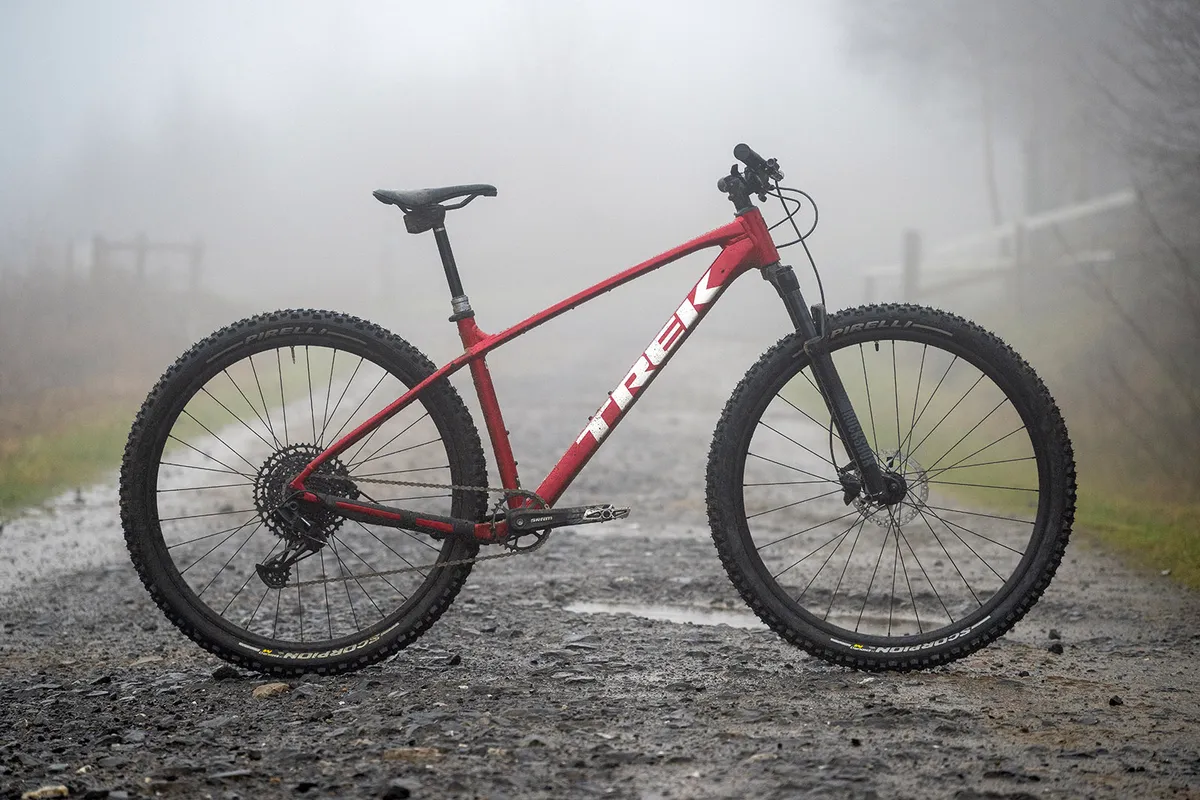
Hardtails

A hardtail is a mountain bike with a suspension fork on the front of the bike and a conventional rigid frame (hence the name).
There are different types of hardtail, with the amount of suspension (called travel) in the fork, combined with the geometry of the bike, denoting what style of riding it’s designed for.
Thanks to their comparative simplicity, hardtails are generally less expensive than full-suspension bikes – suspension components, especially good ones, cost a lot, so having half as much of the stuff brings the price down significantly.
Having only a suspension fork makes it easier to clean and maintain a hardtail, which is also great when you’re just starting out. This simplicity makes them a popular choice with beginners, but also more experienced riders who don’t want to trash their nice bike riding through typically wet and messy winters, particularly in the UK.
Many of the core skills in mountain biking relate to how you move your body to control the bike. With only a suspension fork, the moves the rider makes on a hardtail impact the control and ride of the bike more than a full-suspension bike.
Full-suspension

Full-suspension bikes have a suspension fork and a suspended rear end.
The rear triangle (the rearmost half of a bike) can move up and down on pivots, with a spring (shock) connected to the front triangle (the foremost half of the frame) absorbing and controlling (damping) that movement.
Full-suspension bikes are undeniably more comfortable to ride – the extra squish takes the strain off your joints, and can make rocky and rooty terrain far less impactful on the body. Compared to a hardtail, a bike with rear suspension can also improve control and boost speed on rough terrain.
However, the extra suspension makes them heavier, more expensive, and harder to set up and maintain, with the fork and shock needing semi-regular specialist servicing.
Full-suspension designs range from the simple to the fearsomely complex. For more info, read our ultimate guide to how mountain bike suspension types work.
The types of MTB explained

Beyond the simple distinction between a hardtail and a full-suspension mountain bike exists a massive variety of sub-disciplines, with each type of bike designed for different types of riding. Here’s a topline explainer of the key categories:
- XC (cross-country) mountain bikes: lightweight and with between 100 and 120mm travel, these bikes are focused on cross-country racing, and are designed to be fast and efficient to pedal
- Downcountry bikes: typically from 110 to 130mm travel, downcountry bikes are comfortable on more rugged terrain than XC bikes, but still fast and easy to pedal
- Trail bikes: these bikes have 130 to 150mm travel, and they’re designed to be easy to pedal uphill, as well as comfortable going down
- Enduro bikes: typically with 150 to 190mm travel, these bikes are strong and robust. They cope with steep descents and a wide range of terrain, but are still designed to be pedalled uphill
- Downhill bikes: designed purely for descending the steepest and roughest terrain, downhill bikes have a small range of gears and a large amount of suspension (typically around 200mm). They even have a different style of suspension fork (triple crown) from almost all other MTBs
- eMTBs: a growing sector, which is helping many MTBers ride for longer (both in hours and age), these bikes fall into two categories – lightweight eMTBs with smaller batteries that feel more like a conventional bike when riding, and ‘full fat’ eMTBs with a large battery range and correspondingly heavy weight
- Adaptive bikes: while we’re focusing on mainstream mountain bikes, the exciting world of adaptive cycles, including adaptive tricycles that can be ridden off-road, shouldn’t be overlooked. Check out our full guide to adaptive bikes for more info
So, what kind of mountain bike should a beginner buy?
The right mountain bike for you depends on two key things: what kind of riding you want to do and how much you’re willing to spend.
If you’re mainly riding mellow trails or just getting into the sport, a hardtail offers great value and simplicity.
If you’ve got a bit more to spend and want to tackle rougher, steeper terrain, a full-suspension bike could be a better fit.
If you’re unsure, try demoing a few different bikes. Many shops and trail centres offer demo days or short-term hire, giving you a feel for how different styles of bikes perform.
Just remember: mountain biking is an addictive pastime and you’ll soon find yourself justifying a second, third or fourth mountain bike once you get a taste for it. Whatever you start with can always be replaced.
What gear and clothing do you need to start mountain biking?
Essentials

There’s a whole world of mountain-biking specific clothing and accessories to explore, but don’t feel overwhelmed – you need very little specialist kit to get started with mountain biking.
The primary thing you need beyond a bike is a helmet. Helmets vary in shape and size, so try on a few to find the brand that suits your head best.
- Read more: Best mountain bike helmets in 2025
Some riders prefer to ride gloveless, but we’d always recommend beginners invest in a pair of MTB-specific gloves. The full-length fingers offer comfort and grip, not to mention protection if you fall.
Mountain biking is a great workout, so a water bottle – if there’s a cage or mount on your bike frame – or hydration pack is crucial. Hydration packs can store snacks, too – also important!
While padded shorts, mountain bike shoes and a whole manner of other accessories are advisable if you’re serious about taking up mountain biking, they’re not essential if you just want to get started.
Useful extras

If you enjoy your first taste of mountain biking, you can start investing in better kit.
We’d recommend starting with a pair of mountain bike shoes.
You may wish to go straight to clipless shoes, which, despite their confusing name, feature cleats that clip into specially designed pedals. These can offer improved control on rough terrain, but take practice to master.
Instead, we generally recommend beginner riders invest in a pair of proper flat pedal mountain bike shoes. These have a firmer footbed and grippier, flat sole compared to regular trainers, which helps maintain connection with your pedals.

Falling off is part of the mountain biking experience, especially when you’re learning. It’s common to see riders wearing protective knee pads, with others adding elbow and torso protection, too.
Padded shorts can protect your backside from long days in the saddle. However, with more time spent pedalling out of the saddle, they aren’t as important as in other forms of cycling.
A multi-tool, spare inner tube, pump, puncture kit or tubeless plug are all worth carrying on a ride. These basic tools will help you tighten a bolt that’s come loose or fix a puncture, and keep you out longer.
- Read more: 7 trailside repairs you need to know
Where can you ride a mountain bike?
Trail centres

With a mix of maintained trails, parking and often luxuries such as loos and cafes, trail centres are a great place to go if you’re just starting.
They will have a range of trails for different skill levels and will give you an understanding of what each trail contains so you can decide whether it’s right for you to ride.
Trail centres offer grading for their local trails.
It’s important to remember there’s no unification of grading – a red in one area may be equivalent to a more technical trail in another area. It is simply a reflection of which are the easier and harder in that particular place.
- 🟢 Green: easy, smooth and beginner-friendly
- 🔵 Blue: slightly harder, with more features, possibly including berms and rollers, but you’re not expected to get your wheels off the ground on these trails
- 🔴 Red: more technical features, including rocks, roots and drops. Jumps can be included in these, too
- ⚫️ Black: generally the hardest, designed for the most experienced riders. These can include jumps with gaps between take-off and landing, large drops and unavoidable features. Sometimes, a run is given a black designation if it’s also particularly long
UK trail centre guides
If you’re based in the UK, check out our comprehensive guides to the best trail centres in each nation.
Natural trails

Alternatively, you may be lucky enough to have a range of natural trails locally.
In the UK, a cyclist’s right to ride off-road differs by nation.
In England and Wales, cyclists are welcome on byways and bridleways but not footpaths. They’re all well marked on OS (Ordnance Survey) maps.
Rights are more complex in Northern Ireland, with no general rights to cycle over open land.
The situation is simple in Scotland, with access to land enshrined via the right to roam.
A complex grey area exists in all nations, with unofficial trails – often built on Forestry Commission or private land – encouraged, tolerated, discouraged or detested depending on the land manager and local community’s feelings.
It’s best to ride with those familiar with the local riding scene if you’re interested in exploring these off-piste adventures.
Who can I ride with? Clubs and coaching

Making friends is a big part of mountain biking. Joining a club or having coaching can be a great way to find others who are at a similar level to you or who enjoy the same kind of riding as you.
A couple of hours with an MTB skills coach is a great investment – a coach will help you understand core skills such as braking and cornering.
You can join group sessions or have 1:1 private lessons at most trail centres, where you can go on to practise and build your confidence.
Skills and tips for your first ride
We’re not coaches, but these tips will help you feel relaxed and have fun on the bike:
- Look 3 to 5m ahead of you on the trail. Your mind will process the obstacles by the time you reach them, helping you roll and your ride flow
- Use both brakes evenly – it’s an old wives' tale that you need to use one more than the other. ‘Feathering’ is what you're after, as opposed to ‘grabbing’
- Try to keep your body central over the bike: the aim is to keep both wheels pressing into the ground to hold traction. Going downhill, you’ll find standing up on the pedals with your arms and legs bent helps you move to balance the bike and absorb bumps
- There’s no shame in getting off and walking tricky bits, or if you’re just ‘not feeling it’ that day. The trail will always be there and coming back to those sections can be a great way of seeing how your skills are progressing
- It’s tempting to ride all the time when you first fall in love with mountain biking, but the trick is to ride little and often. Build your fitness, your confidence and try to ride in as many different places (and weather conditions) as possible to improve your skills
How to set up your bike for your first ride
Feeling comfortable on the bike is a great way to reinforce your confidence. We all have different proportions and preferences, so take time to try different positions and settings to find what works best for you. Our top tips are:
- Seat height: you can start by standing next to the bike and adjusting the seatpost so the saddle is roughly hip height. When you’re riding, you want there to be scope to flex your heel downwards on the foot that's closest to the ground. For more, read our in-depth guide to setting your saddle height
- Brake levers: depending on your riding position, try setting your levers between horizontal and 45 degrees towards the ground. Some lever blades can be adjusted to bring them closer or move them further away from the bar to fit your hands
- Reach: if you find you get a sore lower back when riding, it might be that you're reaching too far forwards to the handlebar. Check the length of your stem and see if you can fit a shorter one to bring the handlebar closer to you. Even one or two centimetres can make a big difference
- Tyre pressure: getting tyre pressure right will make a big difference to comfort and grip. Note: the right tyre pressure for you is almost certainly lower than that printed on the sidewalls of your tyres
- Pedals: don’t feel any pressure to use clipless pedals when you’re starting out. Flat pedals mean you can dab your foot on the ground without a second thought and will help you learn to use your feet to increase grip on the bike. The flat pedals that came with your bike will almost certainly be small and slippery. A pair of larger, grippier pedals will boost your confidence greatly
- Gears: familiarise yourself with the gear system on the bike you’re riding. The majority of MTBs now run a 1x system, with a single chainring at the front and a full range of gears on the rear cogs (the cassette). The right-hand lever controls these
- Suspension setup: suspension needs to be adjusted to suit rider weight and style. The most important concept is setting up ‘sag’ – how much the suspension compresses when you're sat on the bike without moving. If you have too much sag, it feels as though your efforts to pedal or move are being absorbed in the suspension; too little and the ride can feel hard and unpredictable