


We’ve all had it happen. You go to remove your pedals, cranks or perhaps seatpost and the part just won’t budge. A few will eventually find success after much swearing, some resort to assistance from the local shop, while others persevere until something goes terribly wrong.
Perhaps the items have become corroded, the last mechanic got a little too generous with the Loctite – or maybe it was over tightened somewhere along the way.
Every good professional mechanic will have their own little tricks to free something that no one else can. Some of these tricks are pure genius, while others are a little bit of black magic and only occasionally end in success. While it’s not possible to cover all of these, below are a few common pointers that may help you avoid frothing at the mouth with anger.
Turning it the right way
Threaded components on bicycles can be confusing – not everything will work with the old lefty-loosey, righty-tighty method. For example, the left pedal is reverse threaded (lefty tighty, righty loosey), while the right side bottom bracket cup on most frames is also reverse threaded.

“The first thing that needs to happen is verification," confirms Jason Quade of Abbey Bike Tools. "Are you turning the bolt the correct way to loosen it? Is the fastener stuck because of some other fastener?
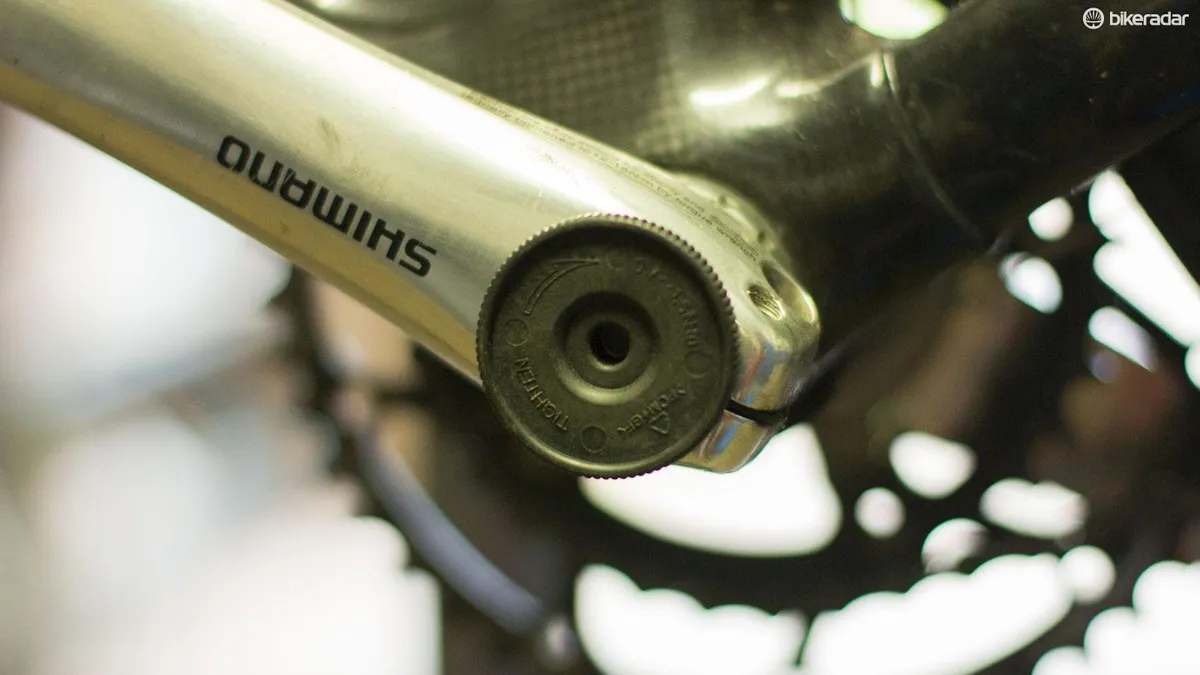
"Think of the Shimano pre-load cap – it won't come out unless the pinch bolts holding the crank on are loosened first. Is there a cotter pin or safety wire adding extra security that needs to be removed? These are rare in cycling these days, but they aren't uncommon in industry.“
Handy tip: one easy way to remember how to remove pedals is that they always undo toward the back of the bike (assuming you’re facing the front).
A good fit is crucial
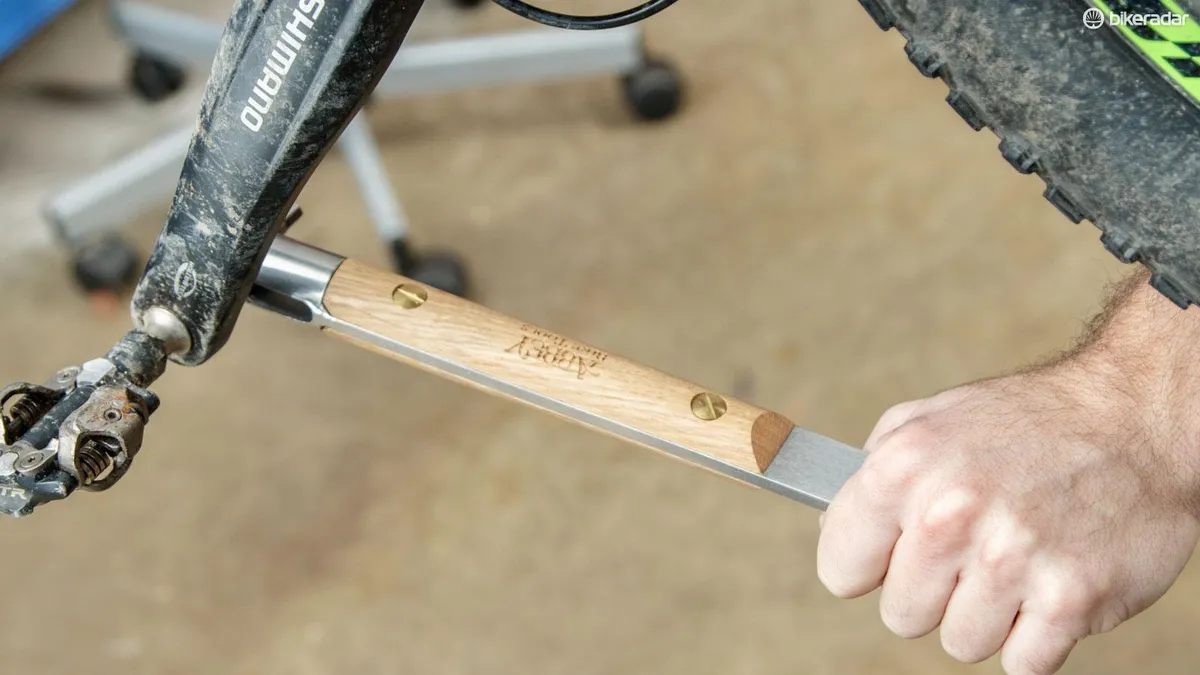
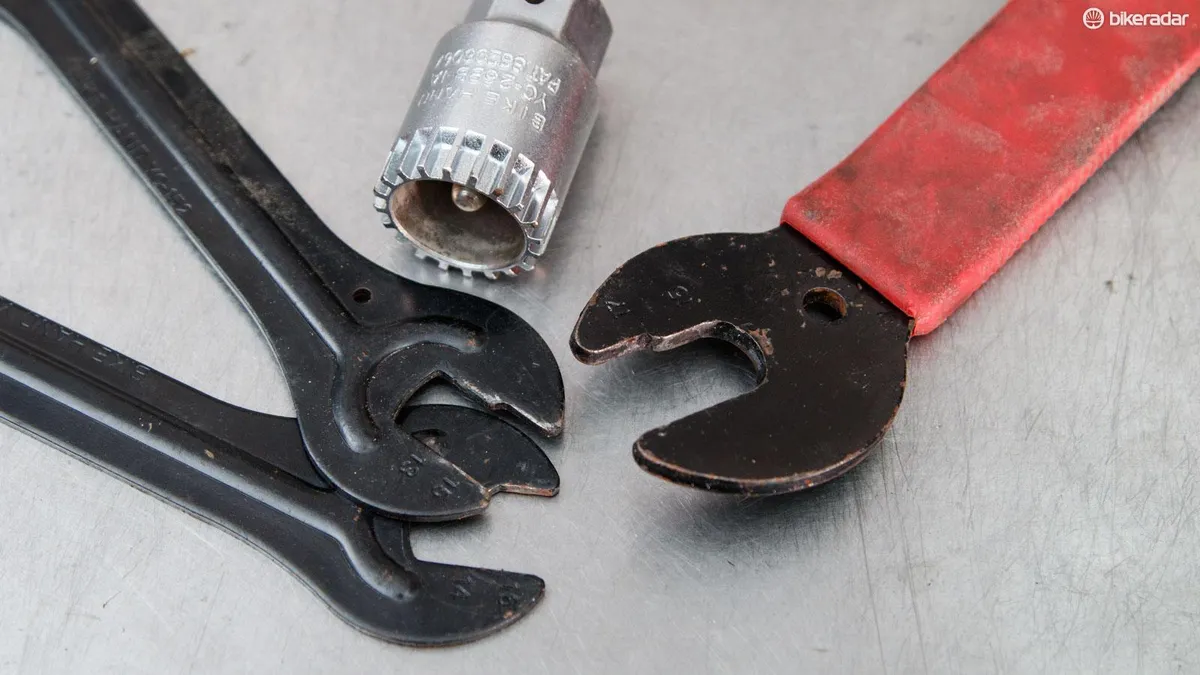
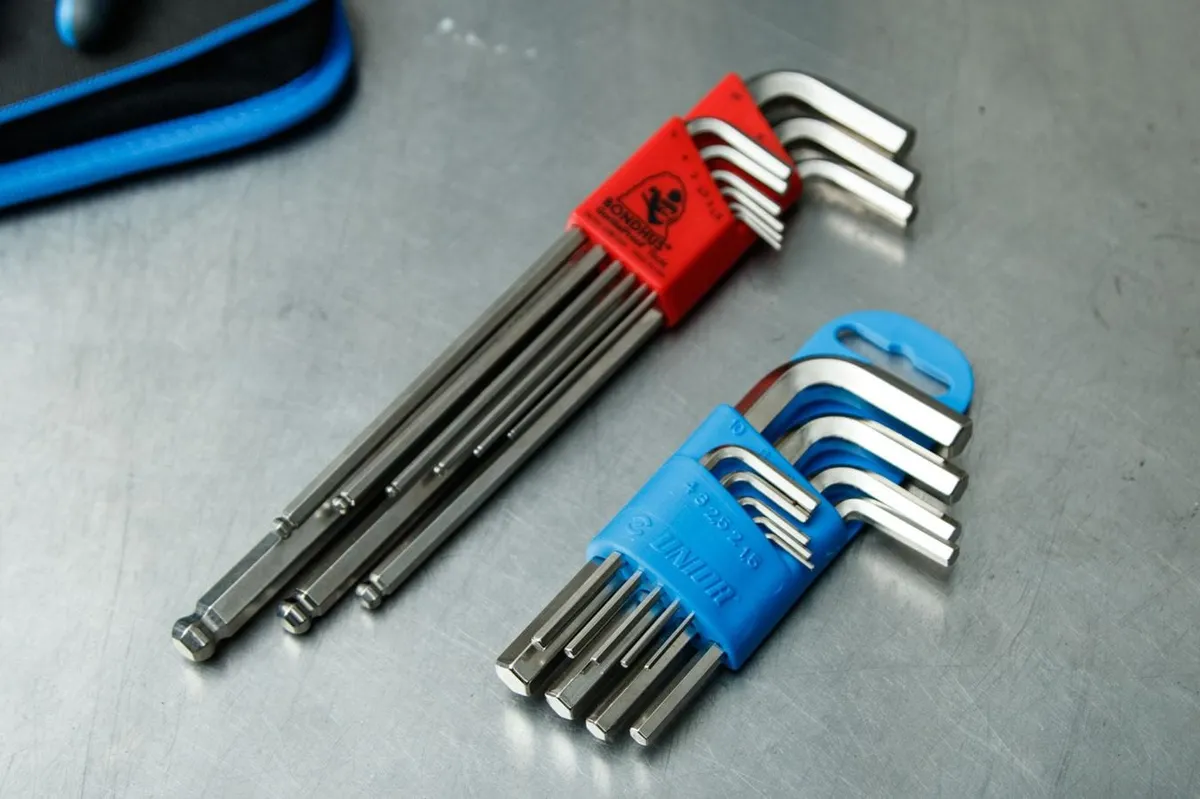
Dealing with a stuck item is not the time to try use the wrong tool for the job – you’ll likely make a mess of the situation. And even if the tool is right, as highlighted in a past column about cheap tools, tolerances are critical when dealing with a stubborn fastener.
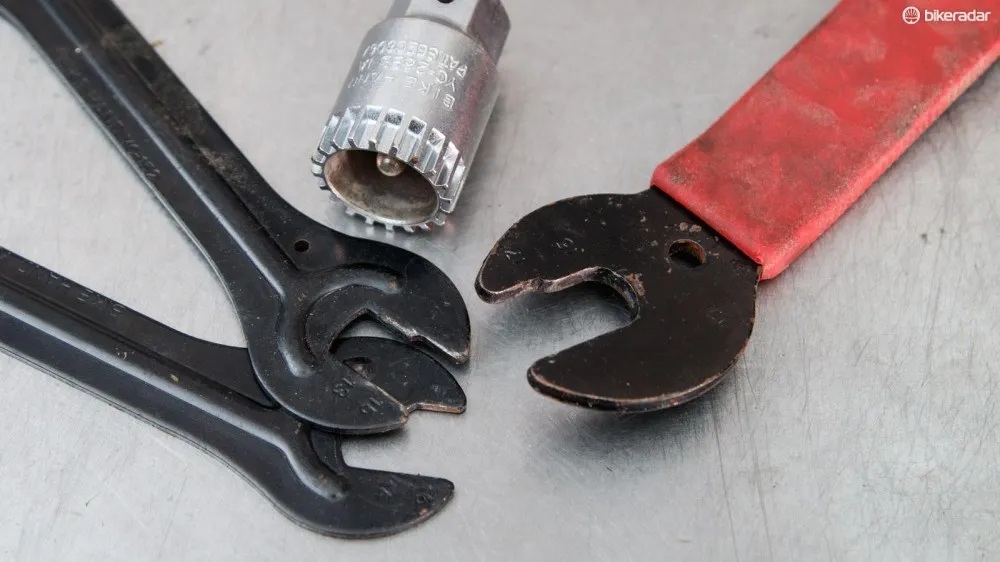
“Making sure your spanner/socket/driver is in good shape is important. If it's got rounded corners or a sloppy fit you are quickly going to go from removing a stubborn bolt to removing a stripped bolt, which is definitely going backwards,” says Quade.
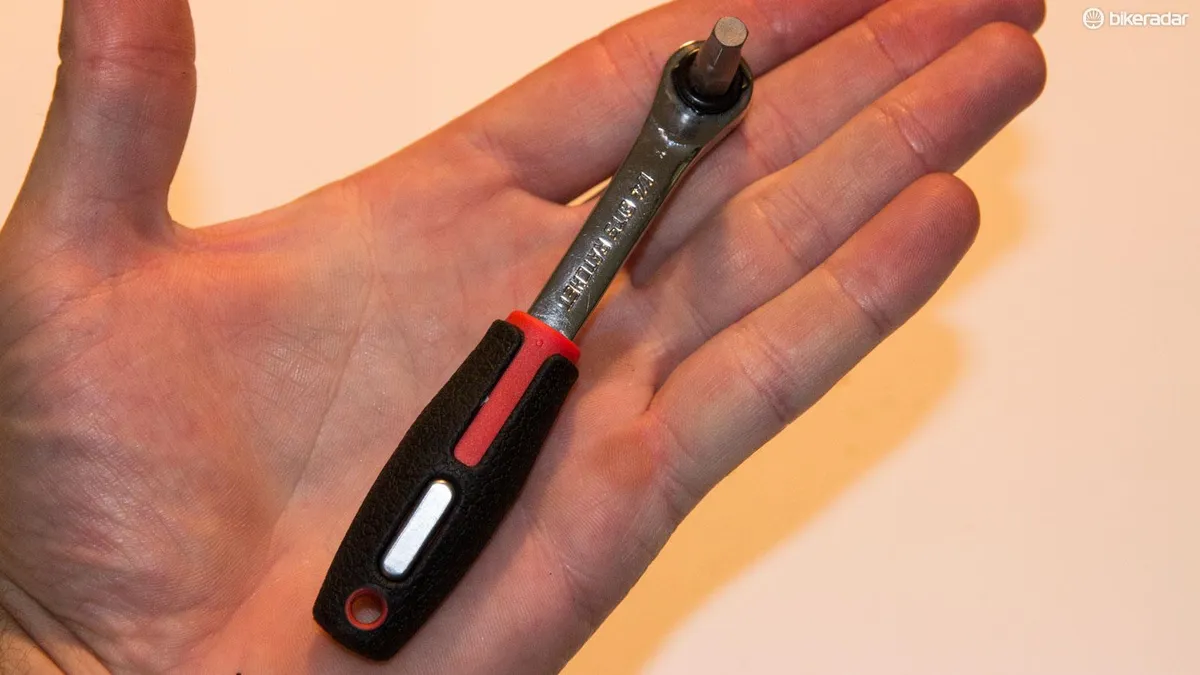
Further to this, don't use a ball-ended hex wrench on anything tight – you're likely to round the fastener or just snap the ball off the tool.
Leverage and impact
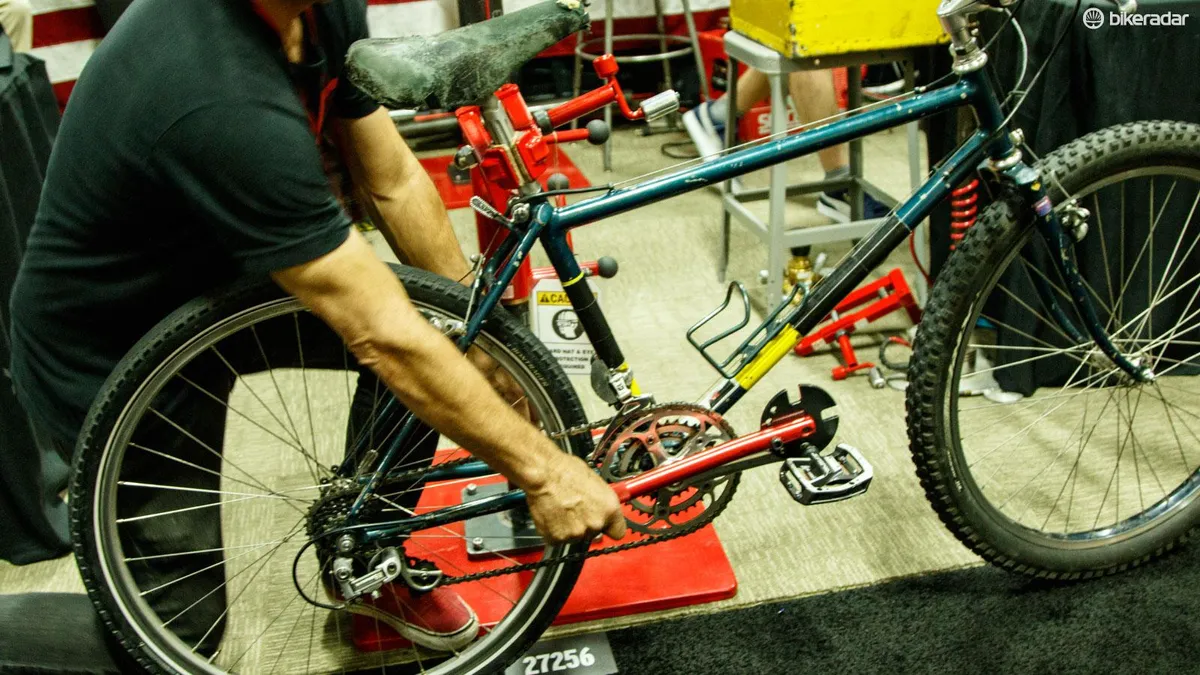
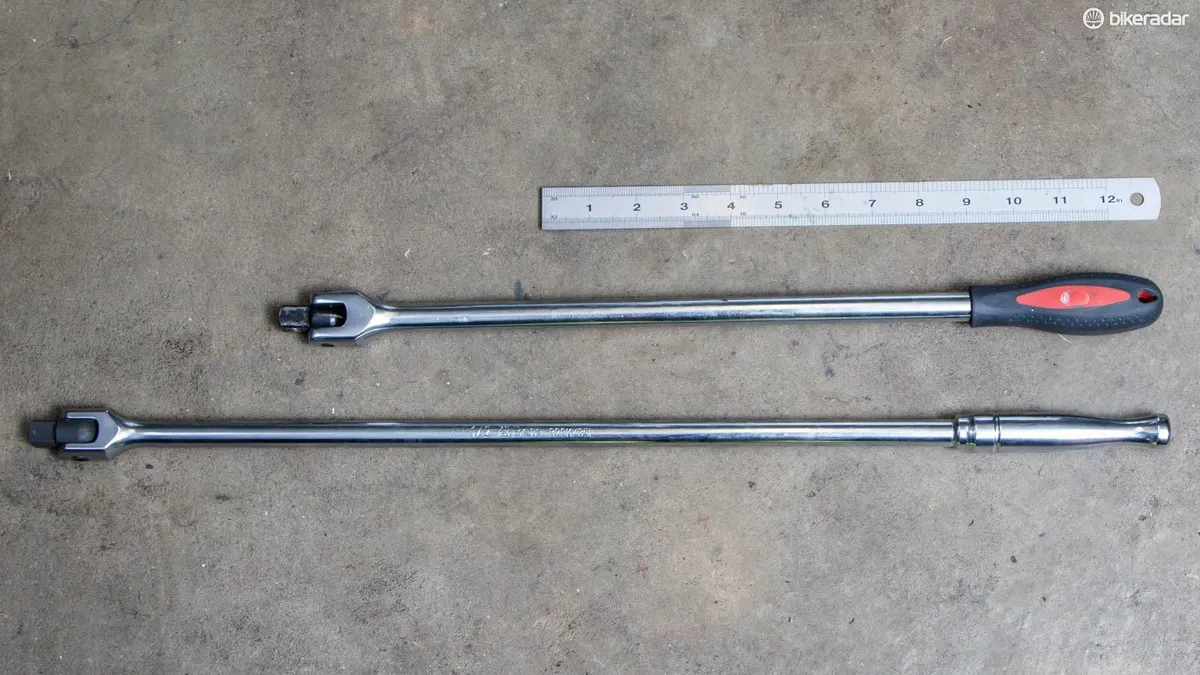
My time spent working in bike stores proved that the majority of stuck items on customers bikes came from a lack of leverage. Far too many people would try to free a tight pedal with a basic 15mm spanner or remove a crank with a multi-tool. These tools may work for simple tasks, but they just won’t do for when an item is torqued tightly.

The ‘workshop’ variants of tools will almost always be longer than the cheaper consumer version, leverage being the simple reason for this.
When I’m feeling defeated, I commonly reach for my 24in-long breaker bar and appropriate socket. This gives me near double the leverage over any cycling-specific tool and is rarely defeated.

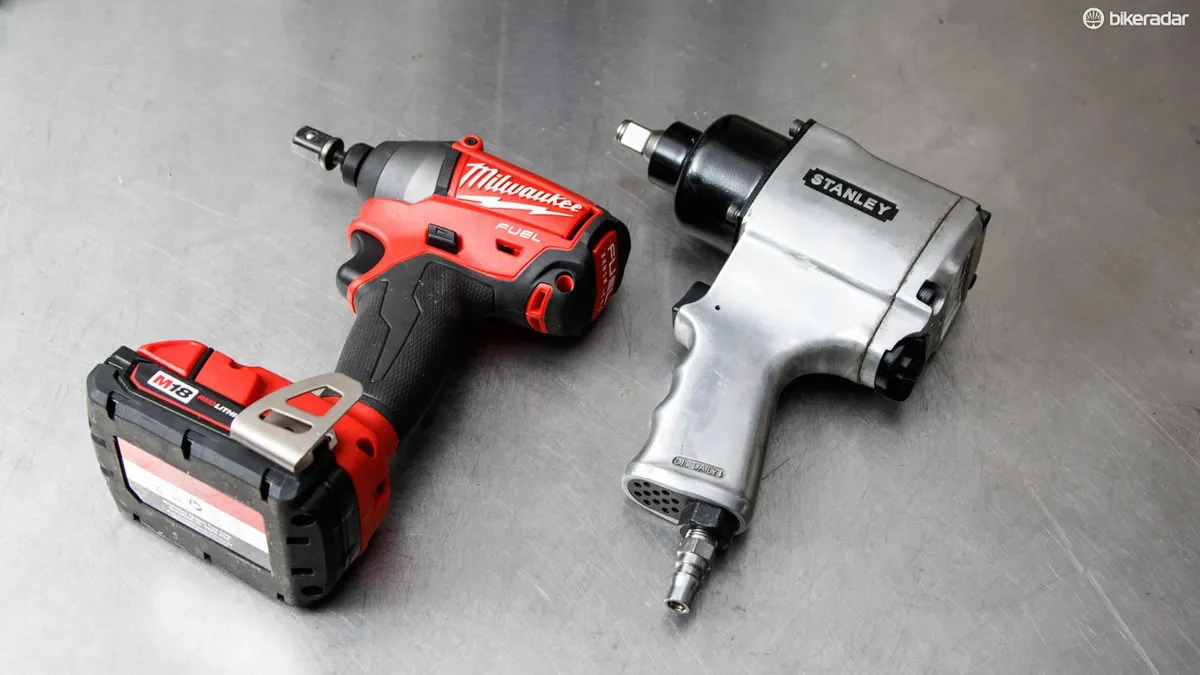
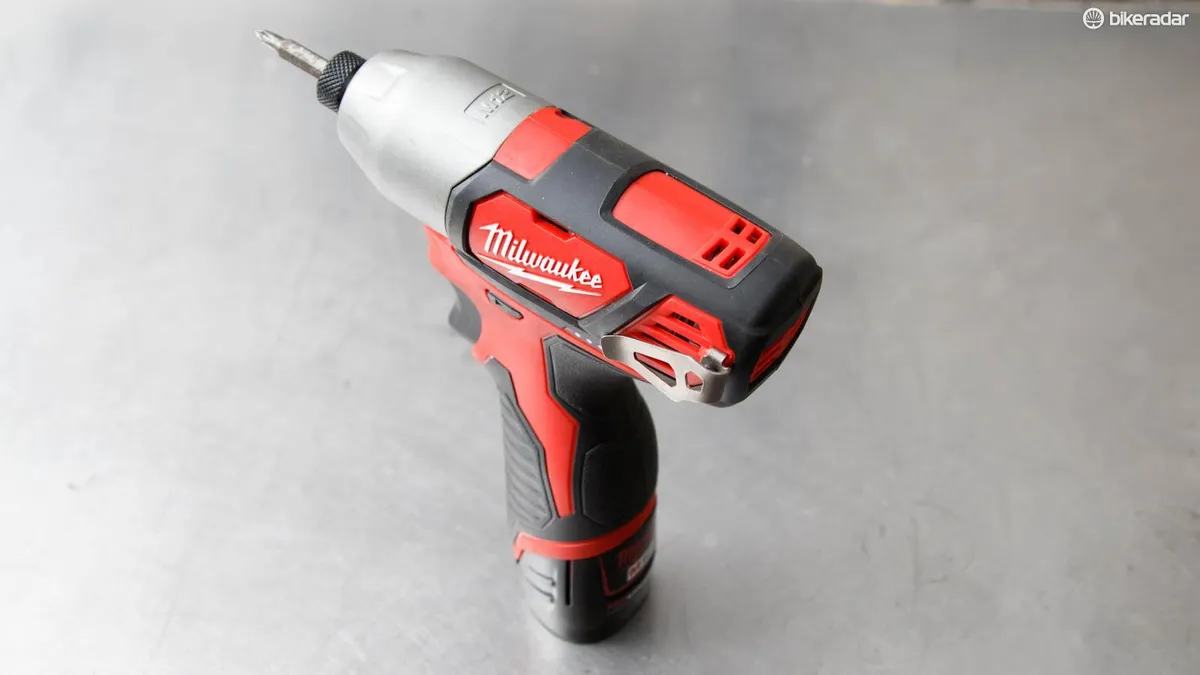
Quade also suggests that impact can often work even better than leverage. (Keep in mind though that impact often requires electric or air driven tools, something that’s more costly for the home mechanic to attain.)
“The concussion of a small impact gun can often work significantly better than extra leverage or brute force. The small 12-volt cordless impact drivers that are becoming common can often be just what the doctor ordered,” says Quade.

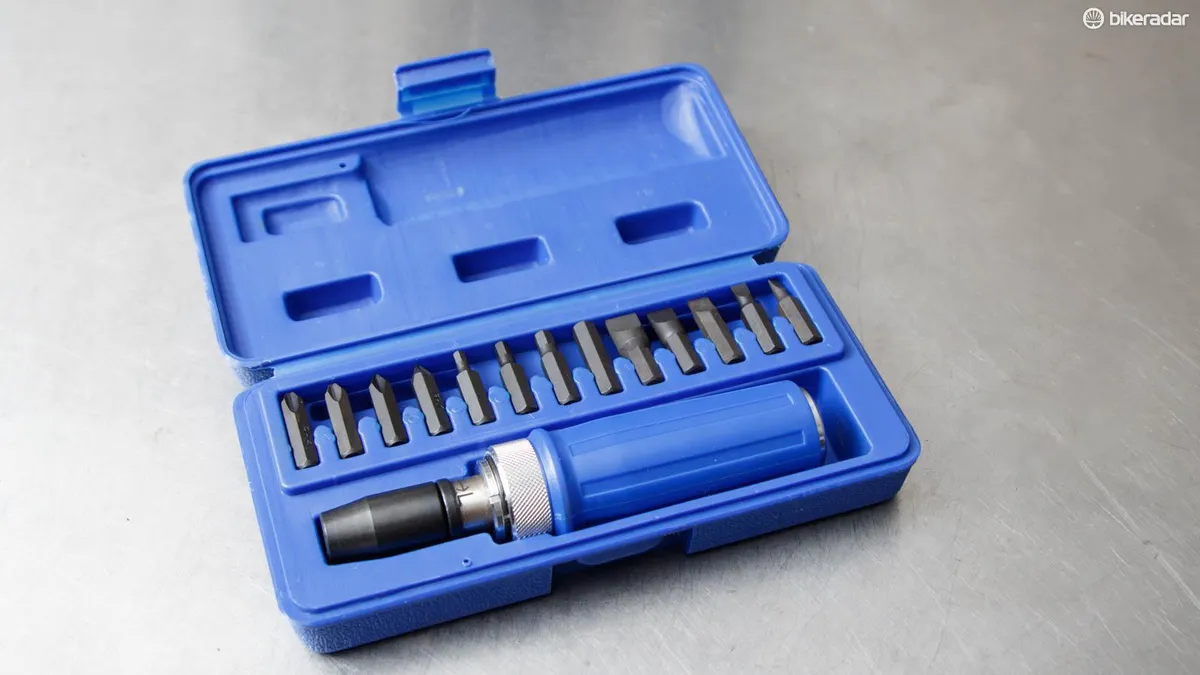
A cheaper impact option is that of a manual impact driver. These things look like a fat screwdriver, which are operated with the use of a hammer. While they’re unlikely to work for the likes of a stuck pedal, they may just be perfect for rescuing that stuck disc rotor bolt or even crank bolt.
Just don’t be tempted to use a hammer directly on your normal tools. “I've never been a fan of hitting tools with a hammer unless the tool is bolted to the stuck fastener," Quade goes on. "The hammer blow always seems to cause the tool to cam off of the fastener leading to damage.”
Putting the bike in the right place

Brett Flemming, owner of EVT (Efficient Velo Tools) was at Interbike demonstrating the use of his products to US-based dealers. With this, he showed that putting the bike on the ground is often the best way to properly load a bike when things are stuck. It’s a big reason why his professional bike stands can drop to the ground.
Assuming the bike is secure and not going to topple, your foot is a valid and smart method to push on a wrench. Your legs are likely a whole lot stronger than your arms, and you’re able to properly put your weight onto it. I commonly undo tight pedals this way, especially those that need a hex wrench.
If you do keep the bike in the stand, make sure the seatpost and not the frame is clamped. Wrenching hard with a clamped frame can quickly lead to cracking – it’s not a mistake you want to make.
Stop. What are you doing?
Before you go leaning hard on that wrench, stop and think about where your weight is going to go if the bolt or something else snaps free.
The most common mistake here is undoing pedals downwards and towards the chainrings. Always try to orient the wrench so that your hands aren’t going to end up a bloody mess. If for some reason this just isn’t possible, then put the chain on the big ring and find a thick rag to heavily wrap and pad out the whole crank with.
Also keep in mind of where your forces are going. No point loading all your weight into the fastener if the load is just going diagonally (likely resulting in cam out).
Keep your temper, try temperature
While penetrating oil is a common suggestion for aiding in properly stuck items, heat is often a quicker and more effective tool.
“When you come across something stuck, really stuck, just remember: some like it hot!" advises Calvin Jones of Park Tool when asked for tips on freeing stubborn fasteners and posts. "Get some heat on the issue, but not too much.”
Heat, Jones points out, changes the diameter of the fittings just a bit.
"Aluminum is especially susceptible to expansion with heat – but don't be tempted into using open flame, such as a propane torch," he continues.
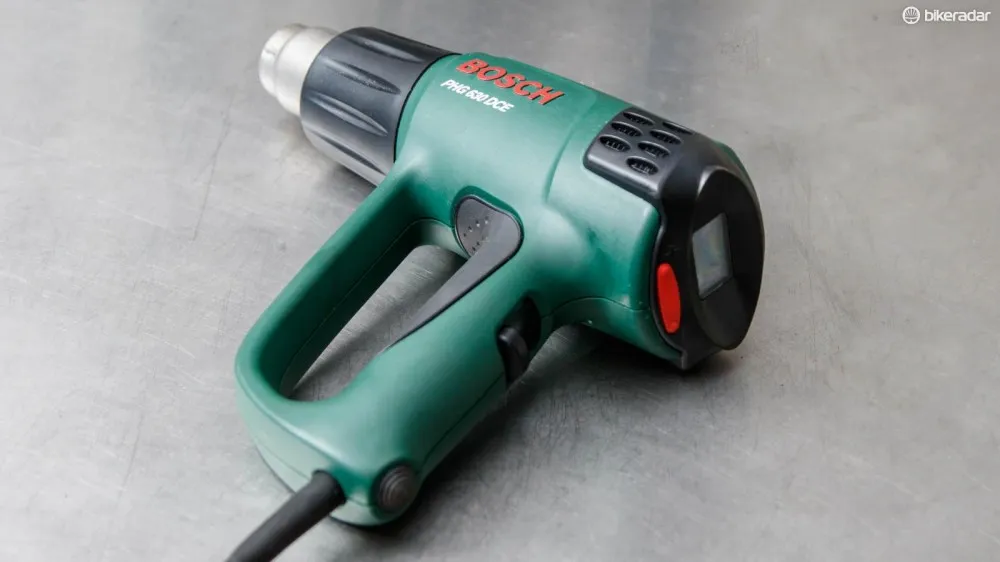
"A heat gun or even hair dyer can get you enough of a change in material to make a difference. Don't have an air gun? Then get some hot water! Pour slowly for best effect, and take all precautions a clever person would take to not burn yourself,” Jones adds.
Quade echoes Jones’ sentiments on the matter of heat.
“Heat can be your friend, but be careful," he counsels. "Some high strength thread retainers, like Loctite 263, are heat sensitive. Heating the area to above 550F / 260C can make them easy to remove.
"Bike parts commonly see dissimilar metals with drastically different rates of thermal expansion, and heating them to a much safer temperature can often bring results without destroying finishes or worrying about the heat treat on the material,” Quade says – though he adds that heat should be used a last ditch effort because of the risk of further damaging something else.
Prevention is key
While you can’t prevent things you had no control of from the beginning, you can safeguard your own bikes.

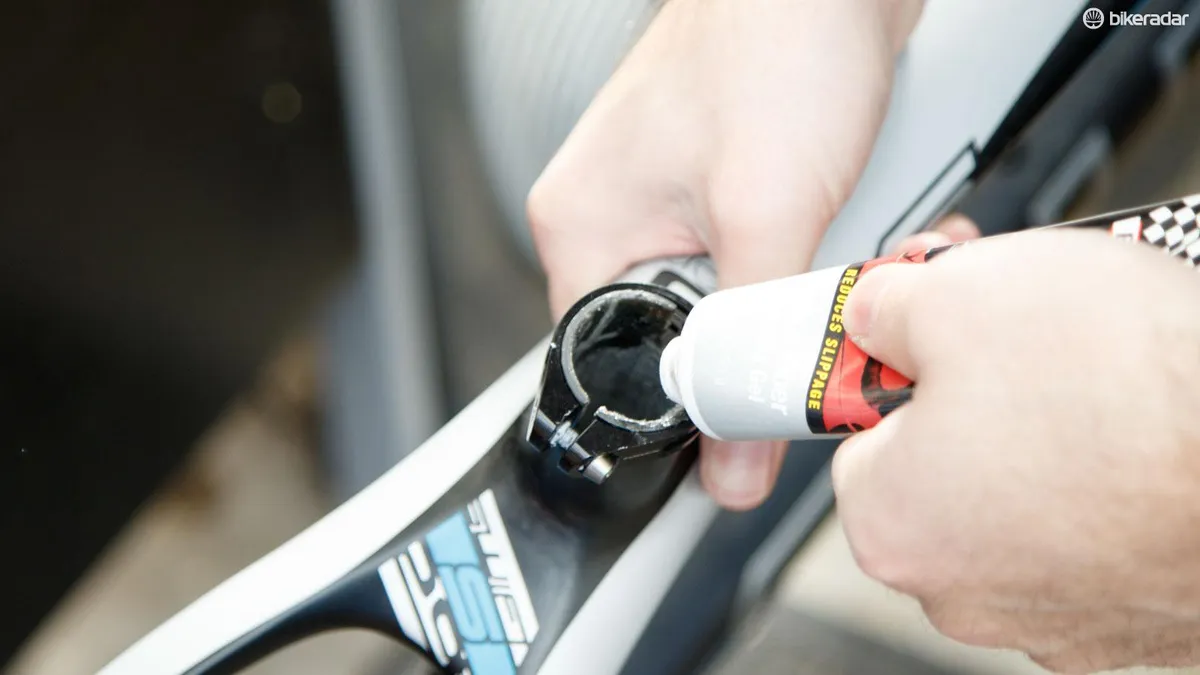
Always use an anti-seize paste, grease or suitable Loctite on a threaded component to stave off corrosion. The same goes for a metal seatpost in a metal frame, where a little grease goes a long way. If it’s carbon or your metal post is constantly slipping, then consider the use of a carbon friction paste. If it’s been a long time since you last moved your seatpost: take it out and apply some grease.
Many stuck fasteners are the result of having been over tightened. A torque wrench is a good friend to prevent this from happening in future.
Lastly, if you're dealing with a fastener that's looking and feeling worn or rounded out, then replace it. That fastener is never going to get any easier to work with, and it's highly likely to cause a headache in the future if you do manage to get it snug 'one more time'.