When well set up, disc brakes provide powerful and consistent braking, as well as being quiet in most conditions.
Whenever you change the disc brake pads or rotors, it's essential that you wear off surface glaze and contamination to enable optimal performance. Bedding in your disc brakes transfers some of the pad's material onto the rotor to enable them to better mate together.
It's best to bed in your disc brakes in a controlled manner rather than just going out for a ride, to avoid transferring too much material and clogging the pores of the disc brake rotor.
In this guide, we'll take you through some simple steps on how to bed in your disc brakes. Although we've demonstrated the process on a gravel bike, these steps are also applicable to road, hybrid and mountain bikes.
1. Make sure both pads and rotors are clean

One of the biggest mistakes riders make is putting new pads into a system where the rotors are already dirty with oils or other contaminants.
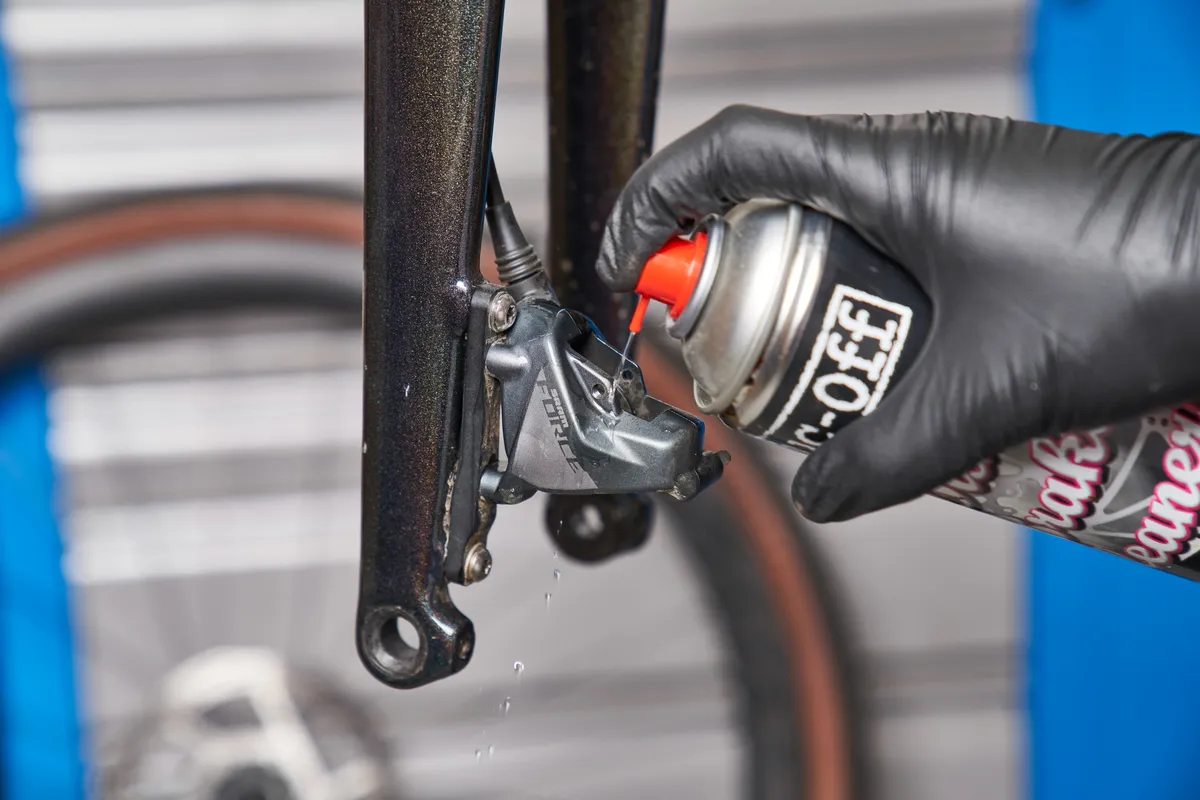
Whenever you change your pads, make sure you scrupulously clean the disc brake rotor with either isopropyl alcohol or a specific disc brake cleaner. Make sure you use a lint-free rag to remove any residue.

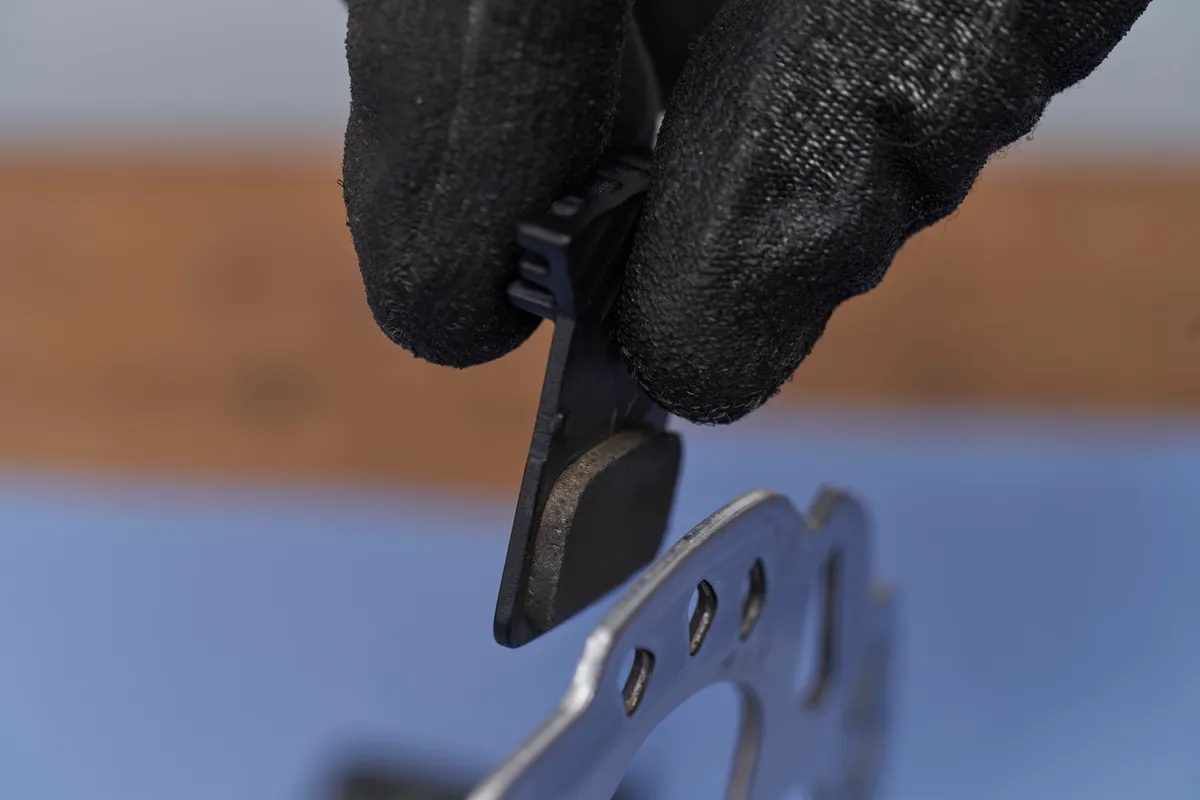
Also, avoid touching the braking surface of the rotor or the pad material with your fingers because the oils in your skin can contaminate them.
2. Find a safe place
It's best to bed in new disc brakes in a safe, car-free environment where you can repeatedly speed up and slow down safely. A long, gradual slope would be ideal, but isn't essential.
3. Keep it simple

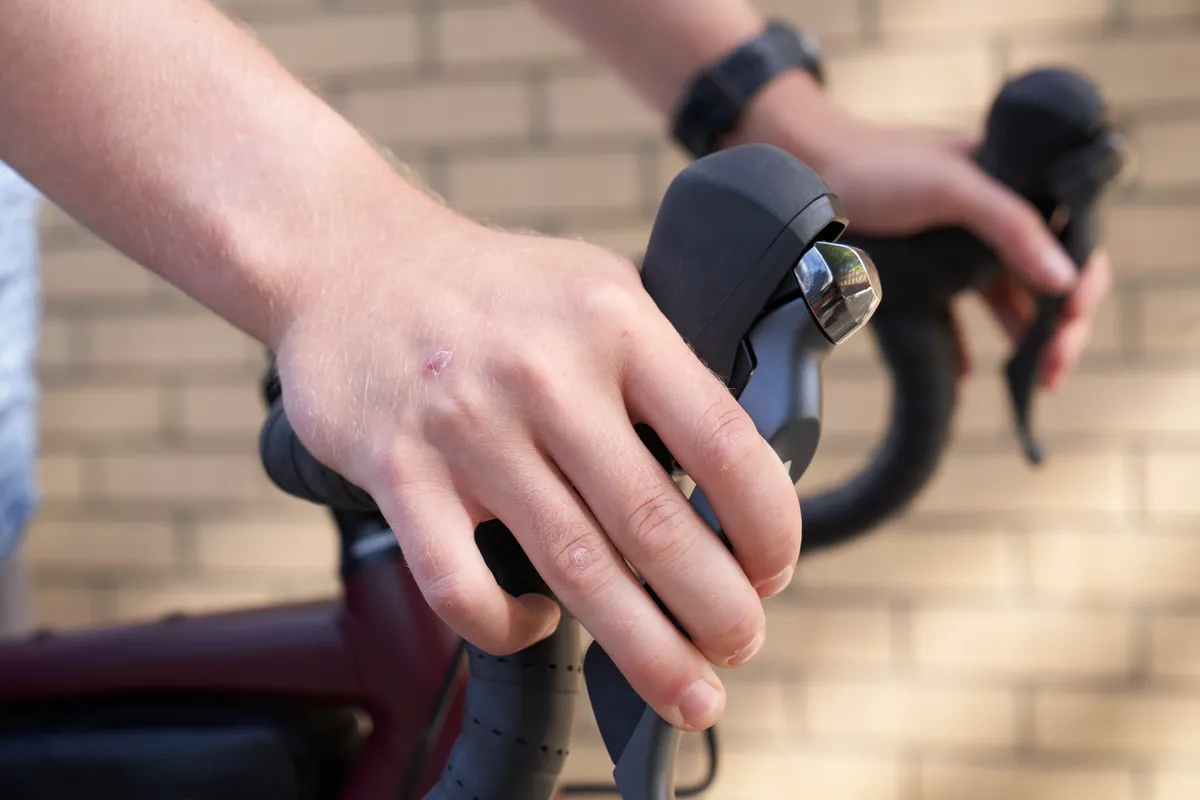
Staying seated on the bike, ride up to a moderate speed and then apply the brake. The goal is to drag the pads on the rotor to evenly deposit material between them.
Don't come down to a complete stop. When you reach a walking pace, release the brakes and speed up again.
When you slow down, avoid locking up the brake. All this will achieve is a heavy transfer of material in one spot.
4. Repeat 15-20 times

Repeat this process 15 to 20 times. You should feel the brakes becoming more powerful through the process.
Some people like to wet the caliper and rotor in clean, cold water after each stop cycle. The theory is the water creates a slurry between the pad and rotor, akin to a wet stone. We’re split on this and it isn't something brake manufacturers typically advocate in their literature.
Once you've completed the cycle, SRAM recommends leaving the bike for a while to let the brakes cool and allow the transferred material to set.
