Hayes Stroker brakes are often found as original equipment on new bikes. Bleeding them regularly, as with all hydraulic brakes, will really boost their performance, and you should do this at least every 12 months. Here's how.
Tools
- Hayes bleed kit
- Plastic catch bottle
- Isopropyl alcohol or disc brake cleaner
- Torque wrench
- Torx wrench
- Allen key set
- 8mm ring spanner
- 6mm open-ended spanner
- Elastic band
- Rag or paper towel
- Latex gloves
- Needle nose pliers
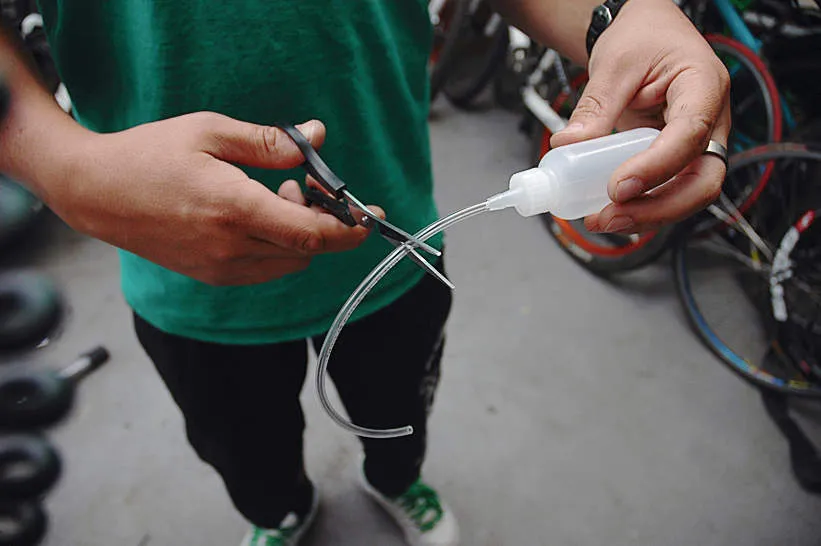
1 Assemble the bleed kit
Push the hose onto the nozzle of the bleed bottle. You need to do this dry, because lube can contaminate the oil in the system and may cause the hose to slip off the nozzle. Trim the end of the hose to about 60cm and push the removed section of hose into the black plastic adapter.
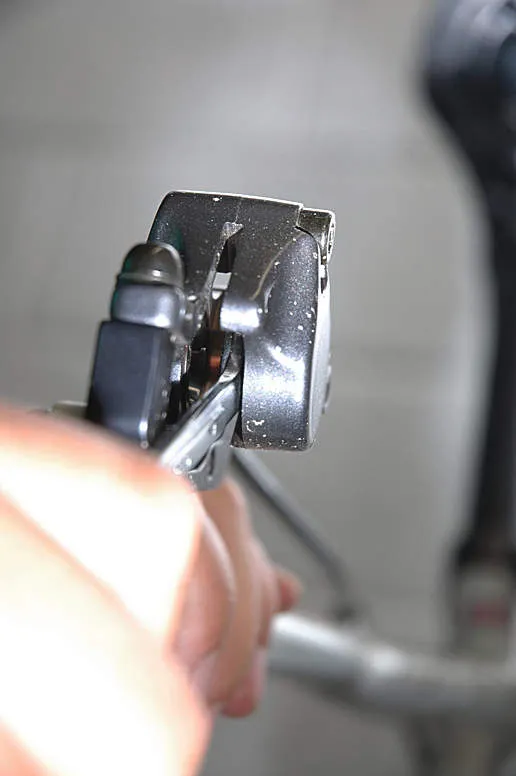
2 Remove brake pads
Remove both wheels, then remove the brake pads. For Trail, Carbon and Gram brakes you need to grab the lower tab with pliers, pull it towards the centre and downwards to unclip. With Ryde models you need to remove the retaining clip for the pad retaining bolt, and then remove that bolt with a 2.5mm Allen key. Make a note of the orientation of the pads and store them well away from the area you are working in.
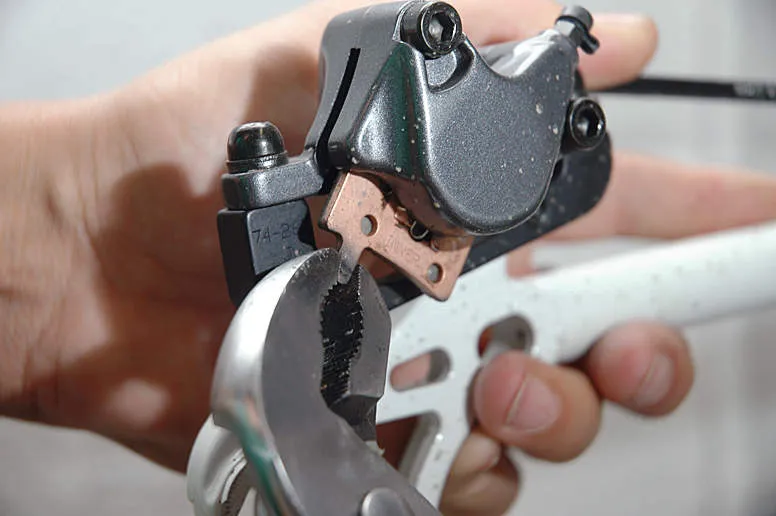
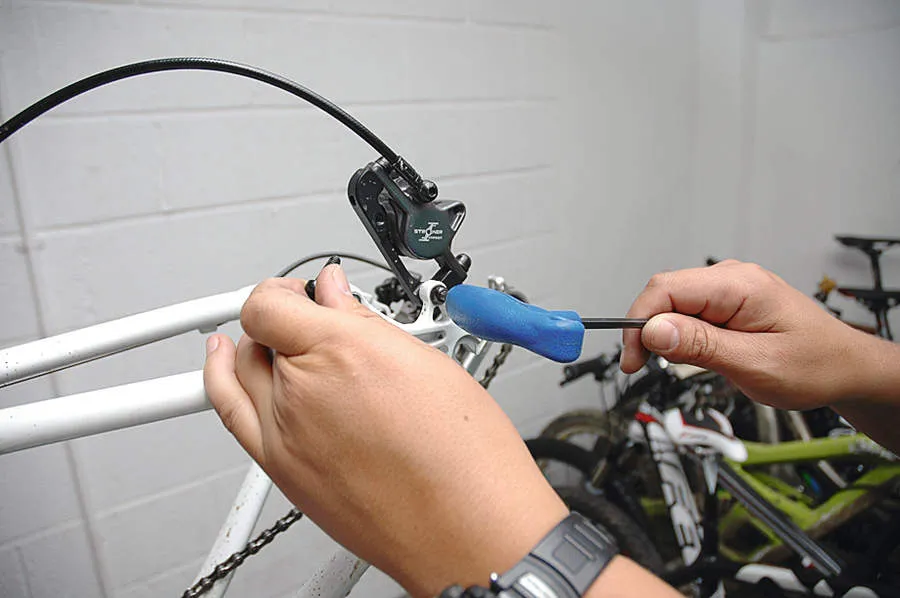
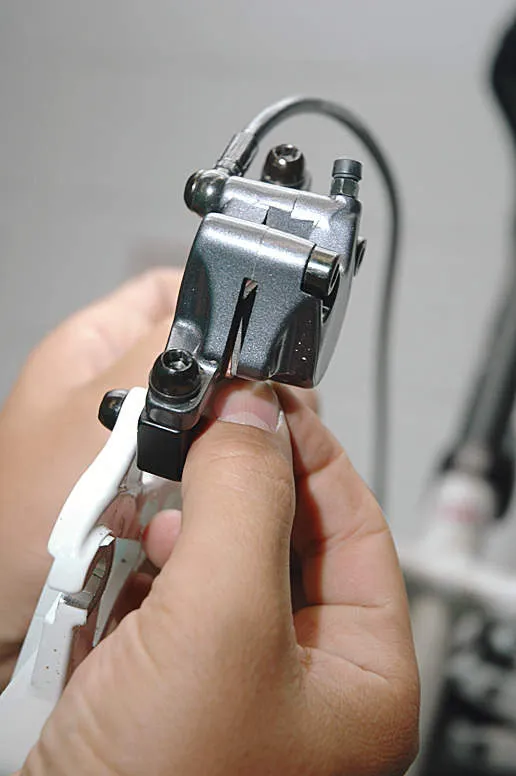
3 Retract pistons
To ensure a full bleed, the pistons need to be fully retracted. Very carefully, push them back into the calliper using an 8mm ring spanner. Make sure you don’t push on the central pin because they are very easily damaged. The edge of the piston needs to be flush with the body on the inner surface of the calliper.
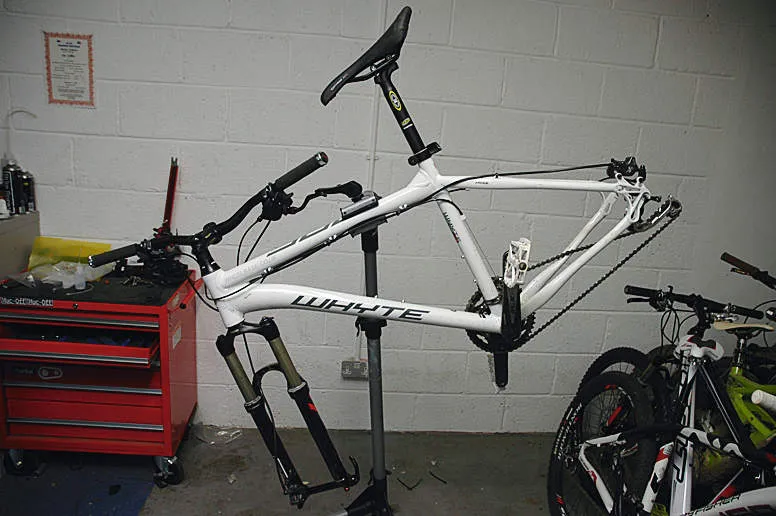
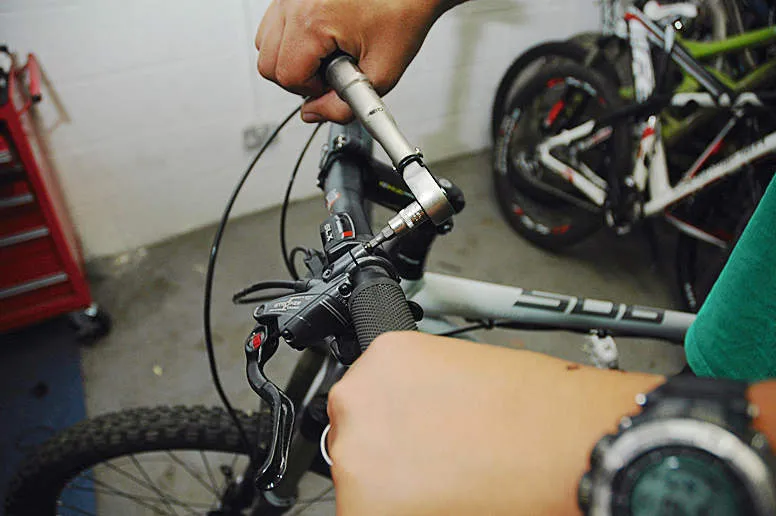
4 Get bike into correct position
The bike needs to be positioned so it is sloping down at 45 degrees with the bars turned at 90 degrees and the lever of the brake you are working on pointed down towards the ground. If you don’t have a workstand for this, you can put an old chair under the back of the bike and lean it up against a wall. Turning the stem 90 degrees on the steerer helps with balance.
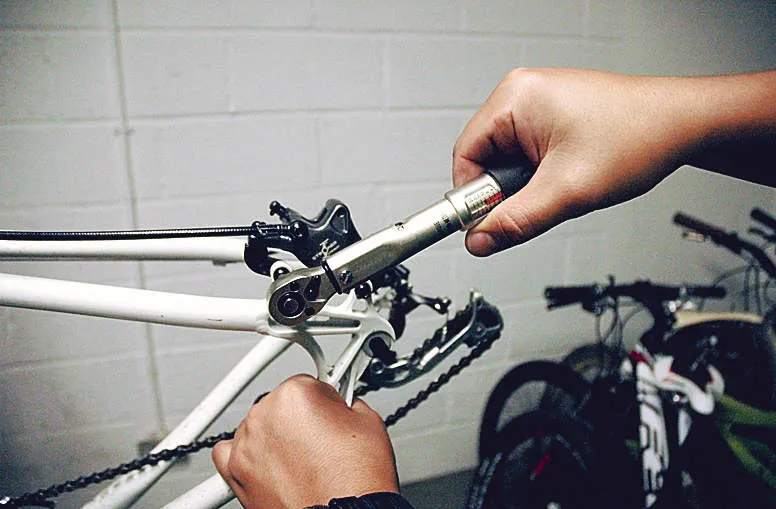
5 Raise the bleed nipple
The calliper you are working on will need positioning so the bleed nipple is the highest point. The front calliper should be in position with the bike, set at 45 degrees. To position the rear, remove one of the mount bolts and rotate it on the frame to achieve the correct angle.
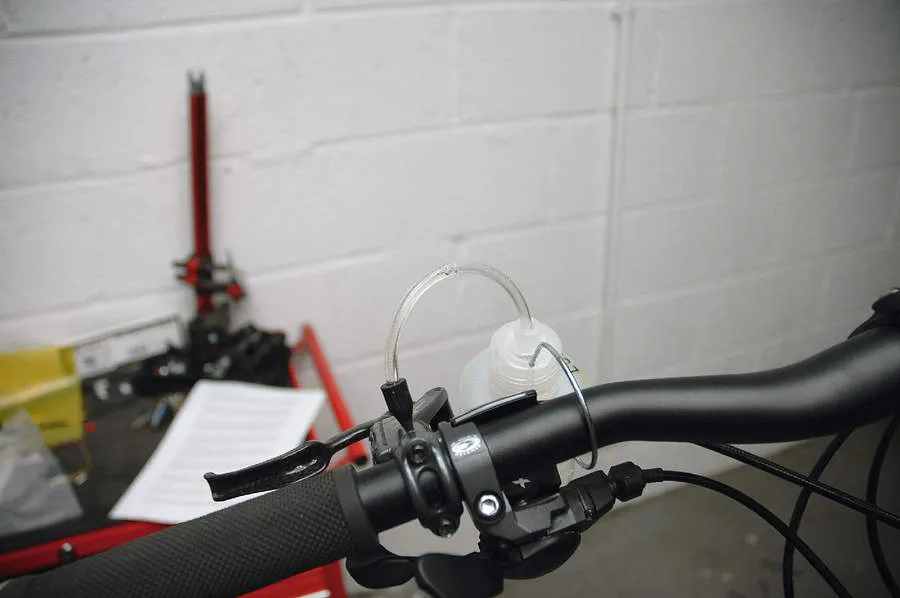
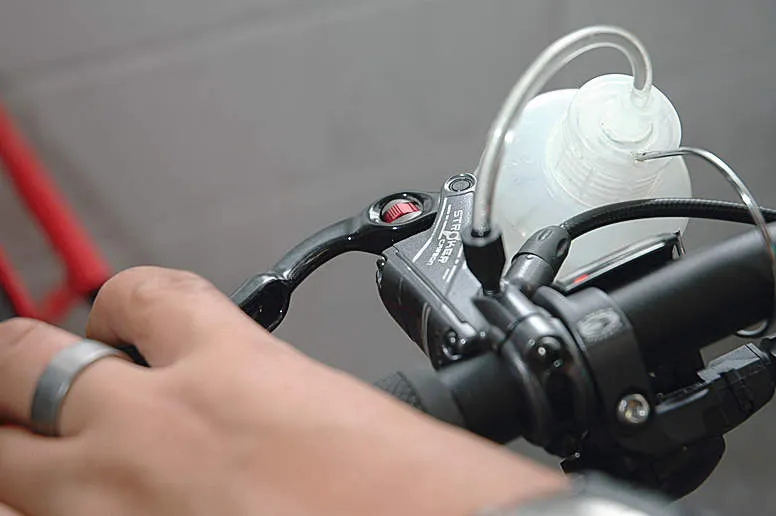
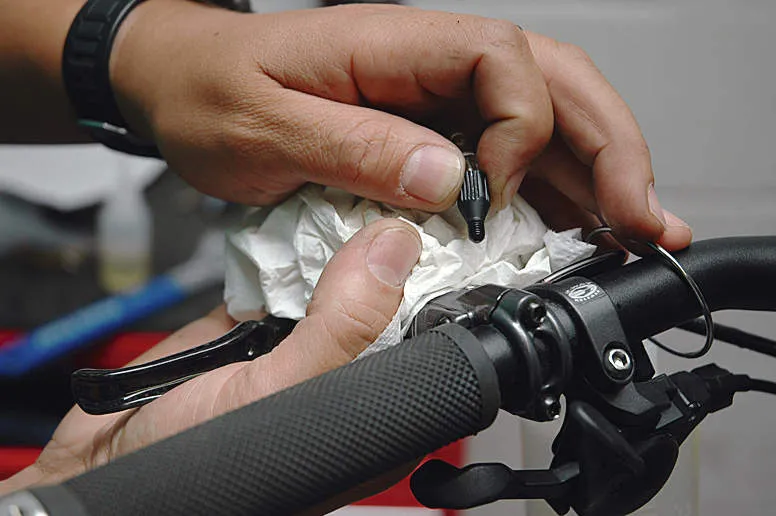
6 Attach long hose at lever
Remove the Torx bleed screw from the upper side of the lever and screw in the long length of hose you cut off earlier. Feed the other end of the hose into a catch bottle, attached to the bars with an elastic band. Loosen the lever clamp bolts, but leave the lever in position.
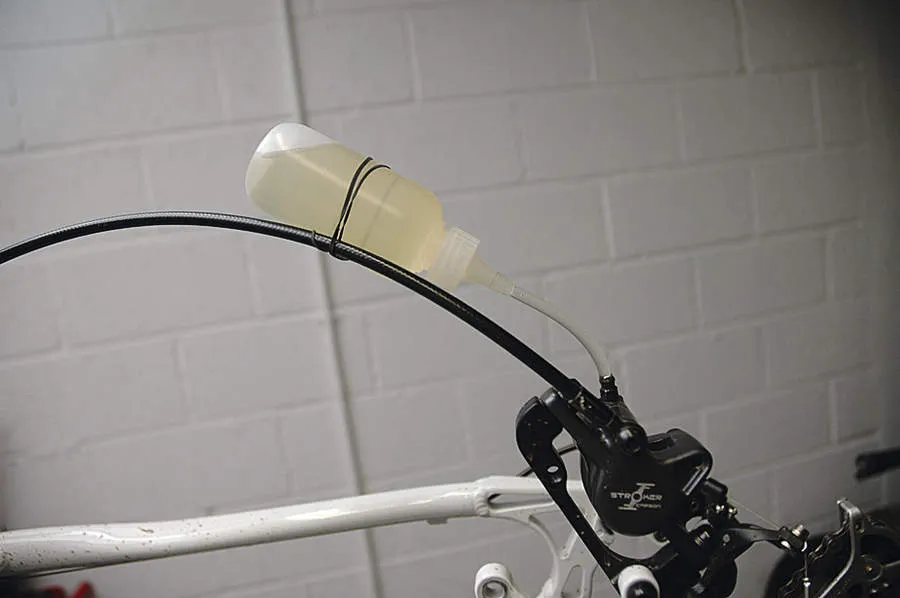
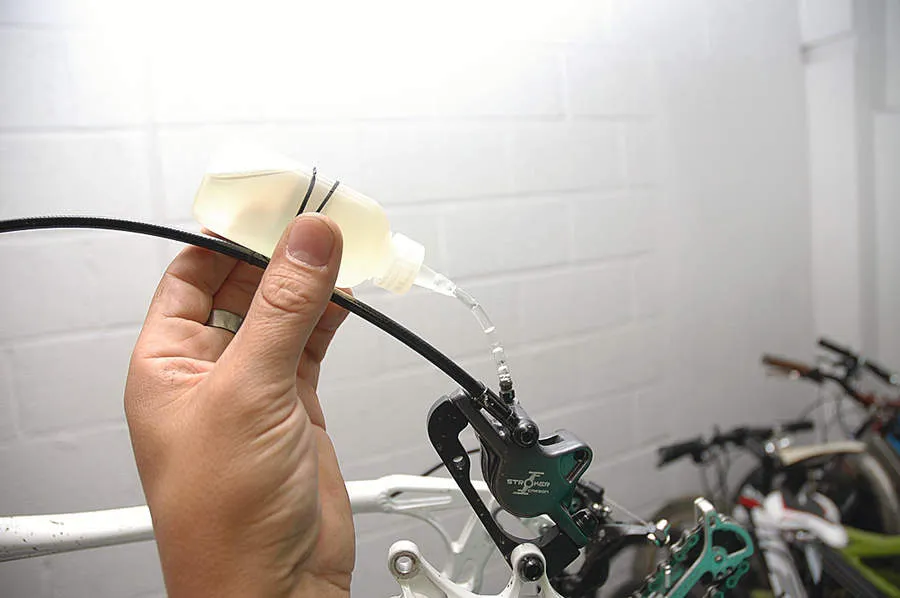
7 Attach bleed kit at calliper
Fill the small bottle that comes with the bleed kit with DOT 4 brake fluid. Remove the rubber seal from the top of the bleed nipple at the calliper. Fit the hose onto the bleed nipple, being careful to avoid spillage. Flick the bottle to allow any air in the tube or bottle to rise to the top. Attach the bottle to the brake hose or frame/fork with an elastic band to stop it pulling off the bleed nipple.
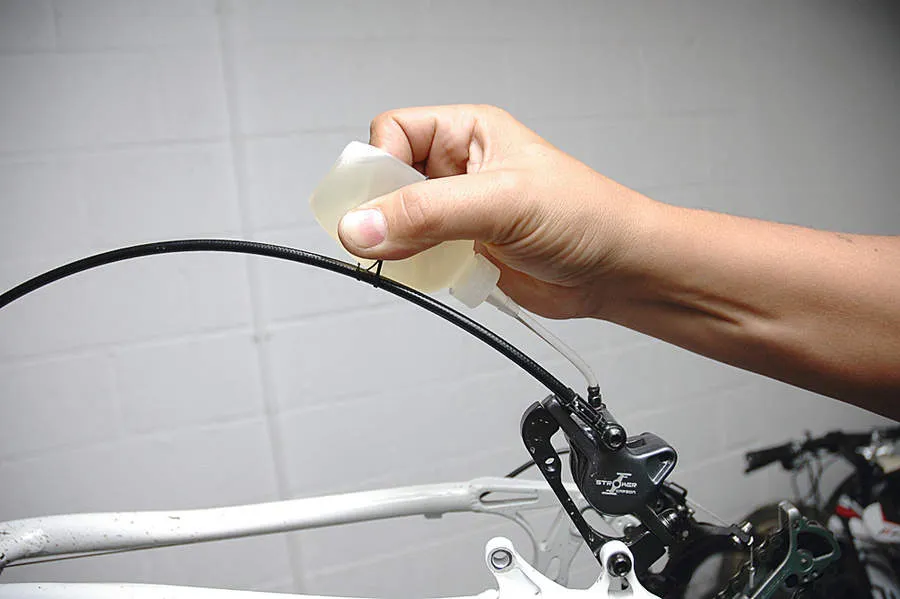
8 Add oil and release trapped air
Open the bleed nipple about a quarter-turn with a 6mm spanner. Squeeze the bottle just enough to allow oil to flow into the calliper for a count of five seconds. Release the bottle to let it to suck air out of the calliper. Repeat this until no more air comes out of the calliper. Tapping the side of the calliper with the plastic handle of a screwdriver helps release any trapped air. Once you are satisfied that there is no more air coming out, the calliper has been bled.
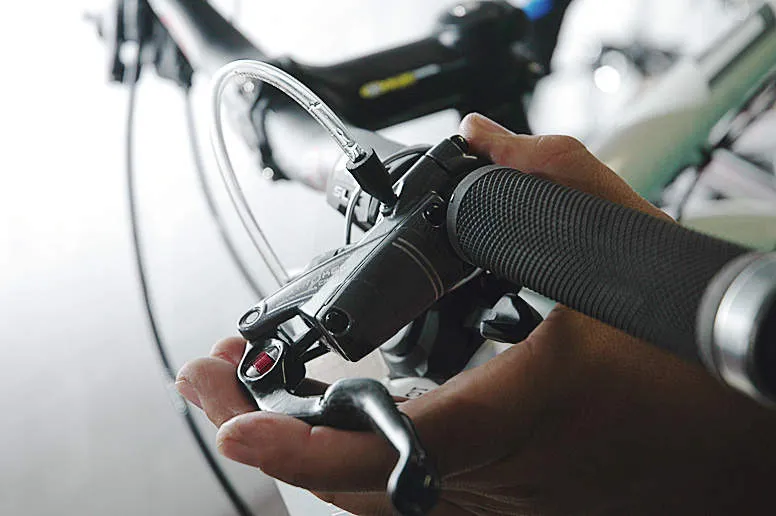
9 Release trapped air in lever
With the bleed nipple still open, continue to squeeze the bottle gently until fluid is seen passing out of the hose connected to the bleed nipple at the lever. You will see air bubbles coming out with the fluid.
While still squeezing the bottle, gently pull and flick the brake lever to disturb the fluid in the lever. This helps free any trapped air bubbles. Don’t pull the lever all the way to the bar quickly, just pull it slowly, or just tap the end of it.
Rotate the lever up and down on the bar, making sure the bleed hose stays in the catch bottle, to further free any trapped air. Continue doing this until no more air comes out, then close off the bleed nipple to a torque of 3.5Nm.
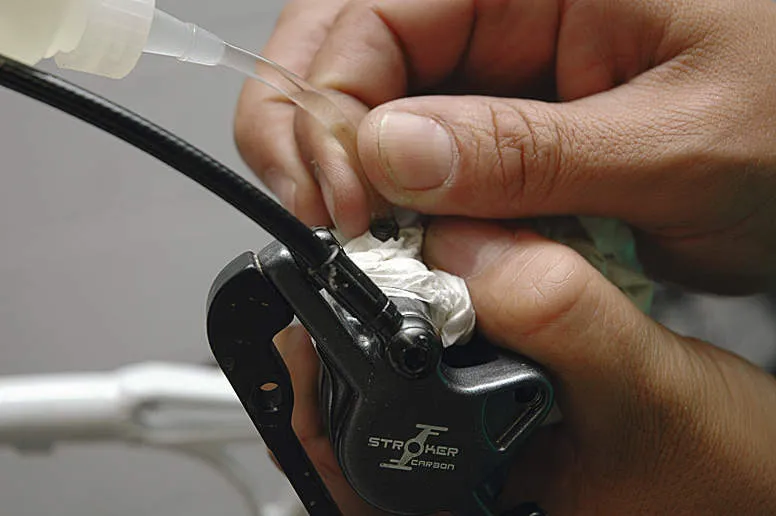
12 Remove hose from calliper and refit seal
Grab a piece of old rag or paper towel and put it over the hose where it is connected to the bleed nipple at the calliper. Remove the bottle from the calliper, catching any spillage with the rag. Refit the rubber seal to the bleed nipple.
13 Tighten lever nipple and clean up spilt fluid
Again, with a piece of rag to catch any spillage, unscrew the hose from the bleed nipple at the lever and refit the bleed nipple screw to a torque of 2.5Nm. Give the calliper and the lever a good clean, ideally with Isopropyl achohol, but you can use water or brake cleaner, to neutralise any spilt brake fluid.
14 Refit pads
Give your hands a good clean to make sure you have no brake fluid on them and refit the brake pads. Inner and outer pads are different and are marked accordingly. Snap them back into place – do the reverse of what you did in step 2. Ryde brakes need the retaining pin refitting to a torque of 2Nm and the retaining clip snapping back into place.
15 Reset brake
Refit the mounting bolts to a torque of 12Nm. Pop the wheels back in the bike. Loosen the lateral adjustment bolts and give the brake lever a few good pumps. Once the brake has reset the pad gap, hold the brake lever on and tighten the mount bolts, again to 12Nm. You may need to fine tune the rotor to pad clearance adjustment.
16 Adjust lever and test brake
Adjust the brake lever back into position and retighten the clamp bolts to a torque of 3.5Nm. Make sure you give the brakes a thorough test in a safe environment to make sure everything is perfect before heading out on a big ride.
Workshop wisdom
> If you’re replacing the brake pads, then it’s a good idea to get them bedded in before a big ride. Do this by pedalling along while pulling the brake. Do this for about 20m to let some heat generate in the system. Release the brake and let it cool, then repeat until you feel the brake’s power increase significantly.
> Hayes brakes have a self-adjusting mechanism. If the pads appear to have closed together while you have had the wheel out of the bike, don’t worry – they just need to be carefully pushed back with a flat-head screwdriver to put things right.