If you’re looking for a proper outdoor backpacking adventure on your bike, but don’t have weeks to spend away, then a spot of bothy bikepacking is the perfect solution. Rather than staying under canvas or stars, you bed down in a remote mountain hut for the night. For us, it’s one of those things that sounds like a great deal of fun, but just never quite happens. So we decided to stop talking about it and actually give it a try.
Turning a ride into a two (or more!) day adventure, being self-sufficient, and carrying everything you need including food does add a brilliant element of adventure to a ride. And of course the weight you save by not having to carry a tent can be used on other things: cheese and wine for example!
Step 1 – Find a bothy
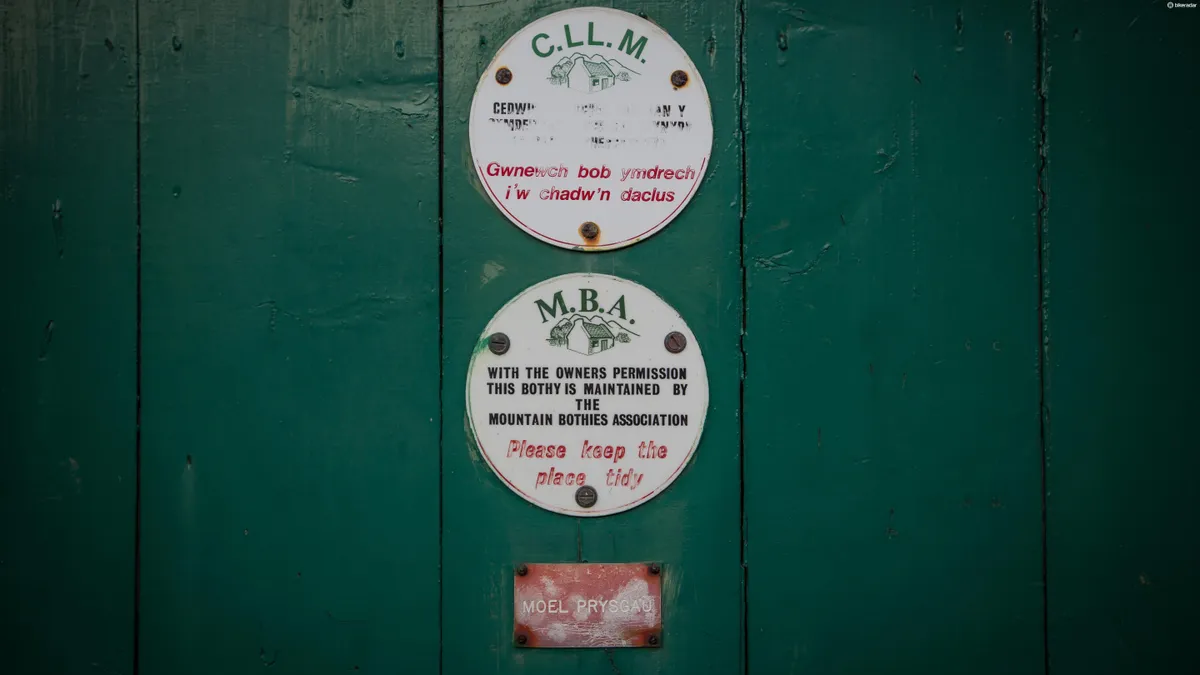
There are many bothies throughout the UK – concentrated mainly in Wales, Scotland and the north of England, and all maintained by the volunteers of the Mountain Bothies Association.
The Mountain Bothies Association website has all the information you’ll need to find a suitable bothy, you don’t need to be a member to use one, and you don’t need to book one either. This does mean you may arrive to find other people staying there, which is part of the adventure.
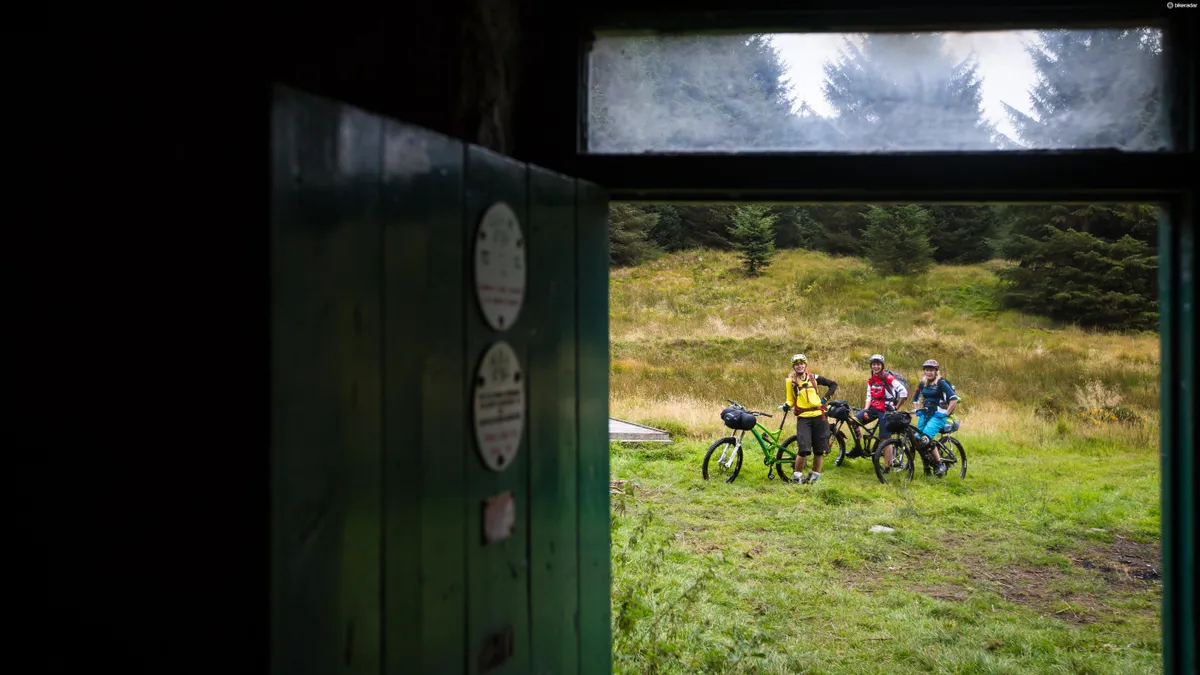
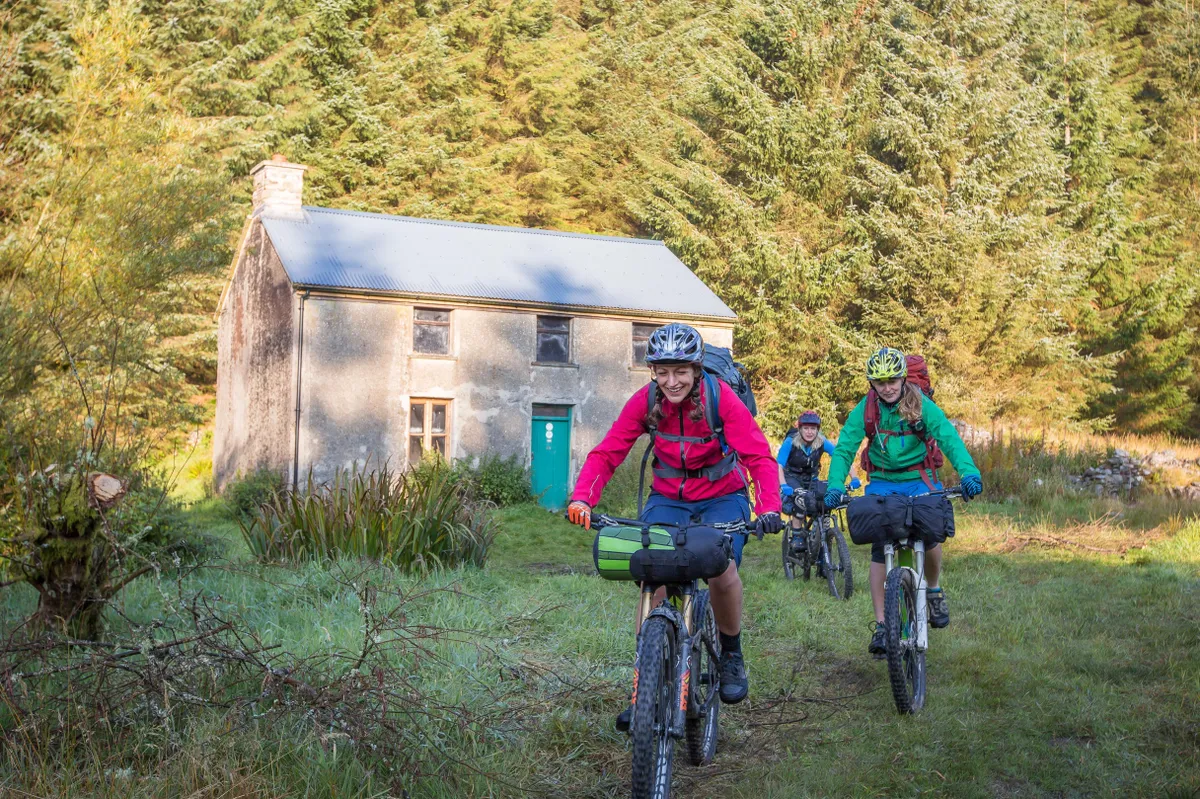
We headed to a bothy in the Towy Forest named Moel Prysgau, deep in the wooded vales of Wales.
Another part of the joy of using a bothy is that you don’t need to carry a tent and if the weather is particularly inclement you do at least have four walls and a roof over your head.
Because the Mountain Bothies Assocation is entirely a charitable organisation, we suggest you consider becoming a member or making a donation if you do use a bothy as part of a trip.

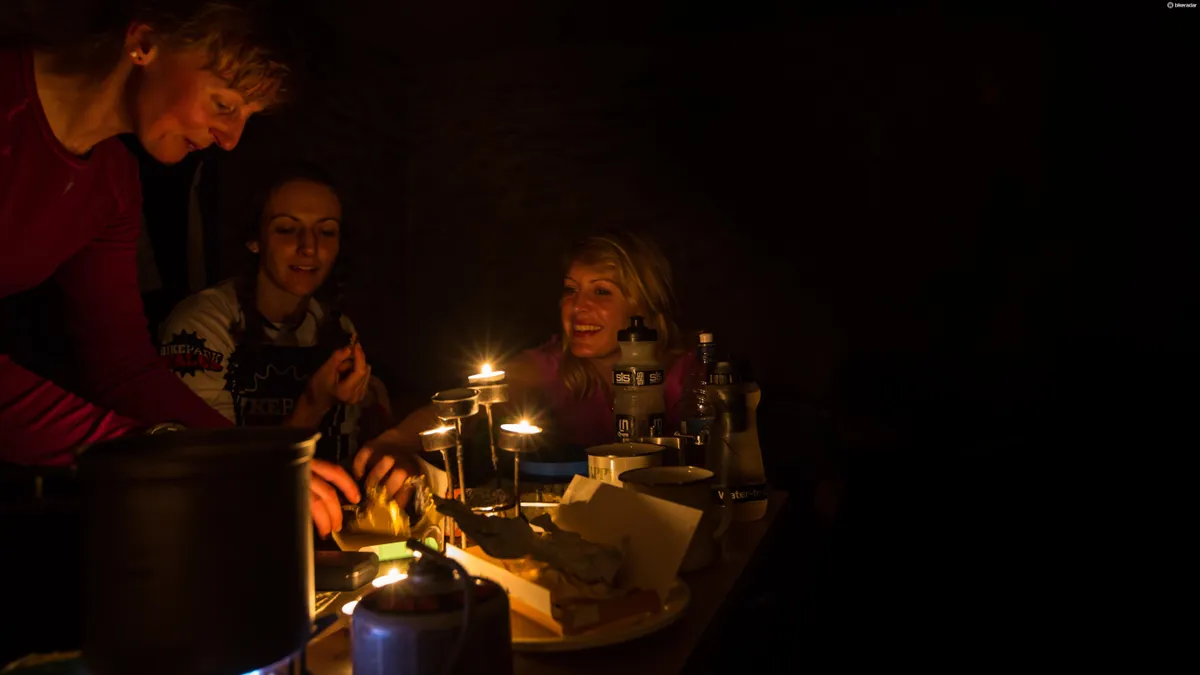
You may have the bothy to yourself, or you may end up sharing - either way, it's all part of the fun
Step 2 – Get kitted out
You’ll need to take a stove, fuel, something to cook in, as much water as possible and some water purifying tablets, plus spork, plate, mug, headtorch, warm clothes, sleeping bag, sleeping mat, perhaps a tent, tarp or bivvy just in case the bothy is full.
Companies such as Wildcat Gear make excellent harnesses which enable you to strap a dry bag full of kit to your handlebars, frame or saddle. There are also more and more companies making bike packing luggage that straps onto the frame, seat post and handlebars.
Related: Wildcat Gear Tiger saddle harness
We rode our usual 160mm trail bikes, but having selected a fairly mellow route, we felt that hardtails or even rigid fat bikes could be ideal options for longer trips as there’s less to go wrong.
Step 3 – Choose your food and drink
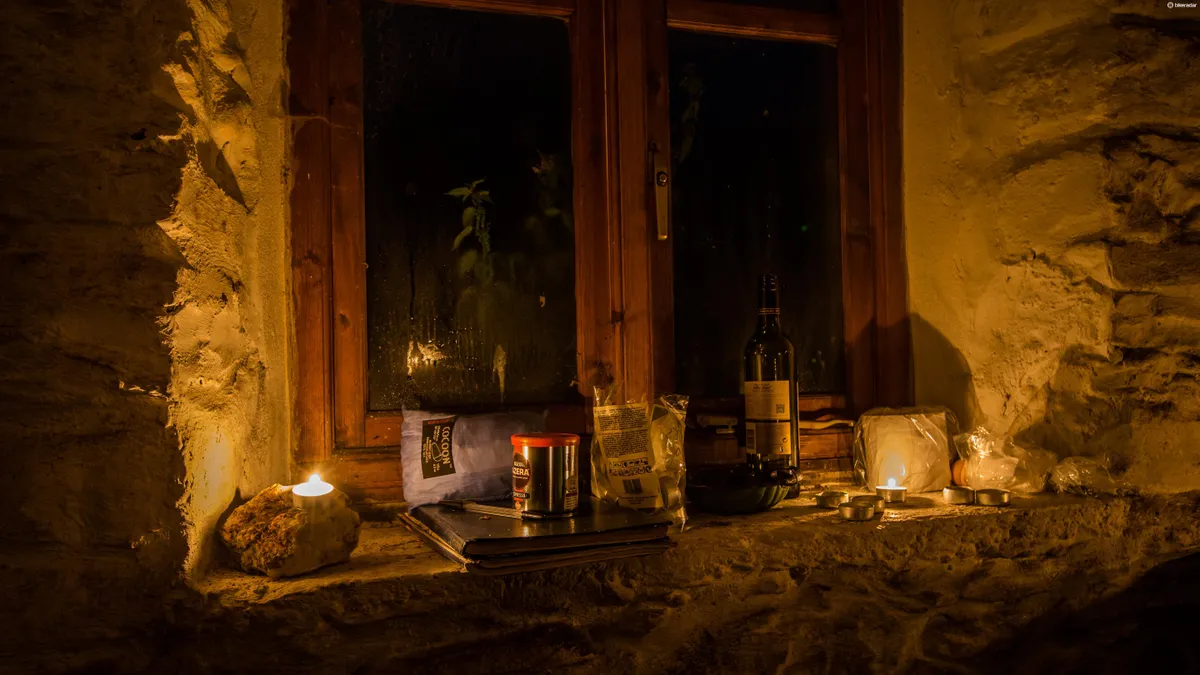
For two days, there’s a fair bit of food to carry: two lunches, an evening meal, breakfast… and one really should include at least a hipflask of your favorite tipple (if not a whole bladder of wine as we did).
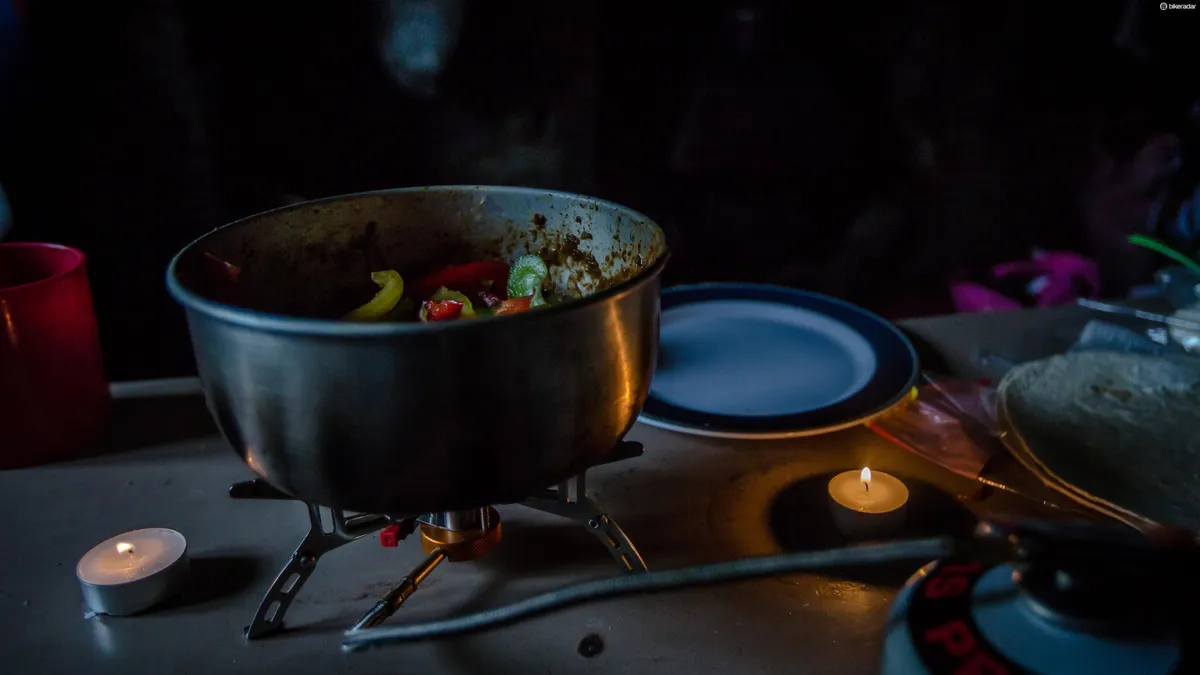
Bear this in mind and consider what might work best. Dry foods such as pasta or noodles as opposed to heavy water laden ingredients or bread-like foods work best. We opted for chicken fajitas: tasty, but the tortillas were surprisingly heavy.
You could also go with pre-prepared expedition food which comes in sealed packets. These are available from many a camping shop, though we can't comment on how the contents compare to freshly prepared fajitas… which were delicious!
Another top tip is to pre-prepare the food you take, so you aren’t trying to chop things up in difficult surroundings. It also means you can get the food on the go as soon as the stove is lit.
Don’t forget, you’re going to have to carry it all, so work out accurately how much food you are going to need. Happily, as you eat it your pack will get progressively lighter.

Dinner time! It's worth pre-paring your food so you have less chopping and peeling to do when you get to the bothy
Step 4 – Tweak your bike setup
With all the additional weight of camping kit, you’ll need to add air to your suspension and tyres to compensate.
While you can load up backpacks, the heavier they are the harder your saddle will feel. Loading as much as you can on the bike has advantages, because it’s not your back bearing the brunt of the load. But add too much and your bike will handle like a dog. You’ll probably want to experiment with this!
Step 5 – Choose your route
Even with a good balance between loading yourself and your bike, inevitably your bike won’t be quite as nimble as usual.
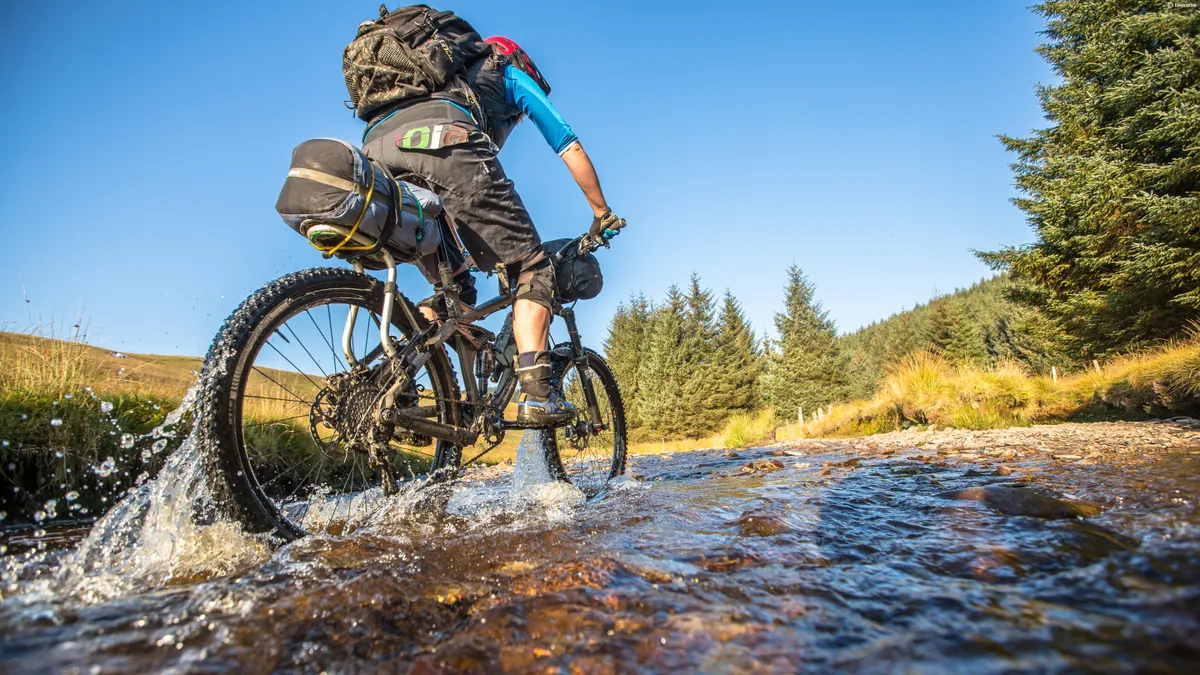
Handlebar mounted bags are good for sleeping bags and sleeping mats, but can make it much easier to go over the bars when you hit deep boggy puddles!
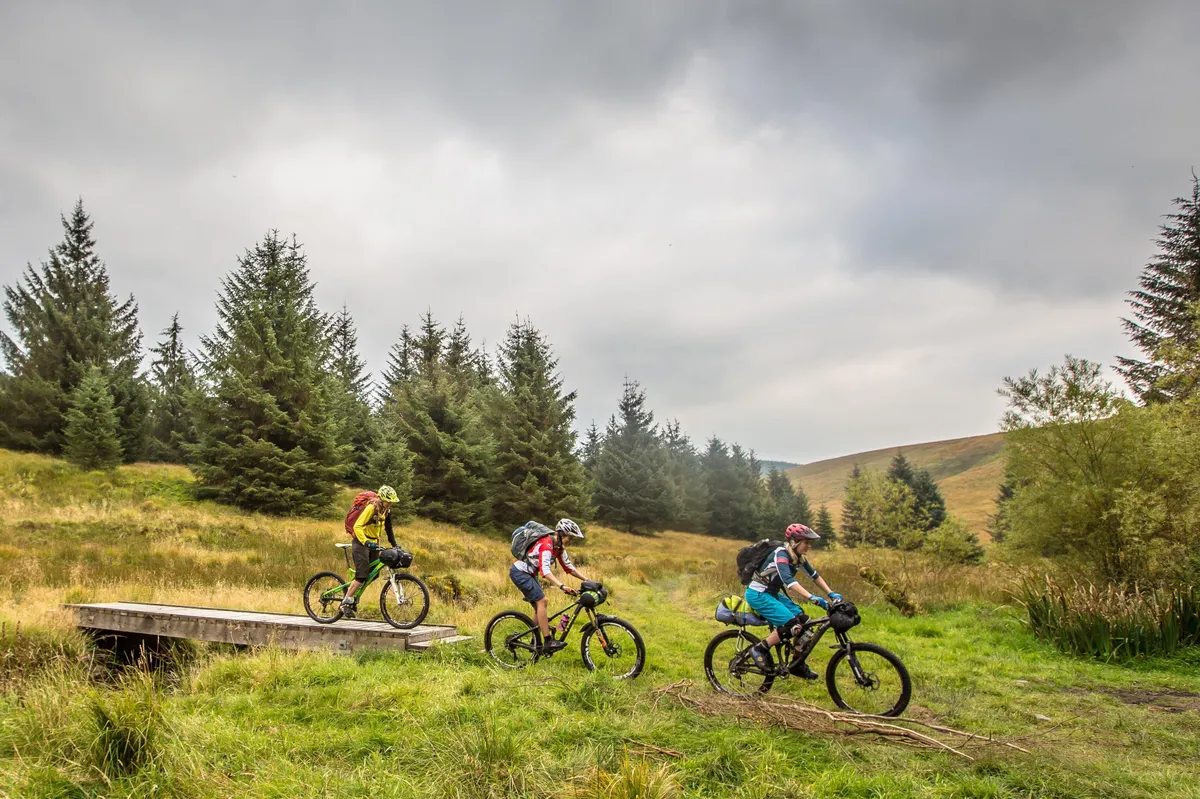
It’s wise to choose a mellow route rather than the techiest thing you can find for your first trip as it will allow you to find out how the bike really handles out on the trail.
A mellower route also means you could swap the dropper post out for a static seatpost and use a saddlepack without any difficulties, therefore spreading the load more evenly between the bike and rider.

Step 6 – Know where you’re going!
Don’t forget the map! It’s also wise to let someone at home know what your route will be and when you expect to be back, just in case.
In some remote areas there is no phone signal so having someone who knows where you are can be invaluable in the event of an emergency or bike breakage.
Step 7 – Bothy etiquette
Once you rock up to your bothy, you’ll need time to lay out your sleeping gear, and start cooking dinner. Bothies have varying facilities, all of which are listed on the Mountain Bothy Association website, so you’ll know what to expect.
It’s possible you’ll be sharing your bothy with others, which is part of the adventure, although sometimes you may arrive and find it’s completely full.
In this case, you’ll either need to press on to another bothy if you can, or sleep outside unless you are within striking distance of a lift home. It’s worth packing a light bivvy bag or tarp to take shelter under at bedtime just in case this happens. Until bedtime though, everyone is welcome indoors.
Whatever the situation on the night you go for, don’t forget to take away everything you brought with you, including rubbish and any uneaten food. Perishables will encourage mice and rats and make the bothy an altogether less pleasant place for the next visitor.
Bringing any wood or kindling in to dry ready for the next visitor is also good practice.
Step 8 – Eat, drink, be merry (and get up early!)
There isn’t much to do in a bothy except have a damn good laugh with your friends, play some cards, have a few (or a lot, it all depends on how much you carried in!) drinks and go to sleep.
The added element of being self sufficient for two days really makes for a great mini-adventure, even riding a route you may have ridden many times before.

You can’t beat being up for the sunrise either, especially if you go in spring or autumn when it’s at a much more earthly hour.
All in all, if you're a fan of escaping the hustle and bustle of daily life on your mountain bike, then we can't recommend a bothy based backpacking adventure highly enough. It's surprisingly achievable to do of a weekend, and the perfect way to spend some fun time catching up with friends.