


Helmet cams, such as the classic GoPro or the more recent Virb from Garmin, are a pretty common sight on the trails these days. Over the last few years, they've gone from wishlist items to affordable pieces of kit. And while prices have come down, the technology and quality of the cameras have gone up. You can now make full HD movies with a camera that fits into the palm of your hand.
There are tons of cameras designed for action sports use nowadays. The GoPro is top of many people's want list, but there are lots of other options – check out BikeRadar's action camera review section for our thoughts on a variety of cameras. If you want to get one, think about how you want to mount the camera, the quality of the footage you’re happy with and any accessories you might want to use with it. Accessories such as external microphones, add-on LCD screens, battery packs are available, and all worth consideration.
Buying advice
Helmet cams aren’t cheap, so be honest with yourself about the features you’ll use and the ones that seem cool but won’t actually see any use.
Our biggest tip is to look at the mounting options. Which will you be most likely to use most often? Will you need to buy an optional extra mount in order to get the footage you’re after?
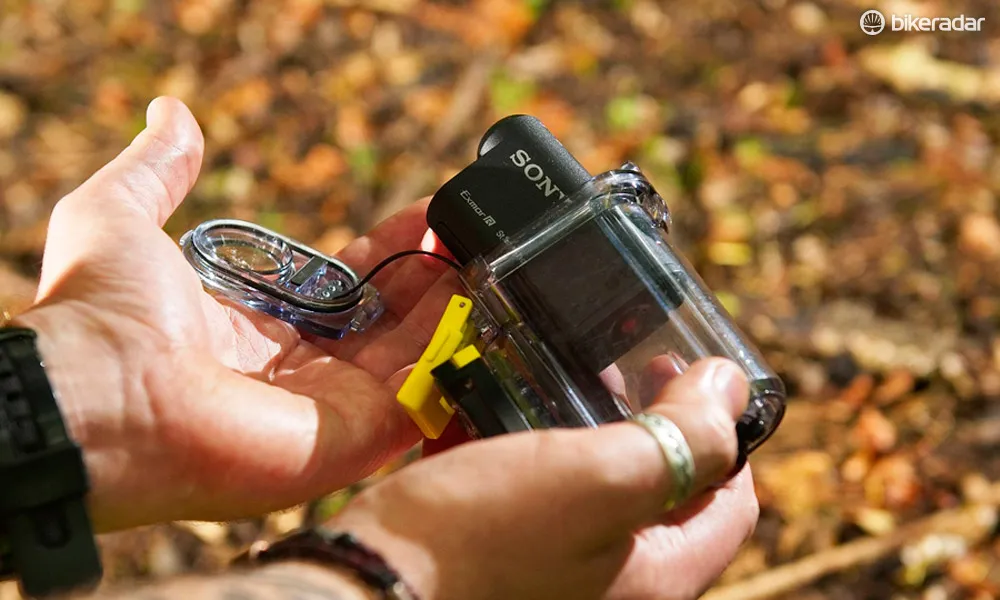
At the same time, consider if you’ll ever be using the camera in the wet. If you are, it will need to be waterproof or come with a waterproof housing, although sound quality can be compromised by a waterproof housing.

A waterproof case will protect your camera in wet conditionsIf you’ll be using the camera in places where the footage will be super bumpy or shaky – which is quite likely if you're a mountain biker – check whether the camera has image stabilisation, and what type. Digital image stabilisation can reduce the quality of the footage, so optical image stabilisation is preferable.It’s important that the camera has a screen, or at least a way for you to see the footage you’re getting and check the camera’s mounting angle.
Battery life and the cost of spares also need thinking about. You’ll need to bear in mind the cost of memory cards too – although some cameras come with a card, the bigger and faster the card you can afford, the more footage you’ll be able to capture.
Jargon buster
1,080p: Full HD (high definition) footage, defined as having 1,080 vertical lines of pixels.
720p: Still HD footage, but lower resolution than 1,080p, namely 720 lines of pixels.
4K: Known as Ultra High Definition. It's really not necessary for most riders!
Rotating lens: The lens on the camera can be rotated to get upright footage with the camera mounted at any angle.
Image stabilisation: Lots of vibration or movement can ruin video – image stabilisation can remove that vibration. Digital stabilisation removes quality from the footage though, while optical image stabilisation doesn’t.
LCD: Display on the camera to see what you’re going to film or to watch footage back.
fps: Frames per second. Normal playback is at 25/30fps. Filming at 50/60fps gives options for slow-mo, 120fps even more so.
Formatting: Deletes everything from the memory card.
Get the most from your camera
Whether you’re about to spend some money on a camera or already own one, there are certain things you can do to get the best performance out of it.
Although 1,080p gives a bigger size video, we tend to set our cameras at the 720p resolution and at 60 frames per second (fps) recording because 60fps gives smoother footage than 30fps. Sometimes we use the 120fps setting (not all cameras have this) to capture super slow-mo footage that will play more smoothly than just slowing down 30 or 60fps footage.
Before you start recording, spend a bit of time getting the mounting and your angle of filming sorted. Bear in mind the camera’s field of view and where it’s pointing, as well as making sure the mount is as stable and shake-free as possible.
Always keep the camera clean and in its housing (if it has one). It also pays to store it in a case when you’re not using it to avoid scratching the lens or causing any damage. If you’re going out for the day, make sure the battery is fully charged. It’s also best to format the memory card before you start – although formatting deletes everything off the card, so make sure you’ve got all the footage off the card that you might want before you do this!
Mounting options
There are plenty of different mount types, and different cameras work best in different places because of the way they mount. You can of course just hold the camera if you’re filming someone else, or sit it on the ground to film yourself riding past, but here are the most popular ways to record riding and how to do it well...
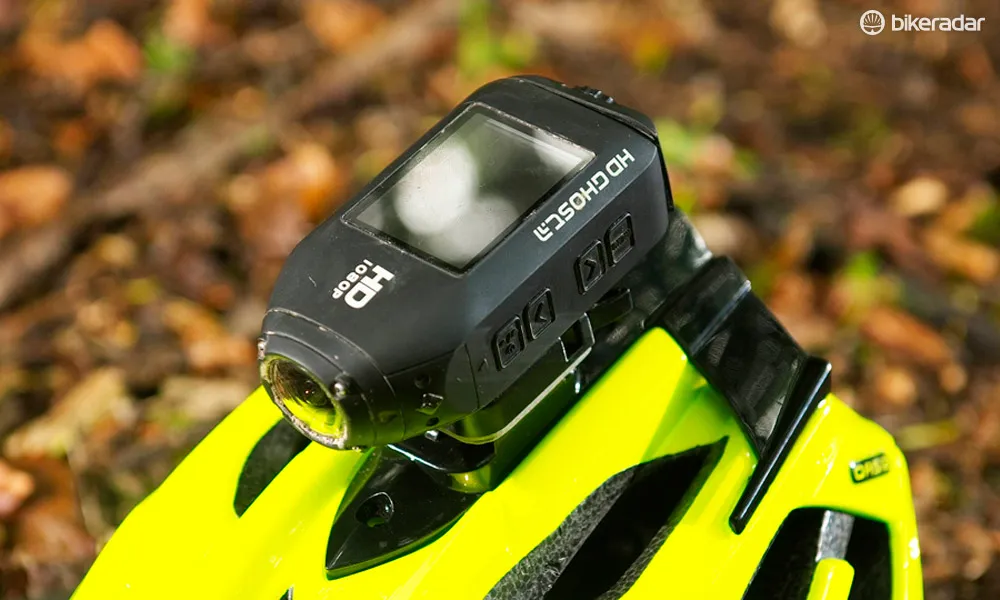
Helmet
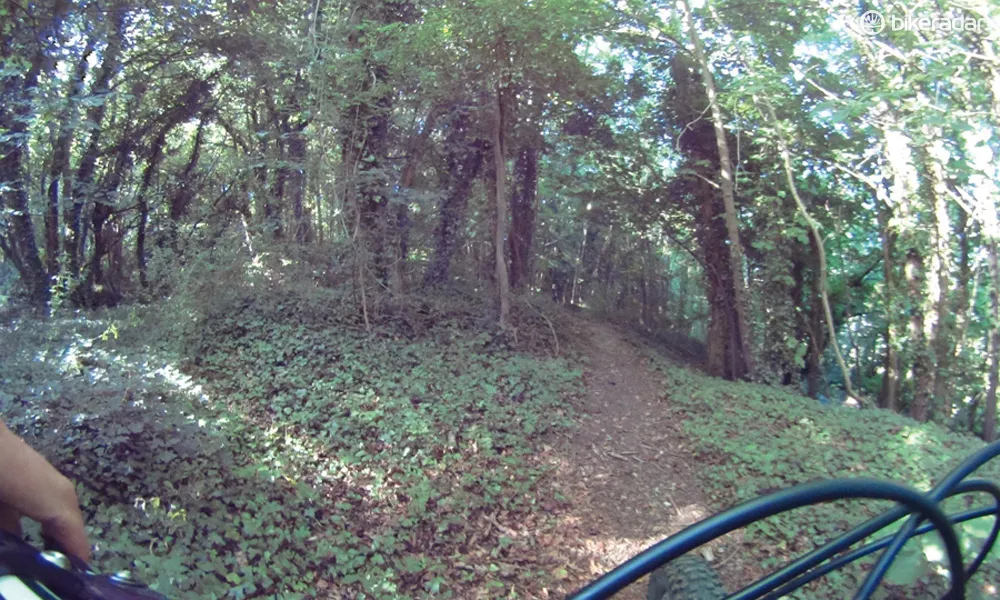
Probably the most popular way of mounting the camera, with different models offering top or side mount options. You nearly always get some helmet in shot, but that gives an idea of angle and perspective.

What a helmet-mounted camera seesYou can use sticky mounts, or some cameras have goggle strap mounts. The higher the mount off the top of your helmet, the less speed and gradient tends to come across.

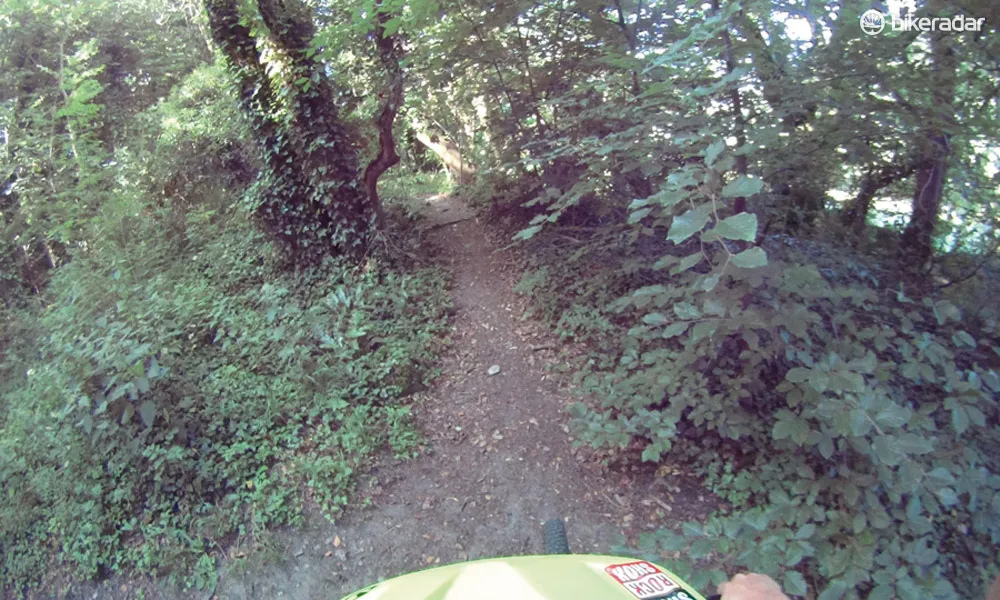
One way of helmet-mounting a cameraChestOur favourite mount for downhill pinning, a chest mount gives an idea of body movement and what’s going on with the handlebars, as well as a good view ahead of the track and a better idea of gradient and speed than with a helmet mount. It can’t snag on trees like a helmet cam either.
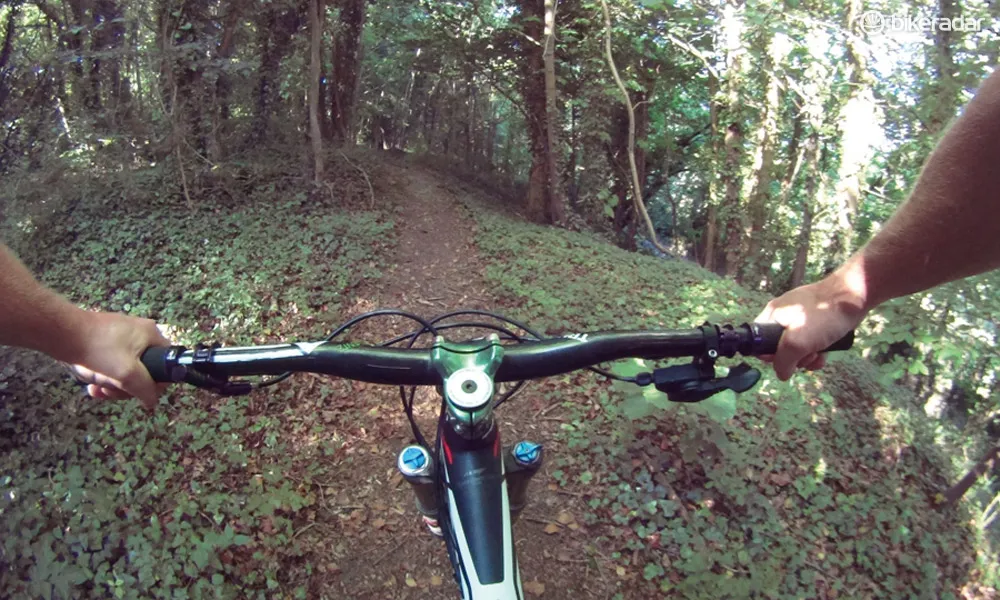
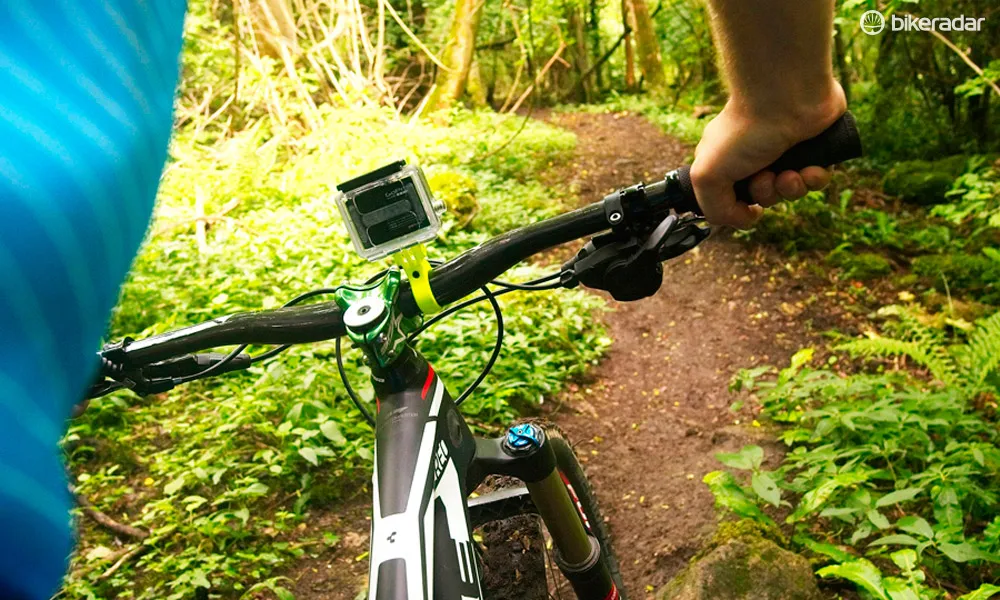
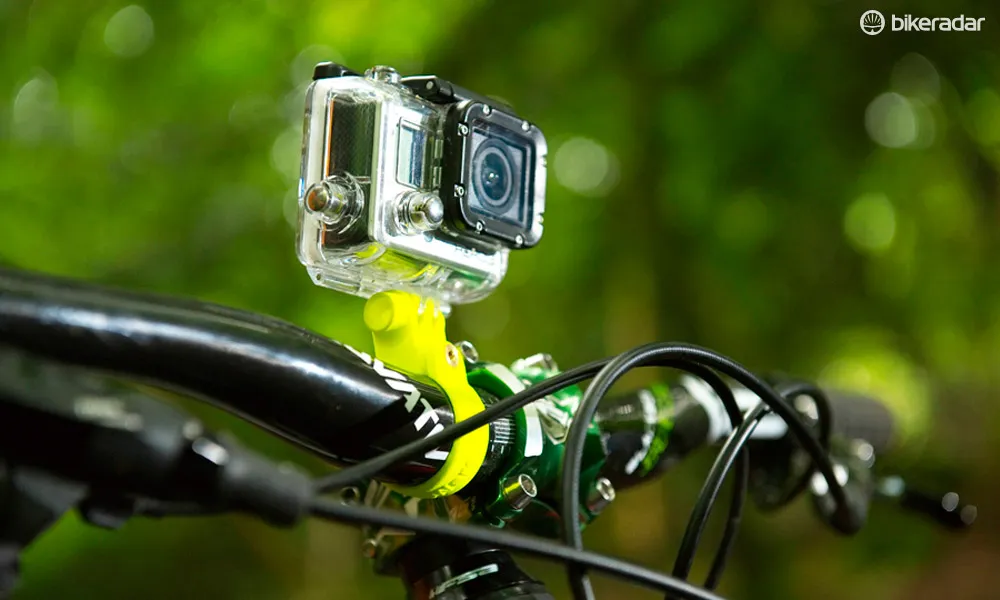
Point-of-view shot from a chest-mounted cameraBarsBar clamp mounts are available for most cameras, with the K-Edge and Raceware GoPro mounts being the most versatile and best made we’ve come across.

Bar-mounted GoPro cameraIt does mean the camera ‘looks’ where your bars are heading though, so it’s not ideal for tight, twisty trails – although you do get a good sense of the speed.
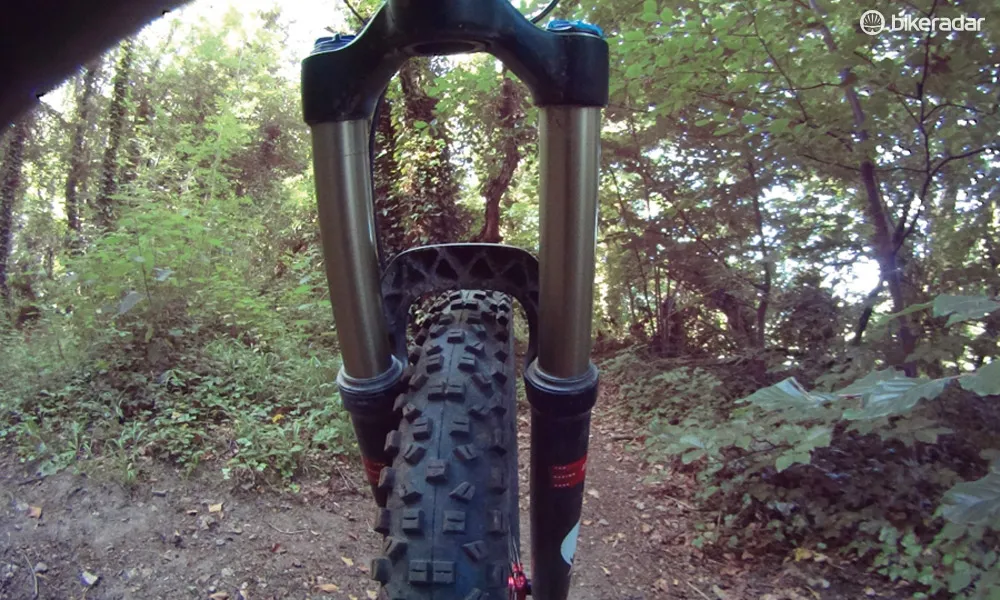
A bar-mounted camera will 'look' where you bars doFrameUsing sticky mounts or bigger clamp mounts, attaching your camera to the frame can create arty footage, while also being able to get a view of your suspension or drivetrain. Shots like this are great for making a video more interesting and giving a different perspective.

Mounting a camera around your frame can give an interesting perspective. Probably best used sparingly though.
Editing software and tips
The best footage would be useless if it’s not well put-together, which is why it pays to use good software.
If you use a Mac, iMovie comes on every new Mac or is £15 to buy. It's simple, easy to use and the results are great too. It’s limited to Mac users, although there is an iPhone- and iPad-compatible app.
If you’re on Windows, Movie Maker is free. If you’re willing to spend money, you can pick up Adobe Premiere Elements for around £50.
GoPro offers free software for Mac and Windows too. The GoPro software is aimed at professionals and we’ve found it better for editing and colour correcting clips, than for producing a video.
It’s best to cut clips as short as possible, and aim for full videos of around three minutes. Much more and it’s hard to keep people watching. As for music, use something both appropriate to the video and easy on the ears! There’s no need for big transitions between every clip: this is definitely a case of less being more – keep it short, sweet and relevant.

Less is usually more when it comes to bike videos