If your gears aren’t shifting properly and you can’t get them to index, a bent derailleur hanger can often be the culprit.
The derailleur hanger keeps the rear derailleur aligned perfectly with the cassette cogs and is designed to bend or break in the event of an impact. Because the hanger is typically constructed from soft aluminium, it doesn't take a lot to knock it out of alignment.
If the hanger isn't bent too badly, it's often possible to straighten it, but if it's too far gone, it's best to replace the component.
In this guide, we'll take you through the step-by-step process of straightening a bent derailleur hanger, as well as replacing a broken one.
How to straighten a bent derailleur hanger
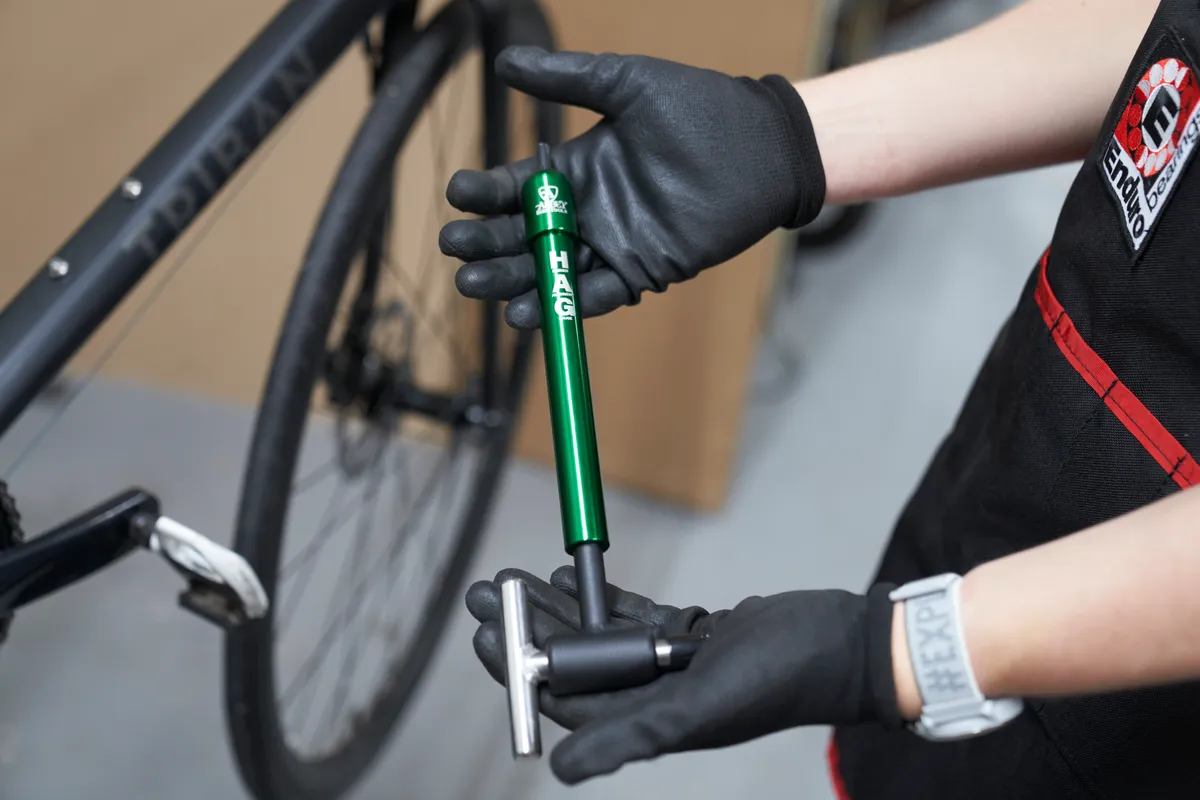
As well as the correct-sized hex or Torx key to remove and reinstall the rear derailleur, you will need a derailleur hanger alignment tool for the job.
These can be expensive, but there isn’t a substitute. If you own multiple bikes, it’s worth investing in, or perhaps sharing, a tool among your riding friends.
Bear in mind you run the risk of the derailleur hanger snapping, because you'll weaken the material by bending it back.
Some suggest using the jaws of an adjustable spanner to bend it back in place by eye, but we wouldn’t recommend this – it’s more likely to break given the increase in force and it won’t provide an accurate gauge of where it is misaligned.
Step 1
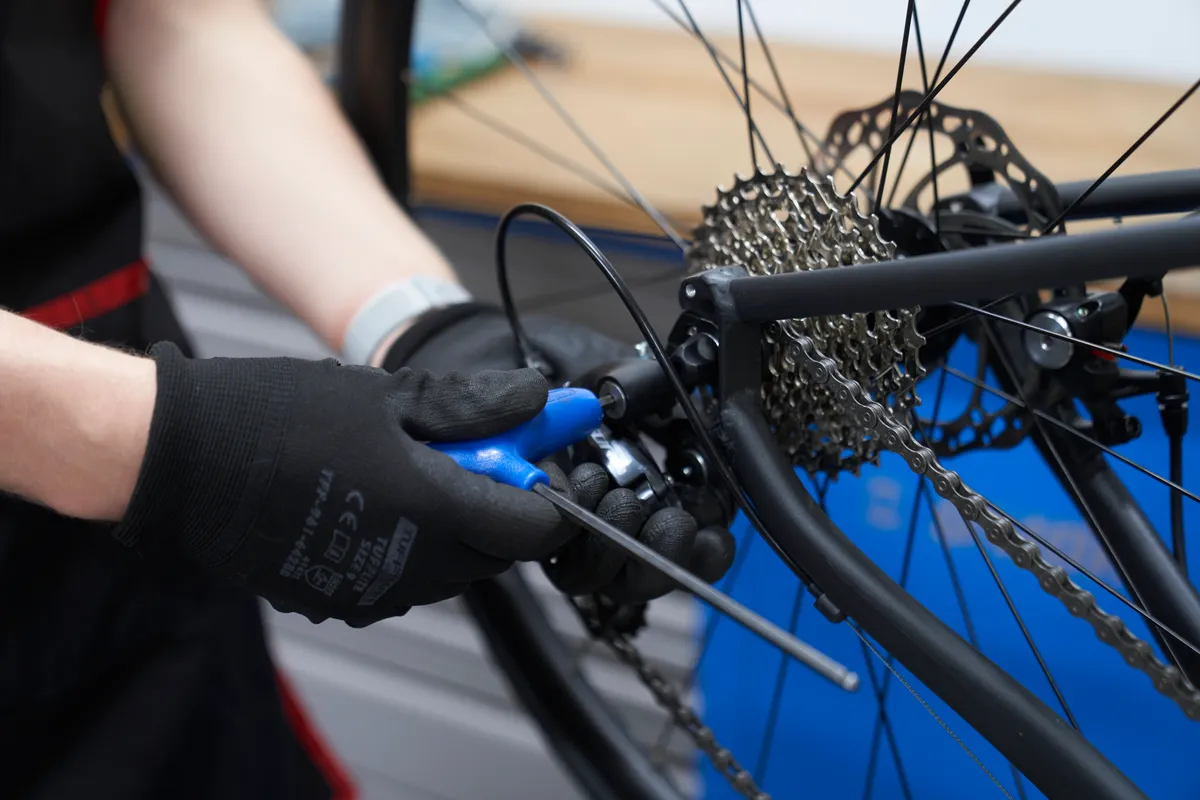
Make sure the rear wheel is installed correctly into the frame dropouts.
This is particularly important with quick-release axles. Installing the wheel while the bike stands on the floor is best because gravity helps guide the axle in place so the wheel sits squarely in the dropouts.
Shift the chain into the smallest cog and remove the rear derailleur. Hold the rear derailleur as you remove it to prevent it from springing back.
Step 2
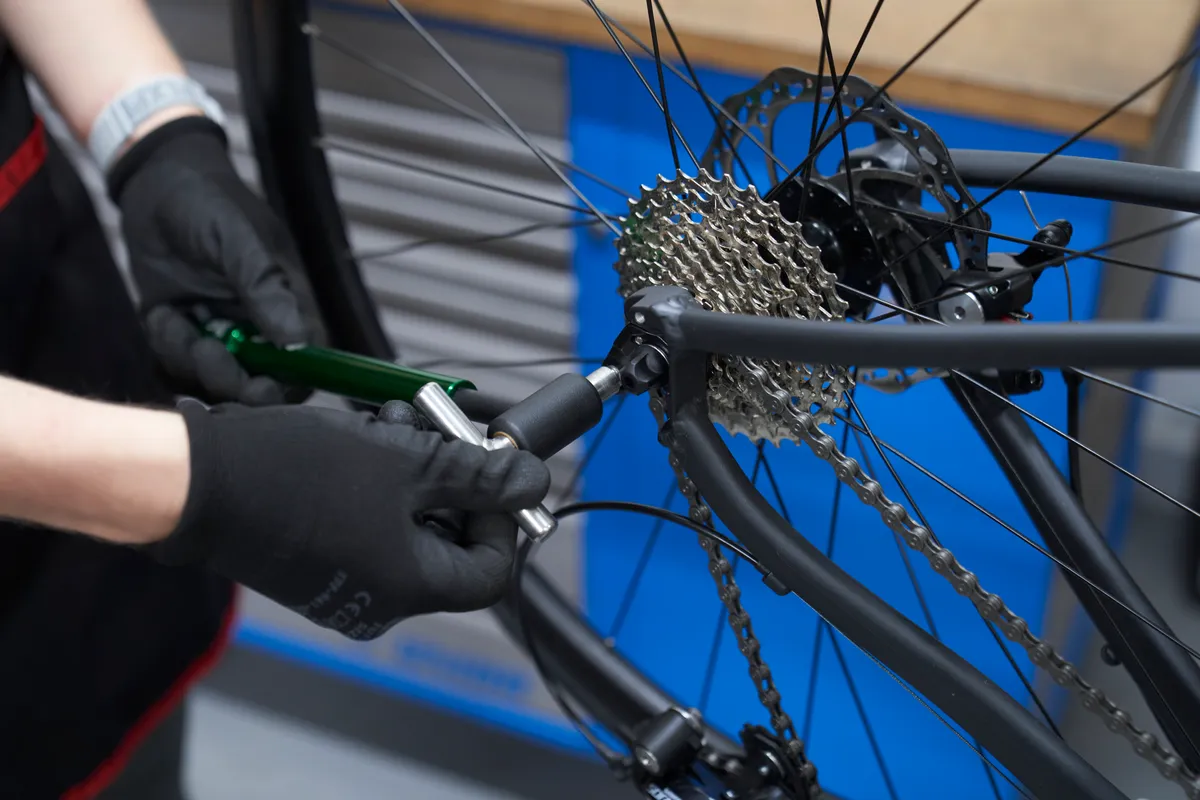
Lightly grease the threads of the derailleur hanger alignment tool and install it into the hanger threads. Be careful not to cross-thread it – the threads will need re-tapping if you do. Most derailleur hangers use an M10 x 1.0 thread.
Step 3
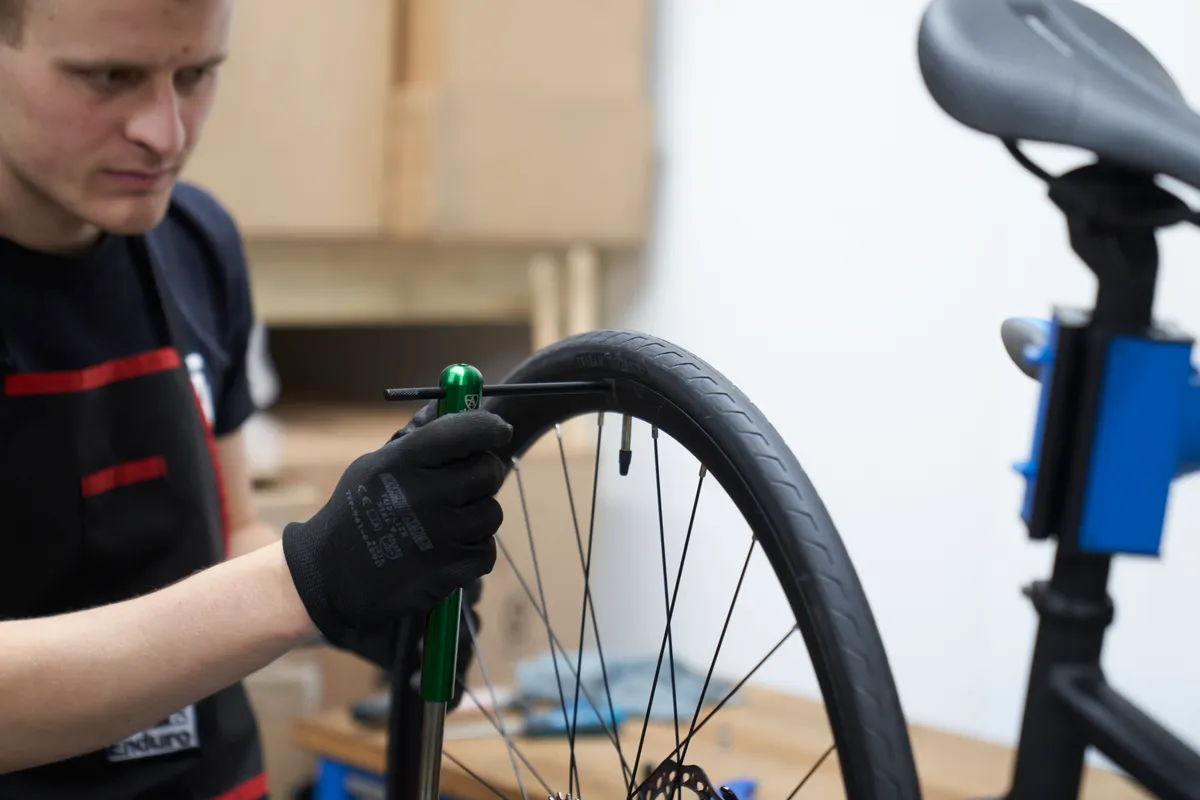
Position the valve of the rear wheel at 12 o'clock. It’s best to use the valve as your reference point, because this takes wheel trueness out of the equation.
Move the arm of the alignment tool so the end of it touches the rim. Some tools include O-rings, which act as a visual guide for the hanger’s alignment.
Next, move the valve to the 6 o'clock position and, without adjusting the arm of the tool, note where it sits.
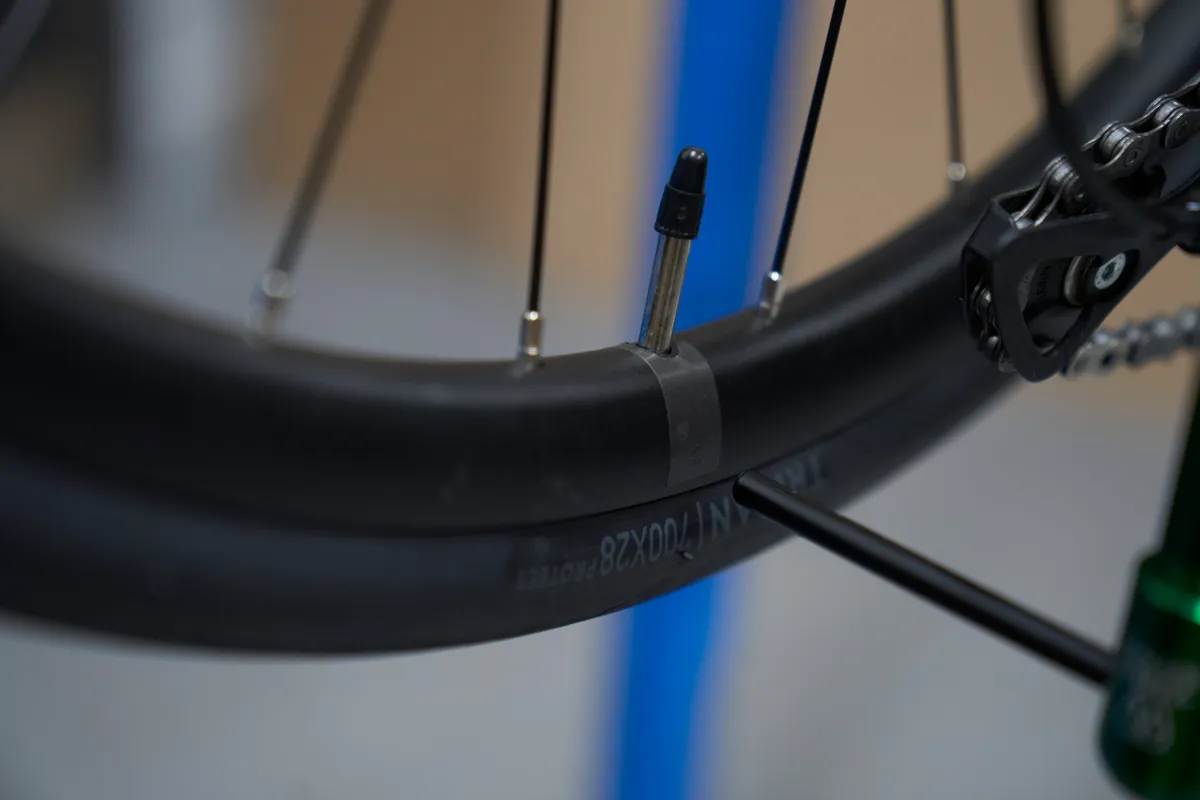
There will be three possible scenarios:
- The end of the arm touches the rim. This means the vertical alignment of the tool is correct and you can move on to the next step
- There is a gap between the end of the arm and the rim. If the gap is more than 3mm, you’ll need to perform an adjustment
- The end of the arm wants to go further inwards towards the rim. Reset the arm of the tool so it touches the rim and use the 12 o'clock position as your second reference point
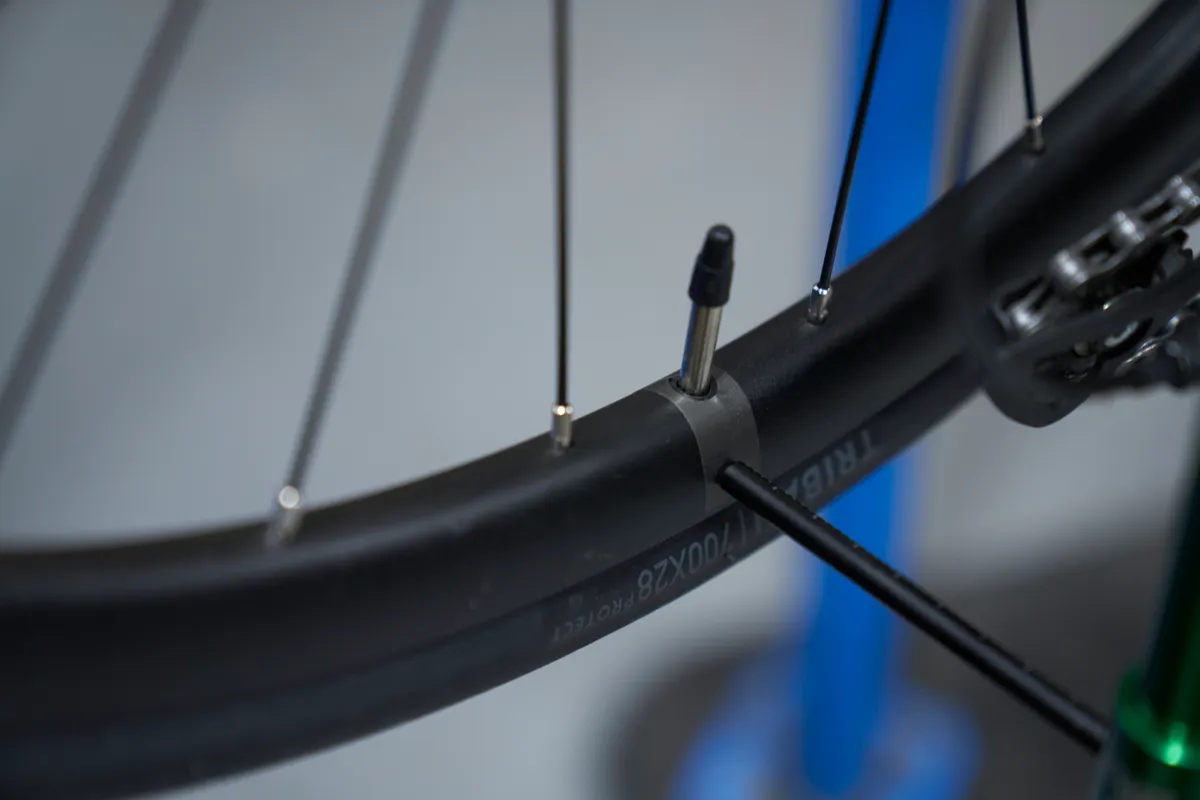
If the hanger requires an adjustment, gently pull or push the tool in the direction the hanger needs to be bent in. Once adjusted, check the vertical alignment of the hanger again using the previous steps until there is a gap of 3mm or less.
Step 4
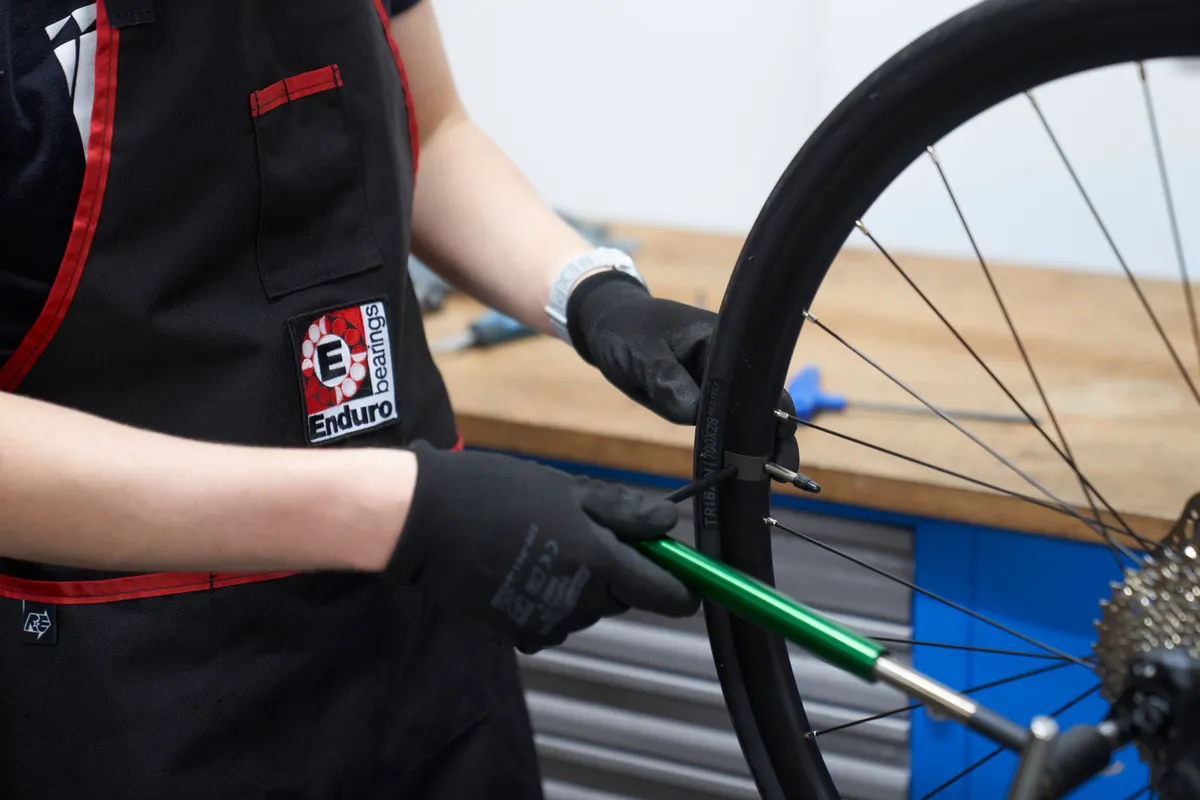
We’ll now move on to the horizontal alignment.
Without adjusting the arm of the hanger, check the hanger is aligned both in the 3 o'clock and 9 o'clock positions. Bend the hanger as above if you need to make an adjustment.
Step 5

Check the derailleur hanger tool is aligned perfectly at all four points.
Step 6
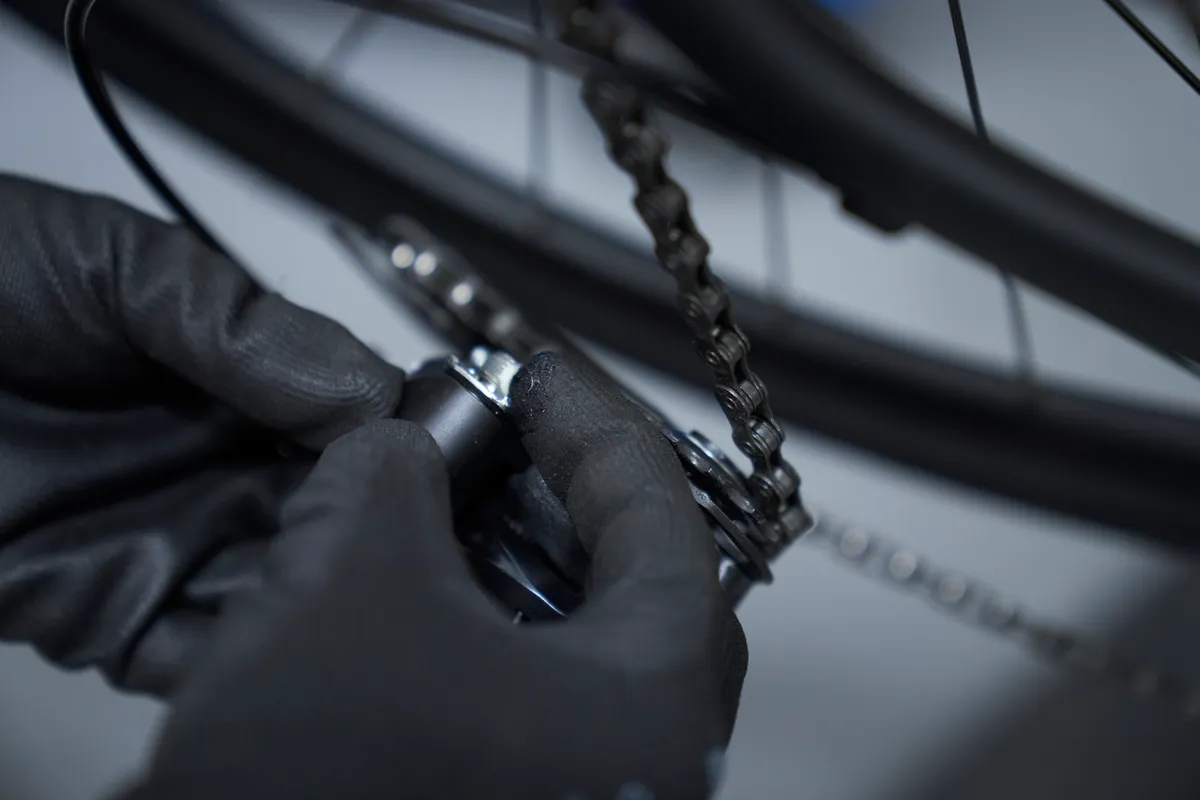
Reinstall the rear derailleur, being careful not to cross-thread, and tighten it to the manufacturer’s recommended torque.
Step 7
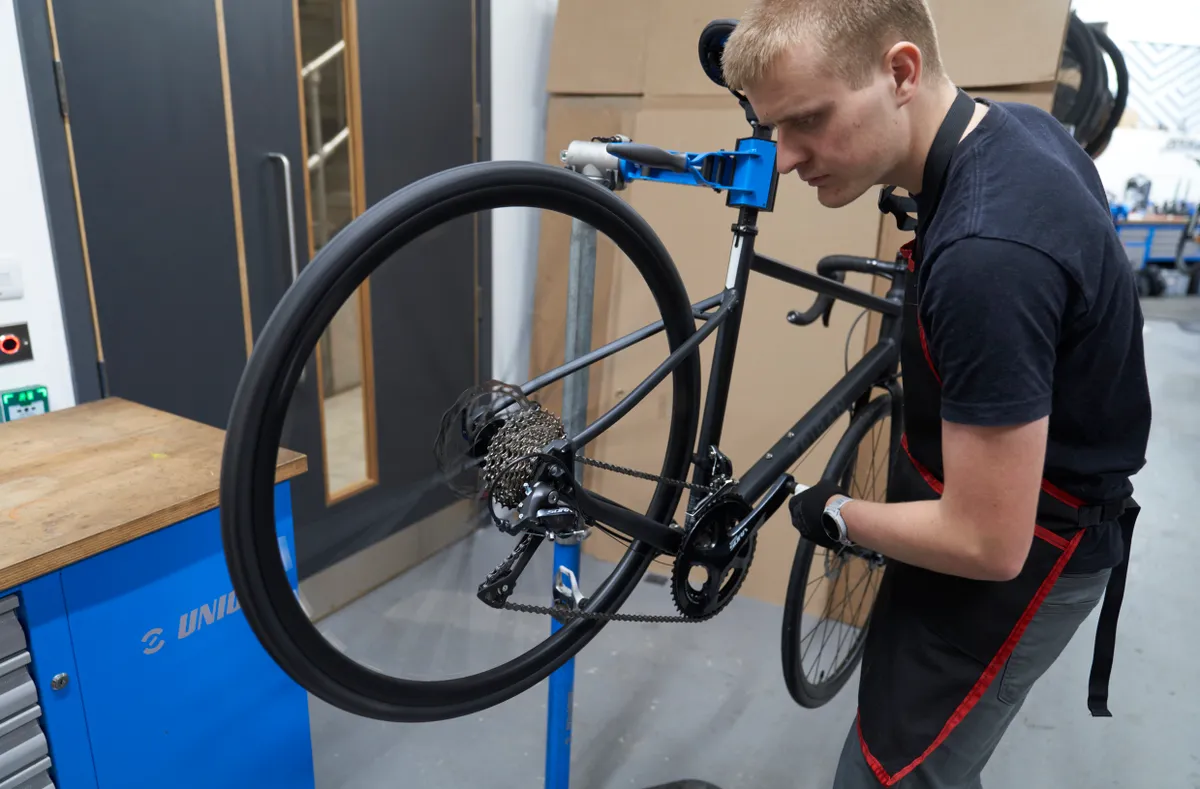
Check the gears function correctly. You may need to adjust the limit screws and indexing.
How to replace a snapped derailleur hanger
If the derailleur hanger is snapped or broken, you’ll need to replace it.
Tools required:
- Appropriate hex or Torx keys
- A new hanger
- Torque wrench
- Appropriate hanger bolt preparation (check manufacturer’s recommendation)
Step 1
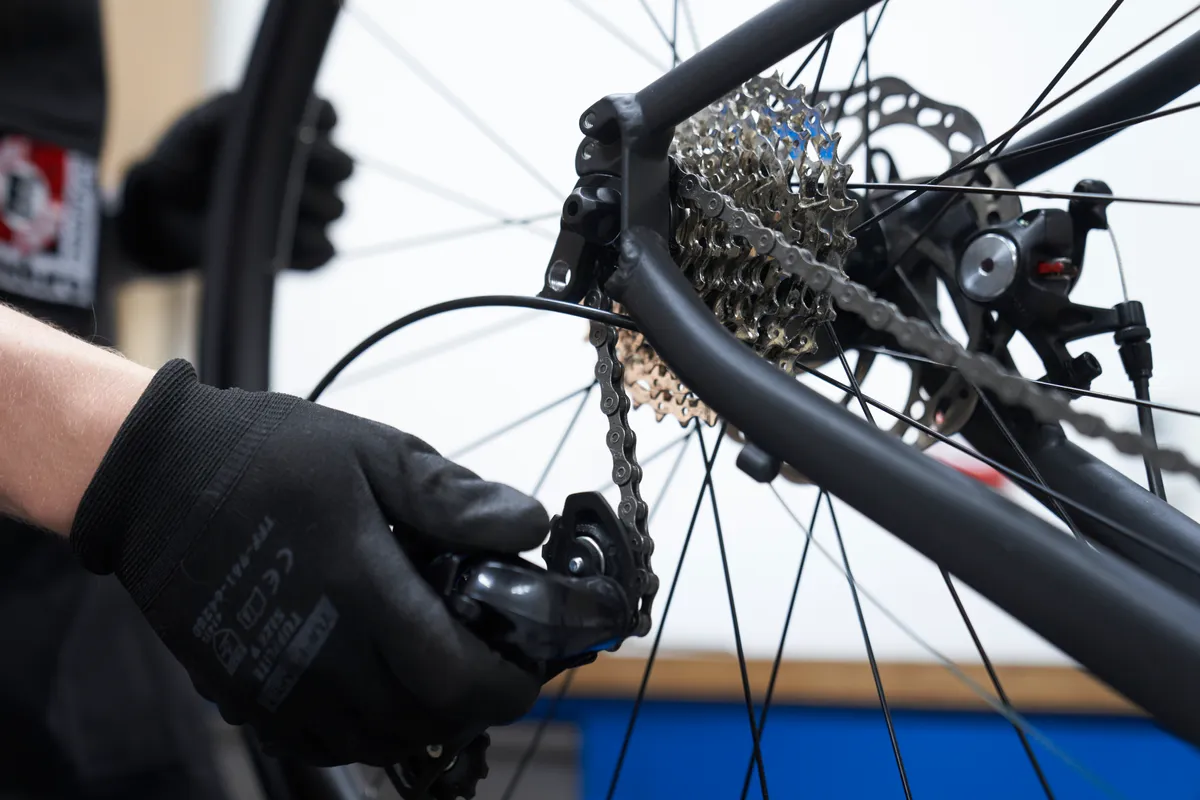
Remove the rear wheel, rear derailleur and old hanger.
Step 2
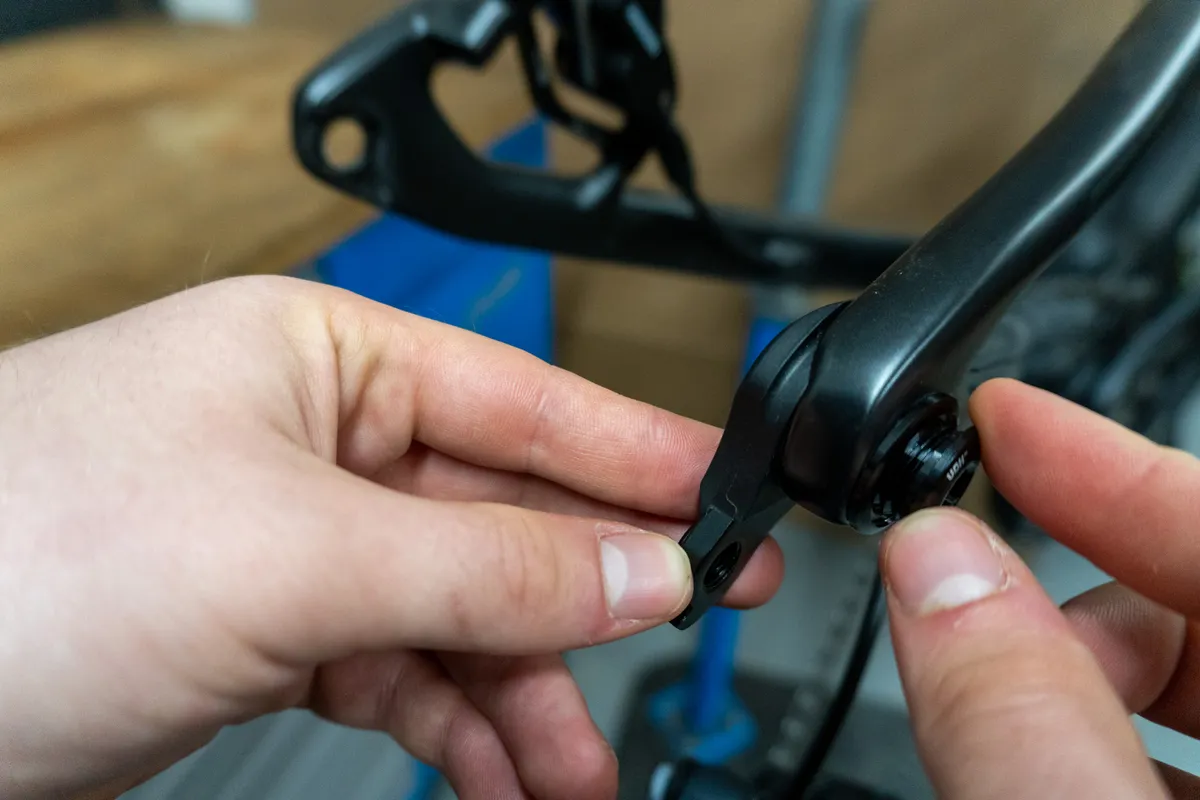
It’s worth checking if the manufacturer recommends applying grease, anti-seize or threadlocker to the bolt before installing to prevent them from loosening over time.
With the appropriate preparation, install the new hanger. If the hanger uses more than one fastener, make sure you tighten the bolts evenly up to the manufacturer’s recommended torque.
Derailleur hangers often mount using very small bolts. Torque to spec and be careful not to round the head of the bolt.
Step 3
Install the rear wheel.
Step 4
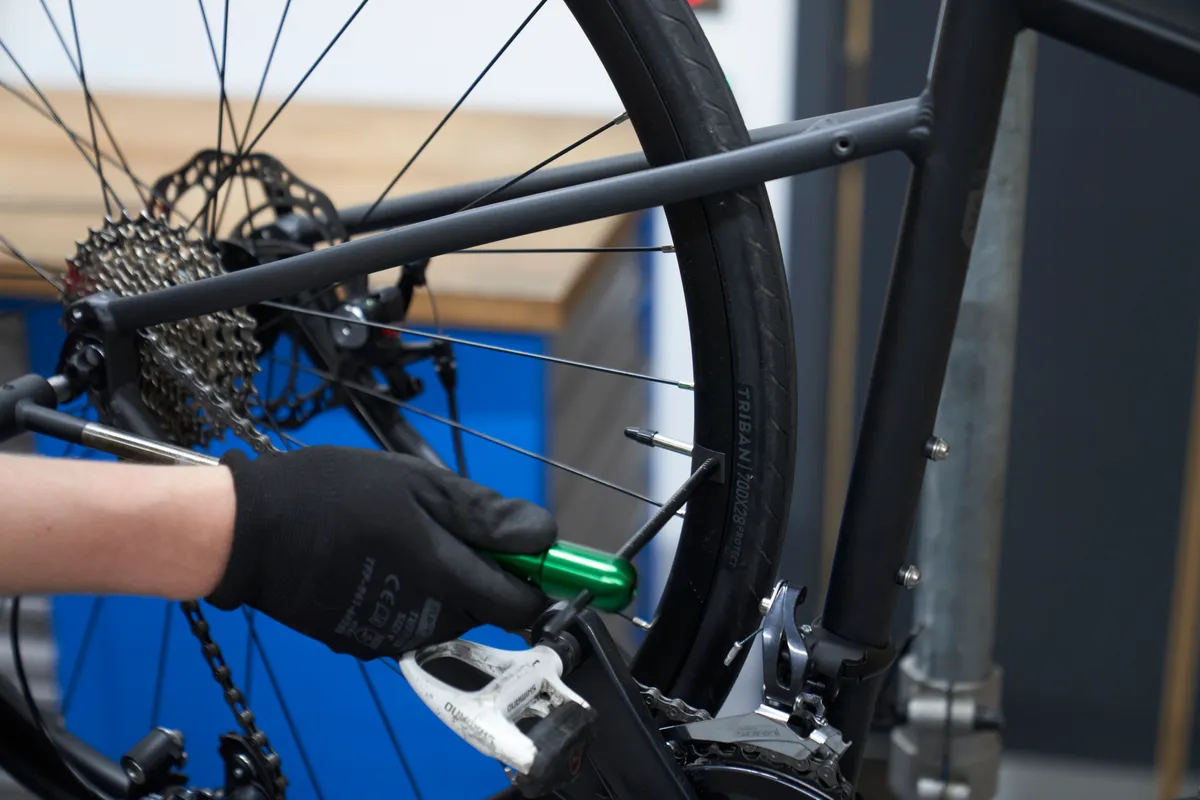
Check the alignment of the new hanger.
Step 5
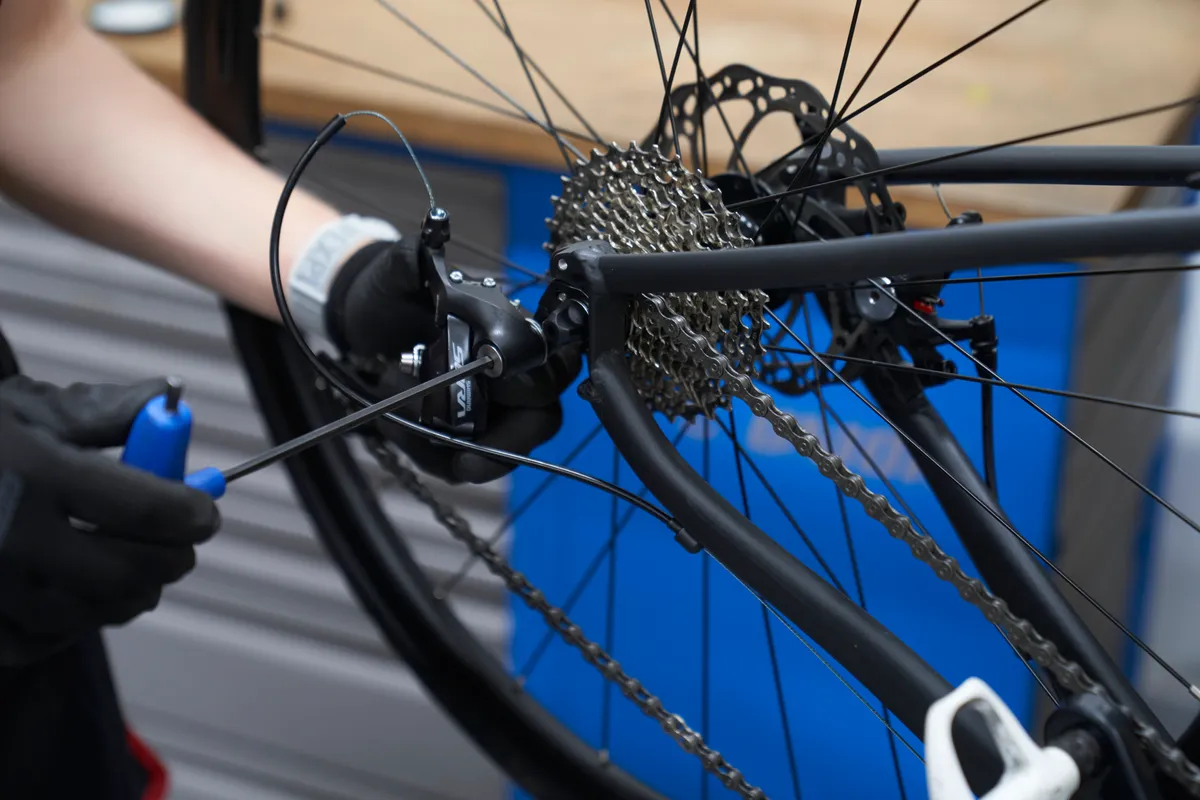
Once the hanger is aligned properly, install the rear derailleur and check the gears function optimally.
