If you’ve read our chain lube buyer’s guide, you may have noticed I spend a lot of time talking up the benefits of using wax-based lubricants on your bike chain.
Not only do independent tests consistently show wax-based lubricants to be among the most efficient, but they also typically do a great job of resisting wear-increasing contaminants.
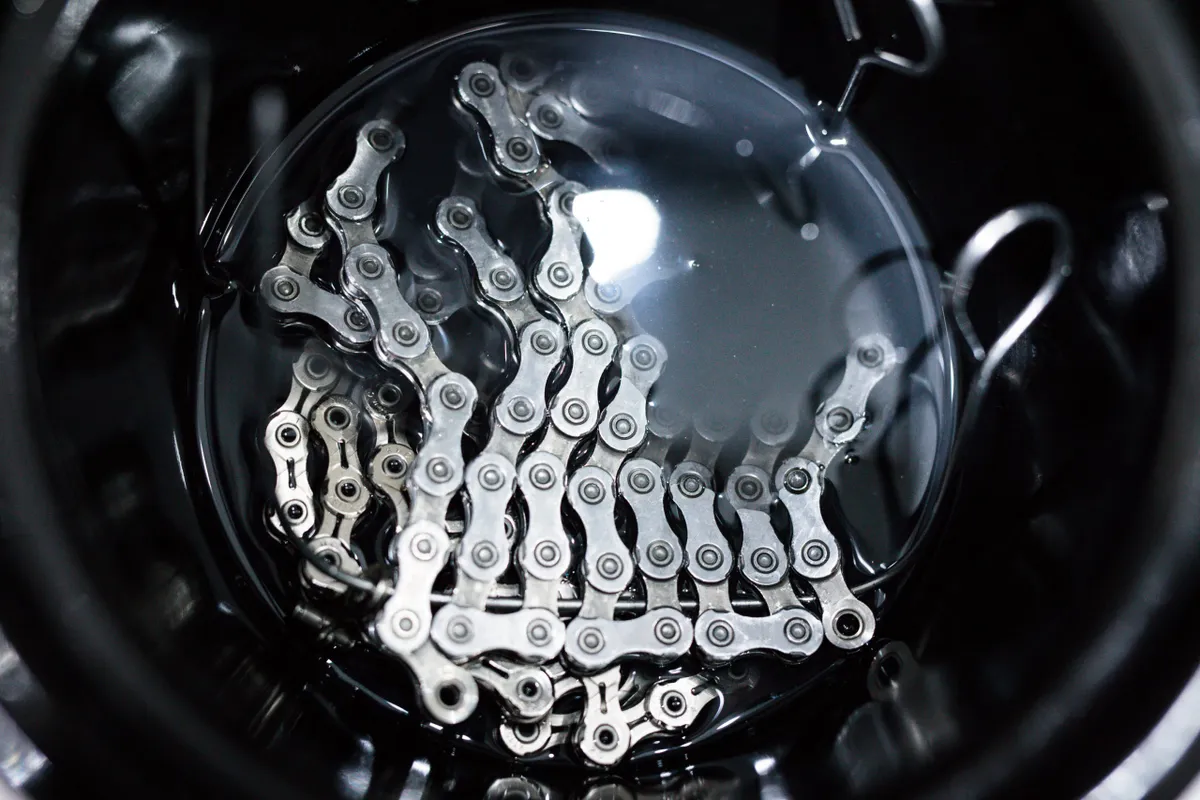
The current gold standard of chain lubricants is, in my opinion, immersive waxing (brands that don’t sell wax-based lubricants will likely disagree with me).
As the name suggests, it involves fully submerging a chain in a pot of melted wax. Once fully covered in wax, you take the chain out, let it dry, and install it on your bike.
You’re left with a hard, dry layer of slippery wax on the chain, which reduces drivetrain friction and resists contamination.
There’s a fair amount of work involved in getting to that point, though, so it’s not something every cyclist will want to do.
If you’re intrigued, here’s an in-depth guide to waxing bicycle chains.
How to wax a chain
At its most basic, waxing a bicycle chain can be pared down into four simple steps. The devil is in the details, though, so keep reading for an in-depth guide to waxing your chain.
- Thoroughly clean your chain and drivetrain
- Immerse the chain in melted paraffin wax
- Allow the chain to dry, then install it on your bike
- Repeat every 300-400km or after a wet ride
Is immersive chain waxing for you?
Before we jump into a full explanation of the process, it’s worth considering whether waxing chains is the best option for you and your bike.
Of all the current staff members at BikeRadar – a bigger bunch of bike nerds you are unlikely to find anywhere – I’m the only person who goes all-in on immersive waxing.
Some of my colleagues have migrated to using wax-based drip lubes (after much chiding from me), but no one else has yet fully converted to my waxy religion.
The main barrier to entry is that it’s a hassle, especially during the initial chain cleaning part (much more on this later).
Strange people that they are, most want to spend their free time riding bikes, not lubricating chains, and therefore prefer lubricant options that require a minimum of up-front work.
If you’re like them, immersive chain waxing might not be for you.

Another factor to consider is the climate where you live and ride. If it’s often very wet, this will shorten the lifespan of the wax on your chain, leading to a greater need to re-wax frequently.
There are ways to mitigate this issue, which we’ll come on to later, but it’s safe to say the benefits won’t outweigh the drawbacks for everyone.
If, however, you live somewhere with a drier climate, or are looking for the cleanest and most efficient lubricant possible, then immersive waxing may be for you.
Why I wax my chains
There are three primary reasons why I wax my bicycle chains:
- Cleanliness
- Efficiency
- Reduced running costs
As the wax dries to a complete solid, waxed chains resist contamination exceptionally well. This keeps your chain and drivetrain running spotlessly clean for much longer than with any other type of lubricant.
If you like a clean bike, then waxed chains will delight you.

Partly because of this, waxed chains are also incredibly efficient in the real world, meaning fewer watts are lost to drivetrain friction. This is why professionals often use waxed chains for time trials and important races.
This improved cleanliness and efficiency also results in reduced drivetrain wear, meaning you shouldn’t need to replace drivetrain parts as often.
If your bike has an expensive groupset (and all bike parts are getting more expensive these days), this could save you a significant amount of money in long-term running costs.
What kit do you need to wax a bike chain?
The kit list for immersive chain waxing is, unsurprisingly, longer than “a bottle of chain lube and a rag to wipe away the excess”.
Fortunately, most of the bits aren’t too expensive and should last a long time too.
I’ve not included an ultrasonic cleaner on this list. While having one may be convenient for cleaning chains and other bike parts, it’s far from essential. Elbow grease is a fine substitute.
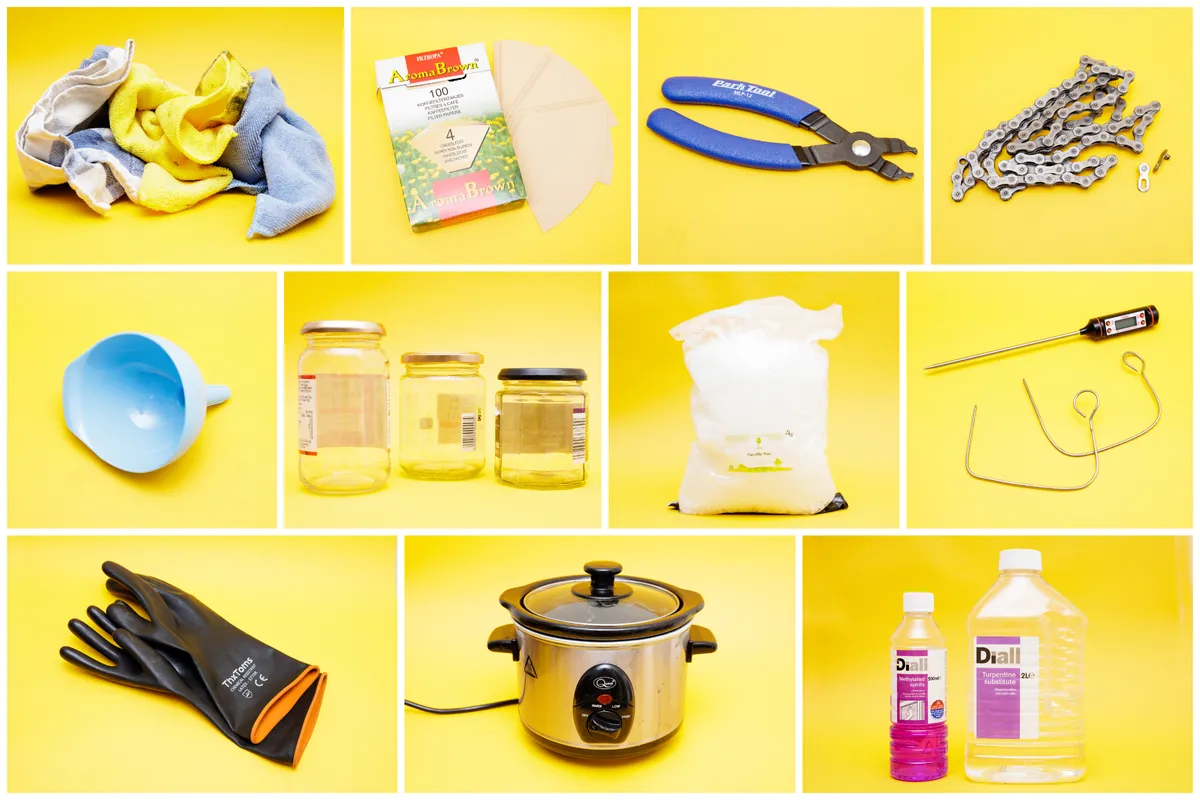
Chain waxing kit list
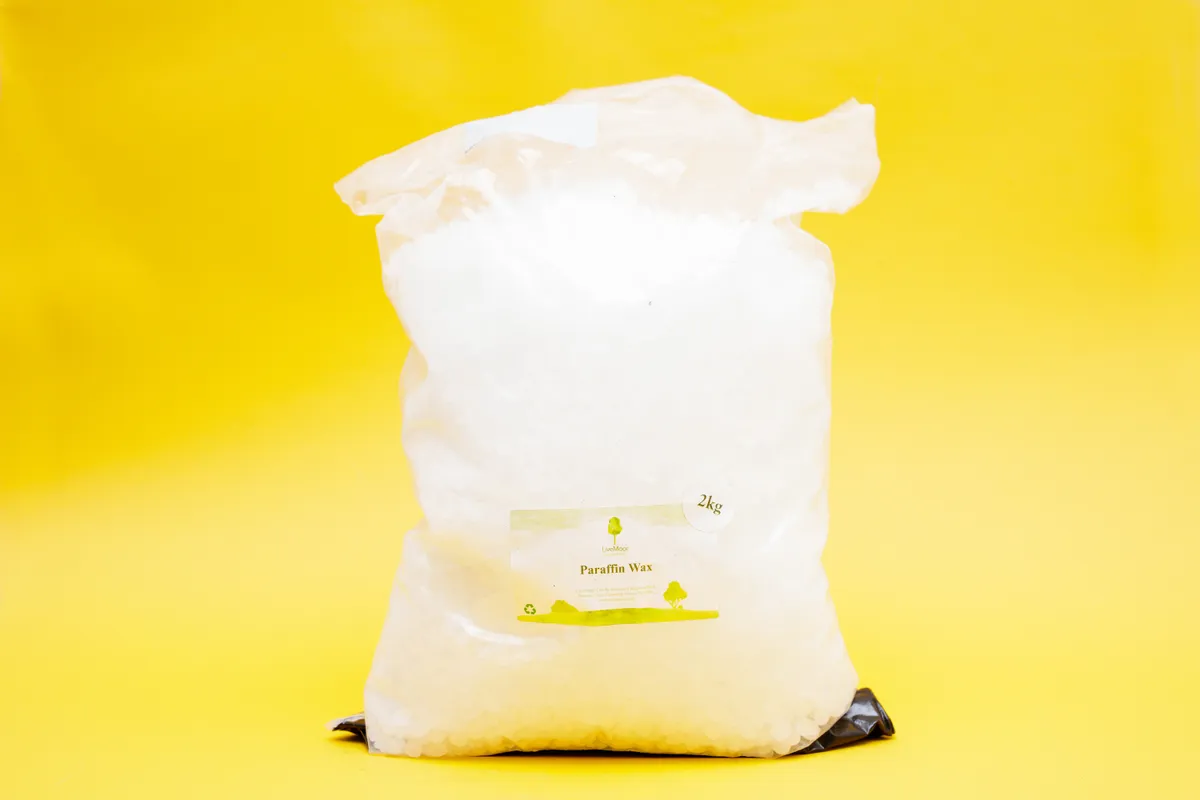
- Chain wax – either a commercial blend (such as Molten Speed Wax or Silca Hot Melt), or you can source the raw ingredients yourself, based on FrictionFacts’ UltraFast chain lube formula.
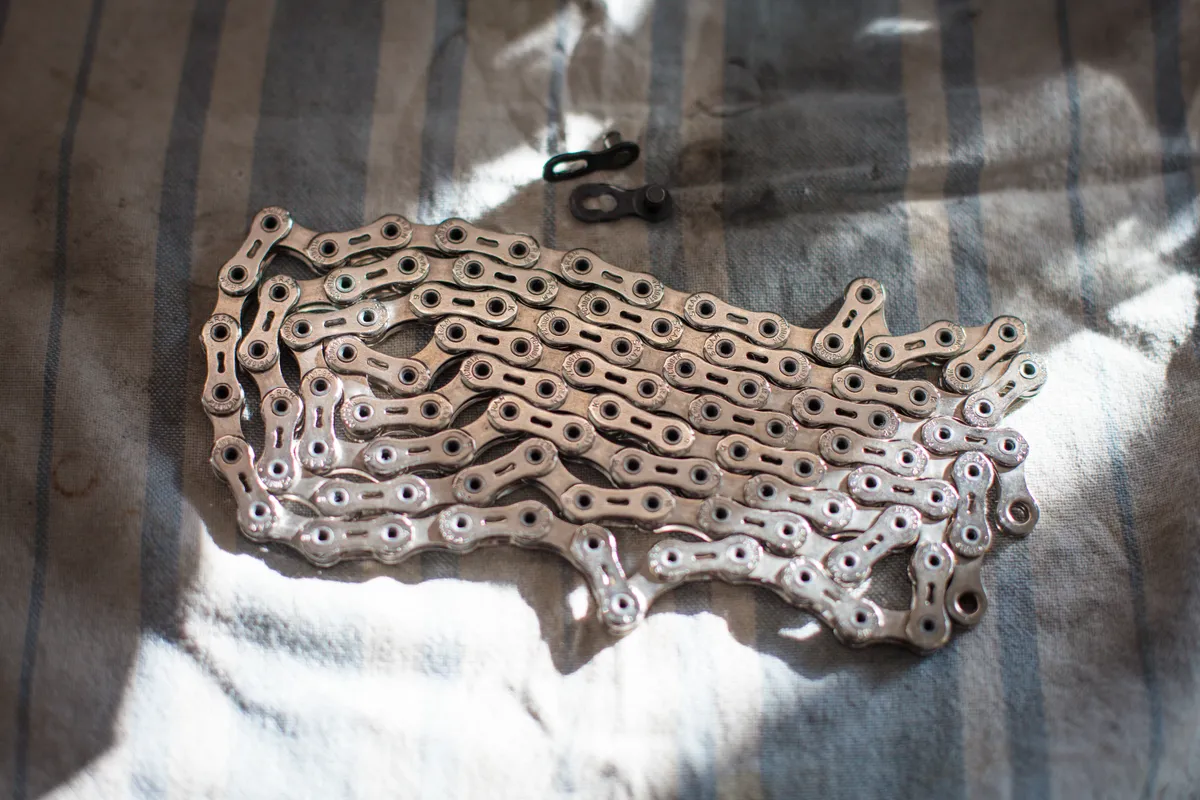
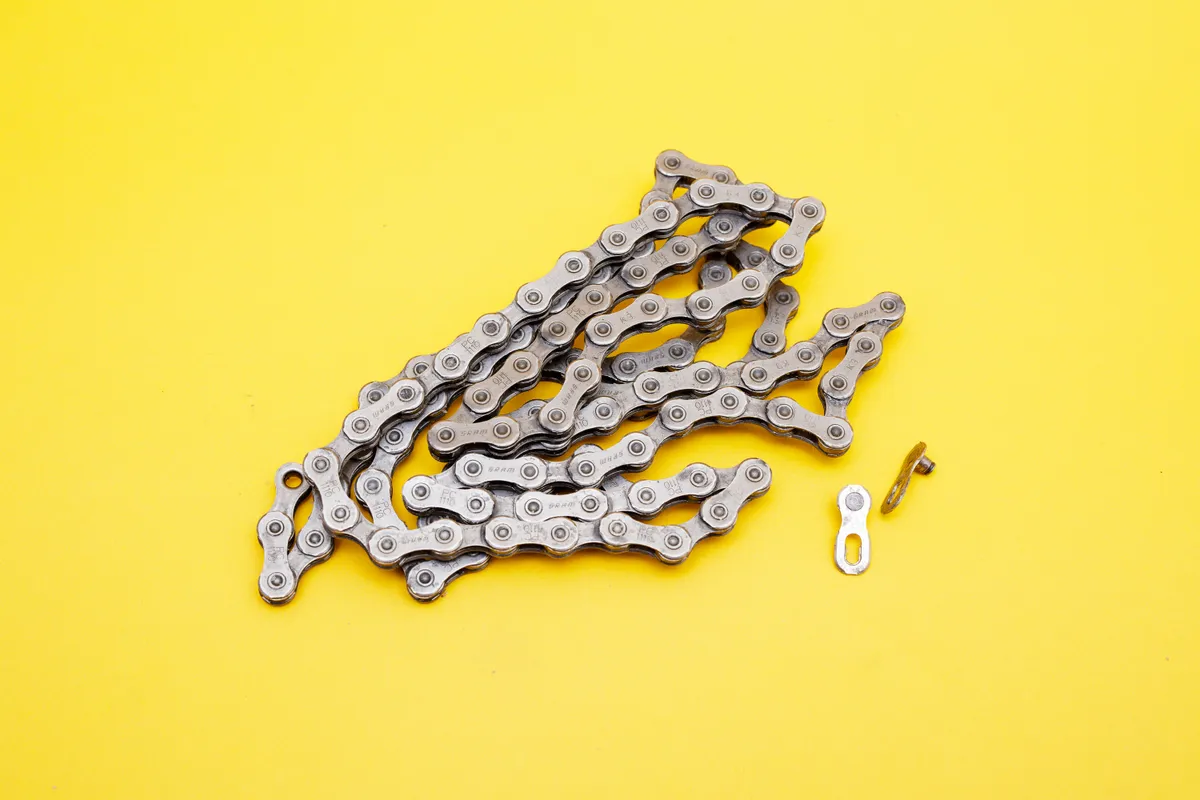
- Bicycle chain – preferably new, or very lightly used. If possible, get a few and wax in batches (I’ll explain why later).
- Bicycle chain quick links – Preferably reusable, as this aids re-waxing.
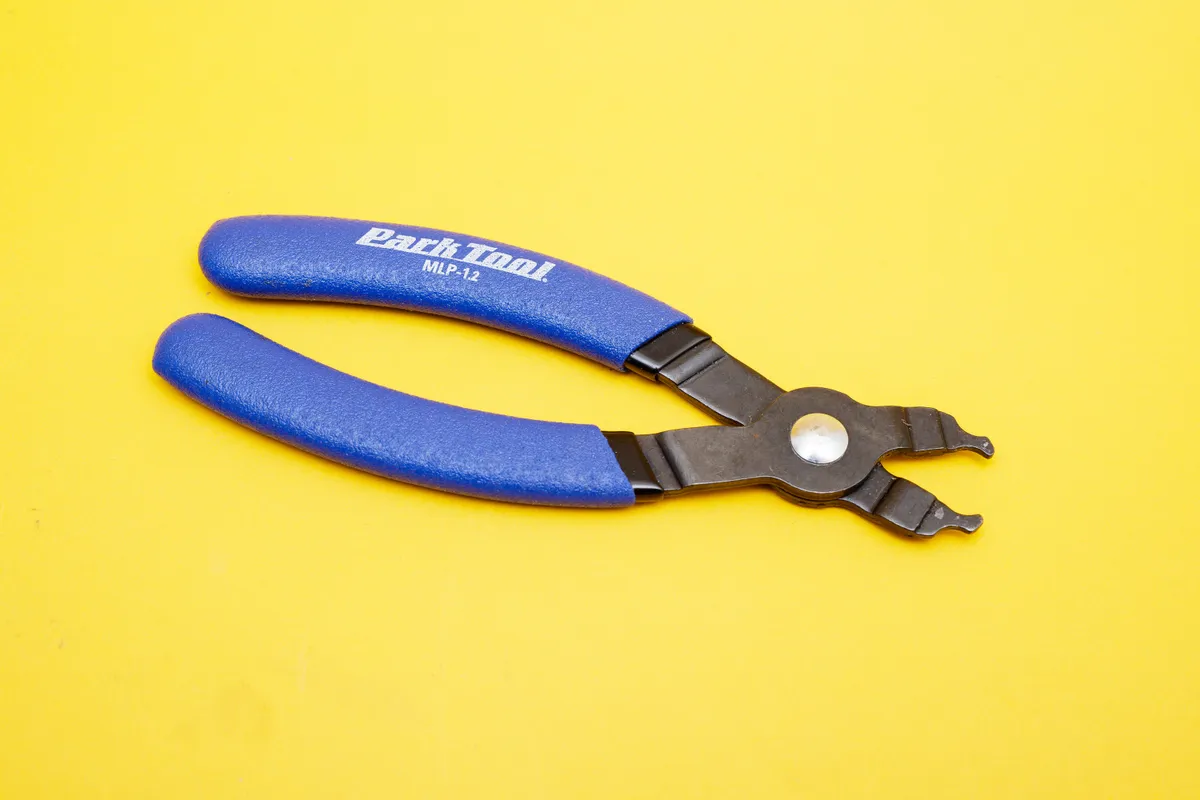
- Quick-link tool – not 100 per cent necessary (you could use needle-nose pliers), but dedicated tools are typically inexpensive and more convenient.
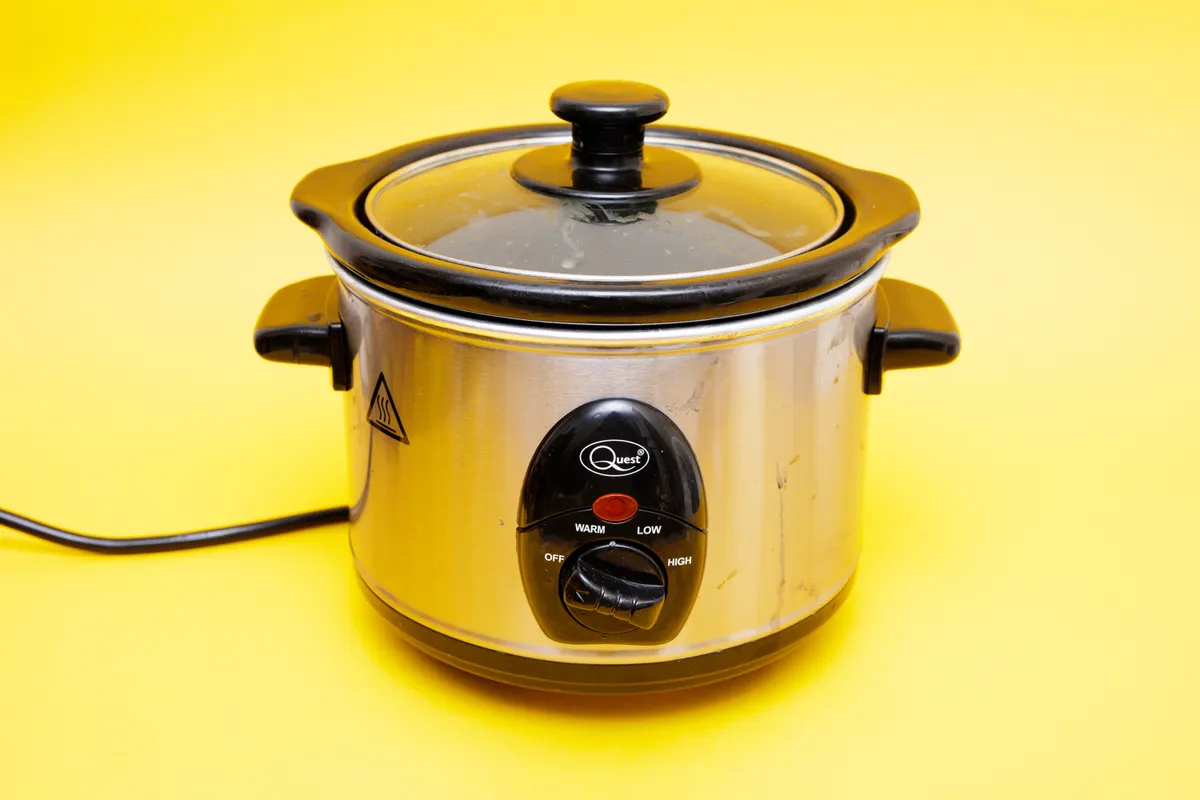
- Small slow cooker – something with a 1.5-2L capacity is great for waxing up to four chains at a time, which is plenty for home use. Don’t be tempted to do this on the hob in a normal pan, as wax is flammable if overheated. A slow cooker melts the wax slowly, safely and in a controlled manner.
- Metal kebab skewer/spoke/clothes hangers bent into a J shape – one per chain, for dipping the chain into the wax.
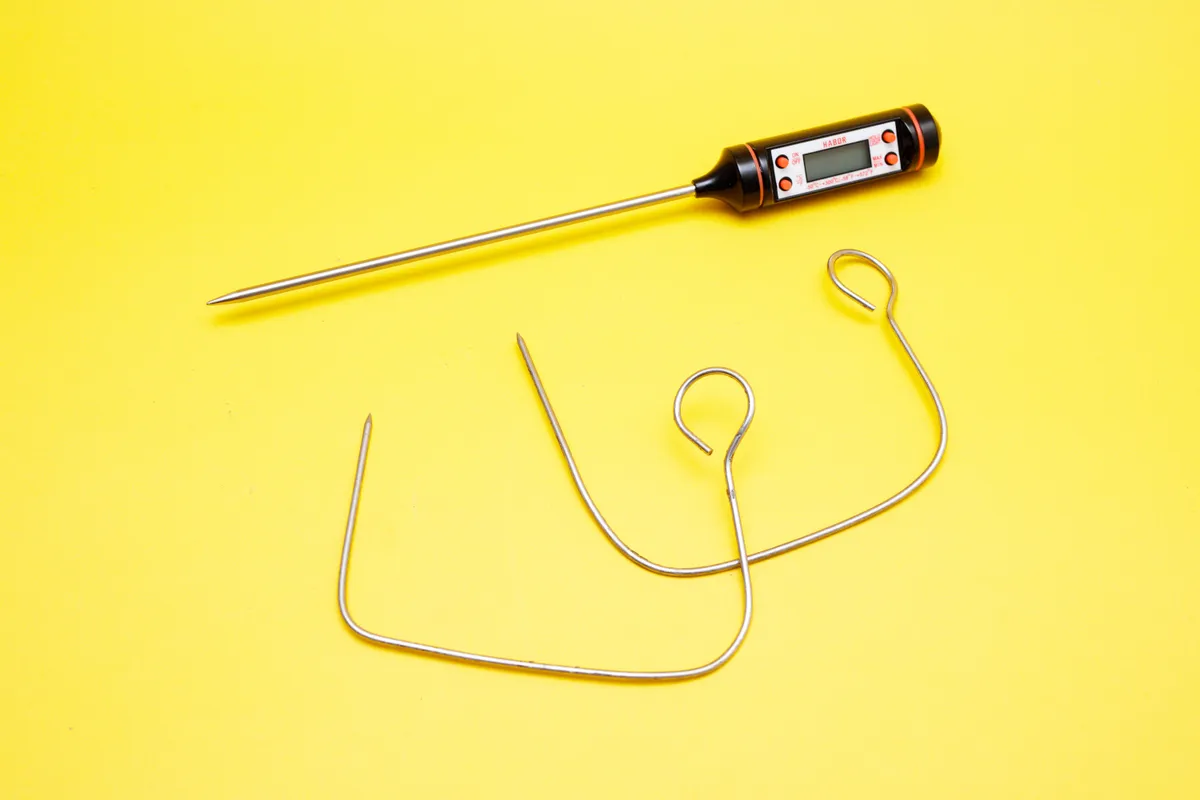
- Digital thermometer – to measure the temperature of your melting wax.
- Mineral spirits or strong degreaser – for cleaning factory grease and dirt from chains. Keep away from kids, pets, naked flames and sparks.
- Methylated spirits (denatured alcohol) – for removing any remaining traces of solvent or dirt prior to waxing. Keep away from kids, pets, naked flames and sparks.
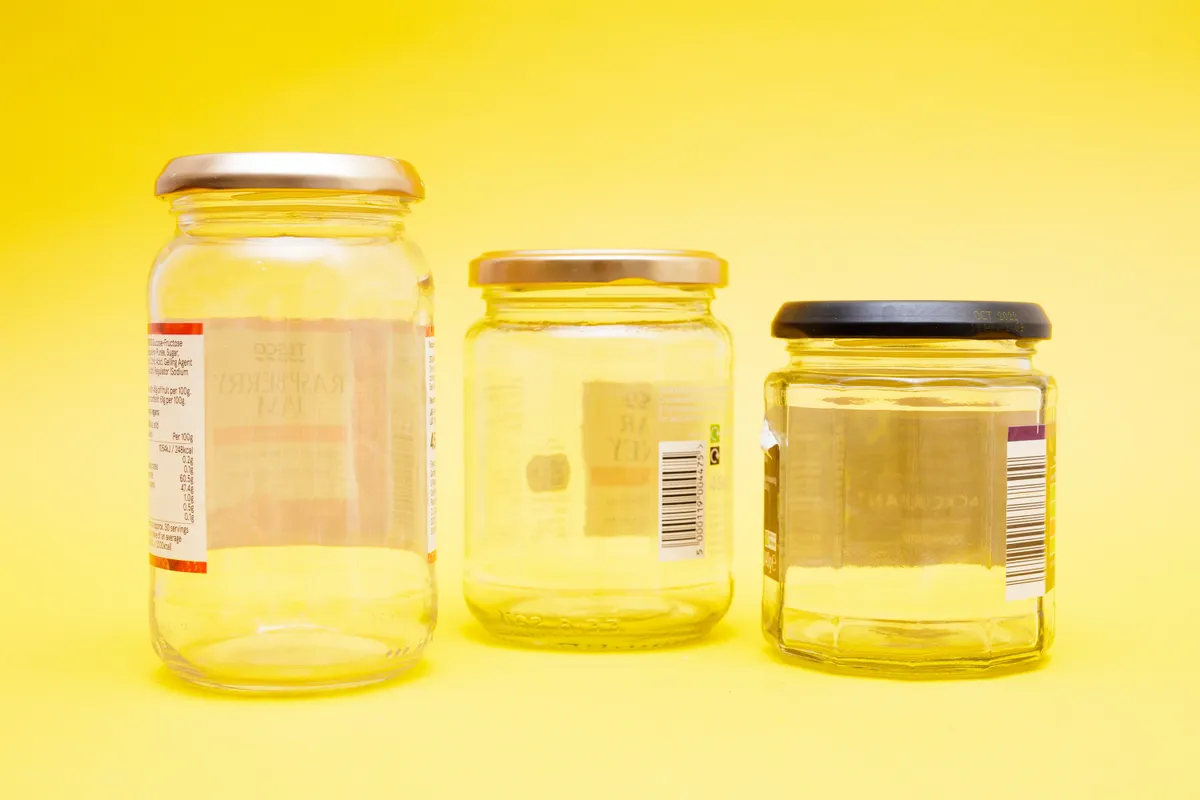
- Two or three jars or plastic containers with secure lids – for submerging the chains in cleaning chemicals.
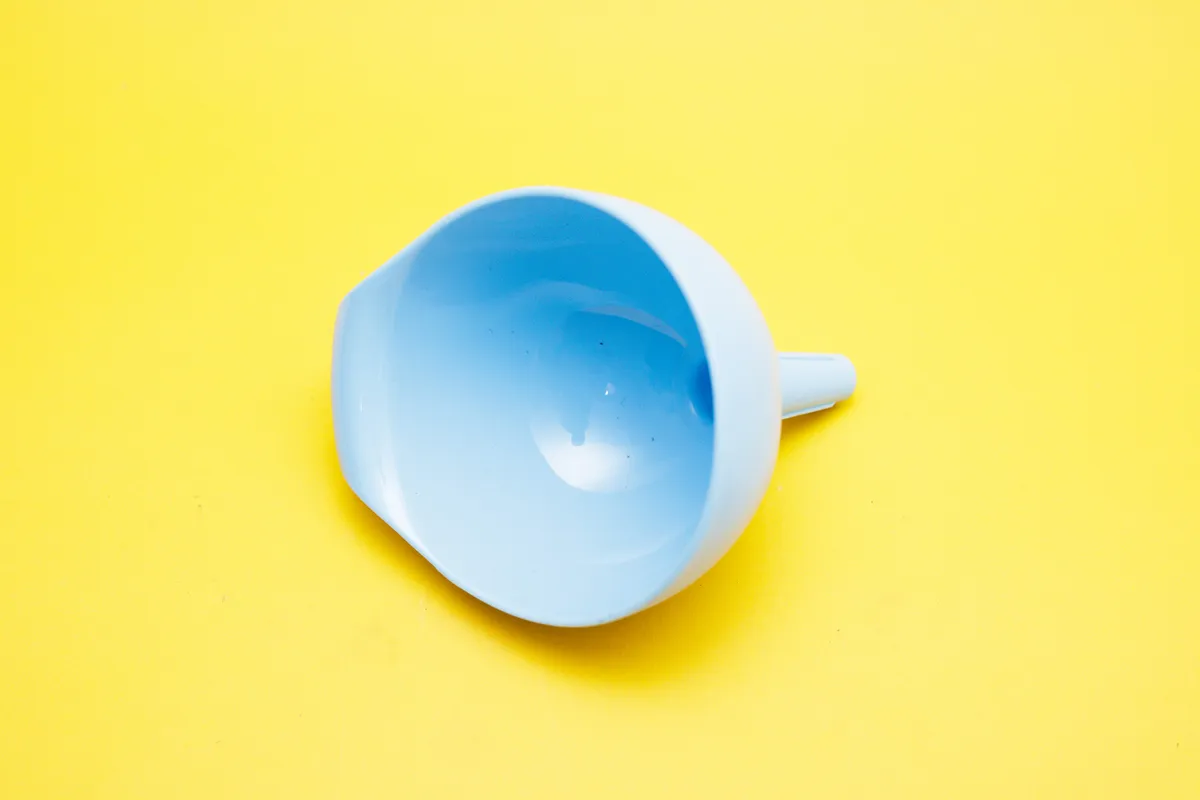
- Funnel – useful for avoiding spillages of chemicals.
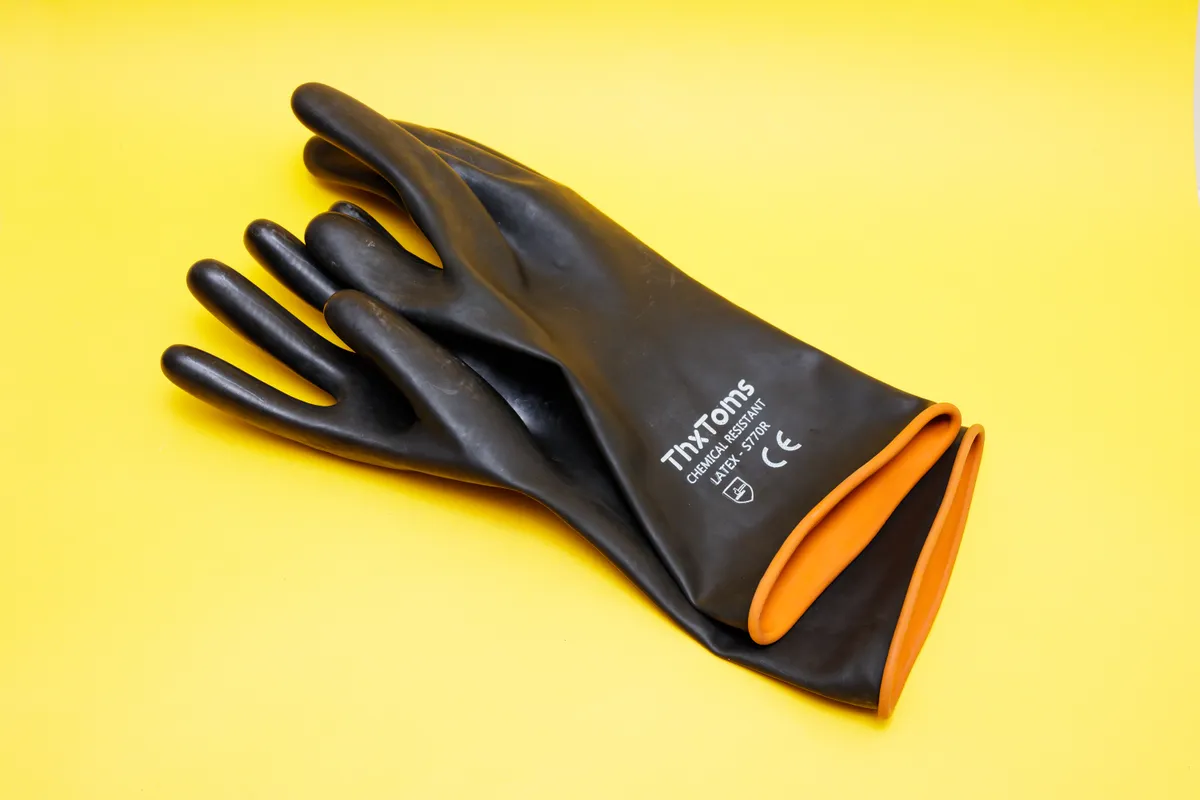
- Heavy-duty, chemical-resistant rubber gloves – for handling chemicals and objects containing hot wax.
- Clean rags or paper towels – for testing chain cleanliness.
- Coffee filter papers – useful for cleaning your mineral spirits and degreaser so it can be used again, rather than immediately discarded.
- Aluminium foil – for catching drips of wax when the chains come out of the slow cooker.
- Somewhere to hang the chains to dry post-waxing – a bike hook/coat hook, etc. One per chain. The key part is making sure each chain hangs freely, so contaminants can’t adhere to the drying wax.
With all of your kit assembled, it’s time to get to work. Find a well-ventilated space, with plenty of room to work, away from children, pets and anything delicate or valuable.
How to wax a chain
Step 1 – Deep clean chain and bicycle drivetrain
The first thing you need to do is clean your chain, and I mean really clean it.
It needs to be totally spotless, inside and out, because any residual oil or grease will contaminate your wax and make it harder for the wax to adhere to your chain.
As mentioned earlier, it helps if the chain is brand new, as factory grease is easier to remove than caked-on grime and dirt. Either way, you need to do this step with the chain off the bike.
Now is also a good time to deep clean your drivetrain.
This is important, because you don’t want to install your freshly waxed chain onto a dirty drivetrain. Doing so will contaminate it and spoil all of your hard work.
Place your chain in one of your two containers, pour in enough mineral spirits/degreaser to cover, and securely attach the lid.
It’s then a simple matter of agitating (shaking vigorously) the container for a few minutes. You should notice the liquid turning a lovely brown or black colour – that’s all the grease and/or dirt coming out.
With that done, remove the chain from the container, rinse it off with water and dry it out.
At this stage, we need to check if the chain is clean enough to wax.
Grab a clean rag or paper towel and run the chain through it. If any grease or dirt is left behind, the chain needs another solvent bath. Repeat the previous step.

In my experience, most new chains will require at least two or three solvent baths.
Once the chain goes through your rag without leaving a trace, you’re almost good to go.
Place the chain in container number two, pour over enough methylated spirits to cover, and securely attach the lid.
Agitate for two minutes, then remove the chain from the container and leave it to dry thoroughly.
Your chain is now ready to wax.
If properly cleaned, the chain should feel completely dry and metallic, with a loose, rattly feel.
As always with chemicals, make sure to handle them carefully and dispose of them responsibly.
Dirty mineral spirits can be recycled and reused by allowing the dirt to settle at the bottom of the container, then carefully pouring it into another clean container through a coffee filter paper.
Step 2 – Wax your chain
With your chain scrupulously clean, it’s time to break out the slow cooker and wax.
Pour your wax blend into the slow cooker. Don’t fill it all the way to the top, about halfway is plenty.
Thread your chain and quick-link onto the J-bend kebab skewer/spoke/coat hanger, place it on top of the wax, turn the slow cooker to its High setting and put the lid on.
We put the chain in at this point so it heats up with the wax. This helps the metal parts to expand slightly, enabling the wax to get inside the rollers and pins, where it’s needed most.
The wax should melt within 30-45 minutes, depending on how much you put it in the slow cooker.
Once all of the wax has melted, use the digital thermometer to monitor the temperature of it.
According to Molten Speed Wax, the temperature of the wax should not exceed 93 degrees celsius / 200 degree fahrenheit, both for safety and performance reasons.
With the wax fully melted, swish your chain around in the wax for 30 seconds using the J-bend tool. Try to agitate the wax vigorously but safely, to homogenise the wax and any friction modifiers (additives such as PTFE, molybdenum disulfide or tungsten disulfide, which can further reduce friction) suspended within it.
With that done, carefully remove the chain from the slow cooker, catching any drips with a small section of aluminium foil.
Unfurl the chain from your J-bend tool and leave to dry for 20 minutes or so, on your pre-prepared hook/nail in the wall.
Step 3 – Install chain on bike
Once dry, the chain will be very stiff, as the wax dries to a solid.
Before installing it on your bike, you’ll therefore need to break the wax on each link to allow it to properly articulate through your drivetrain.
Each link can be individually broken by hand, but the quickest and easiest way to do it is to run it over a round section of wood or plastic tubing.
With this done, the chain can be installed on your bike like any other. See our guide to how to replace a bicycle chain, if you need a refresh on this job.
With the chain installed, lift the back wheel and turn the pedals forward by hand for 30 seconds, to break in the wax.
At this point, your bike is ready to ride. For the first 10 minutes or so, the chain will still be stiff and can skip, so be careful and don’t adjust your shifting during this period.
After 20 to 30 minutes, the wax should be worn in and everything will run as normal again (albeit much cleaner).
Congratulations, you now have a waxed chain.

Step 4 – Re-wax every 300-400km or after a wet ride
In dry weather, your waxed chain should provide low-friction service for around 300-400km.
You’ll know the chain definitely needs re-waxing if it starts to sound dry or squeaky.
If you do a wet ride, the chain will need re-waxing (or at least cleaning and drying) immediately to prevent corrosion from forming.
The lack of oil in a waxed chain is a double-edged sword. On the one hand, it means contaminants don’t stick to it, keeping it exceptionally clean and efficient. On the other, it means the chain has no protection from corrosion once the solid layer of wax has abraded off.
This is where having multiple chains on rotation, or a wax-based drip lubricant to top up the chain, comes in handy (more on this in a bit).
To re-wax your chain, remove it from your bike via the quick link.
Thread the chain on to your J-bend tool, and put it in a heat-proof container. Cover it with boiling water and gently agitate it. The hot water will melt away the wax, taking any contaminants with it.
Don't be tempted to use a container with a lid on for shaking it. The expanding steam could blow the lid off and cover you in boiling water, which would be bad.
If the chain is very dirty or comes out of the boiling water feeling oily, it may need another solvent bath, but this is rare.
Once cleaned, dry the chain and it’s ready to go back in the slow cooker. Head back to step 2 and go from there.
Rotating waxed chains
By cleaning and waxing multiple chains from the start, you can simply remove one chain from your bike when it needs re-waxing, and immediately swap on a freshly waxed chain with no delays.
The other chain can then be re-waxed at your convenience. If the chain got wet, make sure you dry it off thoroughly before storing it, otherwise it will rust.
The obvious downside to this method is increased up-front cost, as you’ll need to buy more chains in one go.
In my opinion, though, this approach really pays off.
The initial cleaning phase is the hardest and most time-consuming part of waxing chains. If you can do a few chains in a batch, you won’t need to do it again often.
Topping up waxed chains with wax-based drip lube
If you’re travelling with your bike, or simply don’t want to clean and wax chains in batches, then topping a waxed chain up with a wax-based drip lube is a decent way to extend the interval between full re-waxes.
Wax-based drip lubes such as CeramicSpeed UFO Drip, Tru-Tension BananaSlip Tungsten All Weather, Squirt or Smoove, will all do the job.
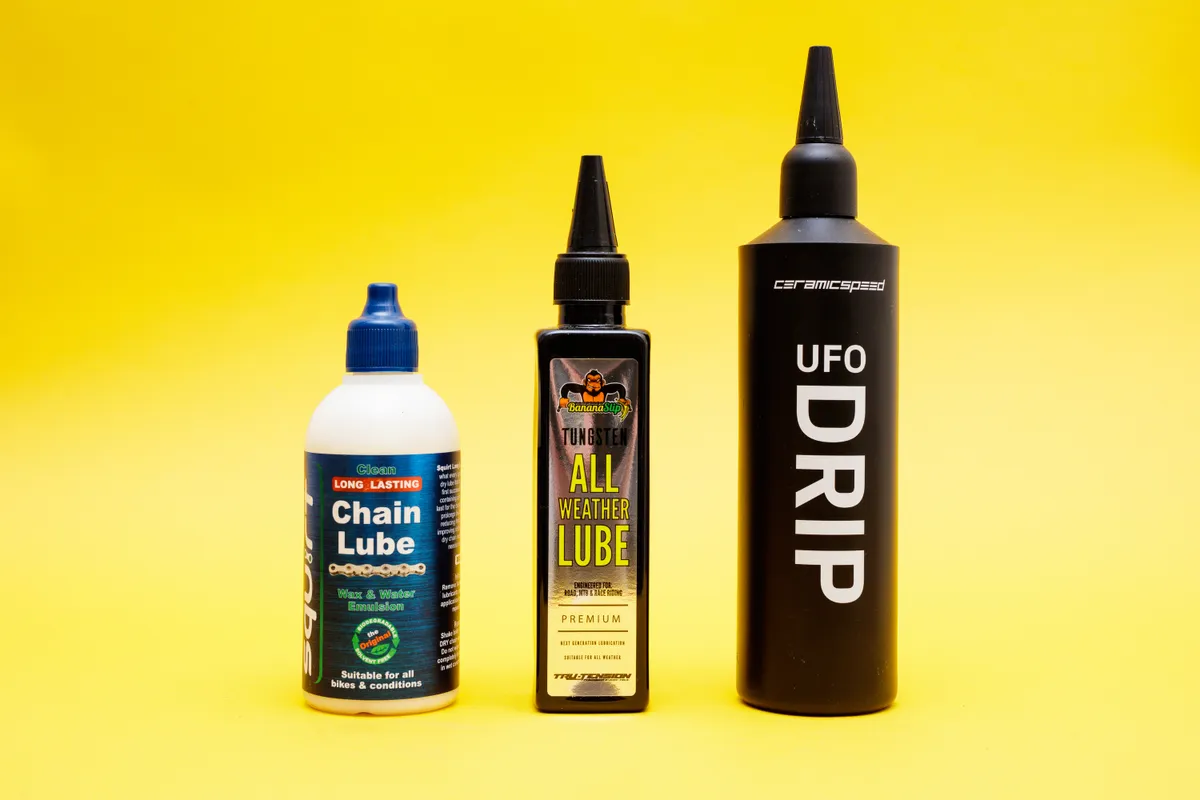
It’s not without compromises, though. In my experience, wax-based drip lubes inevitably lead to more gunk build-up on your drivetrain, compared with immersive waxed chains, as they attract more contaminants.
As a result, you’ll need to spend a bit more time cleaning everything, whenever you eventually re-wax the chain properly.
In reality, I do a bit of both.
With my time trial bike, which is a pure race bike, I rotate two to three freshly waxed chains on and off it.
With my road bikes, which get ridden in wet conditions far more often, I tend to top the waxed chain up with a wax-based drip lube a couple of times (CeramicSpeed UFO Drip is my current favourite), before swapping on another waxed chain, or performing a full re-wax.
If you're travelling with your bike, taking your full waxing kit with you is impractical, so a bottle of wax-based drip lube can be a handy substitute to pack in your bag.
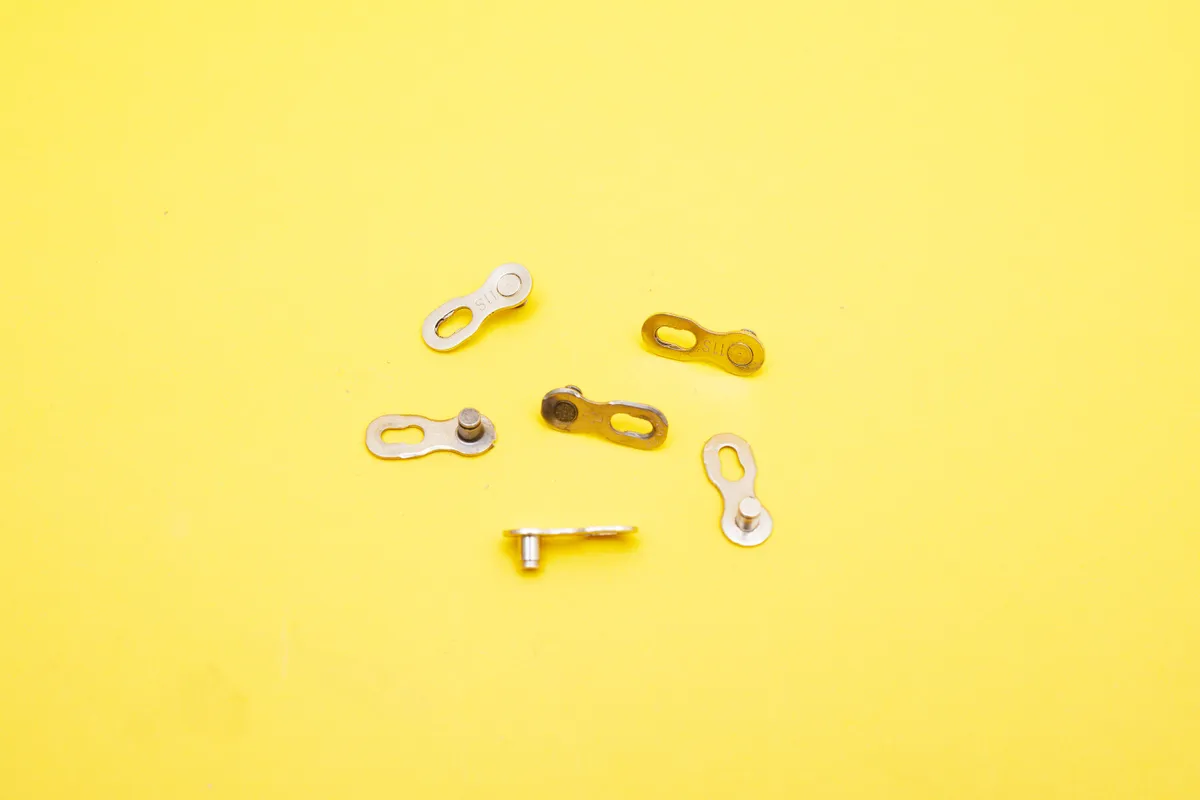
Can you reuse chain quick links?
If the manufacturer says the quick link is reusable, then yes, you can reuse it (within the limits set by the manufacturer).
If the manufacturer says the quick link is single-use, then, officially, the answer is no.
In practice, I’ve reused single-use chain quick links two to three times without issue. When a quick link no longer requires significant force to close, I will always discard it and use a new one.
Ultimately, it’s not worth risking a broken quick link while riding, just to save a little money, as it could cause you to crash.
The money saved by not needing to replace drivetrain parts as often will more than outweigh any money spent on extra quick links, so don’t push your luck.
General chain-waxing tips
- Pre-waxed chains – the initial cleaning phase is by far the biggest hassle in all of this. Sourcing a pre-waxed chain from a brand or friend is a great way to skip this section. You’ll then just need to re-wax it as required.
- Only use high-quality paraffin wax – if sourcing your own paraffin wax, get the highest quality possible. Ideally, you want food-grade paraffin wax, as cheaper blends will contain a higher percentage of oil, and will compromise the wax’s ability to resist contaminants.
- Refresh your slow cooker wax when it gets dirty – refresh the wax in your slow cooker when your waxed chains start to feel oily after fully drying, or no longer resist contaminants as well. The cleaner your chain is when it goes in, the longer the wax in your slow cooker will last.
- Using waxed chains indoors – if using a waxed chain indoors (with your bike on a smart trainer, for example), small wax particles will flake off the chain and collect on the floor beneath your bike. These can be swept or vacuumed up, but it’s a good idea to use a trainer mat to prevent these from dirtying your floor.
- What about solid, roll/rub-on chain waxes? Avoid. Chain lubricant needs to penetrate into the rollers and pins in order to be effective, which these cannot do.
- Avoid putting oil-based lubricants on a waxed chain – the wax and oil will create a paste, which will attract and trap contaminants, massively increasing friction and drivetrain wear.