


Some sets of Shimano disc brakes come in kit form, so you can decide whether to have a normal or dual control lever set up.
This means that they need assembly and a full bleed when you fit them, and they rarely come with instructions. Here’s how to hang them…
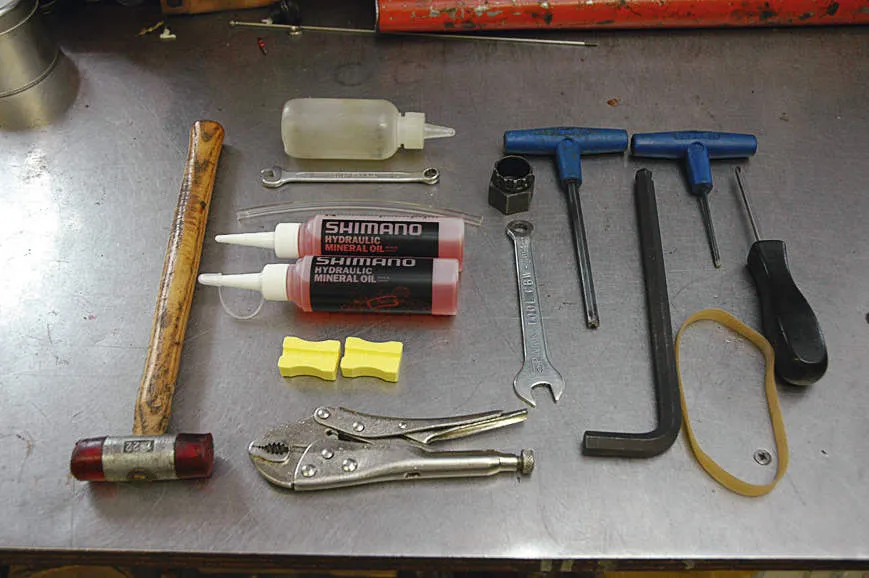
Tools you'll need
- Hayes bleed bottle
- 7mm spanner
- Bleed hose (supplied with brakes)
- Mineral oil (supplied with brakes)
- Hose clamp blocks (supplied with brakes)
- Small hammer
- Mole grips or vice
- 8mm spanner
- Shimano cassette tool
- 5mm Allen key
- 10mm Allen key
- 3mm Allen key
- Small cross-blade screwdriver
- Rubber band
Tools: tools
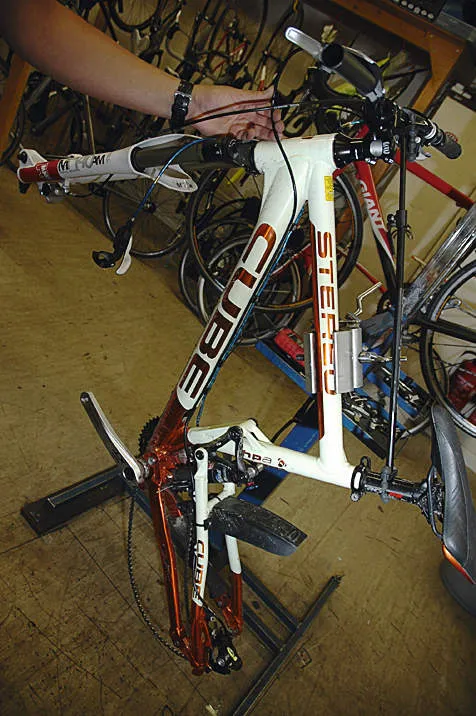
1] Fit the calliper
1: 1
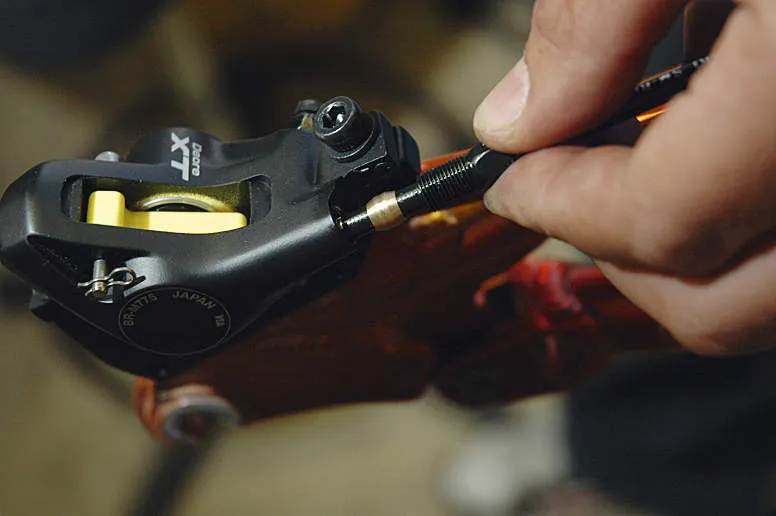
With the wheels removed from the bike, fit the calliper to its mount. Select the relevant hose, long for rear, short for front, slide the 8mm nut over the hose and fit the barbed hollow pin into the end of the hose. Use the hose clamp blocks about 20mm back from the end of the hose. Clamp them in a vice if you have one, or in the jaws of Mole grips if not. Gently tap the fitting in using the small hammer.
2] Fit the brake lever
Slide the olive (a small barrel-shaped brass cylinder) onto the hose, push the prepped end of the hose into the calliper, slide the 8mm nut down the hose and thread into the calliper to a torque of 6Nm (Newton metres). Fit the brake lever to the handlebars and route the hose through all the frame fittings up towards the lever. Cut the hose down to the required length using a sharp Stanley knife.
3] Fit the hose
Now fit the hose into the lever. This is the same procedure as with step 1 for fitting into the calliper. The only difference is making sure you don’t forget the rubber boot cover has to go onto the hose first, before the 8mm nut and olive. Once the hose is fitted and the torque is set, slide the protective rubber cover over the 8mm nut.
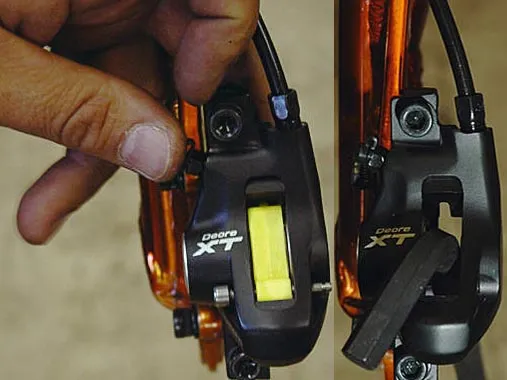
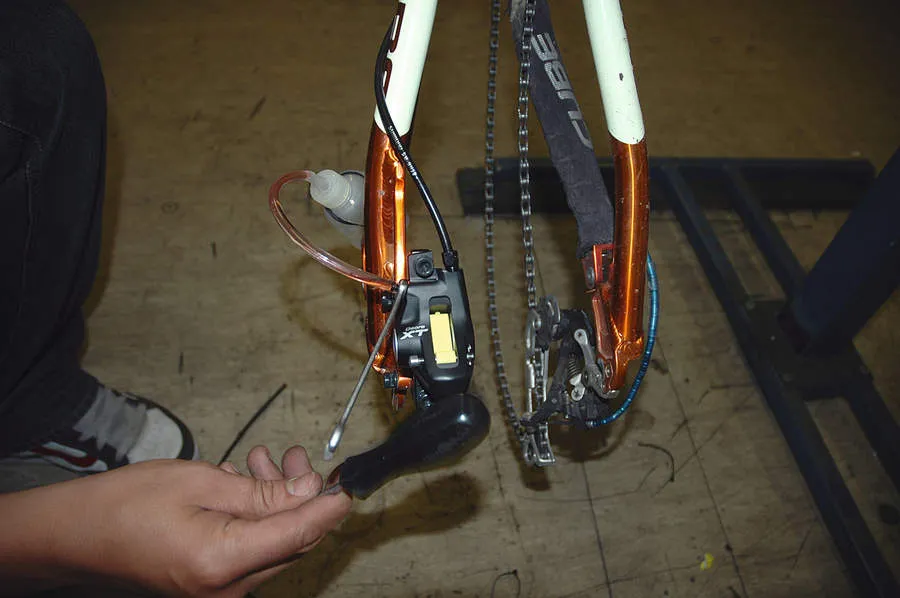
4] Wedge the pistons in place
To ensure that the pistons don’t get pushed out during the bleed process you’ll need to wedge them in place. This can be done using a specific Shimano tool (part no Y8CL18000). These are few and far between, so a 10mm Allen key will also do the trick if you can’t get hold of the tool (or anything 10mm wide). Simply remove the brake pads and drop it down through the open top of the calliper between the pistons.
5] Assume the position
Position the bike so that the bleed nipple is the highest point of the calliper, and so that the hose has a constant upwards path from the calliper to the lever. This is very easy for the front, but may need a bit of fiddling to get it right for the rear. If you don’t have a workstand, then put the front wheel in to raise the front of the bike in order to get the required uphill hose routing.
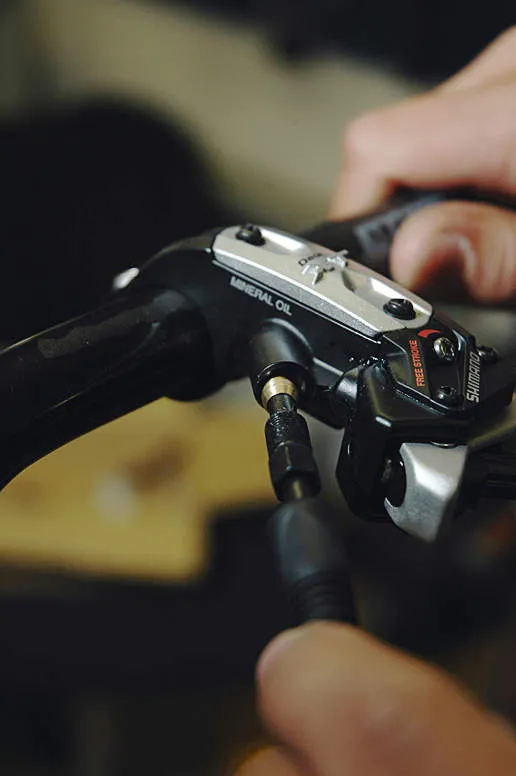
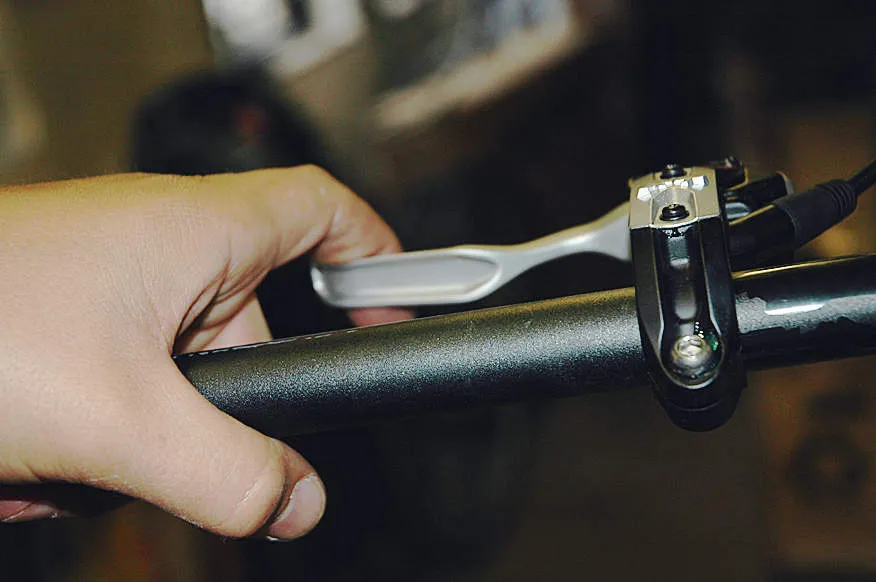
6] Rotate the reservoir
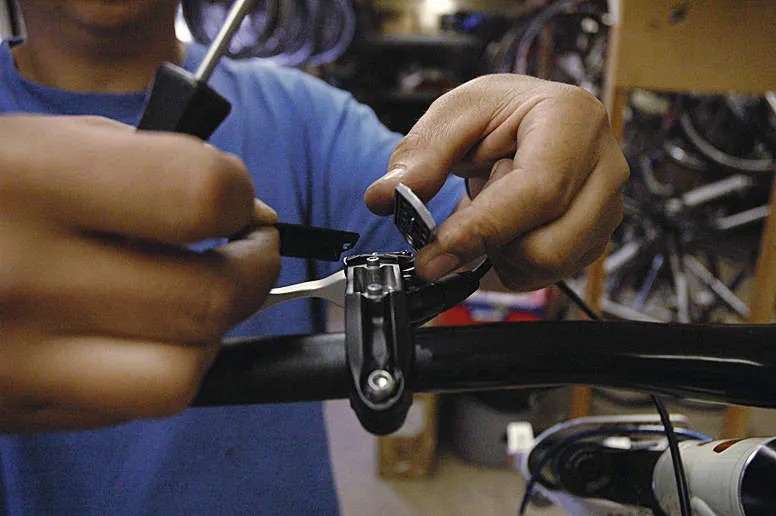
The reservoir part of the lever needs to be horizontal, so rotate its position on the bars and nip up the bolt so it doesn’t move. Remove the two screws from the top of the reservoir with a small cross-blade screwdriver, remove the cap and the rubber diaphragm you find underneath and stow them somewhere clean.
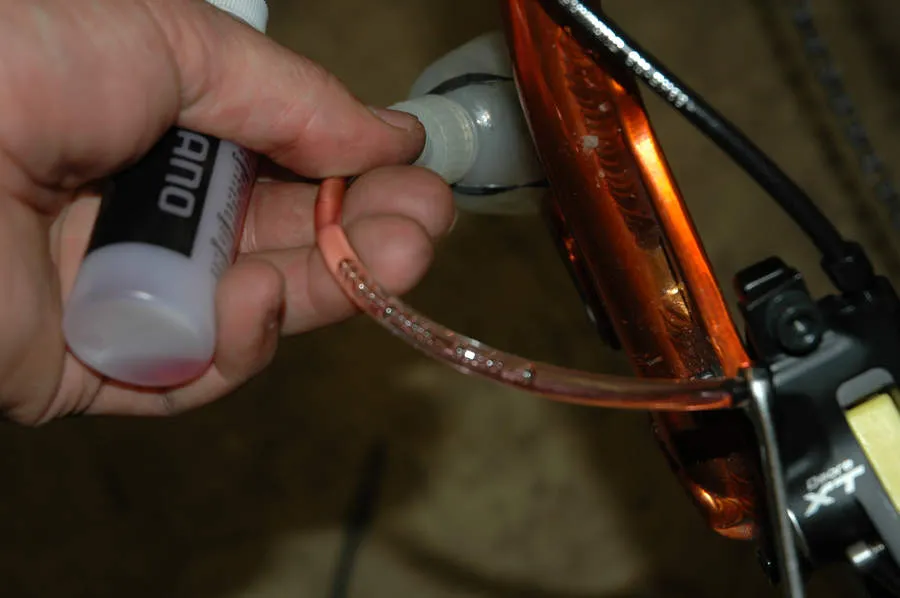
7] Create a vacuum
Push the bleed hose onto the top of your Hayes bleed bottle. Put your 7mm ring spanner onto the bleed nipple. Squeeze and hold the centre of the bottle, then push the other end of the bleed hose onto the bleed nipple. This creates a small vacuum, which helps with the bleed. Secure the bleed bottle to the frame with an elastic band, making sure the hose loops around 180 degrees.
8] Open your oil
Grab the bottle of mineral oil that came with the brakes, snip the very end off the tip so there is a fairly small hole and fill the reservoir to the top (there’s a blanking plug under the cap to catch you out that needs removing). Keep your oil in hand, open the bleed nipple a quarter turn. Oil will start to flow out of the reservoir by gravity. Keep filling the reservoir as it flows through.
9] Don't run dry
It’s very important that the reservoir doesn’t run dry. Monitor this constantly and continuously top it up. If it does run dry there will be air in the system and you’ll have to bleed it all the way through. Slowly pulling the brake lever back about 5mm and releasing will help purge any trapped air. Continue this process until the bleed tube is full of oil and no more air bubbles appear. Now close the bleed nipple.
10] Release trapped air
To free any air trapped in the system tap the calliper, hose and lever with the plastic end of your screwdriver. Also, flicking the lever back about 5mm into its stroke agitates the oil in the system and hence any air within. Do this for about two minutes. With your oil in hand and at the ready at the reservoir, open the bleed nipple and repeat step 8 until no more air bubbles appear in the bleed tube.
11] Prime the system
Top up the reservoir and replace the diaphragm and top cap. To fully prime the system, pull on the brake lever a few times until the pistons contact the 10mm Allen key wedged between them. Now you need to slowly pull the lever all the way back and with quite some force. Repeat this for about for about two minutes. If the brake is still spongy, go back to step 8, remembering to open the bleed nipple a quarter-turn first.
12] Refit the brake pads
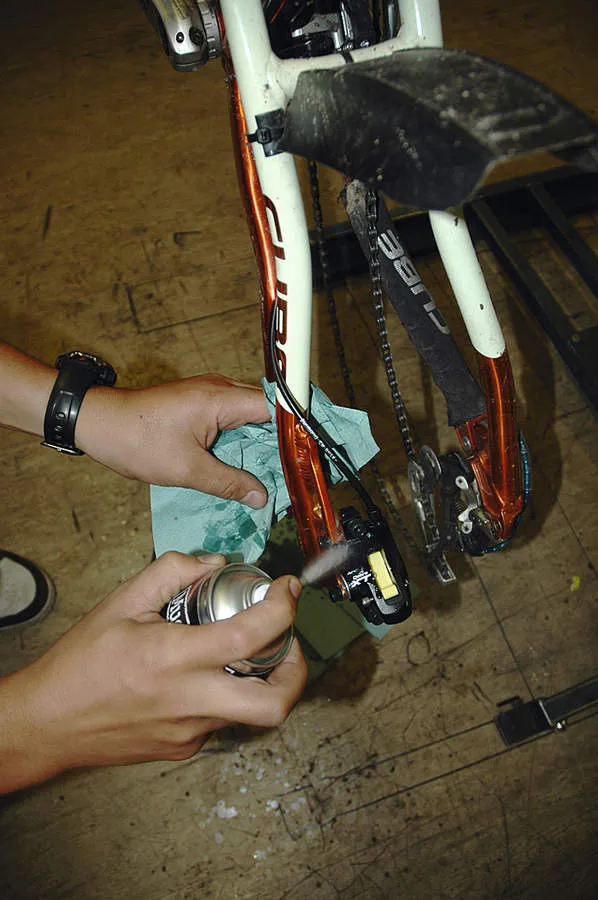
Remove the bleed hose and bottle from the nipple. Give the calliper and the lever a good clean with brake cleaner to remove any trace of hydraulic fluid – the fluid is caustic and will eat away at the finish of the brakes if left there. Push the pistons all the way back using a plastic tyre lever and then refit the brake pads and the retaining pin and spring clip.
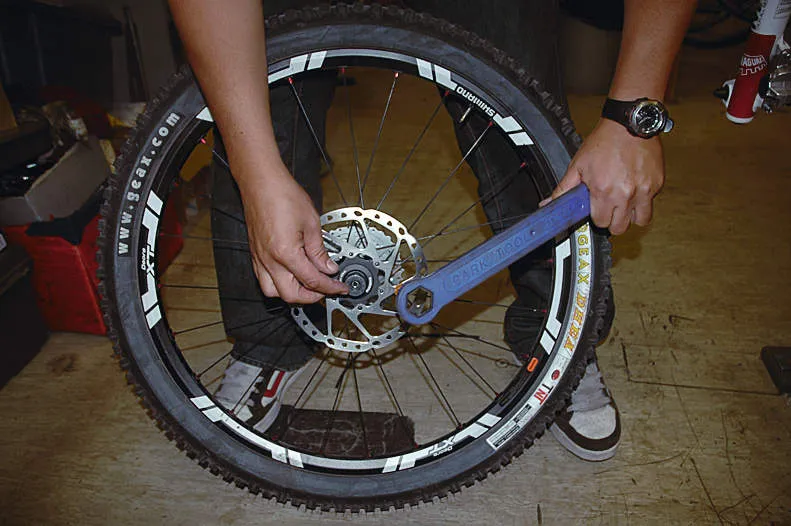
13] Fit the rotors
Now fit the rotors to the wheels. The majority of Shimano hydraulic systems use a centre lock rotor. Slide the rotor onto the splines of the hub, apply some Threadloc to the threads of the lock ring and screw it into the hub by hand. Tighten the lockring using the cassette/lockring tool to a torque of 40Nm.
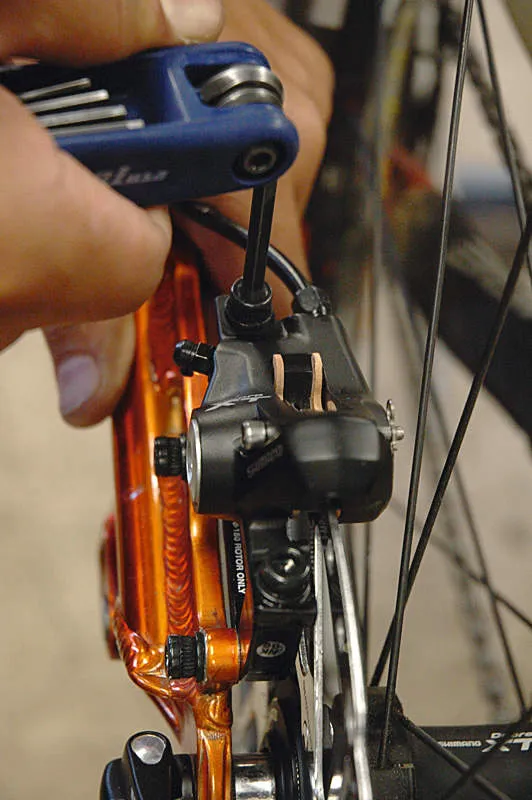
14] Fit the wheels
Put the wheels into the bike. You’ll need to pump the lever a few times to activate the self-adjusting valve in the brake. Keep pulling on the lever until a firm bite point is found. When this is achieved, centre the callipers so the rotor runs through without touching the pads. Tighten to a torque of 7Nm. Adjust the brake levers to your favoured position.
15] Get bedded in
The system is now bled and ready to rock, but the pads will need bedding in before you get full power from the system. This can take up to 50 stops from a reasonable speed to achieve. Try riding along while dragging the brake so you have to work against it to generate some heat and friction. This should get some life into them before you hit the trails. Alternatively, a wet weather ride will get them bedded in super quick.
Workshop Wisdom
- When trimming the hose to length, allow enough hose for your bars to spin around 180 degrees. In a crash, the bars quite often spin round and the hose can get ripped out of the lever. This will help prevent that happening.
- Shimano make a specific bleed kit for their brakes, which requires a completely different bleed technique. It’s an easier and more efficient way to bleed them, but the kit will cost you £44.99.
- Make sure you wear a pair of latex gloves when working with hydraulic fluid. It’s nasty stuff and can cause dermatitis, which is no fun.