
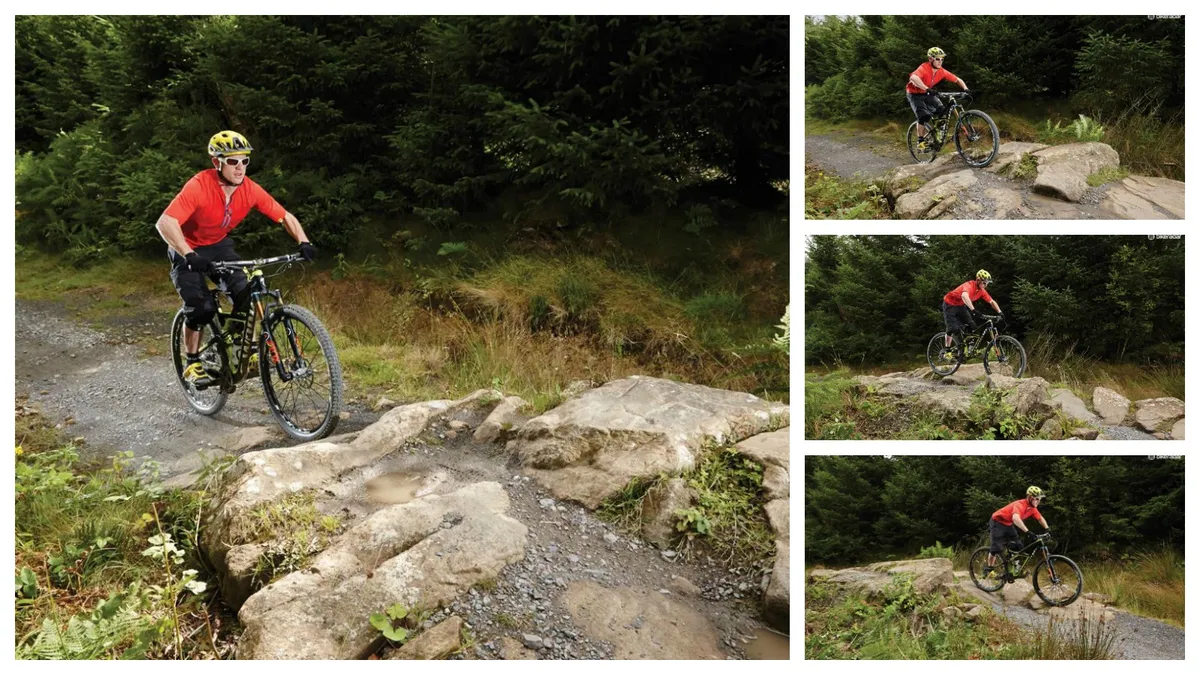
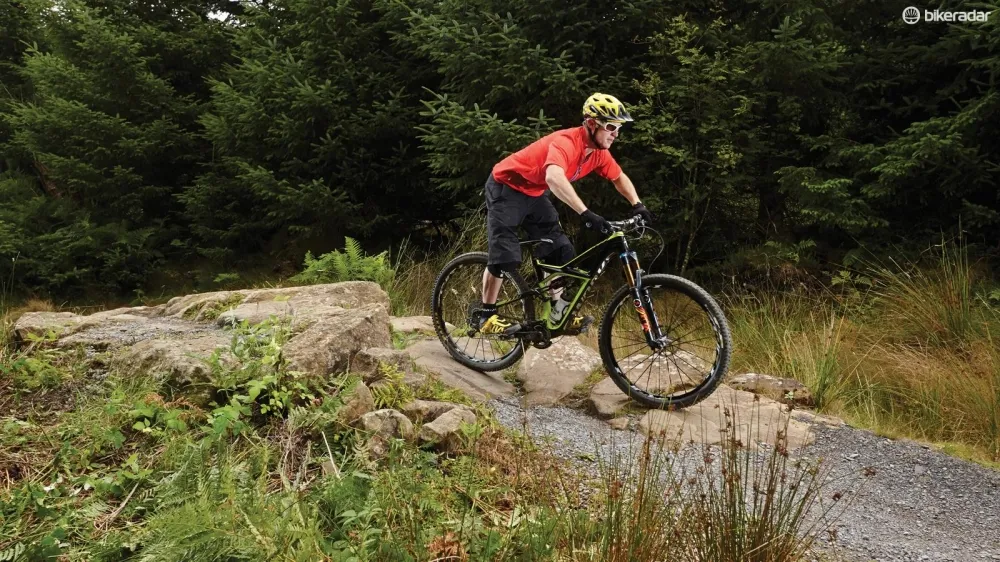


Rocky features on manmade trails are placed to challenge a rider’s technical ability and give routes a more natural feel. In this case we’re looking at negotiating a rocky outcrop on a flat trail just before a corner, which means you want to carry as much speed as you can.
This means choosing a line that avoids your wheels directly hitting any speed-sapping square edges – or hopping them if you can. To keep your flow you’ll need to choose the technique that best matches your speed. There’s no point hopping if you can only clear a couple of the rocks.
- How to use pump bumps to gain speed
- How to ride drop-offs with confidence
- How to drop into downslopes in 4 easy steps
We'll start off by looking at how to roll over rocks, then once you're feeling more confident we explain how to jump over rocks. We finish by revealing how to ride rock steps, which are commonly found on the more difficult red runs at a trail centre.
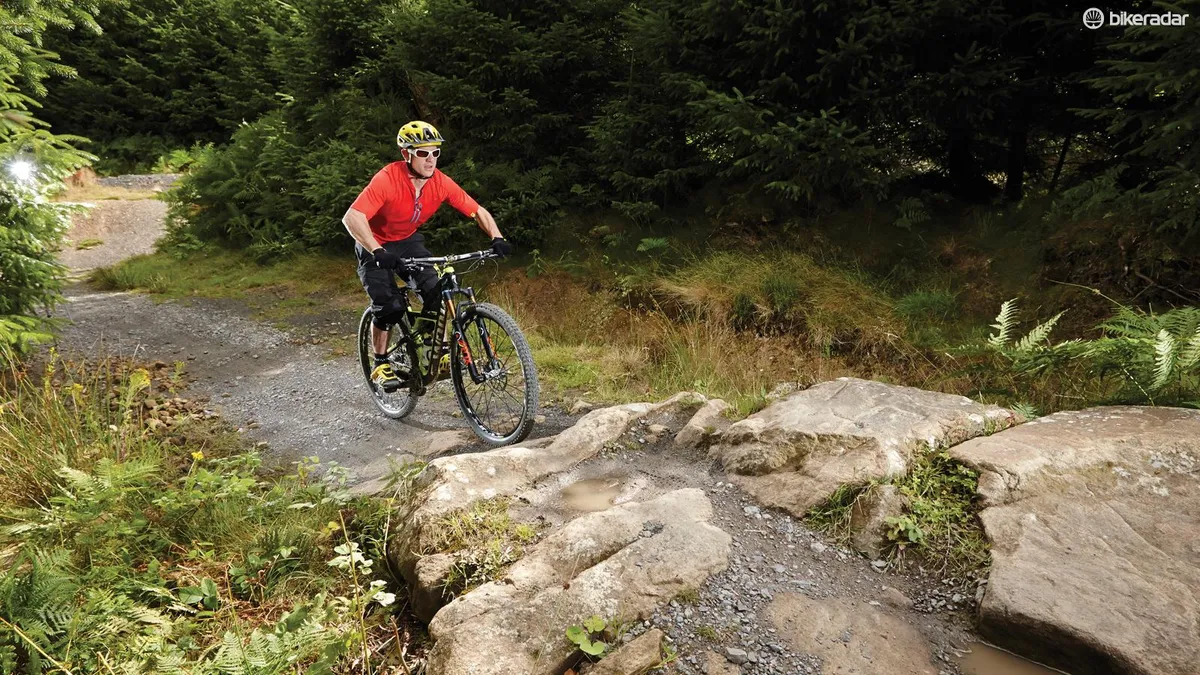
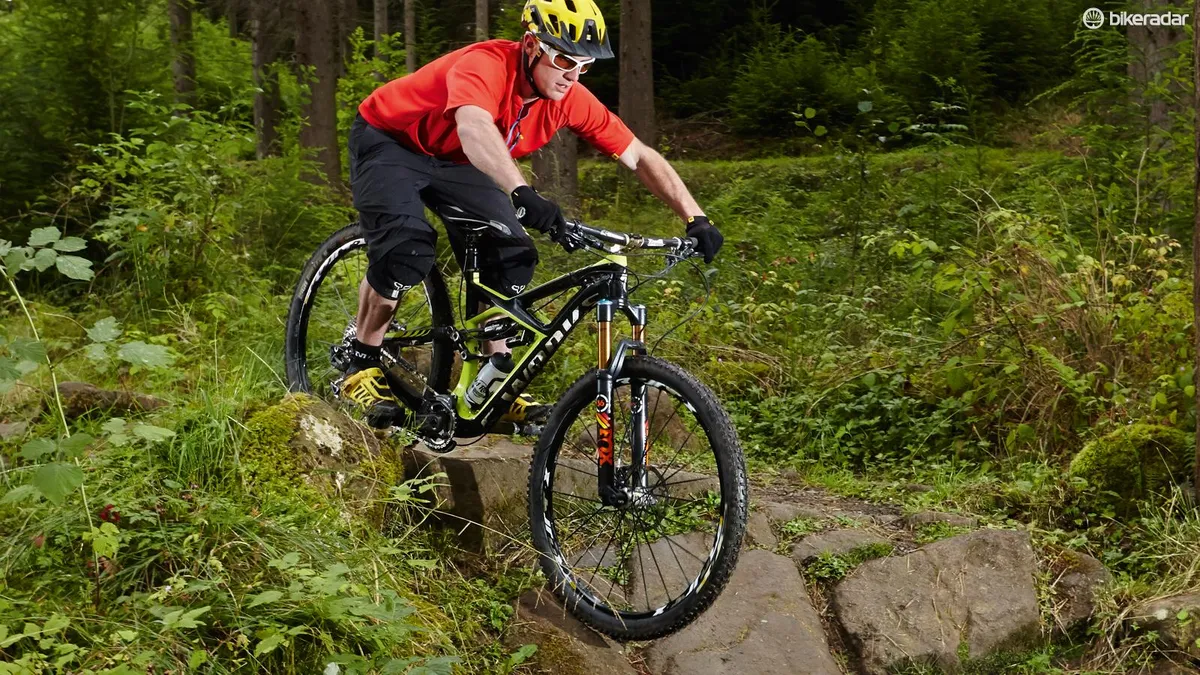
How to roll over rocks, in 3 steps
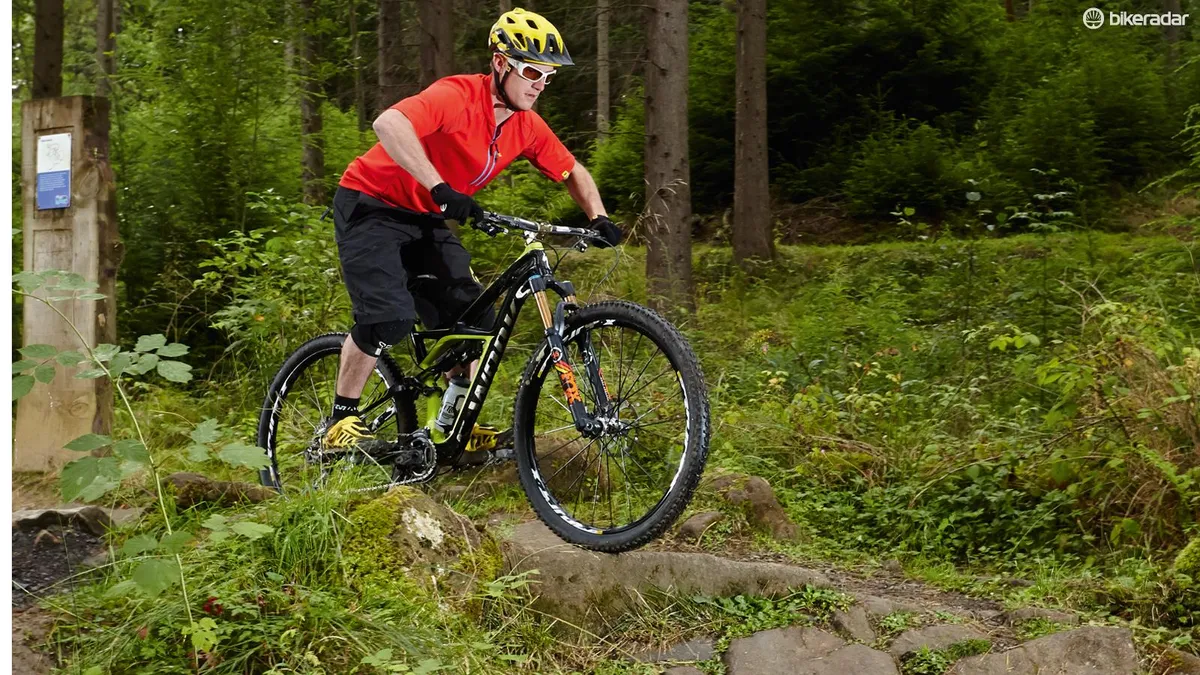
1. Get up into position

Approach in your neutral position, arms and legs flexed and looking forwards. Pop your front wheel on to the first rock with a small manual. Compress your fork, then push the bike forward to unweight the front, then the rear by easing up on the pedals.
2. Stay loose
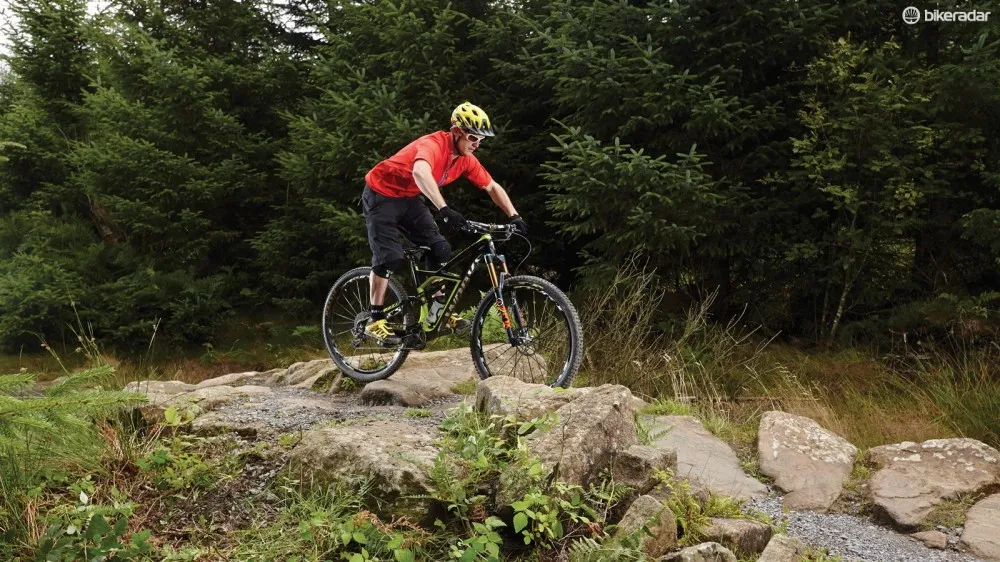
Hold the line you’ve chosen and relax so the bike can move underneath you. Focus on keeping your weight over the bottom bracket. You may have to unweight the front and rear wheels while you’re on top.
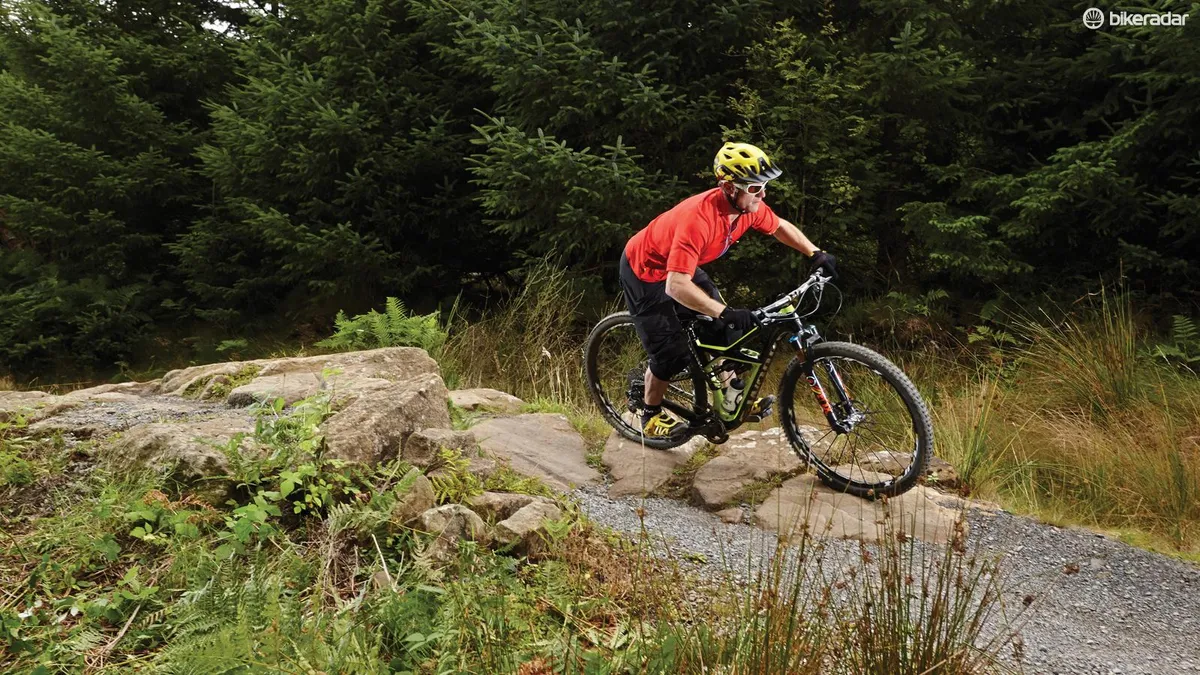
3. Roll out and away

Allow the bike to pitch away from you by keeping your weight over the bottom bracket and letting your arms extend, meaning you can maintain your neutral position on the downward-sloping rocks.
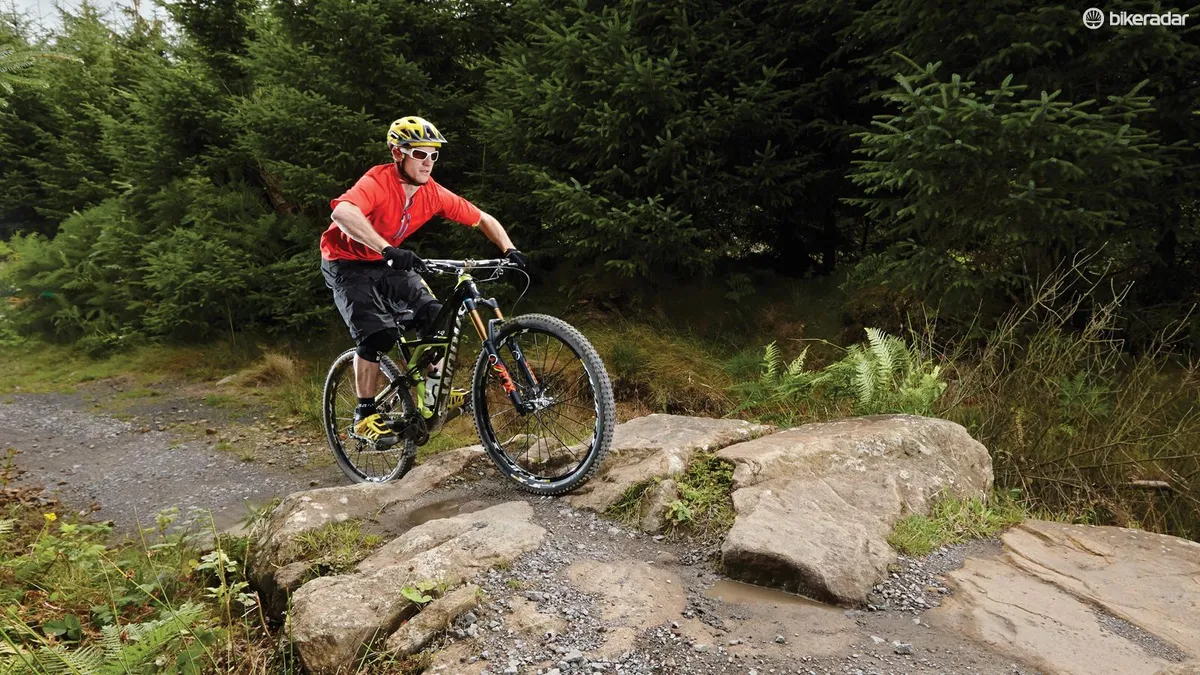
How to jump over rocks, in 3 steps
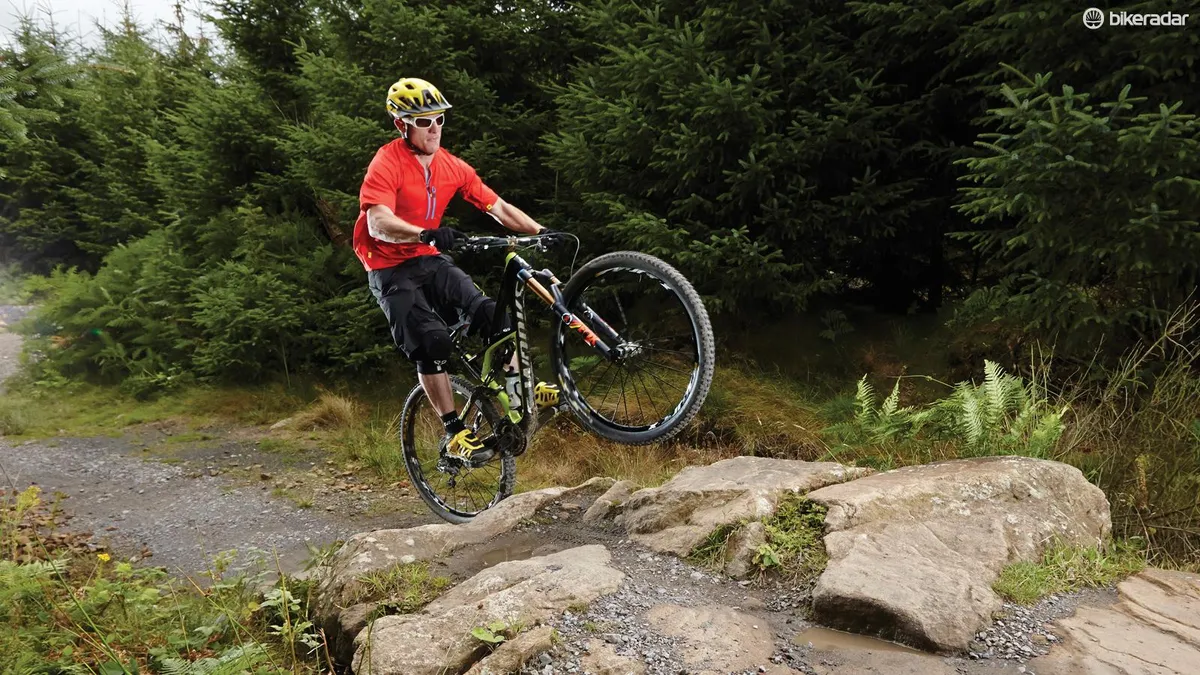
1. Pop your wheel

Manual to get your front wheel up then drive your hips upwards by standing tall, pushing down with your feet and pulling on the bar to get your body as high as you can – the bike will follow. You can use a sloped rock for extra height.
2. Level out
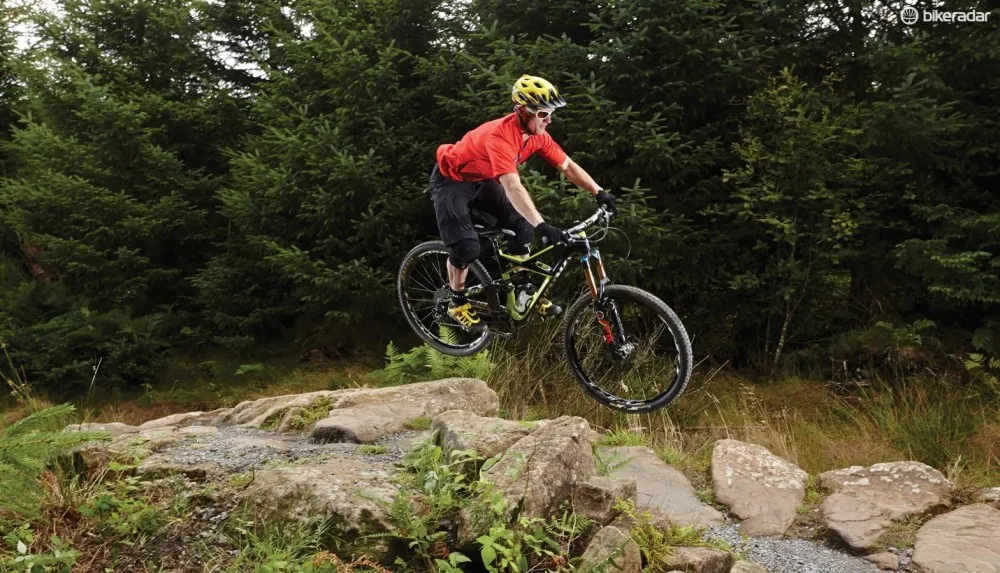
Push the bar forward to level the bike out and stay relaxed while you’re in the air. Your aim is to land smoothly, so when approaching you should have judged your speed and pop to make sure you clear any square edges or rough rocks.
3. Land as softly as a cat

Get the bike to match the landing angle and aim to land with your arms and legs extended to absorb as much of the impact as possible. Aim to soak up most of it through your legs.
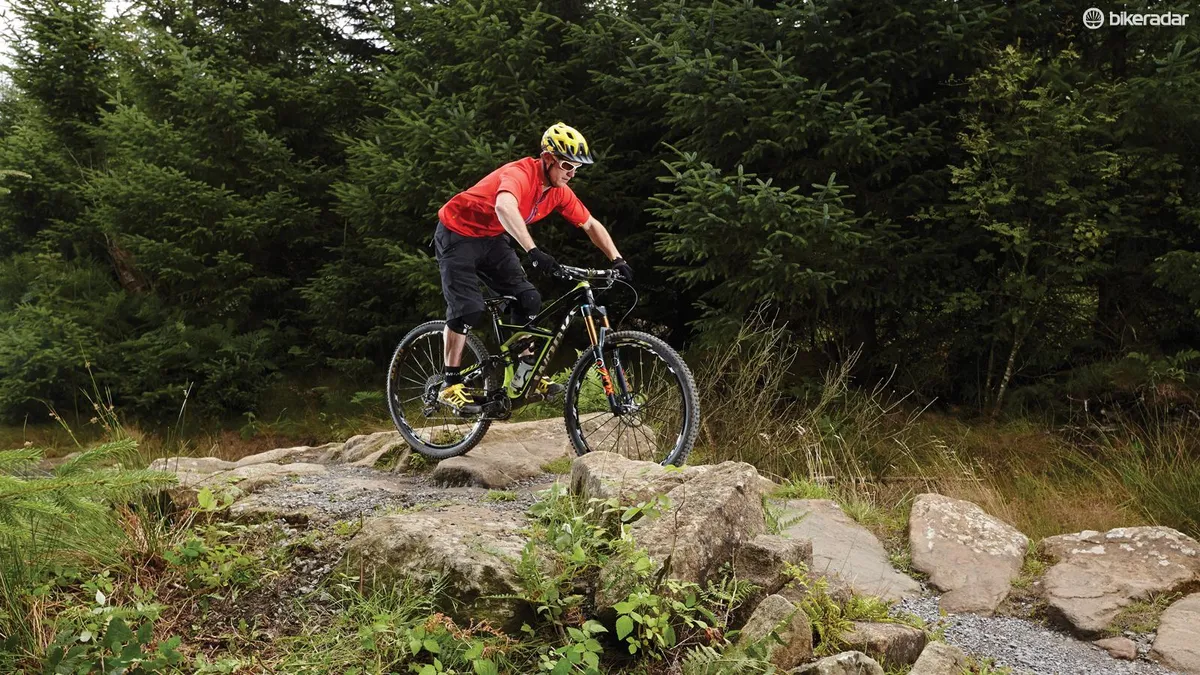
How to ride rock steps, in 4 steps
Steep rock slabs and roll-ins are common on many red trails. They’re generally found on slower, more technical trails rather than fast flowing ones, and most of the time there’ll be an option to duck round them – a lot of riders fear going over the handlebar, especially on big drops.
Controlling your speed and adjusting your body position correctly will keep you safe and make the transition from flat to steep smooth and balanced, meaning you’ll be able to maintain control. Momentum can help if you become unbalanced, but we recommend starting at a slow pace so you can feel your balance on the bike before progressing to bigger rock slabs.
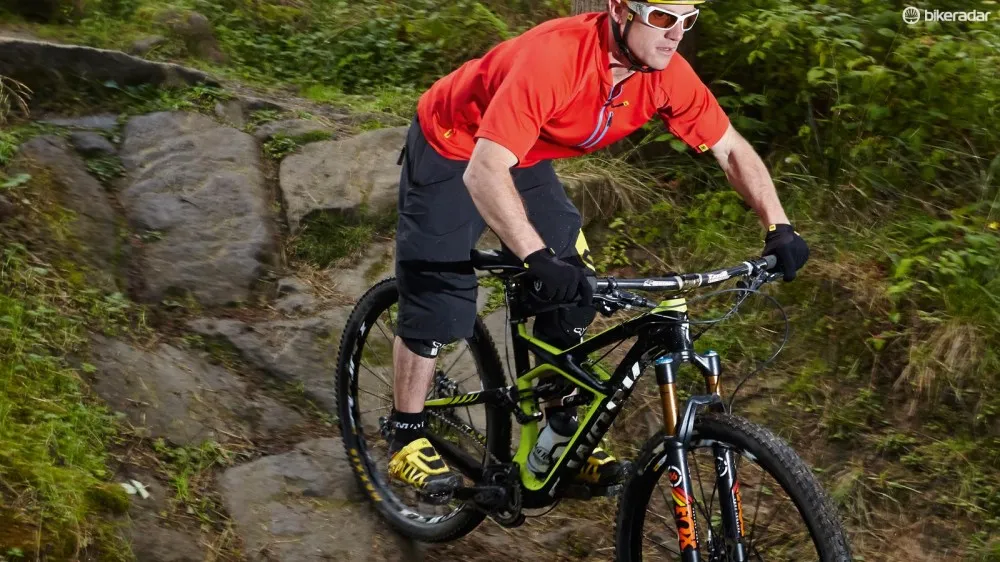
1. Stay low on approach

Look for a straight, clean line and control your entry speed so you’re approaching the slab with enough pace to remain in balance. Stand up on the pedals and get a little bit lower on the bike by lowering your chest toward the bar.
2. Transition to steep

As the front wheel transitions from flat to steep, allow your arms to extend and bend your knees so the bike can change angle while your upper body remains at the same angle. The bike will effectively pivot underneath you.
3. Get your weight over the bottom bracket

Keep your body weight supported by pushing your heels down, and look up. If your weight is over the bottom bracket then you’re in a safe place. The bike should be in front of you and the saddle will have moved forwards between your legs.
4. Transition to flat
Allow the bike to level out by extending your legs and letting your arms bend so you return to your neutral position. If there’s enough grip, you can drag the brakes evenly from start to finish to control your speed.
