No new mountain biker will have their bike set up perfectly from the very moment they swing a leg over it, but there are some basic setup mistakes that even veteran shredders often fall foul of.
While bike setup is a very personal thing, there are a few of these persistent mistakes that we often see on our rides, and each one makes us cry a little bit.
Taking a few minutes to think about your bike’s setup can make a surprising difference to how it performs and how comfortable it is.
Why not have a look at our list below then get experimenting? Maybe you’ll find your new perfect setup.
1. Brake lever levels
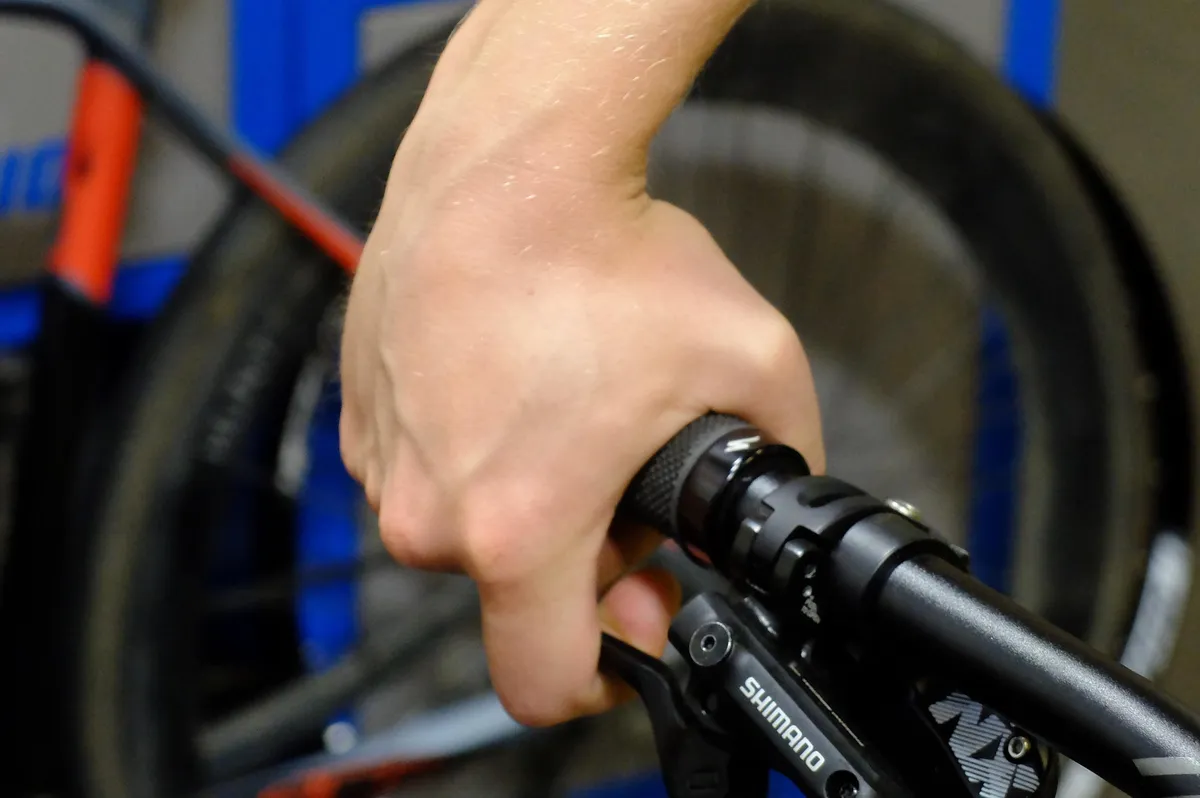
When riding on steeper or more technical terrain, adjusting your brake-lever angle can make a real difference to control and comfort.
Surprisingly often, you’ll see a brake lever angled down almost towards the fork crown.
This rotates your wrists over the top of the bars as you reach for the lever, which shifts your body weight forwards. If you hit an unexpected bump, it also means your wrist is more likely to roll further forward.
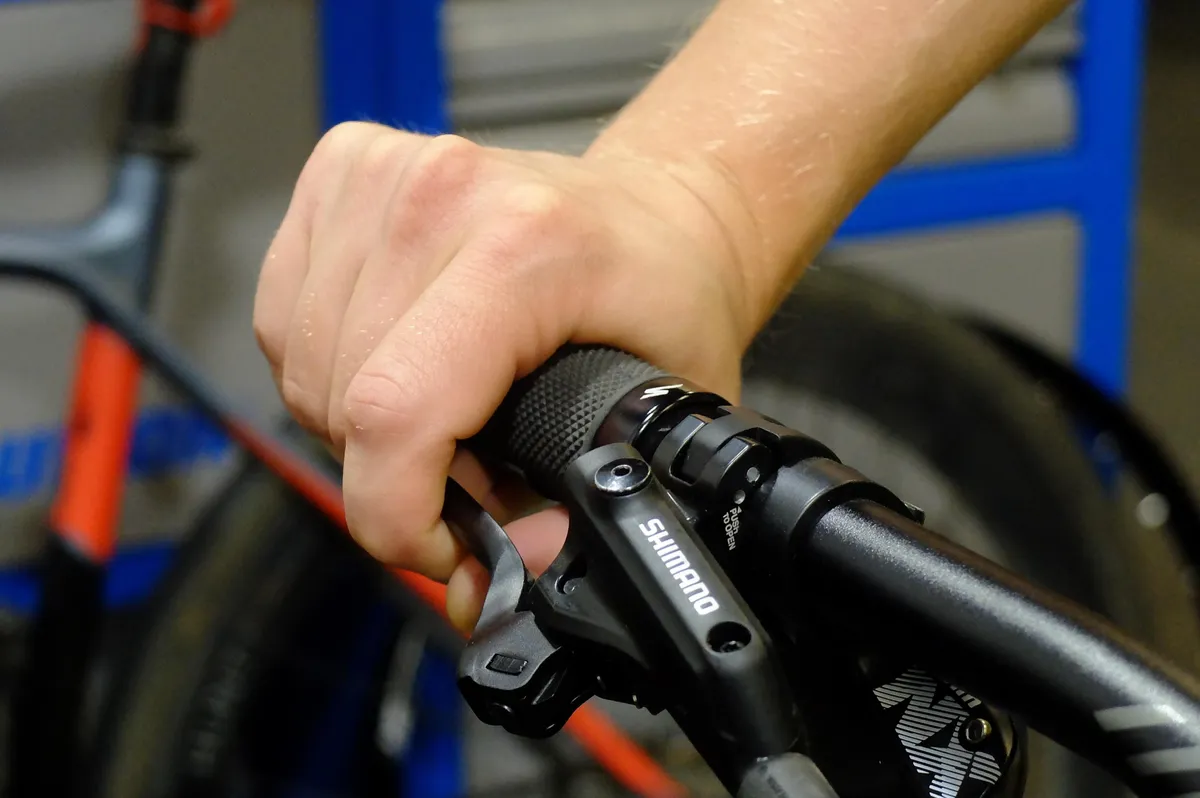
Angling the levers in a flatter position rotates your wrists behind the bars, allowing you to push the bars up and over bumps, and gives more security when you hit those lumps. We’d never go steeper than 40 degrees from horizontal and usually place ours at around 20 to 30 degrees.
Combine this with a brake bite point that's closer to the bars and you'll find yourself less prone to arm pump.
2. Set your suspension right
Suspension can be a bit mystifying, with plenty of knobs to twiddle and air pressures to play with. But getting it right can totally change the character of a bike and make you a faster rider too.
If you have a full-suspension bike, getting the fork and shock working together well transforms your ride. You want the fork and shock to react in a similar way to impacts – if the fork bottoms out when the shock barely moves, your suspension will be unbalanced.
Likewise with damping – over-damped suspension (running your fork with loads of compression and rebound damping) makes it feel sluggish and slow, while under-damped bikes can feel like riding a pogo stick.
Check out the video above to get started with setting up your suspension.
3. Saddle sores
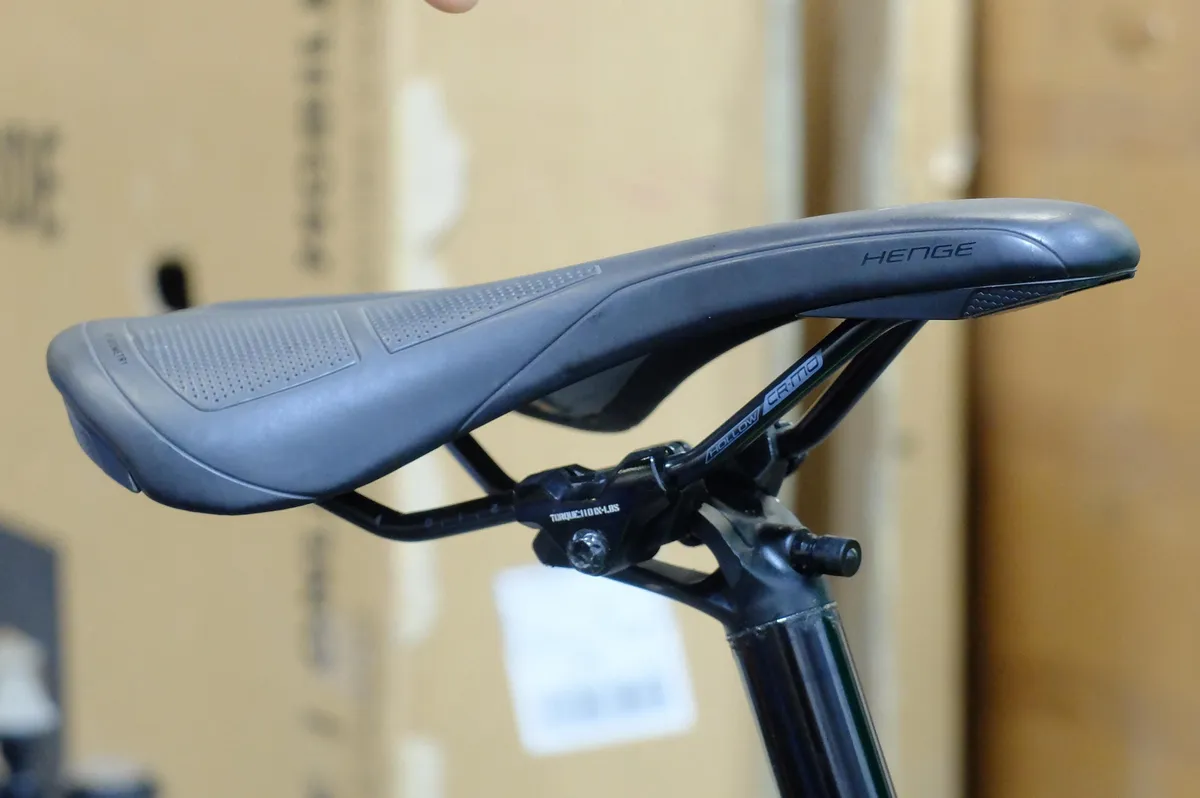
No matter your gender, getting your saddle at the right angle means happy days for your nether regions – nobody wants saddle sores.
A saddle with the nose angled up is much more likely to cause discomfort, so we recommend pointing it down slightly.
For the majority of riders, we’d also rarely recommend running your saddle pushed all the way back in the seatpost – this effectively slackens your seat angle, generally putting your hips in a worse pedalling position. It also shifts your weight further over the back wheel, which is rarely a good thing on steep technical climbs.
A saddle pushed all the way back in a lay-back seatpost is an indication that your bike might be too small for you. That's not a golden rule though, and individual physiology may mean it works for you but, generally speaking, it's better to avoid extreme adjustments like this.
4. Tyre trouble
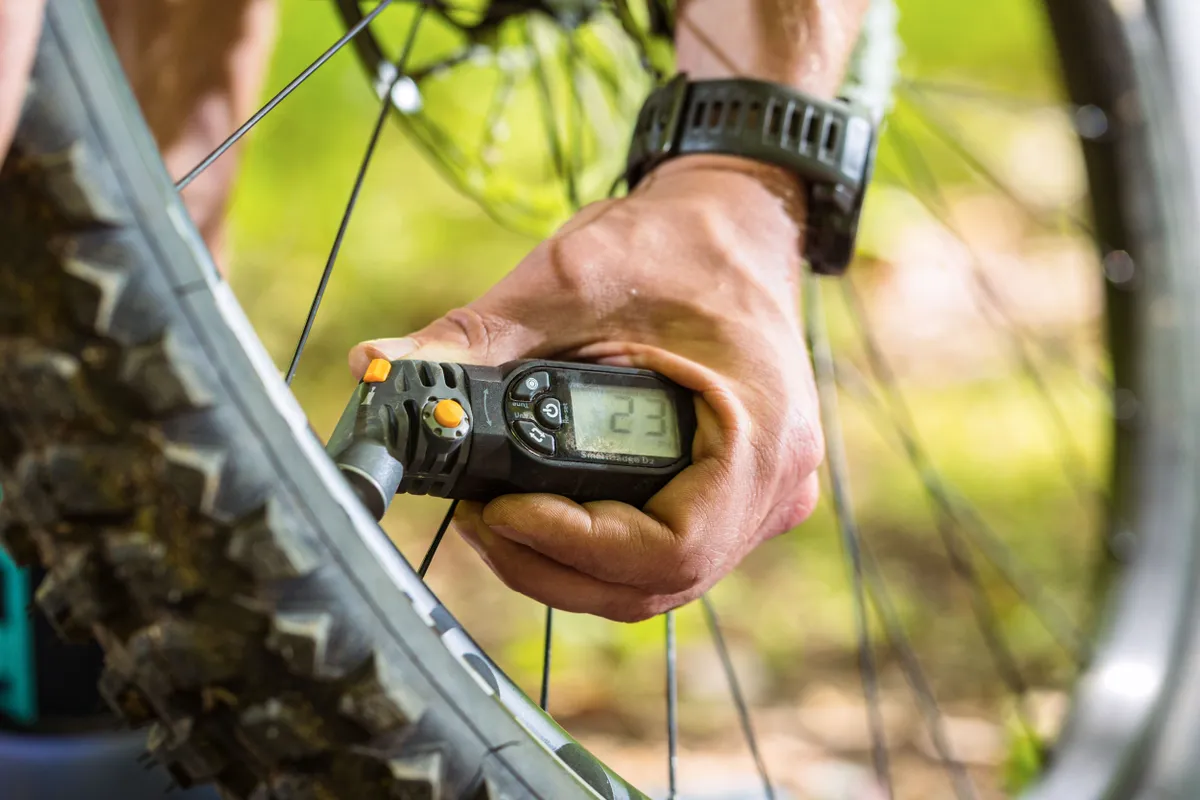
Like suspension, determining the right tyre pressure for your mountain bike takes a bit of research and experimentation.
Determining the right tyre pressure for you depends on your rim/tyre combo, weight and riding style, tyre construction, whether or not you're running tubeless… safe to say, there are a lot of variables to consider, and no rider gets it right the first time.
Luckily, we've got an in-depth guide on determining the right tyre pressure for you.
5. Your cleats are too far forward
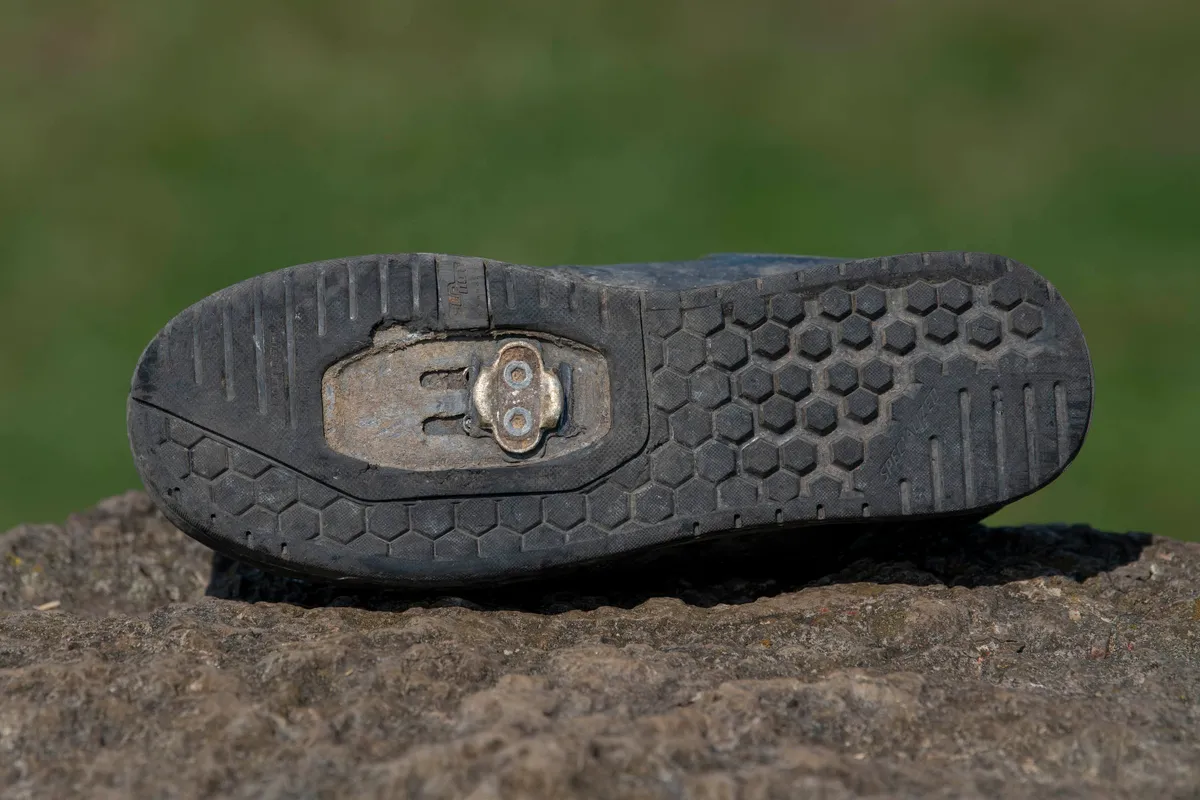
There’s a curious tendency for riders to fit clipless pedal cleats too far forward on their shoes. Exactly why people do this is unclear, but it’s rarely the right choice for riders.
As with everything in bikes, there’s no hard and fast answer when it comes to installing and adjusting cleats, but it’s always better to start with a neutral position and work in either direction from there.
However, as a general rule of thumb, moving your cleats further back is more likely to improve your control on a mountain bike and reduce fatigue than going forward.
Why? When you hit a bump or land a jump, your foot, ankle and leg muscles have to work to stop the pedal from rotating backwards. Your foot acts as a lever in this scenario and placing your cleats further forward – in effect increasing the length of the level – exacerbates the effect. Moving your cleats further back will reduce the effort required to stop the pedal rotating.
You will often see flat mountain bike pedal riders – who are unrestricted in where they can place their feet on the pedals – adopting this position naturally for this very reason.
Moving cleats towards your mid-foot can also spread out pedalling forces more evenly across your whole foot, reducing discomfort.
