
Here are a few quick tips on how to align the disc brake pads in a Hope brake caliper.
- How to bed in new disc brake pads in 8 easy steps
- The right tools for the job: building an affordable home workshop
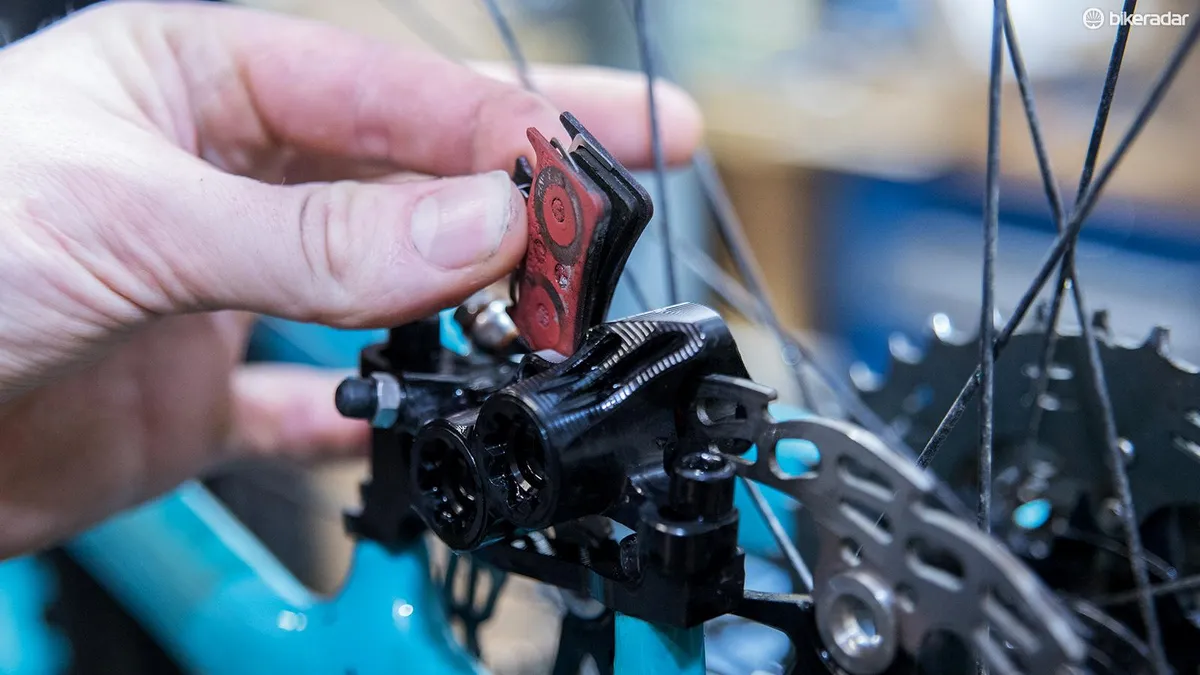
1. Remove the securing clip
Remove the securing clip from the pad pin with needlenose pliers. Unscrew the pad pin with a 2mm Allen key, turning it anticlockwise, and pull it out.
Squeeze the pads together and pull both pads and the spring up and out of the caliper. Keep the pads, pin and clip safe.
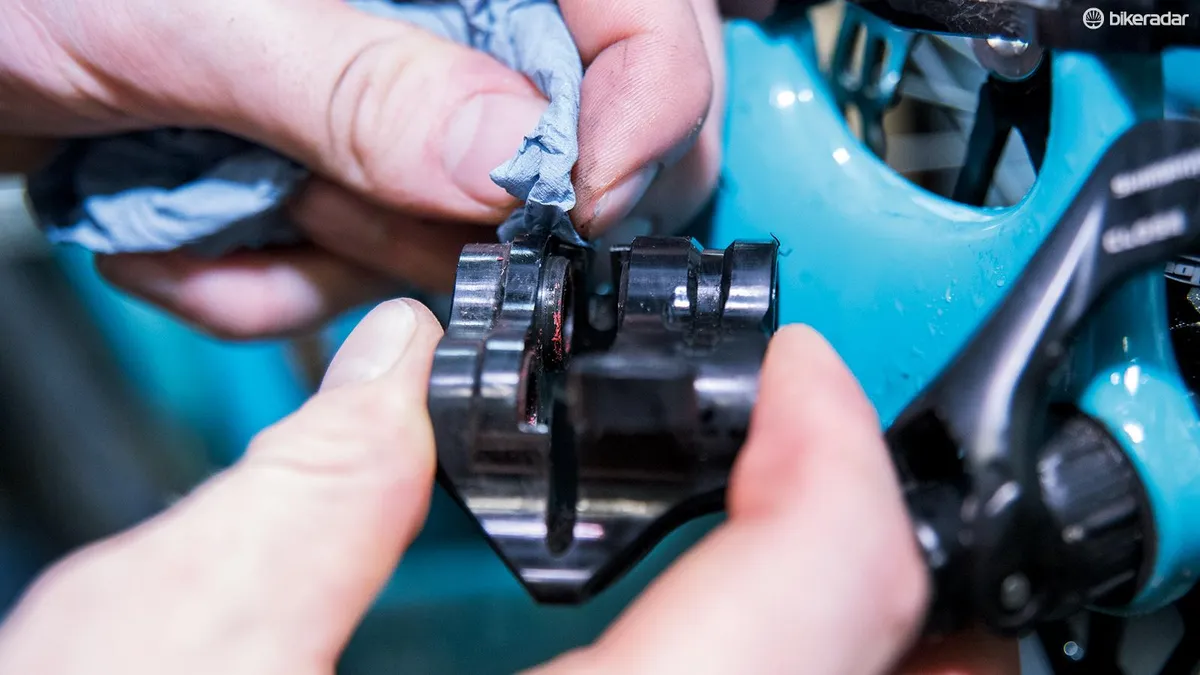
2. Remove the caliper from the frame
Use a 5mm Allen key to turn the two mounting bolts anticlockwise and remove the caliper from the frame. Set the bolts aside, along with any washers.
Clean the caliper and exposed pistons with a cotton bud or workshop rag. (See Hope’s website for detailed cleaning instructions.)
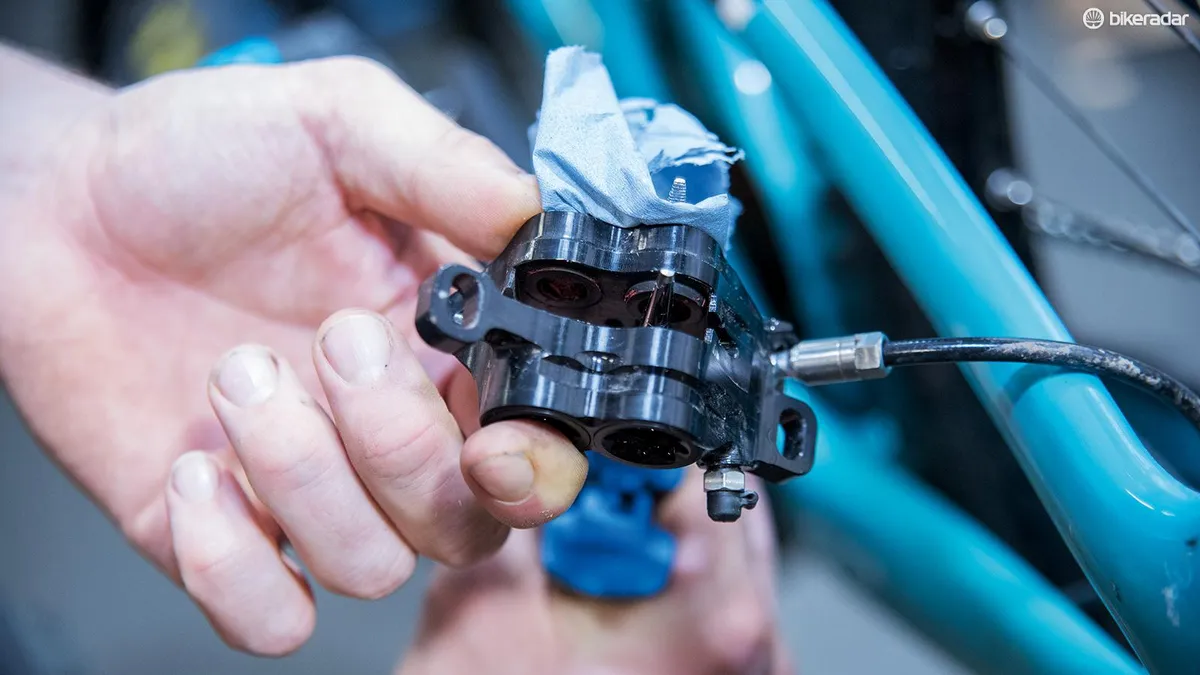
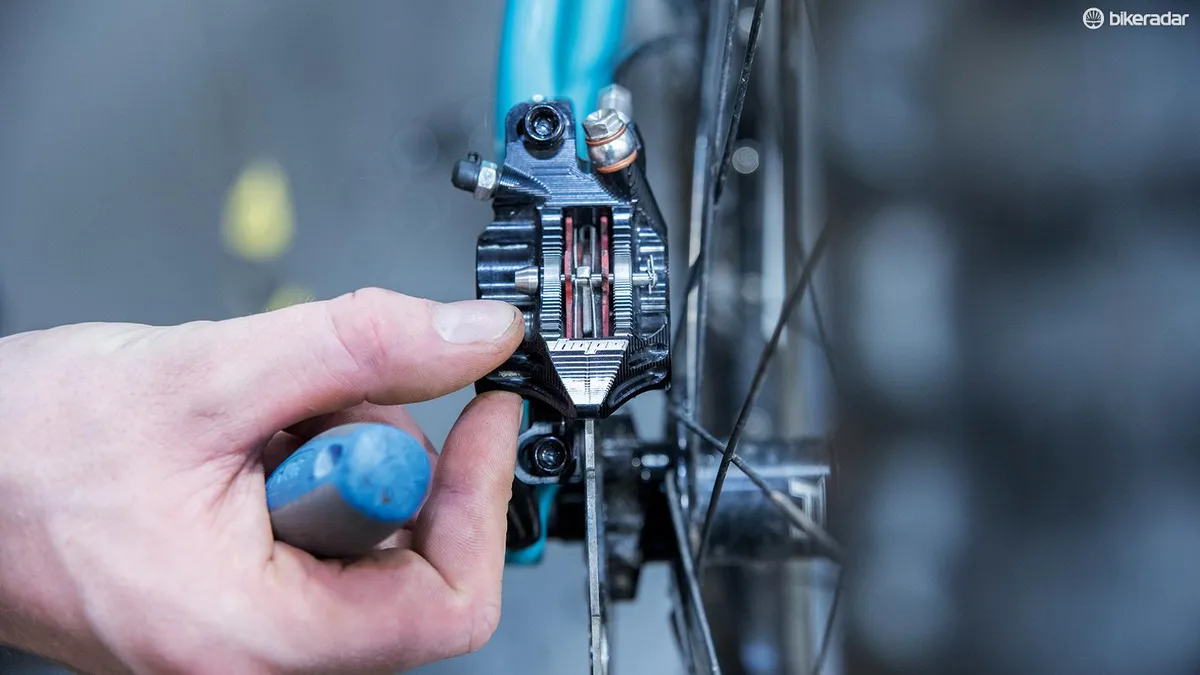
3. Push the pistons into their bores
Gently push the pistons back into their bores, one by one, using a pair of (clean) needlenose pliers.
Keep the pliers flat against the piston and use a rag to protect the caliper from them.
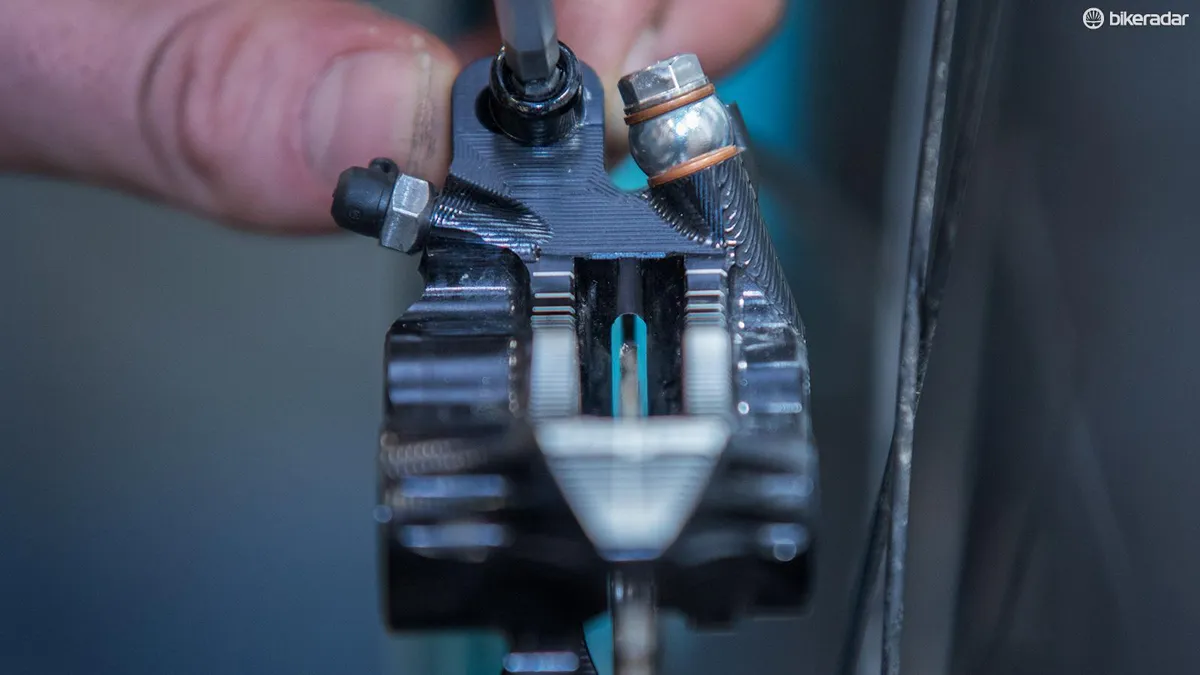
4. Refit the caliper to the bike
Refit the caliper to the bike, turning the mounting bolts clockwise until snug. Without the pads installed, align the caliper body with the disc.
To do this, loosen each bolt in turn, adjust the caliper and then retighten. Repeat until the caliper is perfectly aligned with the rotor.
5. Refit the pads
Sandwich the pad spring between the pads. Refit the pads in the caliper in a reversal of step 1.
Fit the pad pin and its clip using needlenose pliers. Squeeze the brake lever repeatedly while looking down through the caliper to check that the pads are advancing evenly.
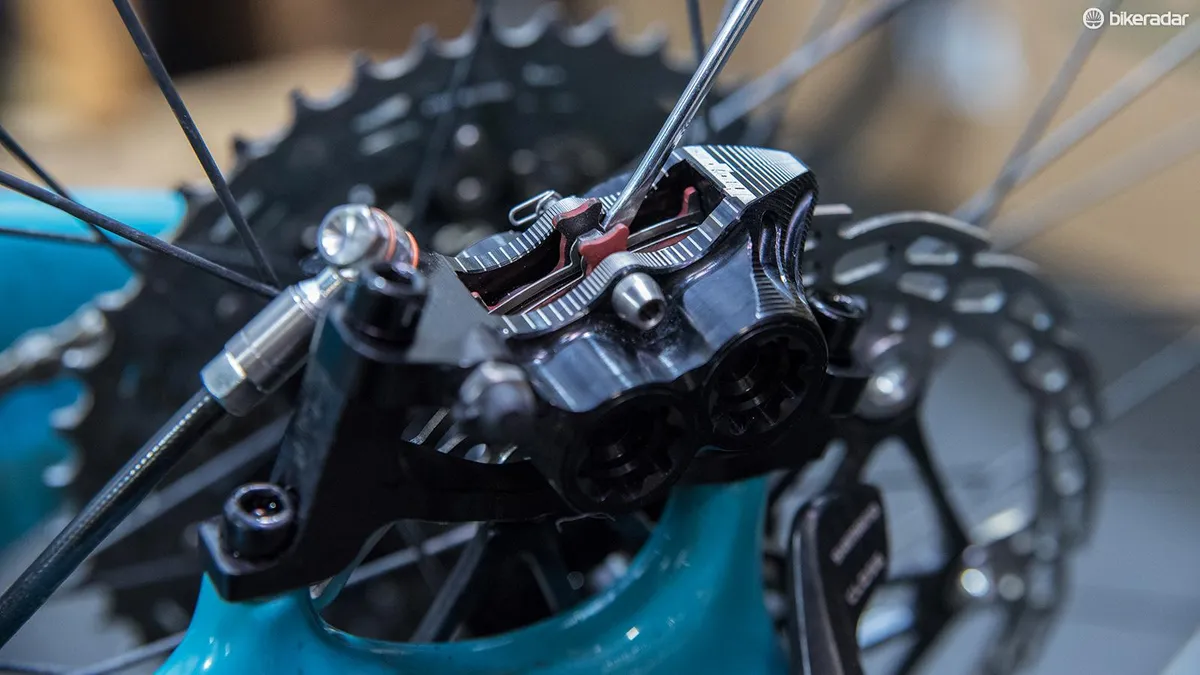
6. Advance the pads
If one pad contacts the disc after the other, place a small flat-headed screwdriver behind the ‘lazier’ pad. Use it to lever the pad against the disc and force the faster-advancing pistons back into their bores, while pulling the brake lever to encourage the opposing pistons to advance.
7. Check pad alignment and contact
Check again that the pads are properly aligned and contacting the disc simultaneously. If not, repeat step 6.
Repeat until both pads are evenly separated and contact the disc simultaneously.
Jargon buster: pad alignment
Caliper pistons get sticky over time. This can cause them to advance at different rates, resulting in less power, a spongy feel, squealing and rubbing.
If cleaning the pistons and forcing the sticky ones to advance evenly doesn’t work, your brakes likely need a bleed.