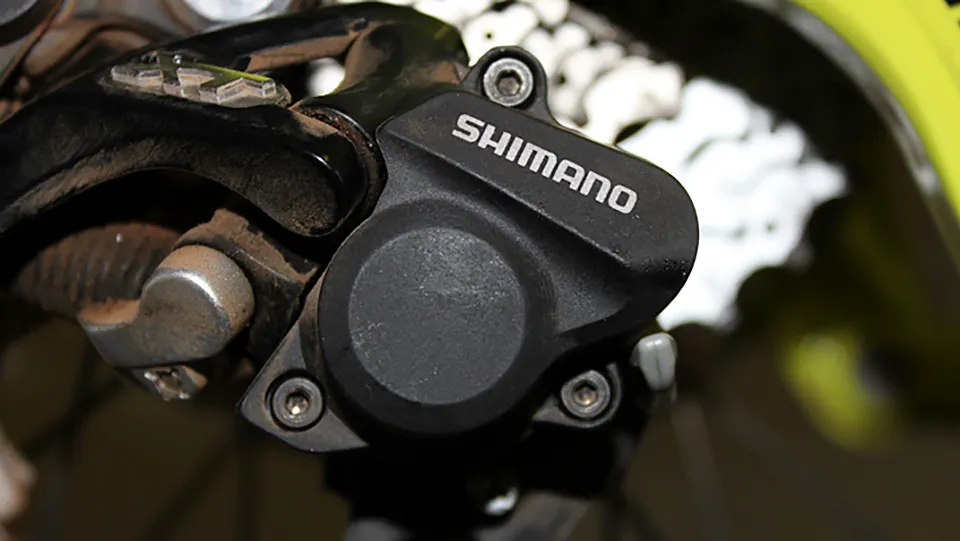
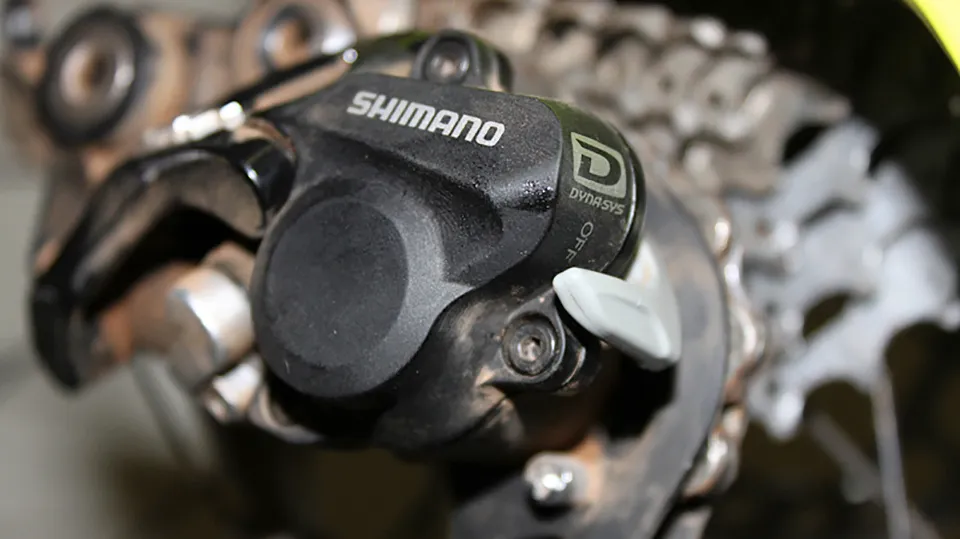
Shimano’s Shadow Plus rear derailleurs have improved chain retention and shift accuracy by reducing the movement of the derailleur’s cage while riding. The clutch mechanism inside a Shimano Shadow Plus rear derailleur uses friction to resist the forward movement of the derailleur cage. Over time riders may find they need to increase the amount of friction on the clutch to account for normal wear. This tutorial will keep your Shimano XTR, XT or SLX Shadow Plus rear derailleur shifting with precision and a bare minimum of chain slap for many miles to come.
How Shadow Plus works
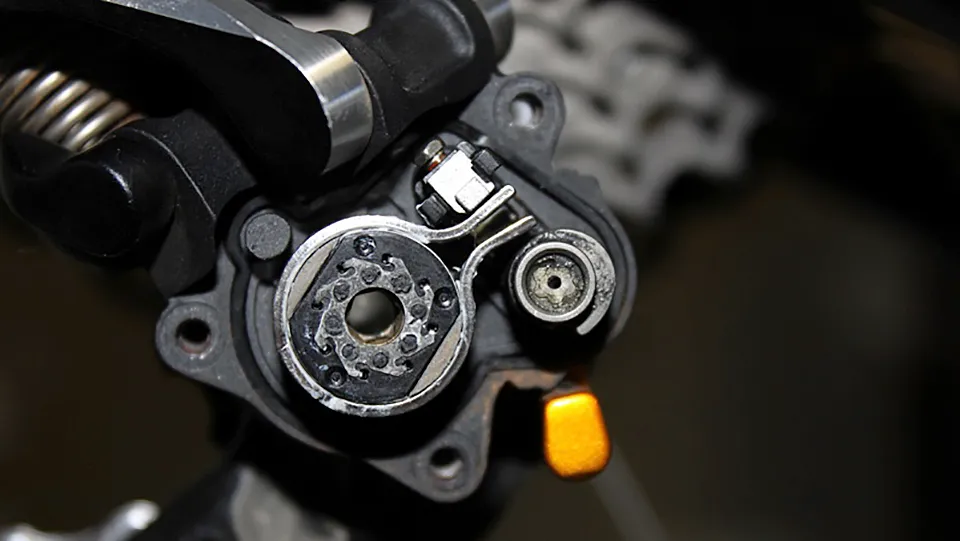
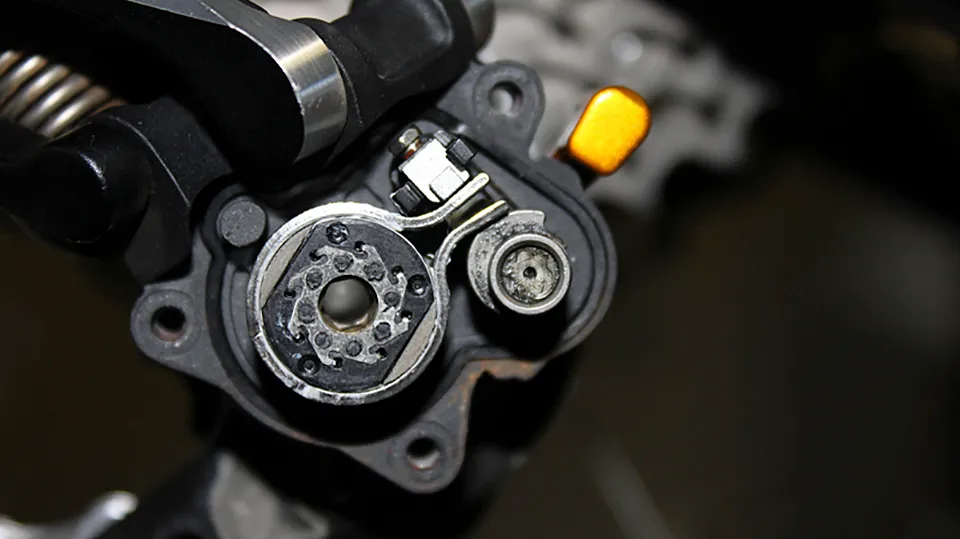
When you flip the clutch switch from the ‘off’ to the ‘on’ position, you are rotating a cam that presses against a steel band that wraps around the clutch. When engaged, this band increases the amount of friction on the clutch, thereby increasing the amount of force required to move the derailleur cage.
The cage will still move, just not as freely as the cage of a derailleur without this clutch mechanism will.
Shadow Plus in the 'off' position: The cam is not engaged and is not exerting any force on the friction band; in this mode the derailleur functions like any other, relying on the plate tension spring to resist the forward movement of the derailleur cage.
Shadow Plus in the 'on' position: the cam is engaged and is exerting force on the friction band, making it harder for the derailleur cage to swing forward
Adjusting your Shadow Plus clutch
- Time: 20 minutes
- Skill rating: Easy
- Cost: Free
Tools you'll need
- 2mm allen key
- Needle-nose pliers ((for direct-mount XTR and all XT and SLX Shadow Plus derailleurs))
Step 1: Disengage the clutch mechanism
Make sure the lever is on the ‘off’ position; this will release any tension on the friction band, making it easier to turn the bolt that increases/decreases the amount of resistance on the friction band.
Note: It does not matter what gear you’re in. I recommend working with the derailleur in the smallest cog. From this position you will be able to test the movement of the derailleur cage through its full range of motion in Step 5.
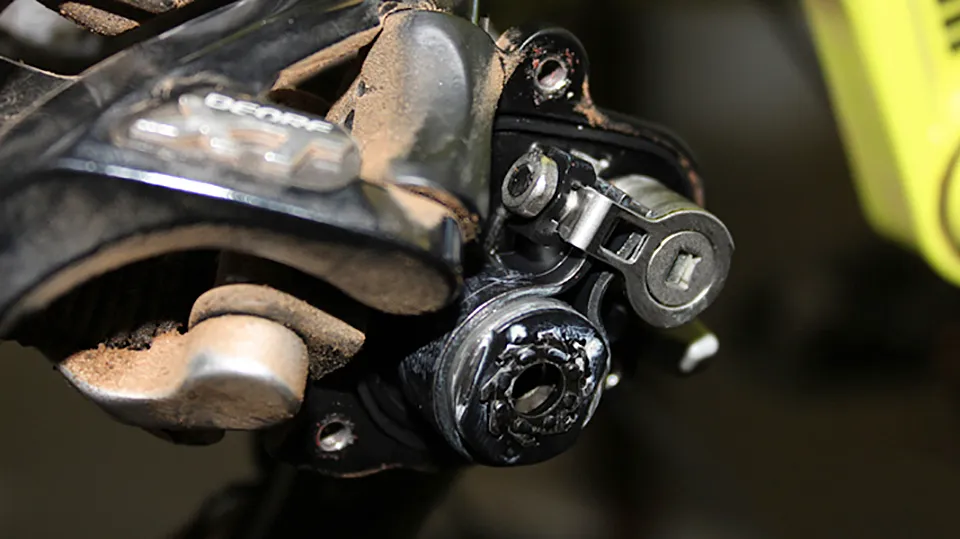
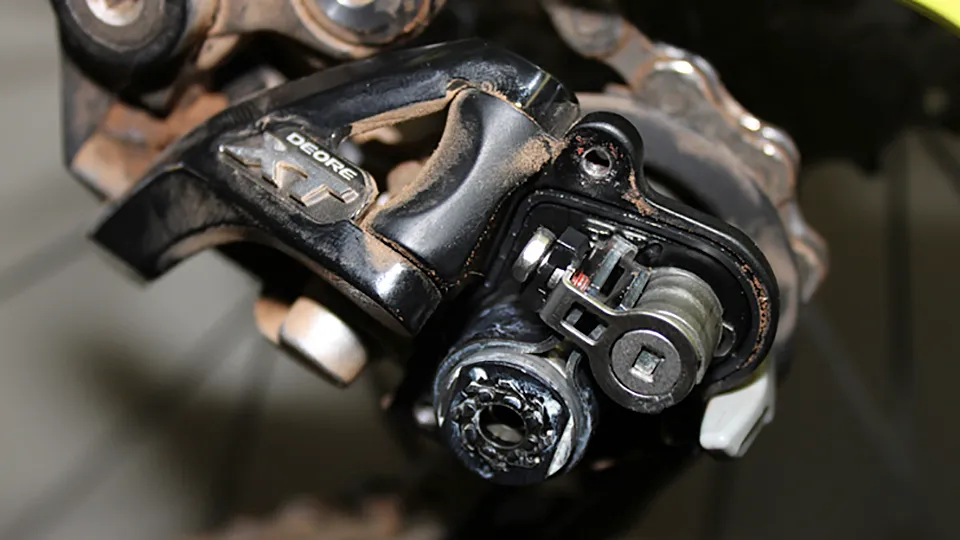
Step 2: Remove the clutch cover
Three 2mm allen bolts secure the plastic cover that protects the clutch mechanism and other internals. Remove the three bolts and set them aside in a tool bowl or another place where you won’t lose them.
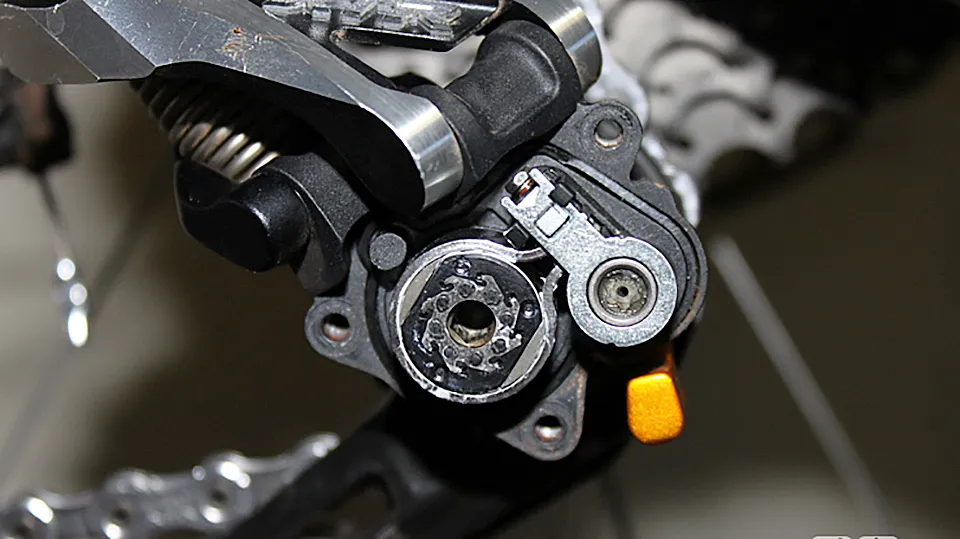
Step 3: Tighten the friction band
Here’s where things differ, depending on the derailleur model.
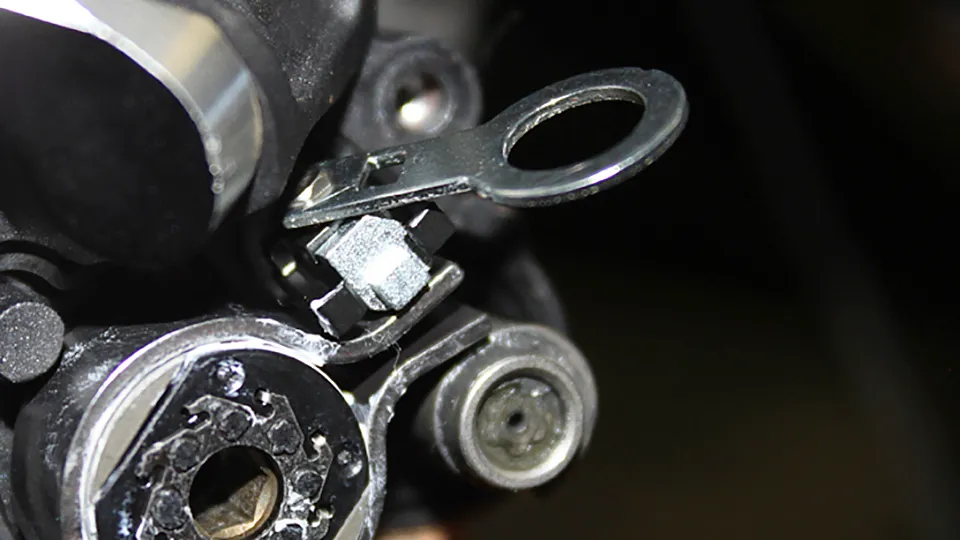
Non-direct-mount XTR derailleurs have a small wrench that sits outside the clutch mechanism. Its technical name is a ‘switch stabilizer.’ It reinforces the clutch mechanism, so be sure to put it back right where you found it.
Shimano found that people were not reinstalling this tool properly, so it was done away with in newer XT and SLX Shadow Plus models.
The switch stabilizer on XT and SLX models does not double as a wrench and is not removable
Small adjustments make a significant difference. Shimano recommends making quarter turn, or smaller, adjustments at a time. Turn clockwise to increase tension or counter clockwise to back it off.
Use needle-nose pliers if your Shadow Plus rear derailleur does not have the integrated wrench
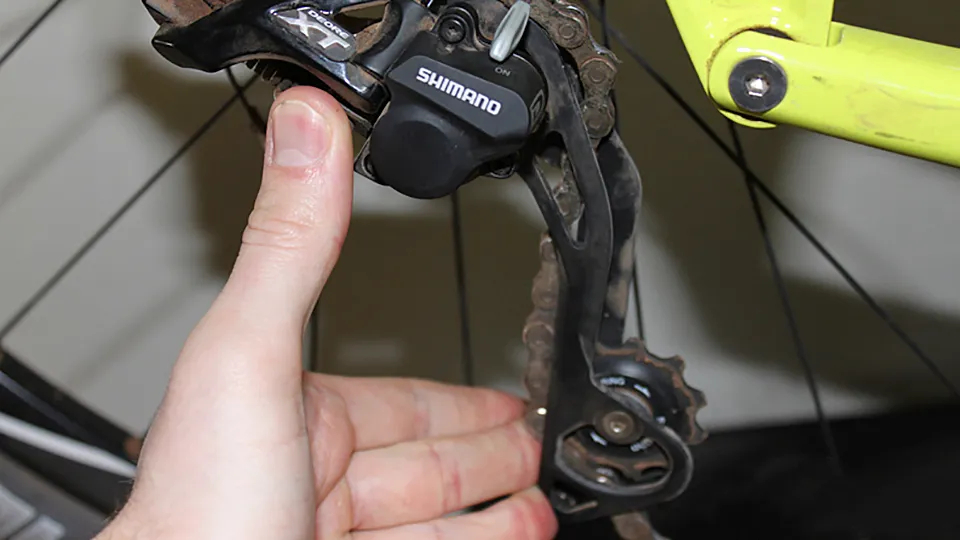
Step 4: Test the tension
If you have an XTR Shadow Plus model with the integrated wrench, replace it now.
Engage the clutch lever and move the derailleur cage forward. You should feel firm and consistent resistance.
Make small adjustments to increase or decrease tension as needed. Shift through the gears, paying special attention that the shifting does not require too much effort - this is a sign you tightened the friction band too much.
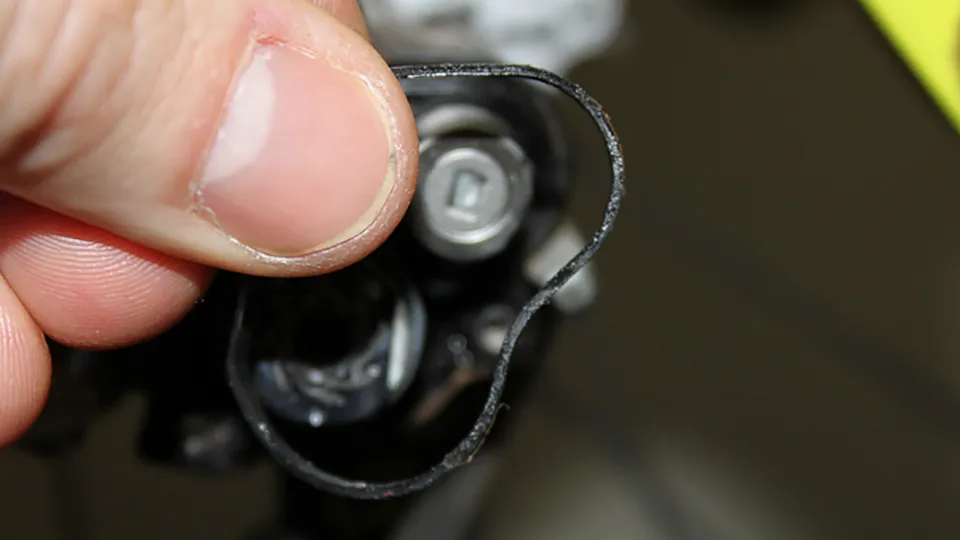
Step 5: Reinstall the clutch cover
Place the cover back over the clutch mechanism and reinstall the three 2mm bolts you set aside in Step 3.
There is a dust seal that can become dislodged when removing the clutch cover. Be sure it is pressed back into place before reinstalling the clutch cover.
Step 6: Test ride
Take a quick spin around your neighbourhood. Does your shifting feel like it requires too much effort, particularly in the largest cogs on the cassette? If so, back off the amount of tension on the friction band until you find your sweet spot.
To learn how to tune all rear derailleurs, check out our guide to rear derailleur adjustment.