
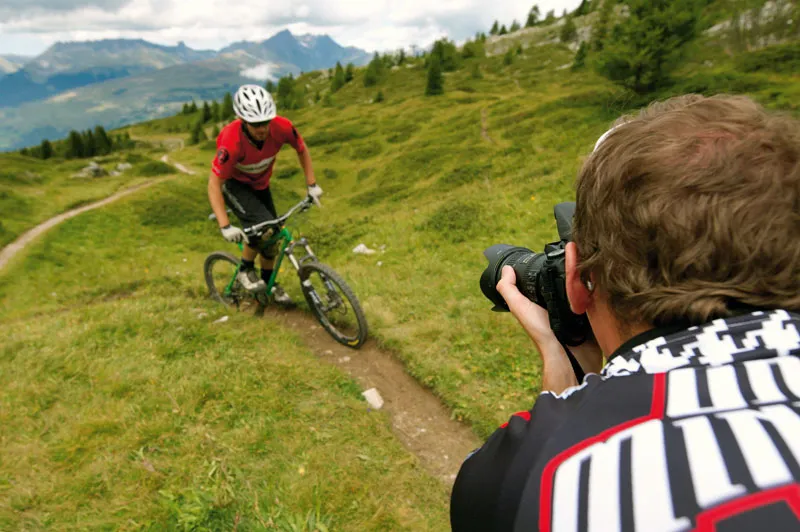
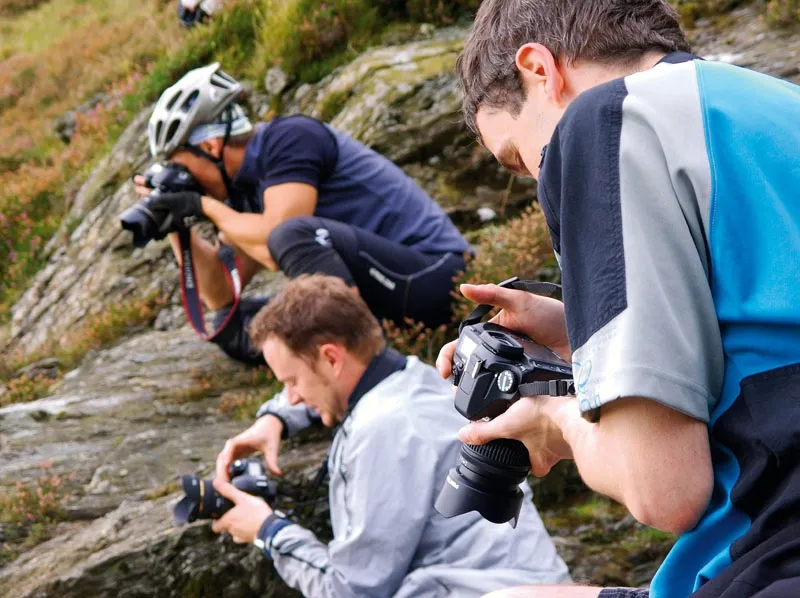
The mountain bike photographer is a new phenomenon. As recently as 10 years ago, when even the most basic digital cameras cost as much as a decent bike and film was dying on its feet, almost no one bothered to take a camera out riding with them.
Now, thanks to the digital revolution, we’re all photographers. Affordable cameras and PCs, fast broadband, photo sharing sites, and even the growth of social networking, have made us all keen to share our mountain bike-related adventures with the world.
And why not? After all, the only thing that beats a stunning photo of your ride last weekend is, well, riding your bike. Great pictures also allow you to share your love of riding with others, whether that’s your riding mates or long-suffering members of your family. Yes, riding photos rock.
Or at least, they should. In reality, we’ve all experienced the disappointment of photos that fail to capture the moment. Whether it’s a stunning hillscape that ends up looking as flat as the Somerset Levels or a close-up action shot that turns into a blurry mess, photos don’t always look the way you imagined them at the time.
Transforming your photos from also-rans into pictures you’d be proud to hang on the wall is all about remembering a few basic guidelines, which is why we’re here to help.
Be selective
Eyes are clever bits of kit. Combined with the astonishing processing power of our brains, they allow us to interpret our surroundings in glorious 3D without having to put in any conscious effort. Cameras, on the other hand, are pretty dumb. They record just a tiny segment of what we can see in a view, putting four edges around whatever we choose to point them at and presenting the resulting image in just two dimensions. It’s easy to mess this bit up.
So, you need to rearrange the view on your camera’s screen (or in its viewfinder) to remove anything that’s distracting and leave in just the bits that are interesting.
Walk around. Find a different angle. Try crouching down. Use the zoom. Do all of these. Allow yourself at least a minute to choose the best angle, making sure that you are showing only what you want to show. And only then press the button.
Plan ahead
Camera manufacturers would like you to believe that all you need to do is point and press… no thought required. While it’s an approach that’ll certainly record some pictures, it’s unlikely to get you the best possible shots. For all the fancy algorithms designed to nudge exposures and set focus, all cameras are essentially a light-tight box with a hole in one end. One thing they certainly can’t do is think.
So stop for a moment, and decide what the picture you’re about to take is going to look like. Where will the rider be? What are you going to include (and just as important, what will you leave out?) Once you have decided how it should look, you can go ahead and take the shot. If it doesn’t work out the way you planned, decide what, if anything, you can change to improve it, and then simply have another go.
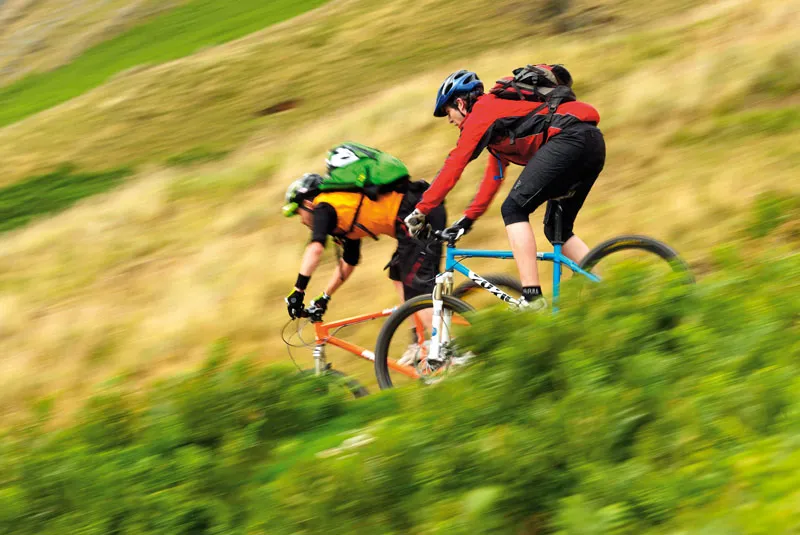
Move it
A bike that’s being ridden is a moving target, and moving targets are harder to photograph than ones that don’t pedal off into the distance. To improve your chances of getting a good shot, use your camera to track the bike.
Imagine a crosshair target on your camera’s screen or viewfinder, put the bike and rider in the middle of it, and don’t allow it to leave. Move the camera to keep the subject in this spot as you line up the shot, keep moving it as you press the shutter button, and don’t stop moving until at least a second has elapsed after the shot’s been taken. Think of it as a golf swing with follow-through.
It’s a technique photographers call ‘panning’, and whether you’re taking a small-rider-big-landscape shot or a close-in, frame-filling action stunner, use it.
Sharing, learning, improving
www.flickr.com
The online photo sharing resource, and still the best way to share your snaps with friends, family and the rest of the world. A good community with the opportunity to get feedback on your shots.
www.photoradar.com
Bikeradar.com’s sister site is packed with technique how-tos, product reviews, news and stunning images as well as lively reader forums. A great place to learn, research your next gear purchase and share with like-minded photographers.
sebrogers.typepad.com
If you’re keen to take your biking snaps to the next level you’ll find What Mountain Bike snapper Seb Rogers’ blog full of helpful tips and insights. He also runs occasional residential courses in the stunning Quantock Hills, giving keen photographers the chance to brush up on their skills.
Buying right
Although compact and EVIL (Electronic Viewfinder Interchangeable Lens) cameras are the most popular and easiest to carry, there’s no doubt that a dSLR (digital Single Lens Reflex) is the best tool for capturing bike images. Faster, more adaptable, more accurate, better in low light and more easily controllable than the alternatives, if you’re serious about photography a dSLR is the best option.
If lower weight and smaller size is more important, there’s a lot to be said for the compact alternative. Don’t be swayed by high megapixel counts. Compact cameras’ small sensors mean that, as the megapixel count increases, signal noise from each pixel becomes more of an issue. That means pixel count increases often lead to a decrease in image quality, particularly in low light. 10-12Mp is about right; anything more is counterproductive.
‘Scene’ modes may sound attractive, promising good results for a range of subjects, but good access to basic controls is more important for anyone with more than a passing interest in snaps, and not many compacts get this right. You should be able to access ISO (which determines how sensitive the image sensor is to light), white balance, exposure compensation and, preferably, shutter speed and aperture without trawling through a plethora of menus.
Common mistakes and how to avoid them
Problem: Subject blurry
Solution: Make sure you’re following the rider (‘panning’) as you line up and take the shot. For closer action pictures, it usually pays to pre-focus the camera at the spot that the rider will be when you snap them. Although auto focus is clever, a bike and rider is full of holes and cameras often ‘see’ the background rather than the rider.
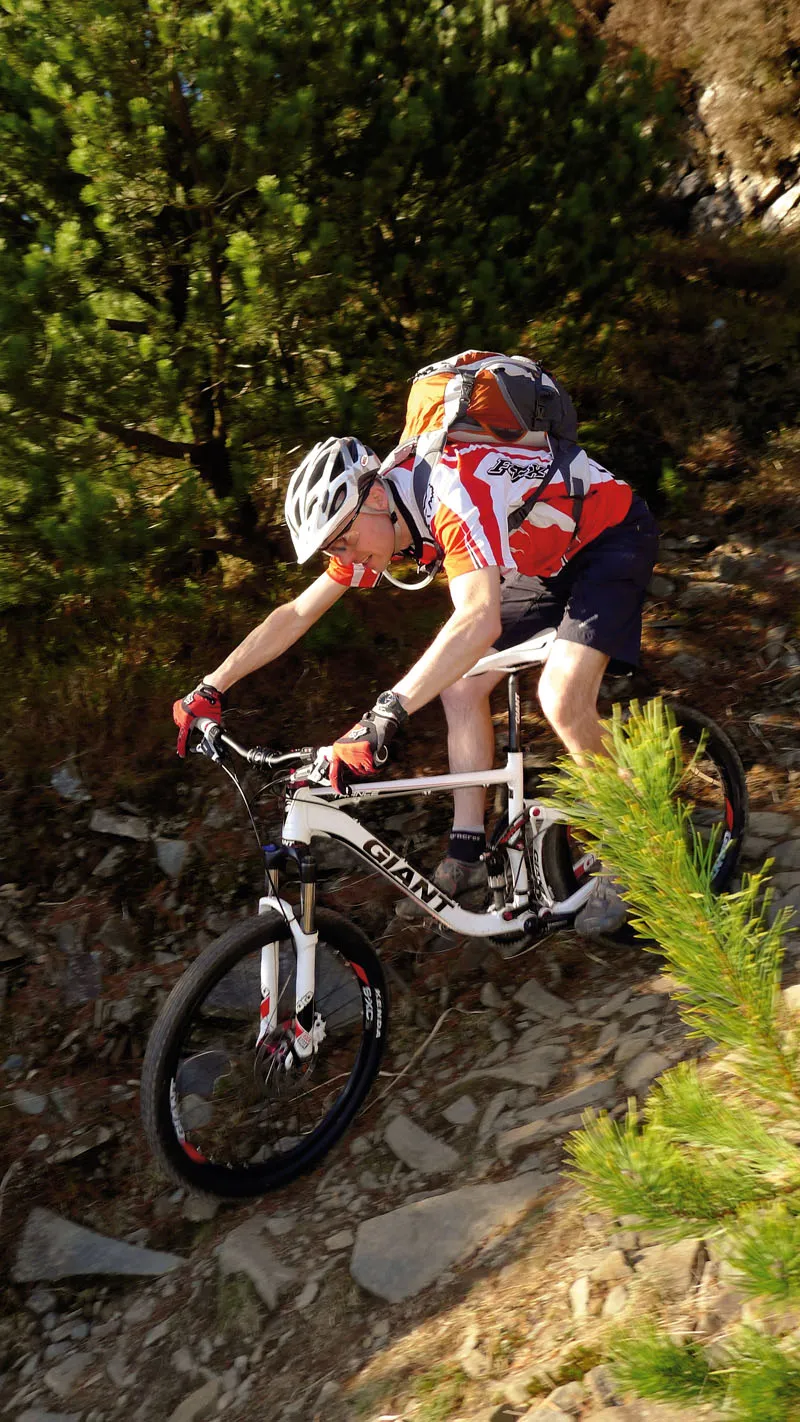
Problem: Rider too small
Solution: Get closer by zooming in or using your legs. Frame-filling action takes some practice to get right, but if impact is what you are after you need to allow the bike and rider to fill as much of the frame as possible.
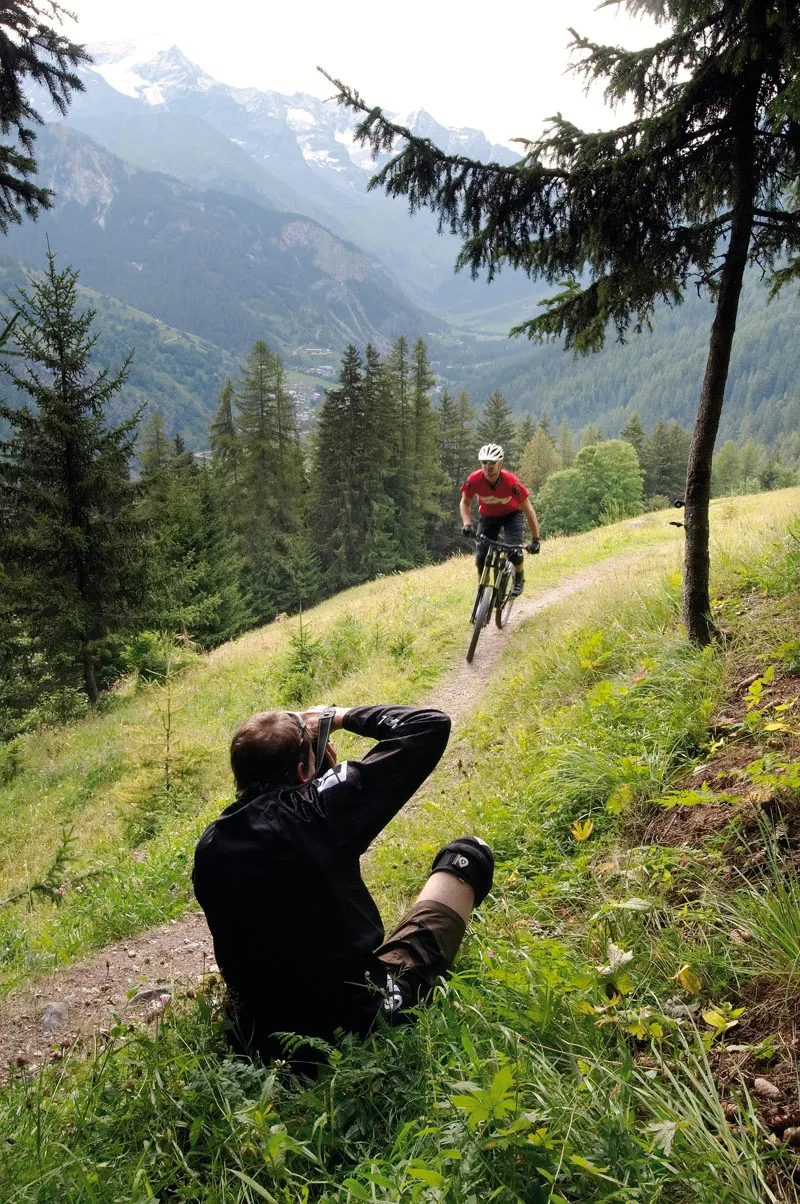
Problem: Boring landscape
Solution: Photos translate three-dimensional reality into just two dimensions. You can recreate the illusion of depth by carefully composing your picture, making sure it has near, middle and far elements, for example a rock in the foreground, a tree a bit further away and hills in the distance. Use the trail to draw the viewer’s eye through the picture, and try to use diagonals rather than straight lines.
