In our Tech Q&A series, we tackle cycling queries – no matter how trivial – with insights from the BikeRadar team and trusted industry experts. This time, we help a reader overcome their tubeless tyre woes.
There has got to be an easy way to change tubeless tyres! Or, at least easier than the way I am doing it. Can you explain how to change stiff tubeless tyres? Patrick, via email
Tubeless tyres are great for many reasons, but stiff tubeless tyres can be tricky to change. Here are a few of our tips to help take tyres off and fit them back onto your rims.
To start with, if you’re struggling to get the bead off the rim, you can put your wheel on the floor, put a foot on one side of the wheel at the high side. Place the other foot on the low side on the edge of the tyre bead and wall, and then push down on the high side to try and pop it off the bead.
It might be a bit agricultural in terms of technique, but it works!
Alternatively, you can use a vice with a similar action to help remove the tyre.

Another key tip is using a quality pair of long, plastic-coated tyre levers, such as the Lezyne Power Lever XL, which tend to be much stronger and more robust when it comes to the forces involved with changing tubeless tyres. The plastic or plastic-coated element is important to make sure you don't scratch or damage your rims.
To set up your new tubeless tyres, our number one tip is to get the tyre warm, whether that’s in the sun for half an hour or (carefully) near a heat source. A warmer tyre will be more pliable and stretchy, which should help to save your thumbs a little.
Once the tyre bead is being fitted onto the rim, make sure the bead is sitting in the central well, because this will help you inch that last bit of the edge over the lip of the rim.

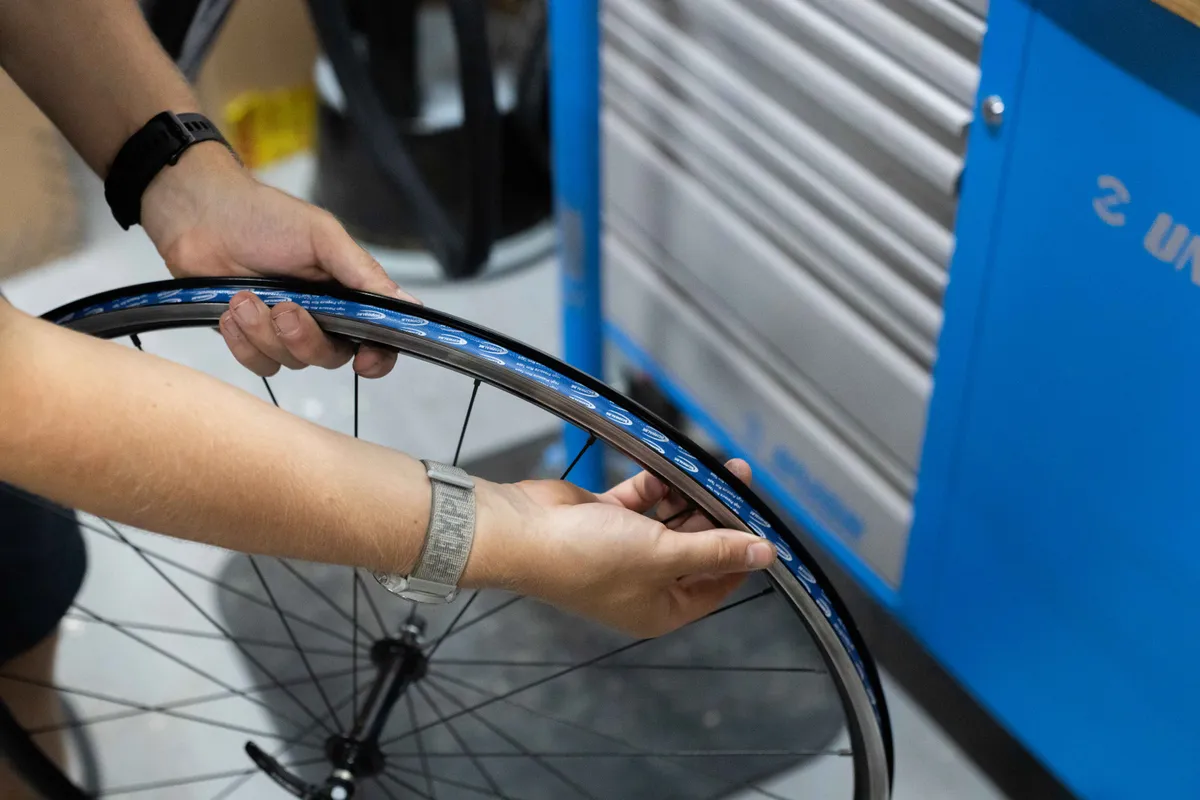
Before doing that though, make sure you’ve checked your rim tape to see that it has been properly applied, is holding up well and isn’t too thick because this will make it even harder to fit your new tyres.
When fitting the second bead, start at the valve and lever it on at the far side of the tyre relative to where you are standing, pulling the tyre back towards you with your hands.
If you’re going to use any tools, be careful not to damage your rim tape – you’d then have to start all over again. The Crankbrothers Slider tyre levers have little clips for the rim wall, which prevents the opposite end of the bead from migrating while you’re levering the bead onto the rim. These are quite handy if you’re having issues.
You’ll then need to inflate the tyre and seat the bead onto the rim, which usually requires a pressure canister, tubeless-specific track pump or compressor.
If you’re really struggling to pop the bead onto the rim, you can use a little washing-up liquid, WD40 or a silicone spray to help.
Do you have a cycling question you want answered? Every month, we’ll select the most interesting questions and bring you an expert-level response from our unparalleled access to the greatest minds in cycling, both on the BikeRadar staff and across the industry. Send your questions to podcast@bikeradar.com

