I’d always wanted to race the Trans-Provence and although I’d come close to sorting an entry a couple of times, things just never quite lined up. When the event organisers, Ash Smith and his wife, Melissa Munro, announced the 2019 edition of the event was to be the last, I lost all hope.
But late in 2021, the renowned duo announced a new event, the Stone King Rally. This, according to Ash, may follow a similar format and itinerary to the Trans-Provence, but covers different terrain, is more evolved and really pushes the boundaries.
I was sold from the get-go. I mean, what better way to celebrate turning 40 than flogging yourself to within an inch of your life day in, day out, for six days straight? And, thanks to SRAM, I was fortunate enough to secure a place.
Now all that was left for me to do was sort out my body, bike and kit ahead of the event.
Rob’s Stone King Rally
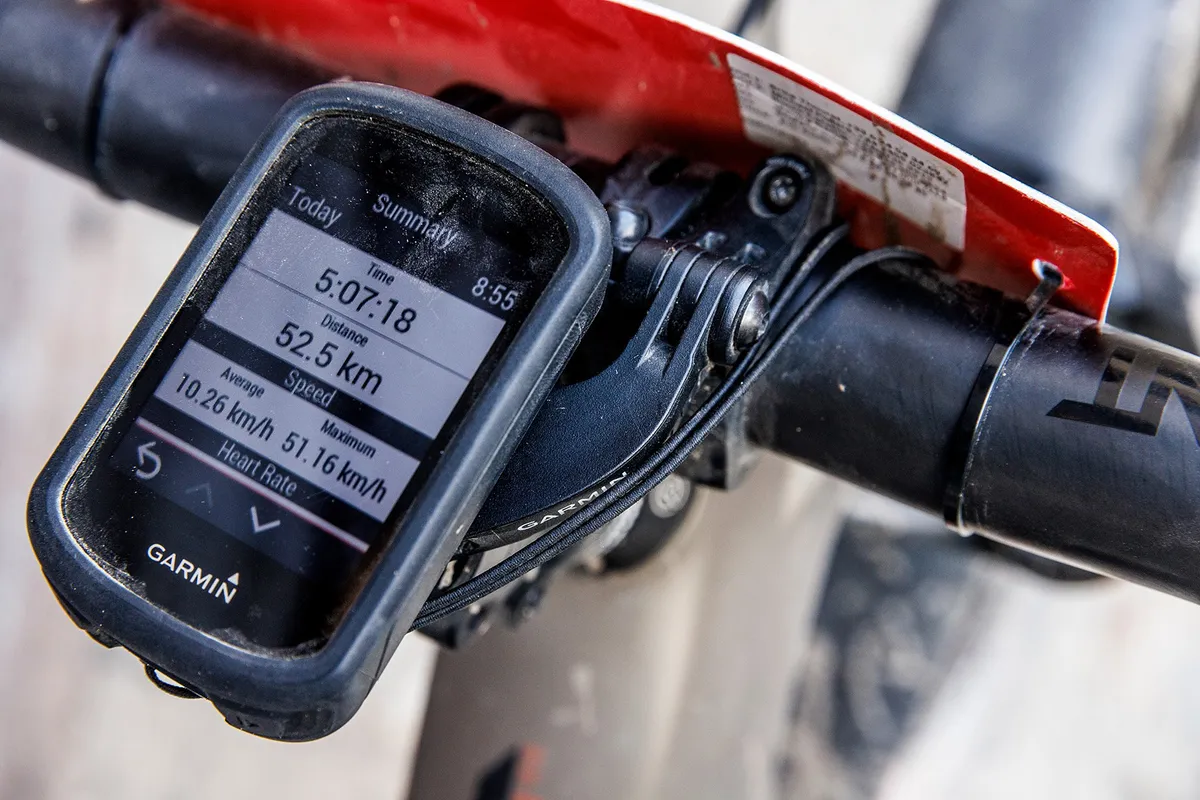
- The course: Arvieux, France to Bordighera, Italy. Six days, 24 timed stages, 262km of pedalling with over 8,000m of climbing and 20,300m of descending.
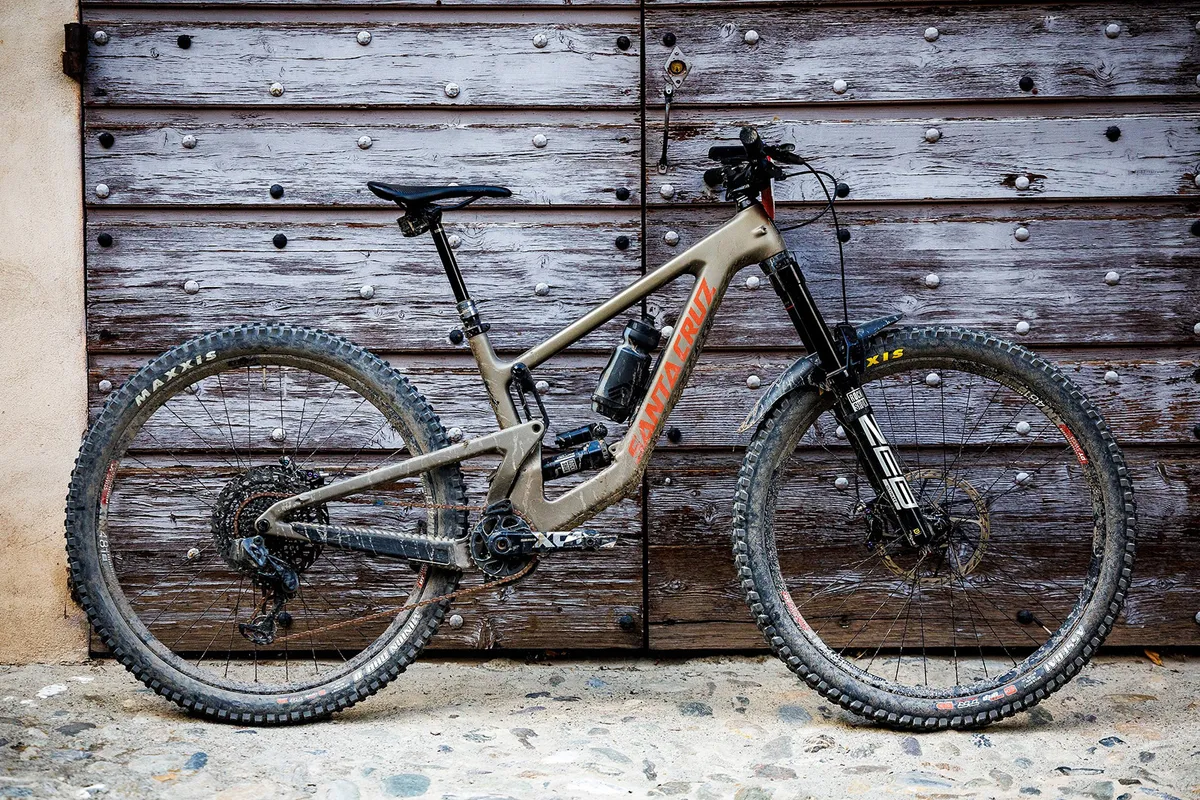
- The horse: 2023 Santa Cruz Megatower with a custom build.
- The goal: Mainly to just survive, soak in the experience and enjoy being back in the mountains after too long away.
Introducing the Stone King Rally Vol.1
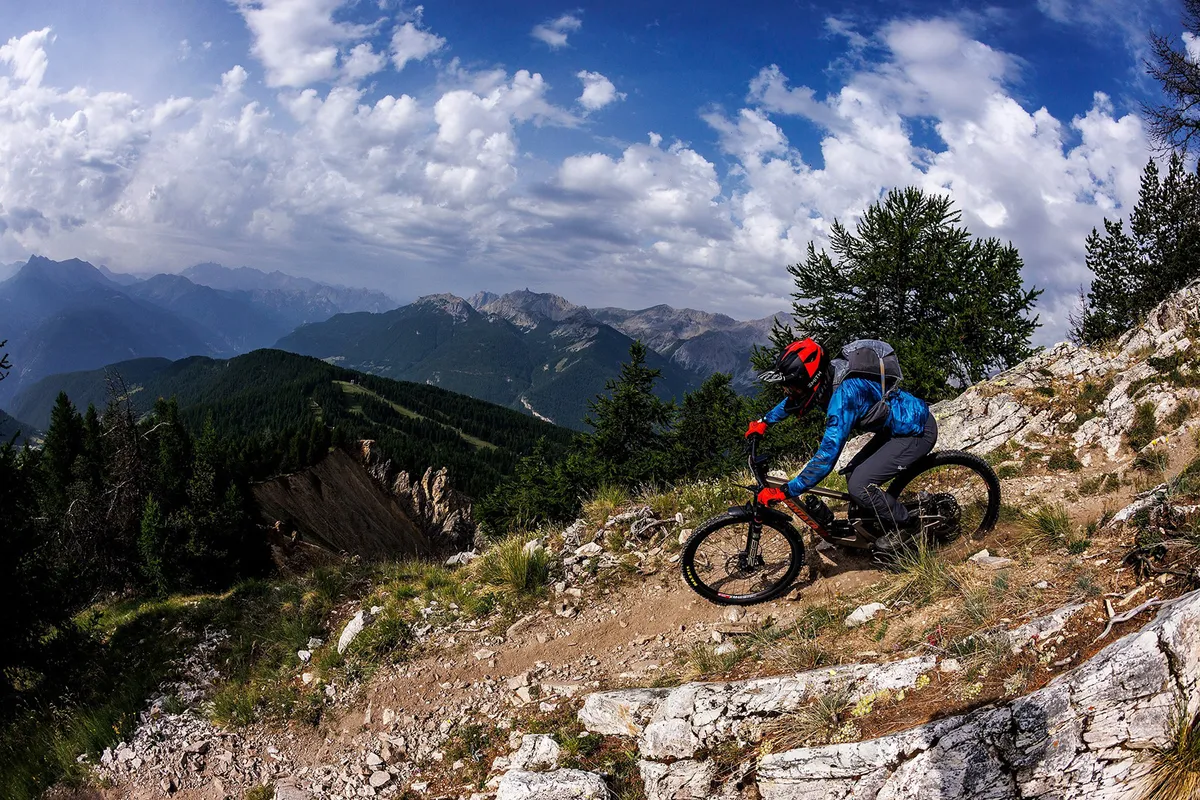
The Stone King Rally is a multi-day, multi-stage race that starts in the French Alps and works its way down to the Mediterranean coast in northern Italy.
That might well sound familiar, and for good reason. That’s because the organisers of the Stone King Rally – Ash Smith and his wife, Melissa Munro – were the brains behind the Trans-Provence – the famous race that followed a similar format and ran from 2009 to 2019.
While many worried that’d be it for races of this nature in this spectacular region, they shouldn’t have. Thankfully, the couple decided to create a new event that claims to encapsulate much of what Trans-Provence was about, but in their words, “push the boundaries and take mountain biking to new places, both physically and metaphorically”.
Starting in Arvieux, France, racers tackle the 262km (though the total distance is around 430km with shuttles included) all the way down to Bordighera, Italy. This is over the course of six days and 24 timed stages, all of which are raced blind (as in unsighted, not blindfolded). By the time they reach the beach, it’s the fastest overall across the stages that’ll produce a winner.
Sounds amazing, right? However, when Ash said he wanted to test the riders physically, he wasn’t kidding. While pedalling those 262km, riders are faced with over 8,000m of climbing (on and off the bike) as well as 20,300m of descent. At times, they’ll be skirting up around 3,000m of elevation, where the oxygen is thin and the terrain… rather terrifying.
The trails vary massively over the course of the week, taking in high-speed Alpine pastures and technical, steep wooded singletrack, as well as bike-destroying boulder fields. There’s a good measure of super-tight, massively awkward hairpins to navigate, some of which come with a good dose of exposure off to the side. It’s terrain like this that the area is famed for and something that takes time and patience to master.
Riders carry kit for the day (tools, spares and clothing), including as much food and water as they think they’ll need. There’s a food stop provided part-way through, which helps keep everyone going.
When it comes to accommodation, there’s a nice little two-person tent provided for each rider. It might not sound glamorous, but it’s this that helps to make the event work.
Every day, the Stone King staff help shift each tent, the event village and the rider’s luggage on to the next campsite. It’s an incredible feat of logistics when you consider just how awkward high mountain roads can be and a testament to the planning and team involved that everything arrives ahead of the riders each day.
When the racers do finally show up after a long day in the saddle, dinner and beer is almost nearly always ready and waiting for them. This is repeated for the six days until you can finally dip your battered sweaty body into the Med after rolling through the finish of the final stage.
There is some technical support provided, which is a massive help, especially if things really go wrong. This year, SRAM partnered the event and was present and ready to fix just about any problem its mechanics could.
If the racing aspect doesn’t appeal, the Stone King Rally can still be ridden. There’s the option to purchase a one-month Premium subscription to Komoot, along with the full digital 2022 Stone King Rally guide, stickers, postcards and book for €79. How long you take and where you sleep is then down to you.
There are cheaper options within the Stone King Rally shop too, while the team intend to change the route every year.
The chosen one
Getting so much concentrated bike time in extremely testing terrain seemed like the perfect opportunity to put some of the latest products through their paces.
Considering the distance I’d be covering, a part of me was wondering what sort of bike and just how much suspension travel I’d need to tackle such a race. I’d ridden in the area we’d be racing a few times, and while it’s punishingly unforgiving in places, there’s a lot of pedalling to be done, too.
After some deliberation, I decided that a full-on enduro bike was the order of the day. I’d rather have a bike burly enough to survive (and at times, potentially save me from my own lack of skill) rather than reap the efficiency rewards of a lighter steed, only for it to implode if the trail got really nasty.
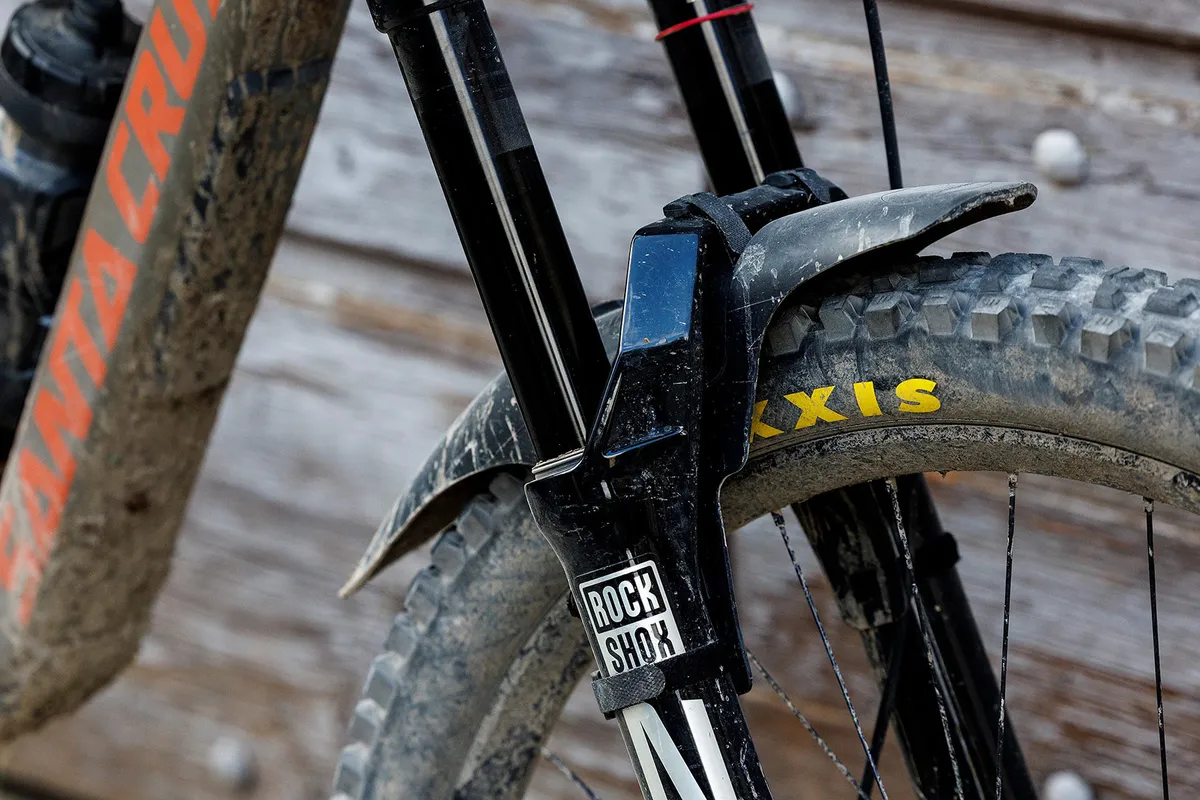
Ahead of the 2023 RockShox fork and shock launch, I got hold of a new Santa Cruz Megatower – with the help of SRAM – with the new dampers bolted to it.
I’d ridden the previous version of the Megatower back in 2020 and got on with it just fine, but I wasn’t blown away by how the suspension performed.
Having chatted to Luke Marshall following the 2023 Megatower launch, it sounded as though Santa Cruz had rectified many of my quibbles, and I was eager to get on the new model to see how it performed.
However, the bike I raced at the Stone King Rally wasn’t exactly stock.
Properly proportioned
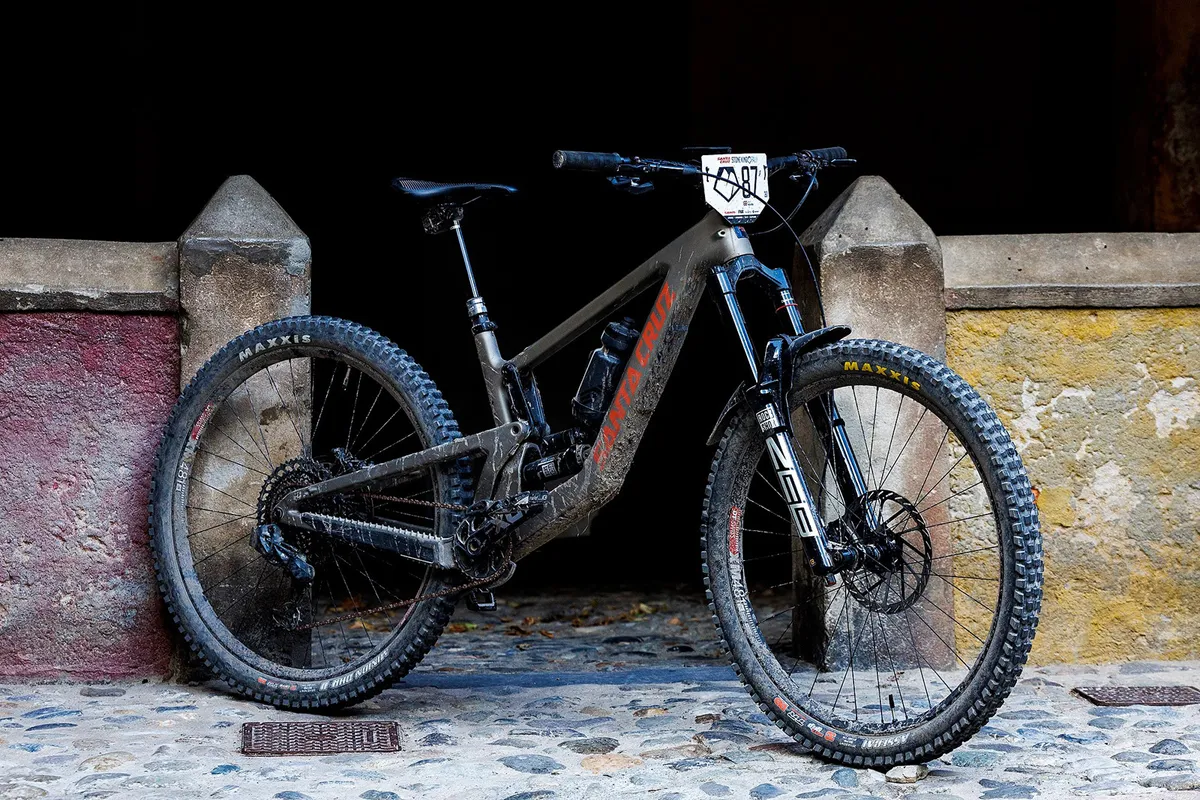
The Megatower isn’t radically long, with a reach of 452mm in the low setting, but at 172cm tall that works really well for me. And yes, I stuck it with the low -geometry setting throughout.
Despite the area we were riding in being famed for tight switchbacks and highly technical trails, there’s loads of high-speed, fast and rough sections to deal with.
The low setting gave the Megatower a slack 63.5-degree head angle, maintaining a steep 77.2-degree effective seat tube angle that made for comfortable climbing – something this bike does incredibly well, even when fully laden. My bike (size medium), complete with snacks and a full water bottle, weighed 17.16kg.
There’s not loads of room when seated (the effective top tube is 595mm), but I never ended up feeling cramped or struggling to get comfy on prolonged uphill stints.
The 438mm rear centre (which grows as you increase frame size) helped the Megatower feel nicely balanced and predictable through the turns.
Tuning up the travel
It made sense for me to get some more time in on the latest RockShox ZEB fork and Super Deluxe shock because, very shortly, I’ll be writing a full review on each.
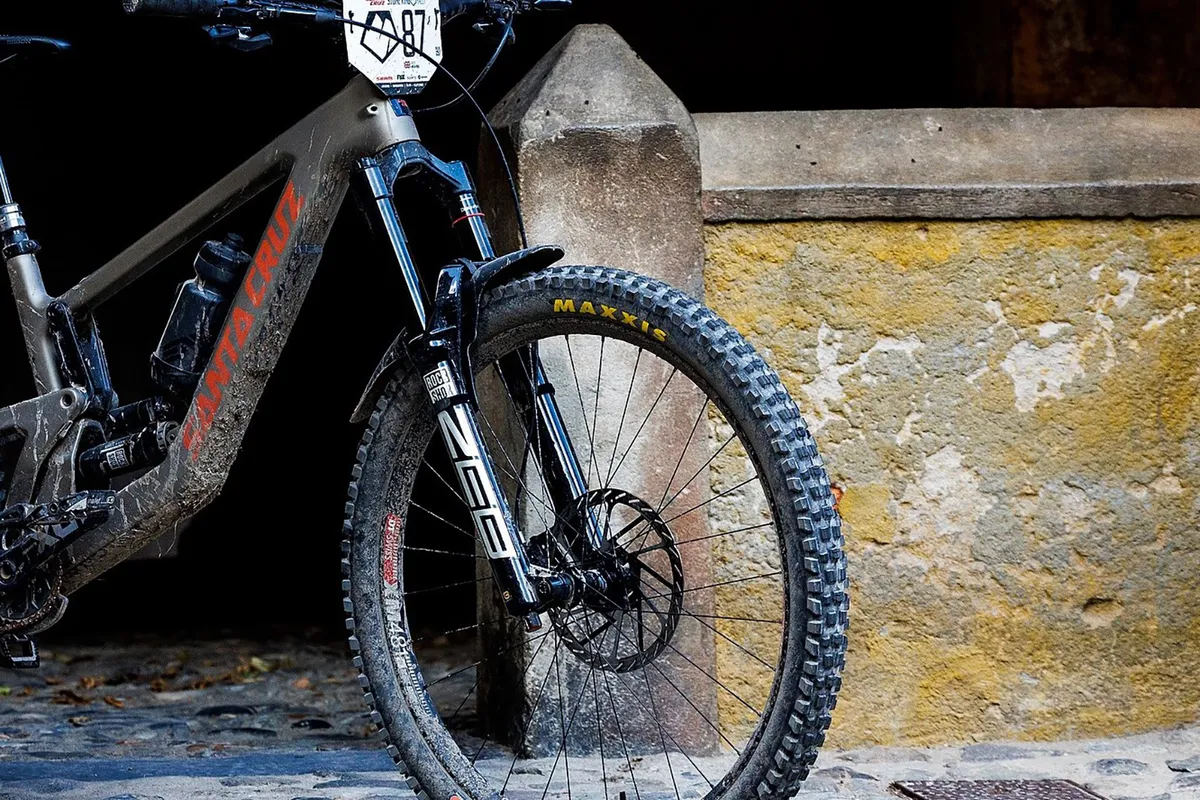
The Megatower is designed around a 170mm-travel fork, so that’s exactly what I opted for. In this case, it’s the ZEB Ultimate, with the new Charger 3 damper and DebonAir+ air spring.
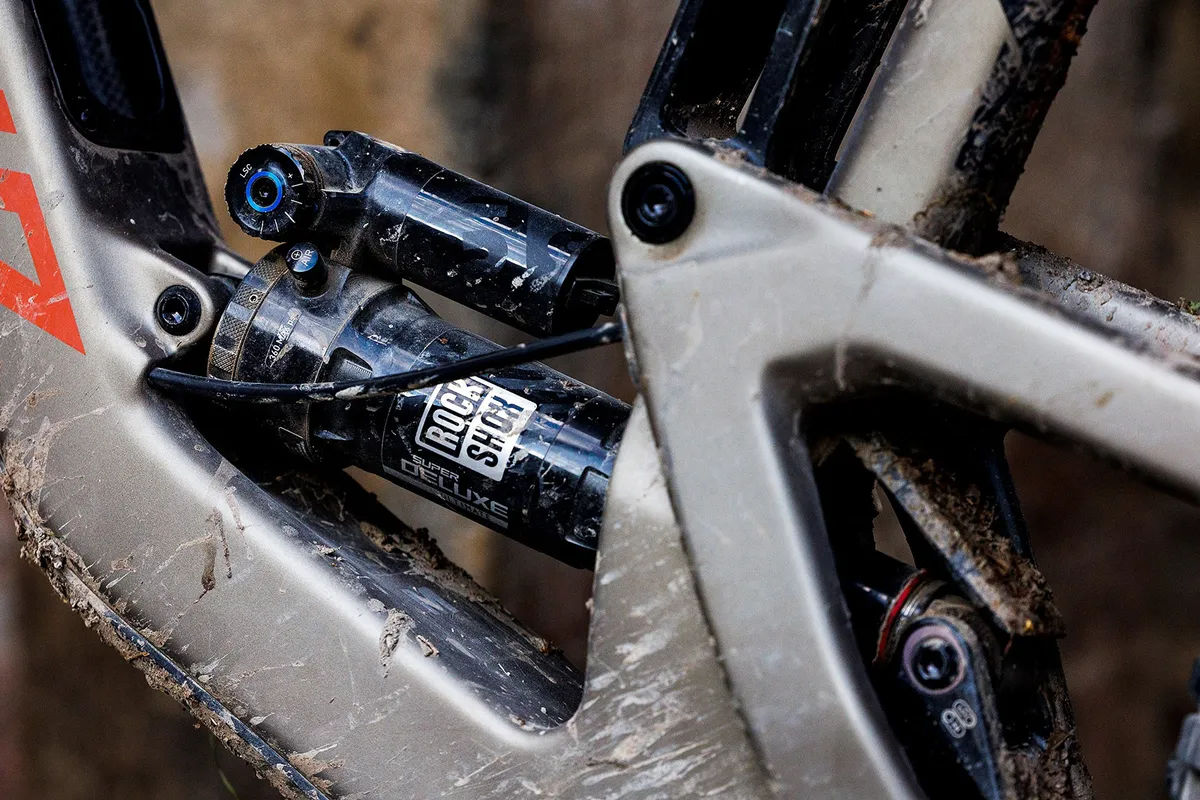
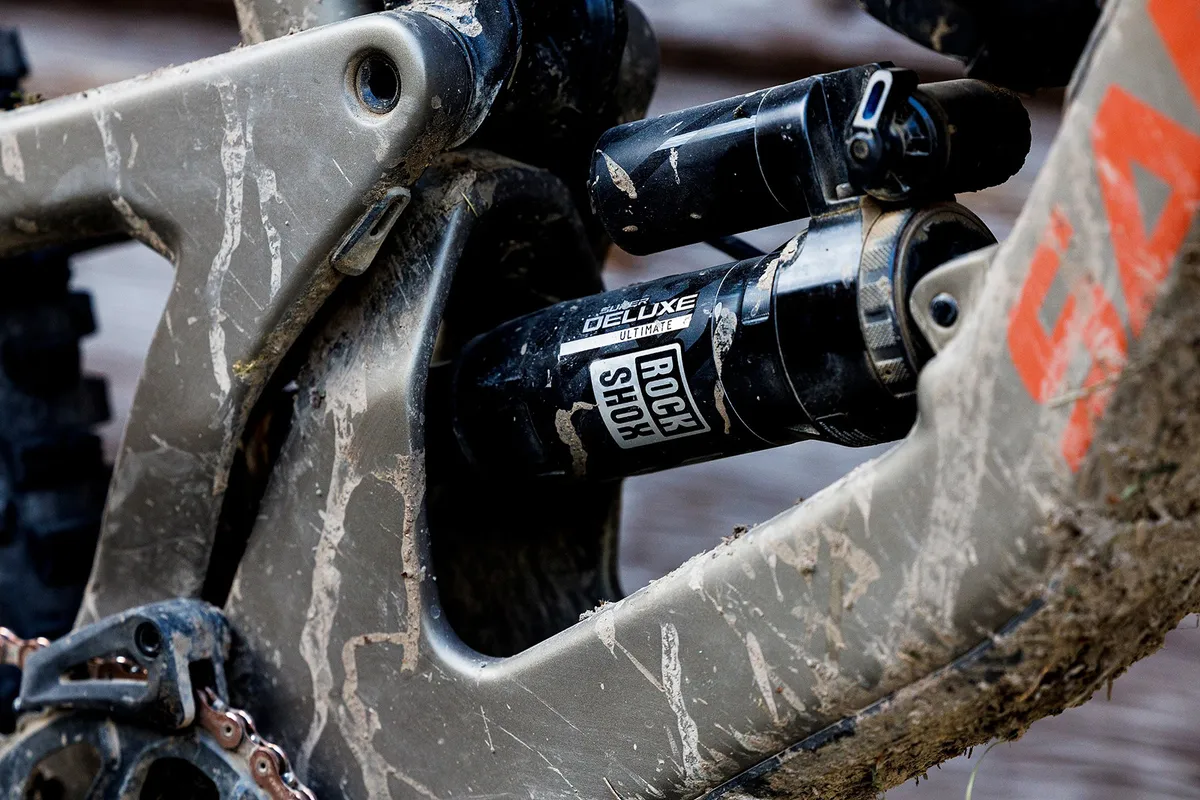
At the rear, there’s 165mm of travel on tap, all of which is controlled by the Super Deluxe Ultimate air sprung shock.
I’d spent about a month riding the bike before heading out to France and felt confident with my setup. After day two of the race, though, I had to tweak things slightly.
The ZEB is incredibly supple at the start of its travel, so I wasn’t too worried about how it’d track the trail and handle loose, gravelly turns. This held true at the event, but I did back off some of the damping.
That’s mainly because I’d set the bike up riding short two-minute tracks in the UK, not on 10-minute bruisers in the Alps. The tracks were longer and rougher than anything I have local to me and with fatigue setting in, I wanted to up comfort levels as much as I could.
Increasing my tyre pressure to help cope with the savage terrain also made the bike feel a little more tiring to ride. But, by backing off the high-speed compression damping entirely and removing just one click of low-speed compression damping, I found the sweet spot and felt more energised on the longer trails.
With a single volume spacer installed and 56psi in the spring, I got all the support I wanted, impressive levels of grip, and a forgiving enough feel through the bar that I didn’t struggle with hand pain even on the longest of descents.
At the rear, I stuck with my original settings, with the high-speed compression damping one click from the middle, the low-speed compression damping one click from fully open, rebound almost fully open and 30 per cent sag.
This felt nicely predictable and offered a decent platform that I could push against when needing to load the edges of the tyres or loft the bike up and over an obstacle. Traction and tracking were consistently impressive, too. As expected, many of my issues regarding the original Megatower had been eradicated.
I won't go into more detail here (I’ll save that for the review), but what I was consistently blown away by was just what I could get away with (and what the equipment could handle) when the impacts were coming thick and fast.
Because the event is raced blind, being pin-point accurate with line choice is nigh-on impossible, so there are times when you’re inevitably on a less desirable line. That can mean not setting up quite right for a turn or being totally offline and careering into a boulder field.
As and when the latter situation happened (on more than one occasion), despite me tensing up and expecting to be ejected over the bars at any second, the bike and suspension somehow managed to handle whatever was in front of it.
Rolling stock
Surviving the race was my top priority; not just physically, but I’d need my bike to get through relatively unscathed, too.
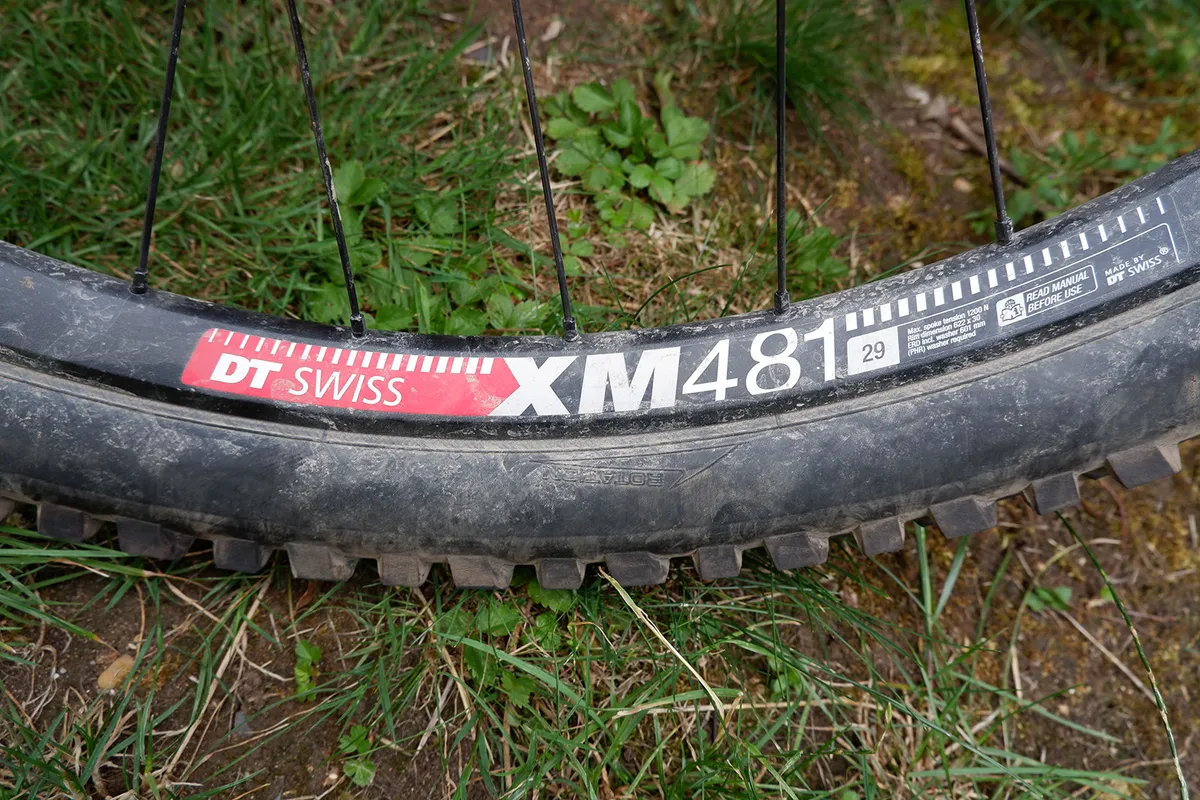
As with any kind of mountain bike race, wheel and tyre choice are key. I’d given it a lot of thought and although I like the feel of some (not all) carbon rims, I knew from the get-go that alloy rims would be the way to go.
The trails are punishingly rocky in places and I figured that while I was more than likely going to ding my rims, if they were alloy I could hopefully pull those dings out. The same can’t be said for carbon hoops.
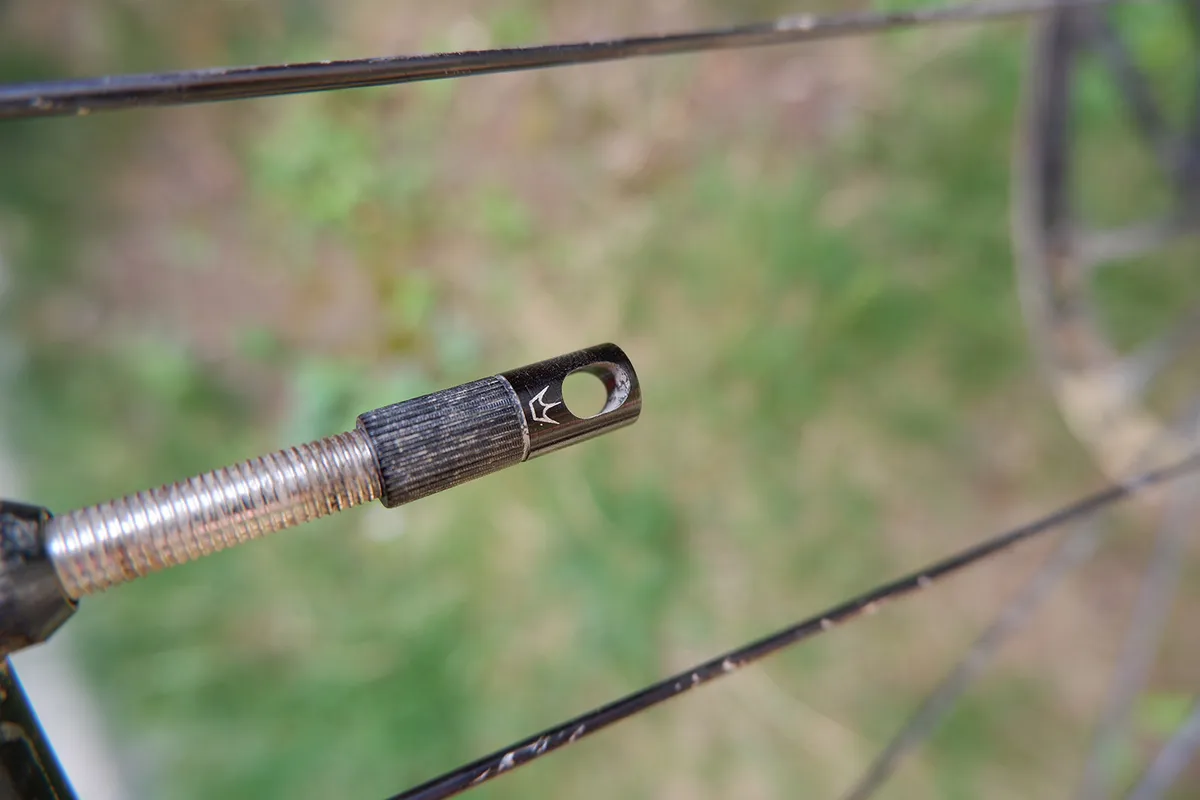
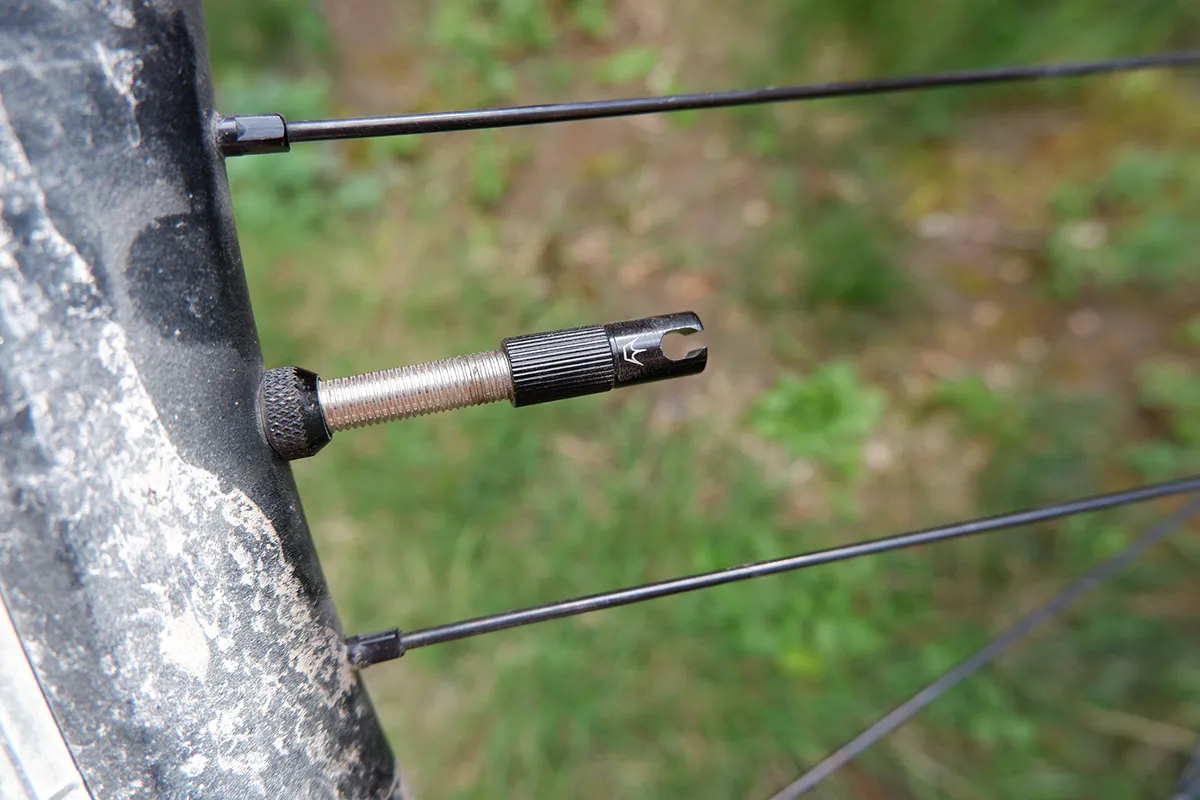
In the end, I went for DT Swiss XM481 rims on Zipp ZM2 hubs. Impressively, aside form the odd scrape here and there, both wheels held up incredibly well with not a ding in sight. The only thing I needed to do was tighten a couple of spokes in the rear wheel.
This was made slightly easier because I’d opted to use Peaty’s tubeless valves, which come with one valve cap that doubles as a spoke key (the other is a valve core remover).
Tyre choice conundrum
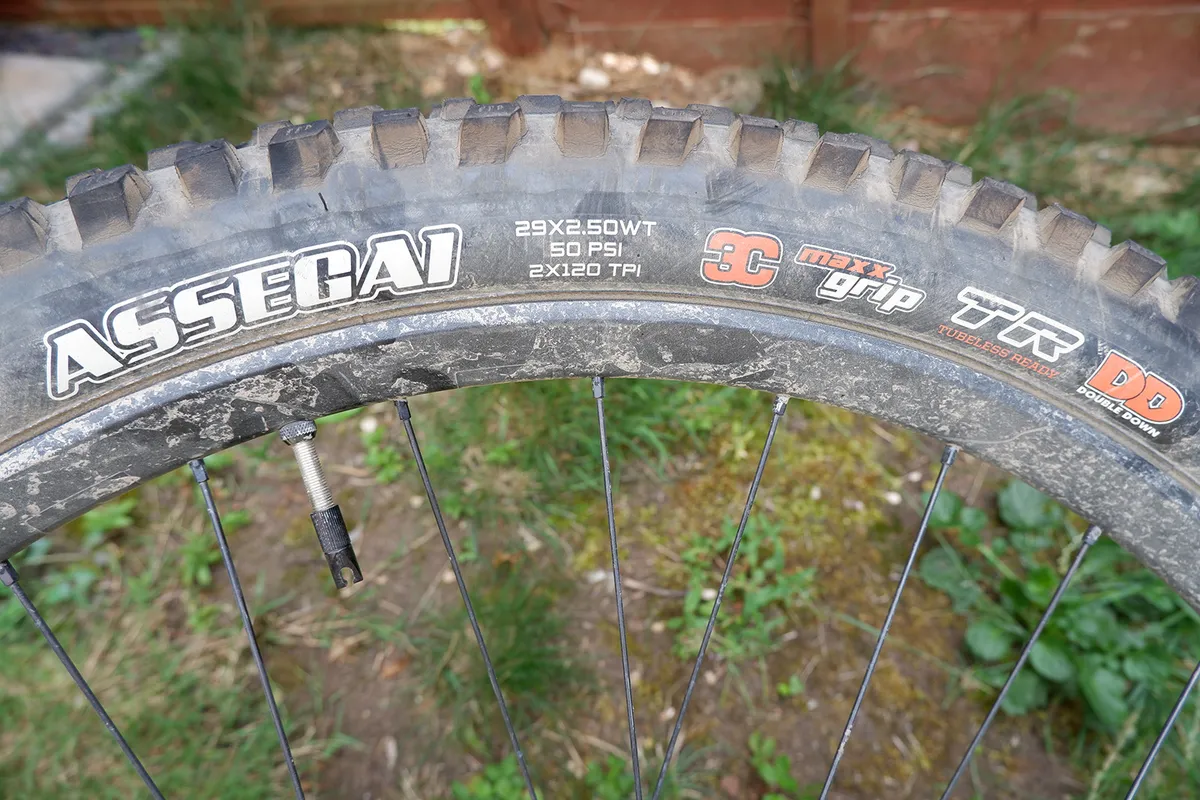
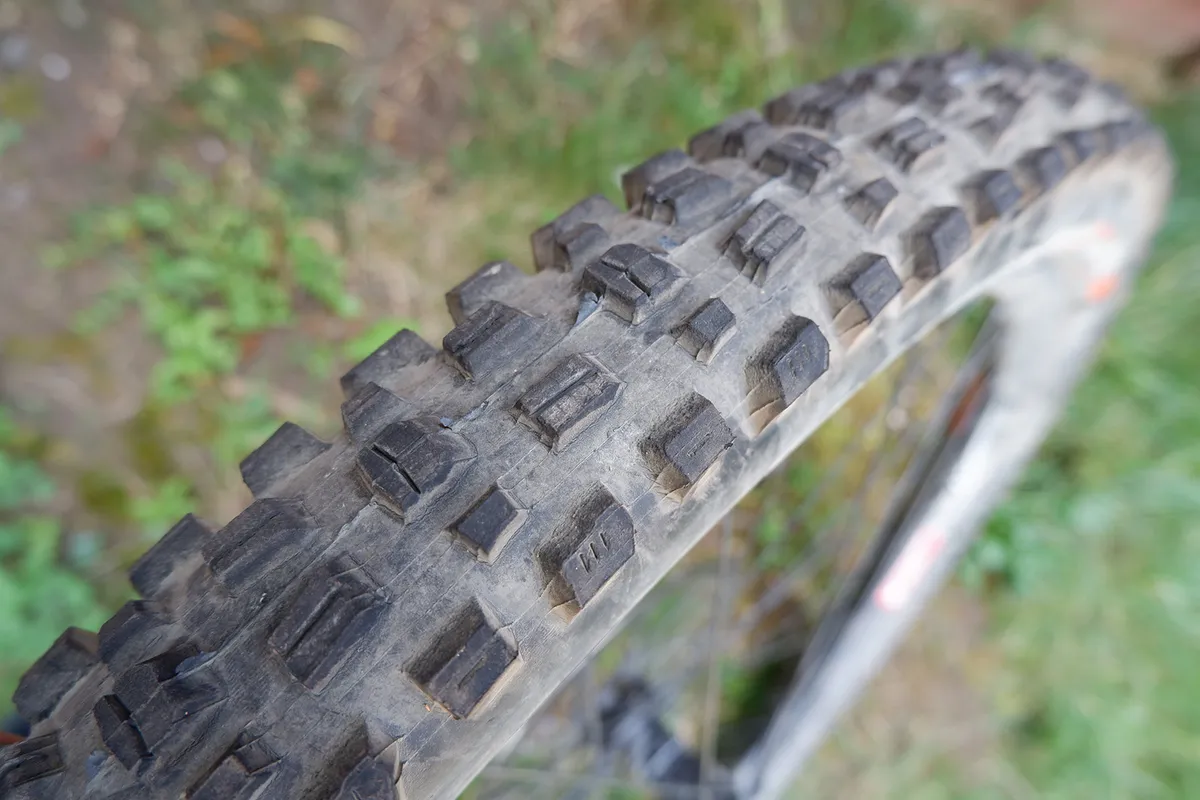
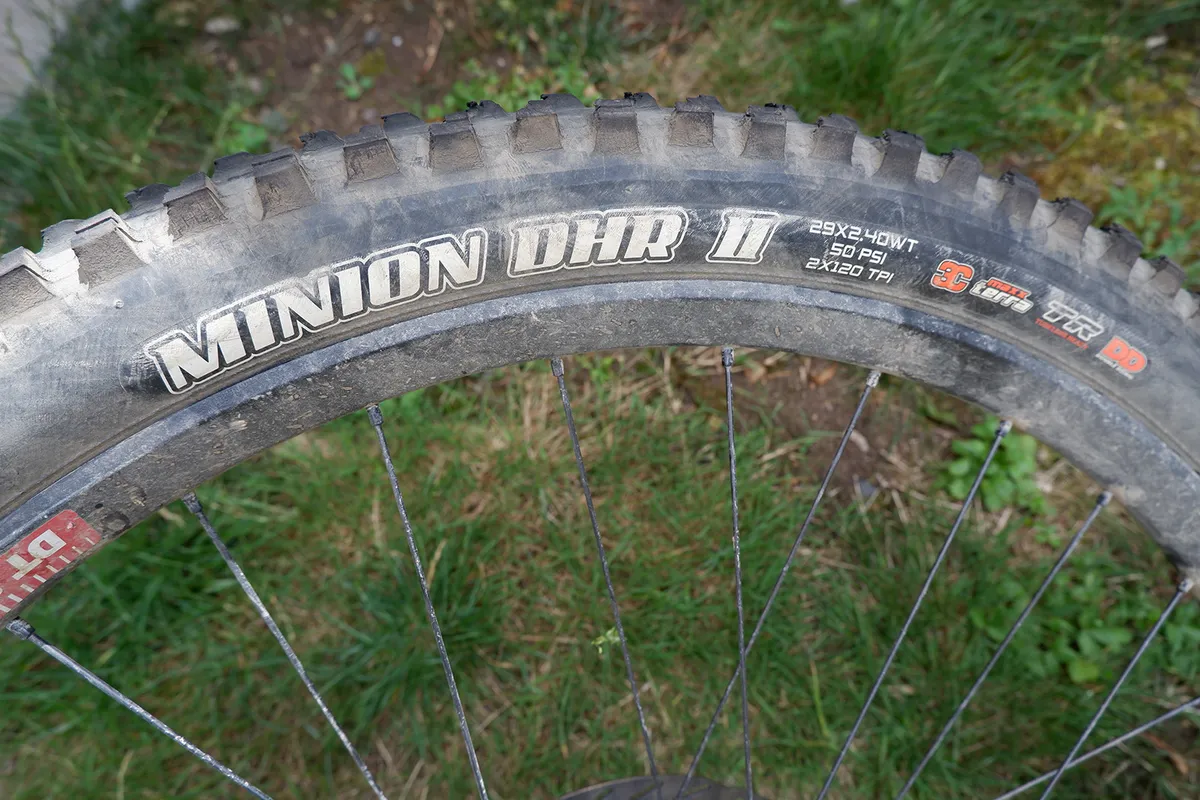
Rims are important, but getting the right mountain bike tyres is arguably even more critical. I ride a lot of bikes and know what I like, so that decision was pretty straightforward. I’d need a Maxxis Assegai up front and a Minion DHR II at the rear.
These tyres are good all-rounders and I figured they should hold up in the wet if we did encounter any rain along the way. Thankfully, after one hefty storm on day one, the rest of the week remained dry.
I was on the fence when it came to running tyre inserts or not. On the one hand, my wheels would be better protected, and I could run slightly lower tyre pressures and possibly even light tyres. On the other hand, should I slash a tyre and get a flat (something that’s happened to me more than once riding in this area), if I had to get a tube in quick, I’d have to deal with an insert too, which would take even more time.
In the end, I figured I’d go for the Maxxis DoubleDown carcass and firmer pressures (26psi in the front and 28psi in the rear). At 67kg, I’m not the heaviest guy, and ride quite light on the bike. Sure, the tyre pressures made for some sketchy moments, but the supple suspension helped with grip when I most needed it, and thankfully, I managed to keep air in my tyres throughout the race.

In hindsight, I’d have probably been better off fitting the RockStop strip that I was sent, but I didn’t have chance to properly test it, so I wasn’t keen on running something I had no real experience with.
Sealing the tyres was Peaty’s new Holeshot Biofibre sealant. I hadn't used it before, so it was a bit of a gamble, but it sealed the tyres really quickly and clearly did its job all the way to the Italian coast.
On inspection after the race, while the front tyre remained relatively unscathed, the rear’s sidewall was heavily marked and scratched, and the tread seriously worn. It did its job and survived the 20,000m of descent, but might need replacing very soon.
Keeping in contact
I had grand plans of going all-out when it came to things such as my grips, handlebar and saddle, trying new contenders versus old favourites until I found something I was happy with. However, due to time constraints, sadly this didn’t quite work out.
That’s not to say I was left unhappy with what I ended up running, though.
I’d heard lots of people singing the praises of the OneUp Components carbon bar, famed for its buzz-reducing ability, and ordered one as soon as I could. Thanks to some shipping delays, however, the bar only showed up the day before I was travelling.
As I’d not used them before, I decided to leave them at home and stick with the carbon Truvativ Descendant DH bars I’d been using on this bike and others. The 9-degree back and 5-degree upsweep feels really comfy, and I trimmed them down to 750mm as I do with all my bars.
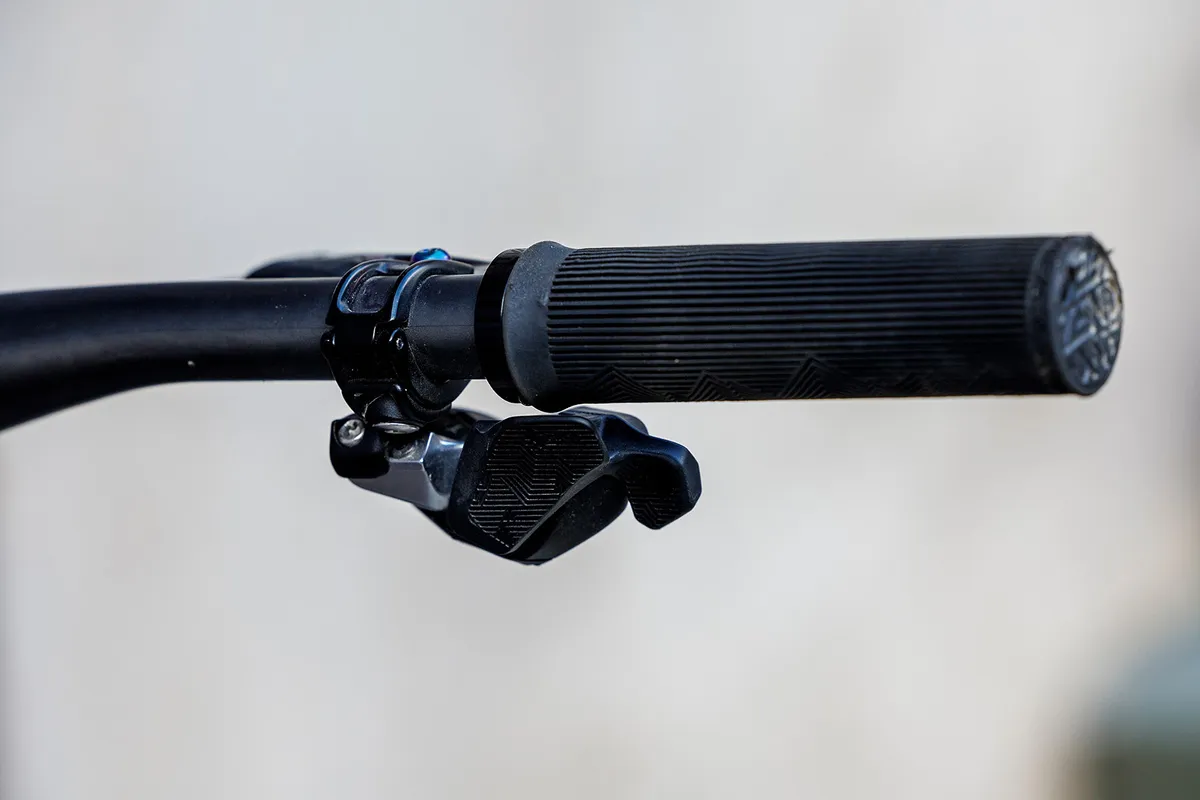
I’ve always been a big fan of DMR’s DeathGrip, so stuck a fresh set on the Megatower. As I tend to, I opted for the thinner diameter, which feel great in the hand with just the right amount of feedback through the hands. However, once I got onto the unforgiving trails in the French and Italian mountains, I started to re-think my choice.
That’s not because the DeathGrips are bad, but in their thin diameter, they don’t provide a whole lot of cushioning. If you’ve read this far, you’re soon see the theme here. I’m looking for comfort wherever possible.
Because I’d brought the chunkier Truvativ Descendant grips with me, I stuck them on. While I’m not a massive fan of the ridged pattern these use – at times, it feels as though you need to grip tighter to compress those ridges to have a really firm grip – they did isolate vibration a little better, so I stuck with them.
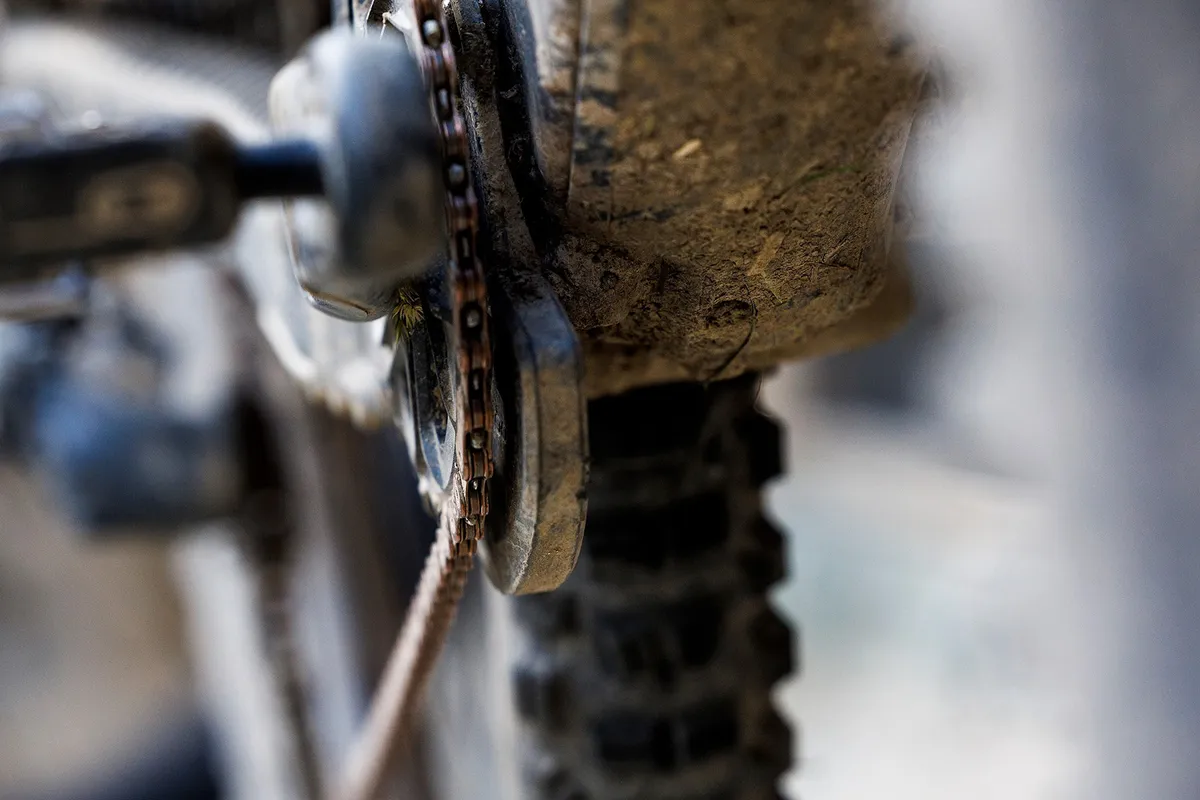
A fresh set of Crankbrothers Mallet DH pedals with the pins wound almost all the way in worked brilliantly throughout the week. There were a number of trails where I wished I had a set of the best flat pedals due to how tight the switchbacks were, but I love the feel and float on offer through the Crankbrothers mechanism.
One big impact on the underside of the right-hand pedal did manage to eject my foot on the first stage, but the damage to the pedal itself was superficial and they managed to ward off a good few more scrapes and knocks without issue.
Finally, we come to my saddle choice. With a lot of time spent sat down and pedalling, it was important to get a perch that wouldn’t leave my backside numb or sore. I’ve used the Ergon SM Comp on a number of bikes over the years and really get on with it. Sure, I got a little achy and sore from time to time, but I think that would have happened no matter what saddle I’d chosen.
Stop and go
SRAM’s X01 AXS gearing kept the Megatower moving forward. I opted to use a 32t chainring, but in hindsight, switching to a 30t might have been wise. That’s mainly down to how shattered I felt climbing at altitude. Things got a little easier as we started getting closer to a more manageable 1,000m above sea level, despite days of pedalling in my legs.
The 10-52t cassette at the rear offered a wide enough range of gears for pretty much everything I encountered. And the Stone King covers a number of unrideable climbs, where there’s nothing else to do but push.
Many will question the wisdom of running electronic gearing on a multi-day event such as this. I was a little wary, too, but happy to be proven wrong.
I charged my derailleur and dropper (a RockShox Reverb AXS) once throughout the week and switched the derailleur battery to a spare towards the end of a long day just to be sure I’d get home.
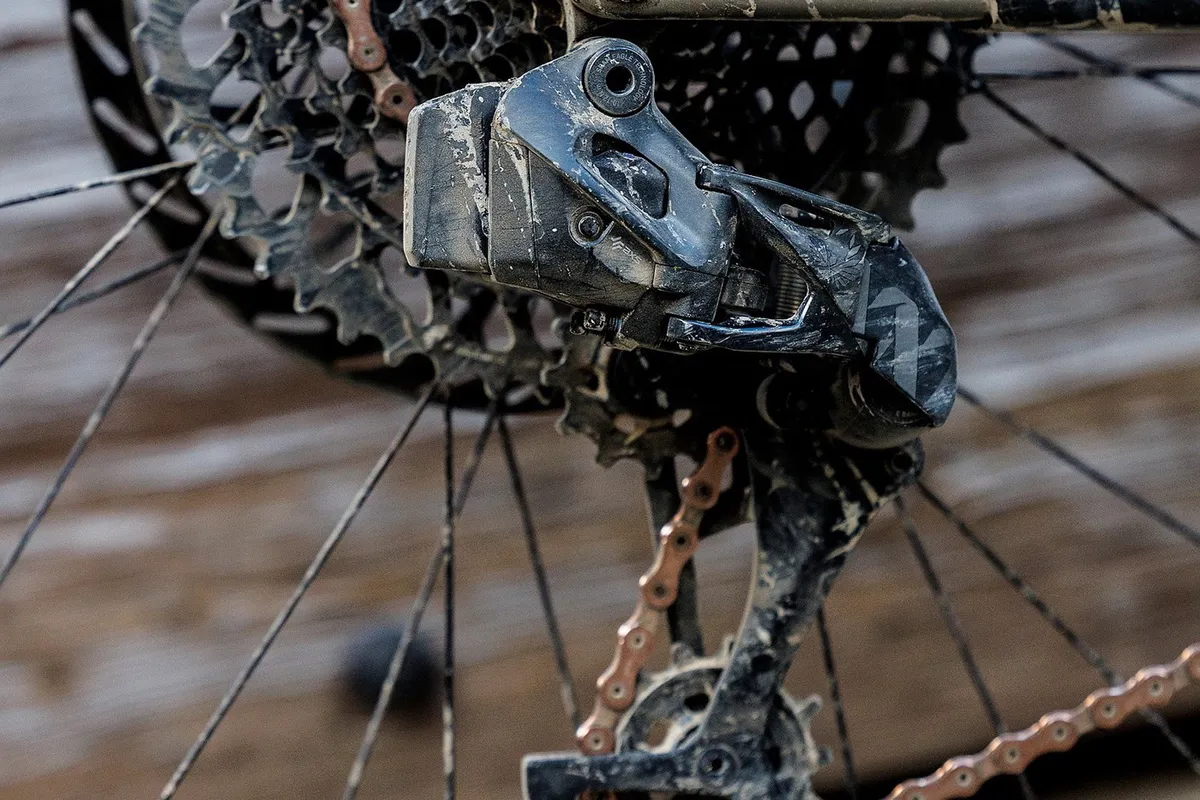
The most impressive aspect of the gearing has to be the rear derailleur due to just how much abuse it took. Despite some seriously hefty knocks (one of which bent the hanger beyond repair), the Overload clutch kept doing its job and protecting it. Sure, it’s not as straight as it once was and is missing some of the plastic shrouding around the knuckle, but it’s still stubbornly shifting away and working just fine.
On one particular stage, a couple of us fell victim to clipping the same jagged rock. Whether I hit it with less force or not is hard to tell, but while my derailleur just needed a little tweaking to get it shifting accurately again, the mechanical derailleur on a fellow competitor's bike was a write-off.
A Nukeproof chainguide with bash plate ensured the chain stayed put and did a good job of saving the chainring on one more than occasion where poor line choice left me see-sawing through rock sections and clouting the bottom of the bike as I went.
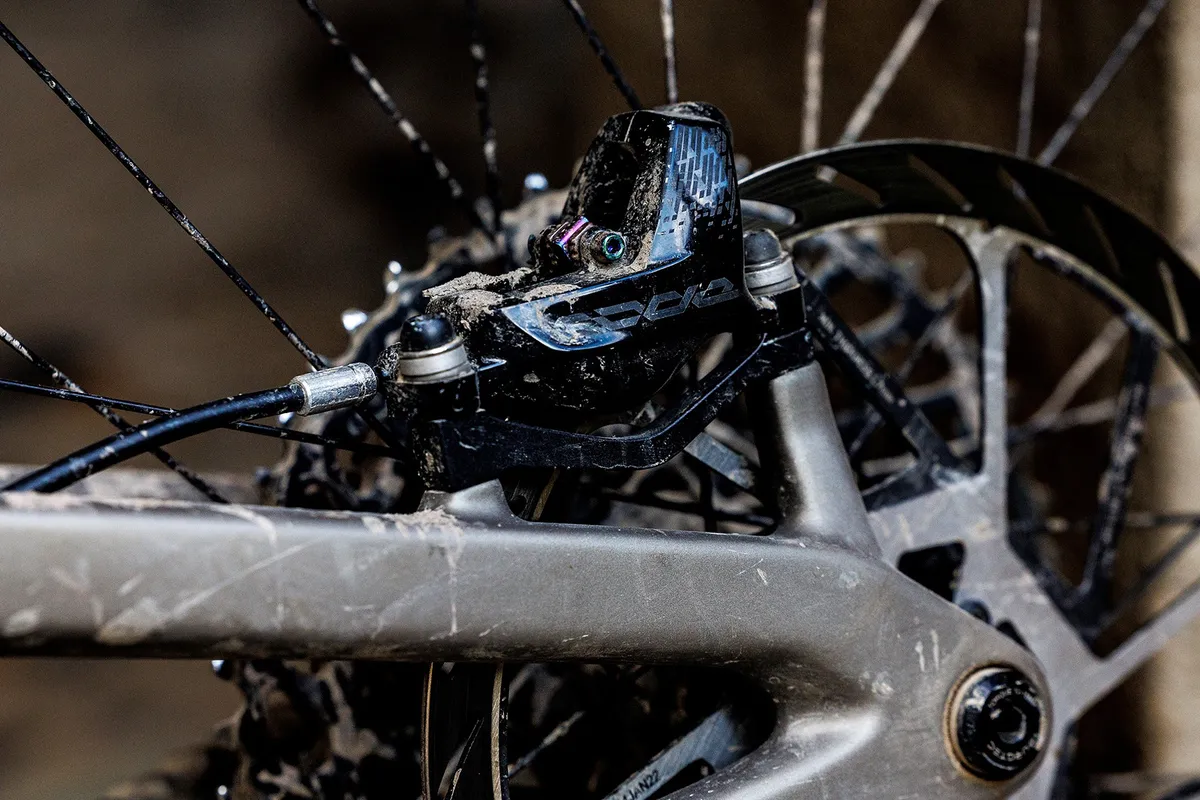
And what of the brakes? Well, Code RSC brakes offer a great balance of power and modulation.
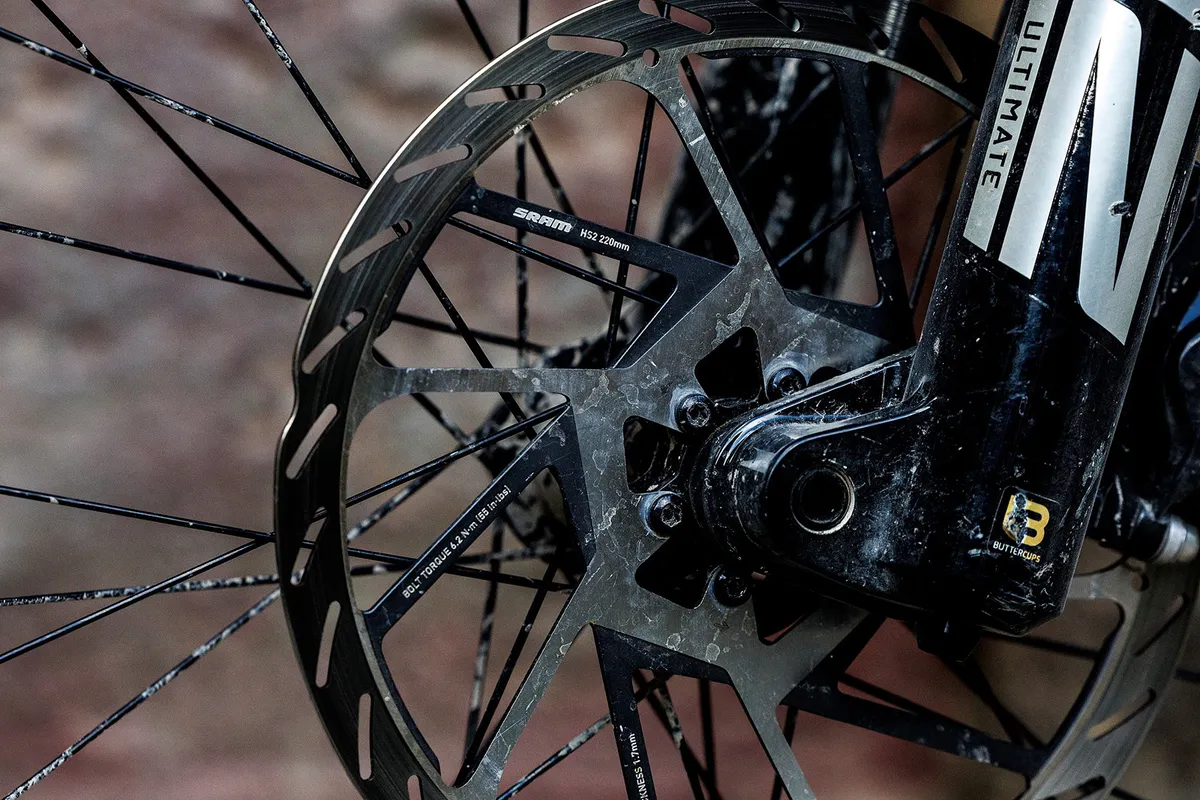
I did, however, jump up to 220mm rotors at the front and rear to help boost power even further and make life on my hands that be easier.
In order to get the caliper sat just right over the rotor, though, I had to do a bit of careful filing of the brake mounts (not the frame!) until I was happy they were grabbing every bit of the rotor possible.
Packing light
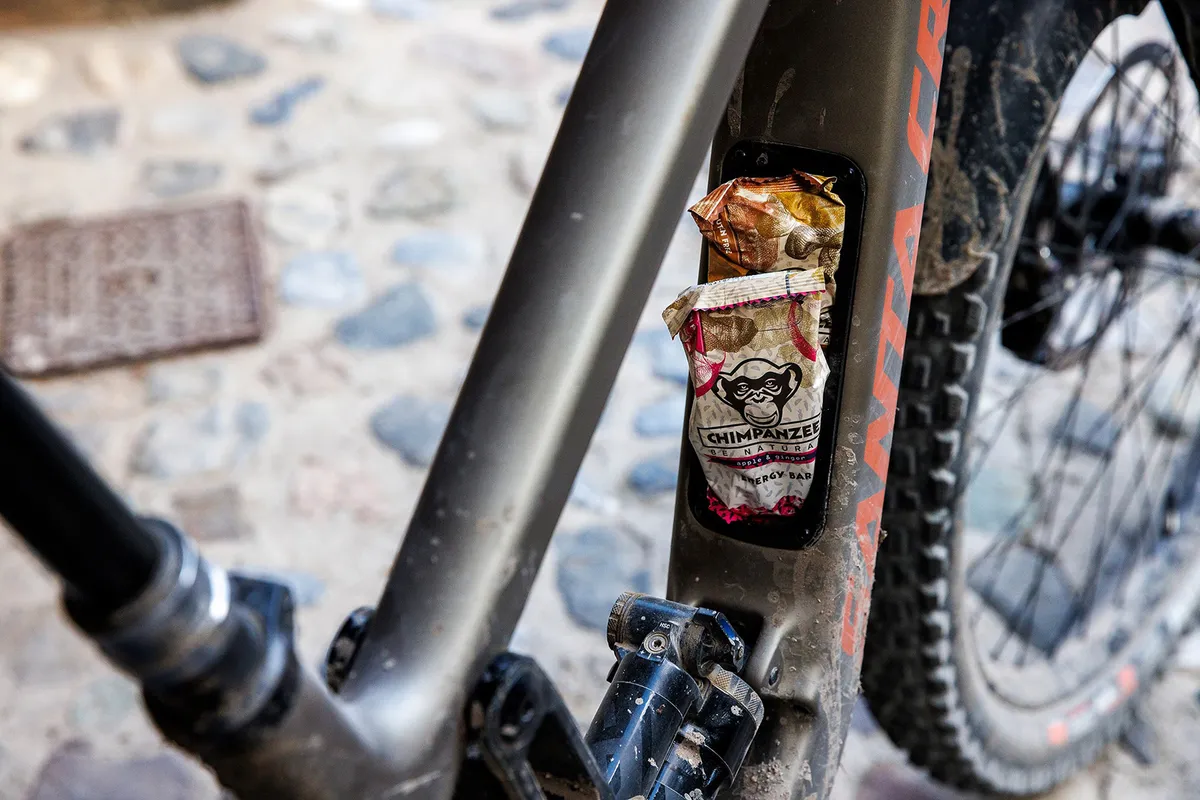
The new Megatower features the Santa Cruz ‘Glovebox’ – a hollow recess inside the down tube with a removable hatch that enables you to stash kit and snacks inside.
I wedged mine full with a spare tube, a Crankbrothers Klic HP pump, some spare C02 cartridges, a derailleur hanger and as many energy bars as I could cram in there (which also prevented the contents from rattling around).

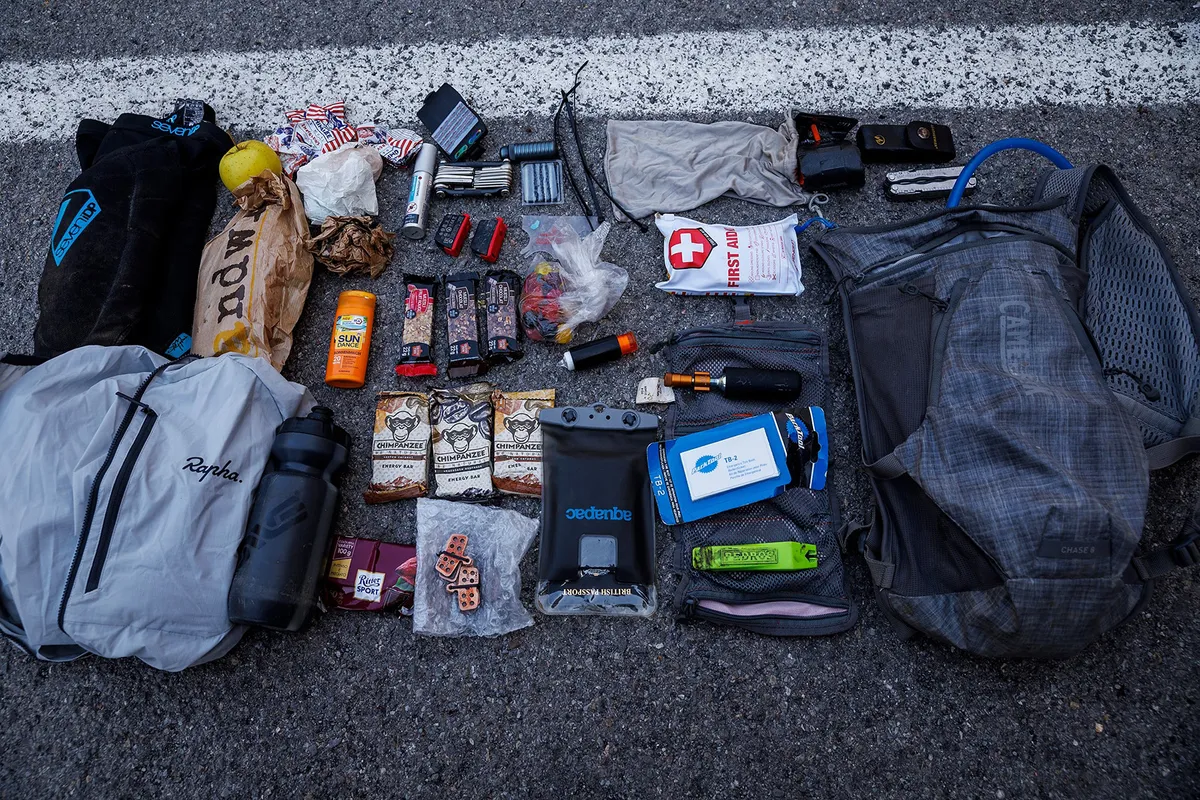
These were massive days in the hills, so I carried a pack, too.
In this case, it was the new Camelbak Chase 8L Vest.
I crammed just about all the essentials in here, including a Peaty’s Holeshot tyre plug kit and C02 inflator, multi-tool with spare quick links, whistle, Leatherman, spare AXS batteries, bug repellent, duct tape (rolled around a small tube of sun screen), cable ties, first aid kit, jacket, elbow pads, another spare tube, tyre levers and as much food as I could carry.
Any regrets?
I’d have liked more time to experiment with different kit and bike setups, but time wasn’t on my side. I got away with it, though, and aside from potentially adding a rear tyre insert and switching to a different set of grips, I’ve nothing but praise for the Megatower and its components.
The bike helped me survive a serious beating, navigated down some hellishly technical singletrack and kept on working right through until the end.
With so little to worry about when it came to my bike, I could focus on the riding and was able to thoroughly enjoy the event from start to finish.
The bike for the job
- Frame: 2023 Santa Cruz Megatower
- Fork: 2023 RockShox ZEB Ultimate, 170mm travel
- Shock: 2023 RockShox Super Deluxe Ultimate
- Brakes: SRAM Code RSC, 220mm rotors
- Tyres: Maxxis Assegai 3C MaxxGrip DoubleDown 29x2.5in with 26psi (fr)/Maxxis Minion DHR II 3C MaxxTerra DoubleDown 29x2.4in with 28psi (r)
- Wheels: DT Swiss XM481 rims on ZIPP ZM2 hubs
- Drivetrain: SRAM X01 Eagle AXS (32t ring and 10-52t cassette)
- Weight: 17.16kg/37.831lb (medium, with pedals and water bottle as raced)