
Showing the whole world your two-wheeled skills via the internet is easy, great fun to do and can help push your riding to new limits. All you need is a basic digital camcorder and a creative mind. Here, Corsair-sponsored freerider Chris Smith passes on some of the top tips he's picked up making his own web edits...
Be prepared
1 Watch some videos to get inspiration for shots and filming angles.
2 Think of some tricks you fancy shooting and venues and spots to session, noting it all in a 'to film' list.
3 You should be looking to tell a story with the video, from eating your breakfast to sessioning your spots and all the things that go on along the way – almost a film of that day. The more creative you are the better the result.
4 Try to set a theme with the video, capturing one style of riding, for example – be it downhill, dirt jumping or whatever takes your fancy.
5 If you ride more than one style, you can mix it up a little – that way it will appeal to a wider audience.
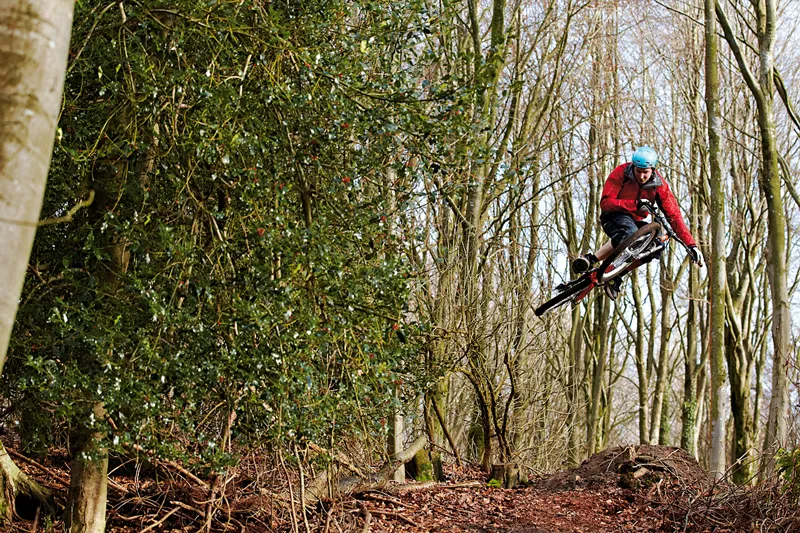
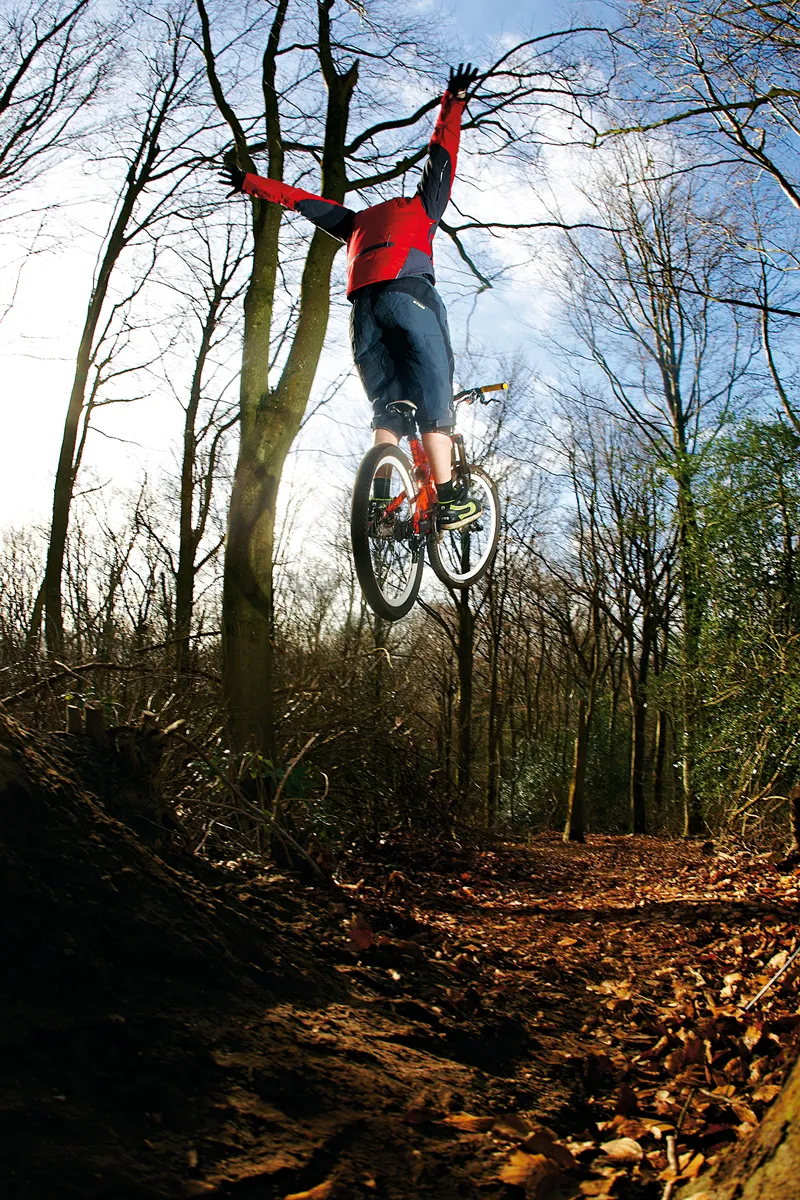
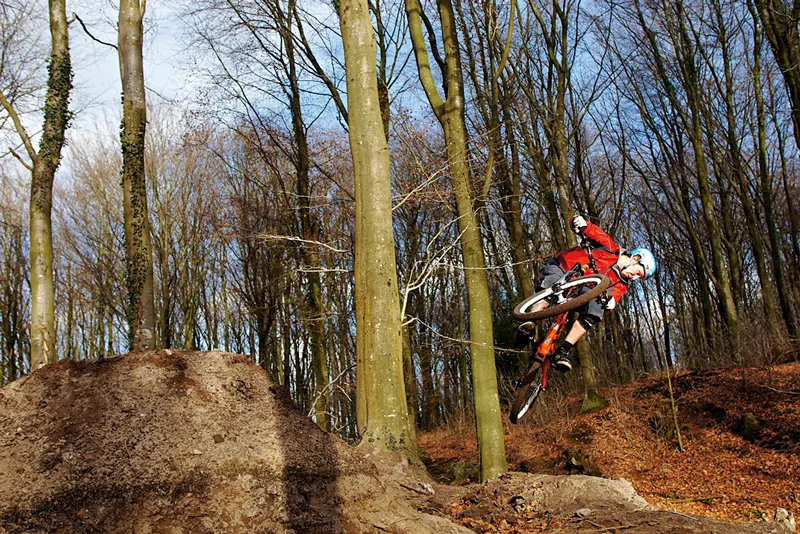
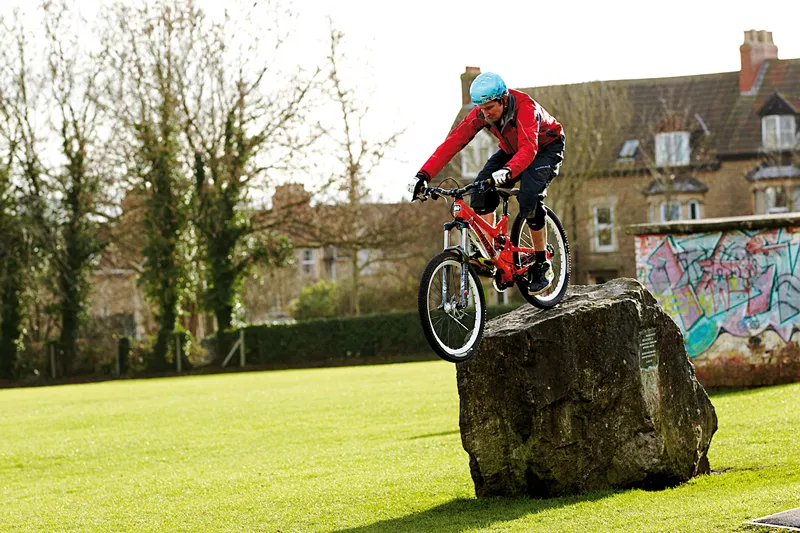
Your video is a chance to show off your best moves
Location, location, location
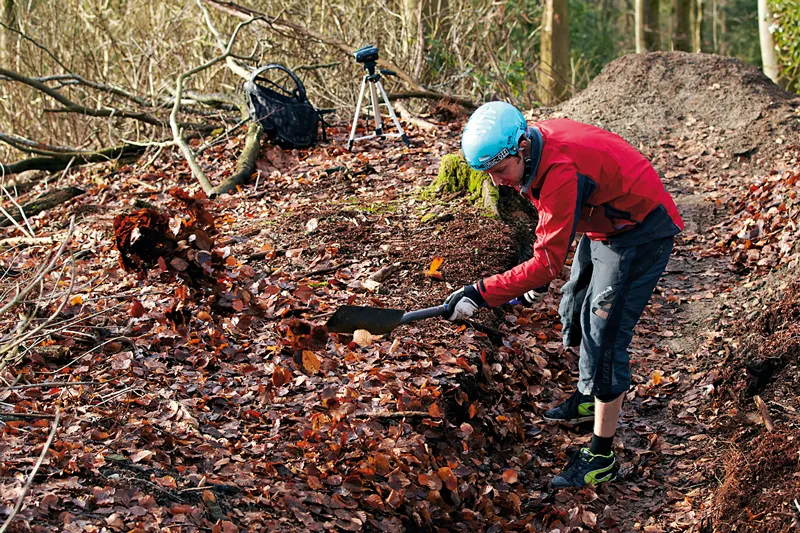
The spots that I choose to film at are all selected carefully. Things you need to think about are:
6 Setting: A nice background will enhance your shots massively.
7 Time of day: Don't go trying that road gap at rush hour!
8 Good weather. Try not to film in the rain because cameras and water don’t really mix. Save the rainy days for editing!
9 Light: You need a decent amount of light, so try to work with the sun.
10 Street spots: Tend to be quieter after 6pm and on Sundays.
11 Chavs: Look out for local scum in case they try to swipe your gear.
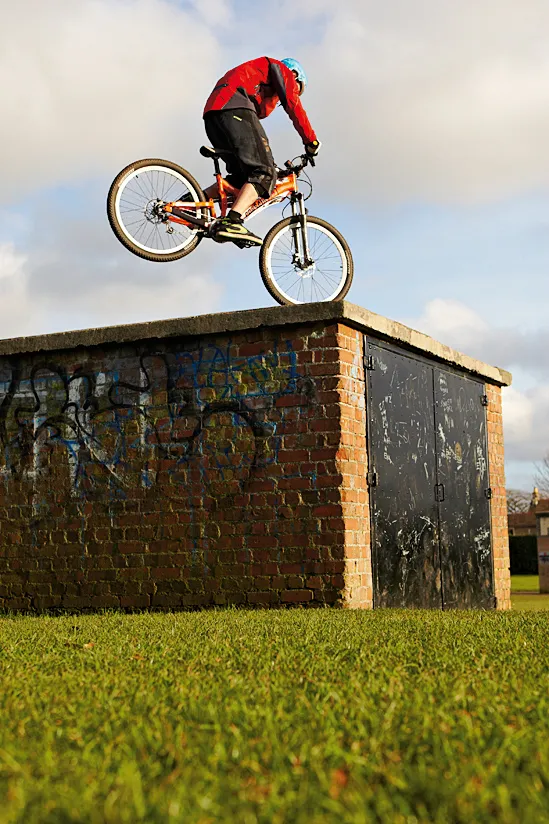
Mix up the styles of riding in your video to keep things interesting, but avoid busy spots at peak times
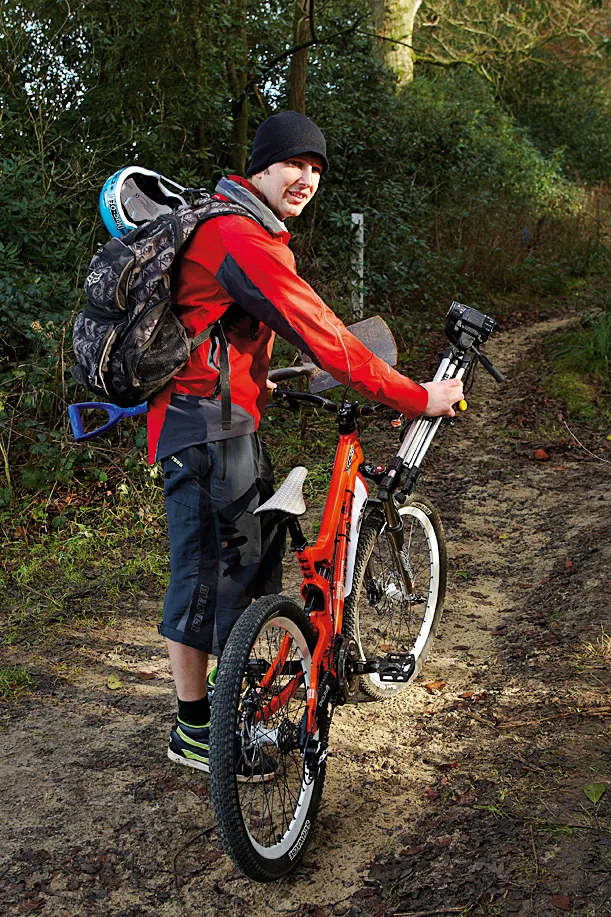
Camera setup
The way you set up shots will differ depending on whether you’re shooting alone or with someone else.
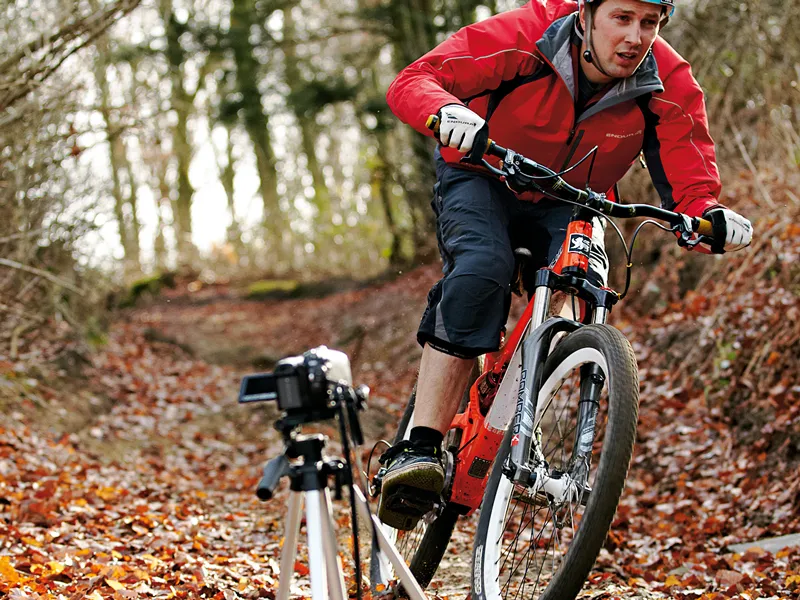
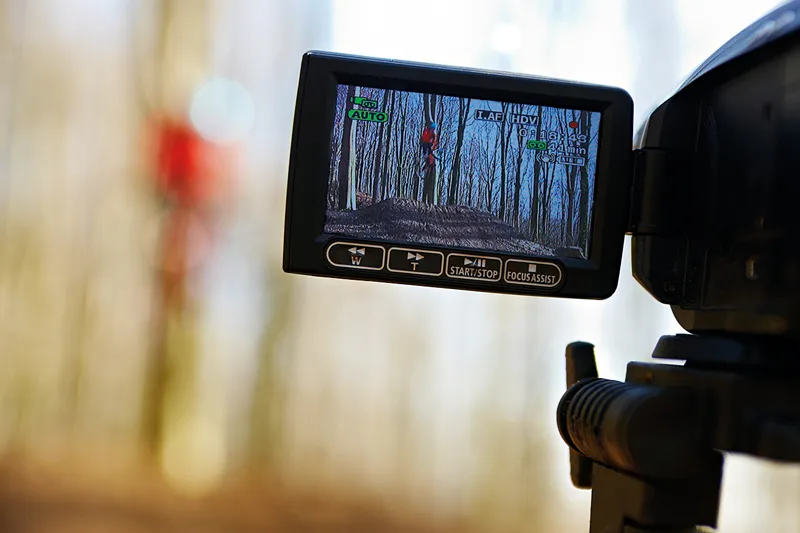
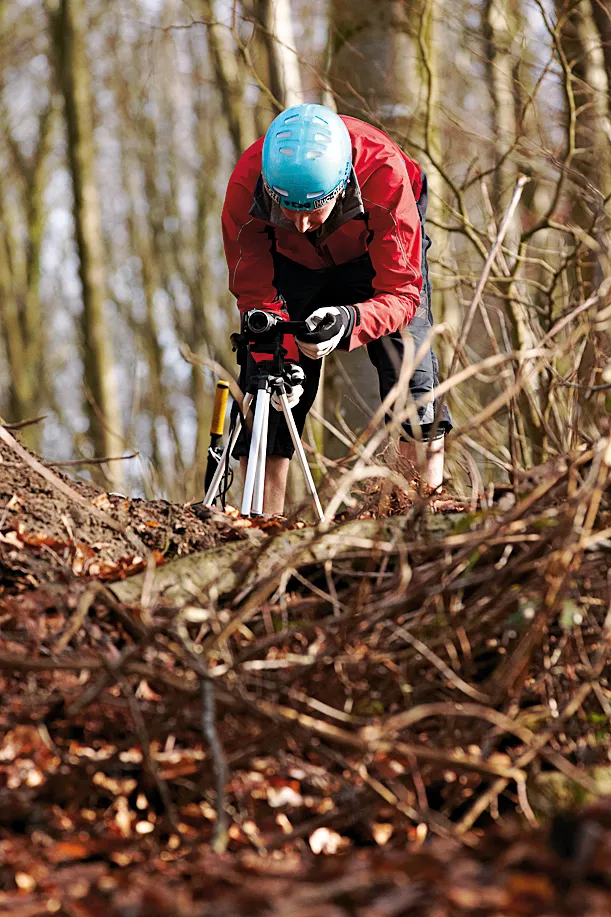
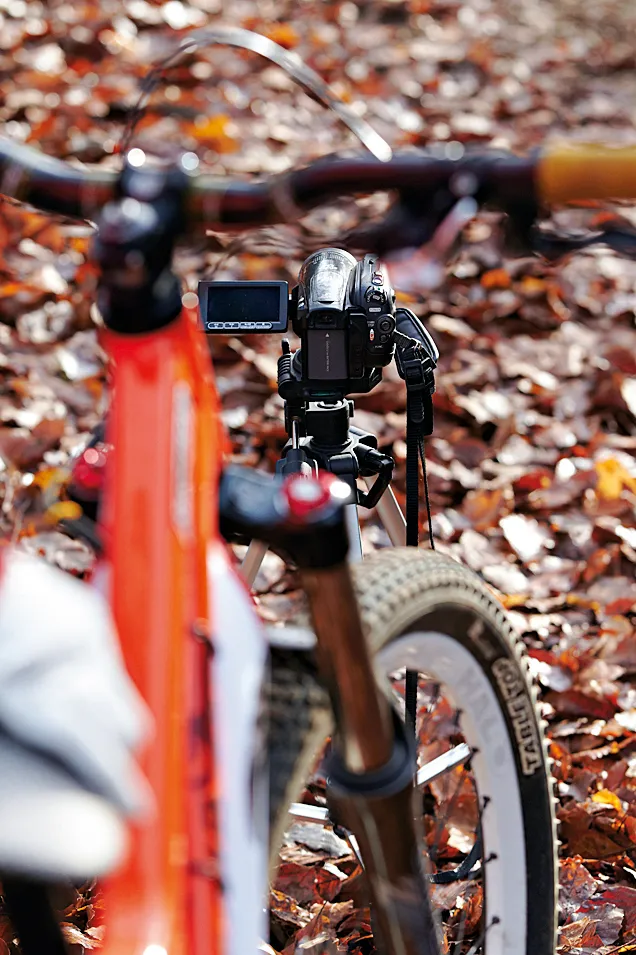
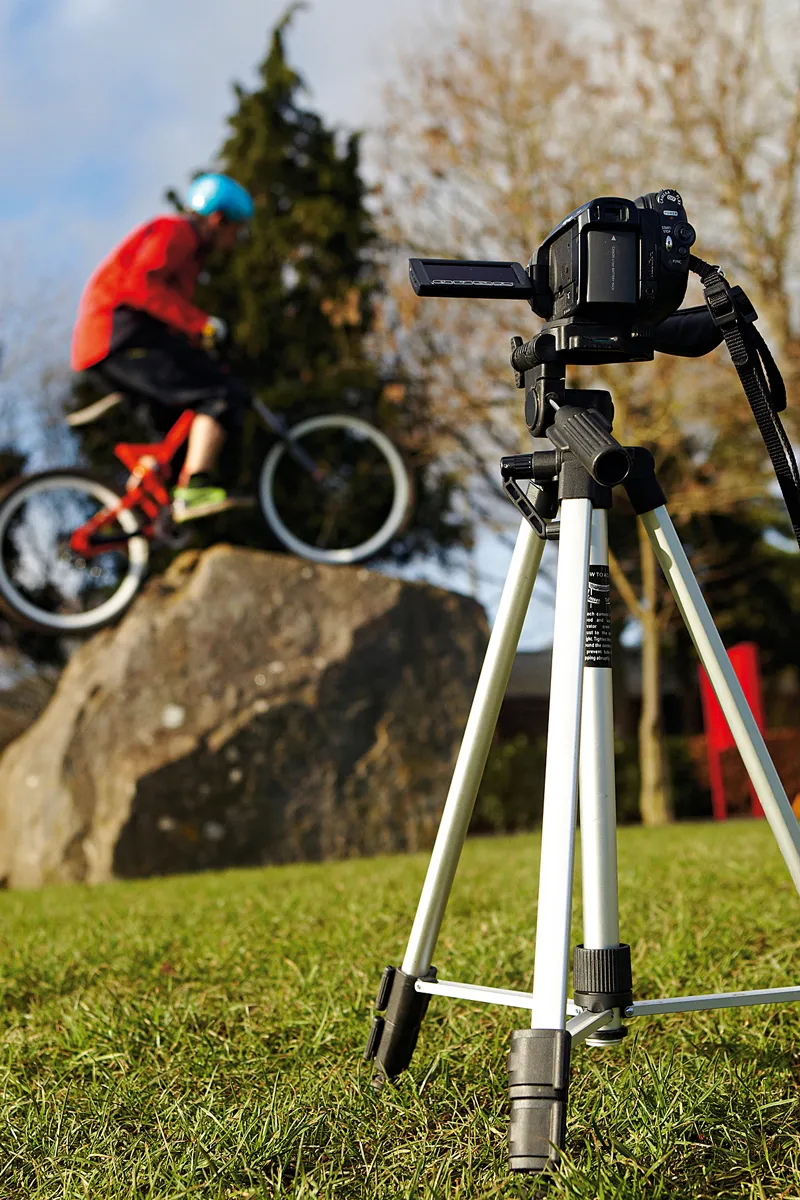
12 If you’re alone, use a trusty tripod. I like to use a fisheye lens too. This lets you get really close to the action and can create some cool effects.
13 Hit the intended line once and check the film straight away to make sure you’re in shot and it looks just as you imagined. If it doesn’t, try a different angle or lens.
14 If you’re filming with someone else, you can add movement, which brings a lot more to your movie. Tracking shots – where the person filming rides alongside you on a bike, or even a skateboard, or follows with a headcam – work really well.
15 Some people use dollies, which are sliding platforms that keep the camera really still, but add movement to the shot. The list of options is long and varied – you could even use ziplines, radio controlled helicopters and so on.
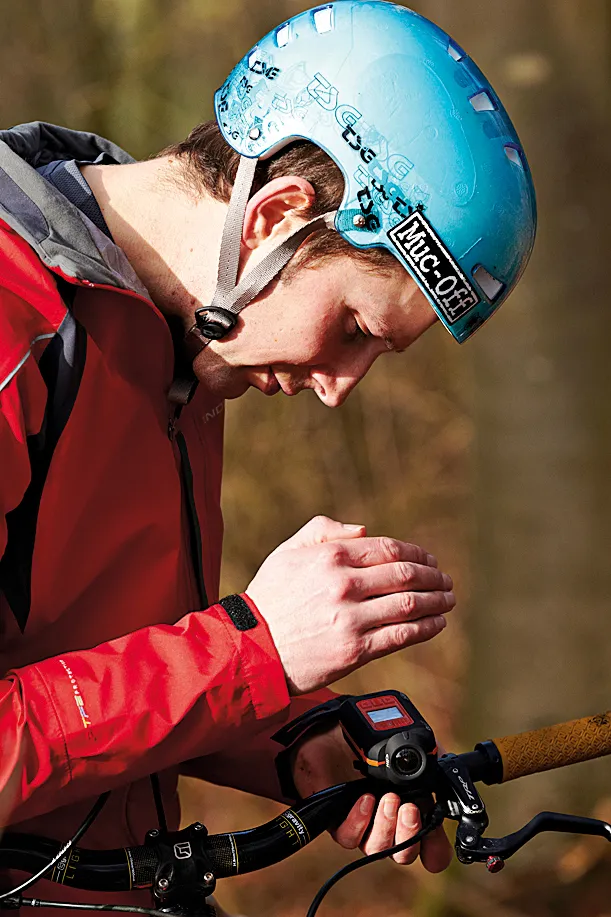
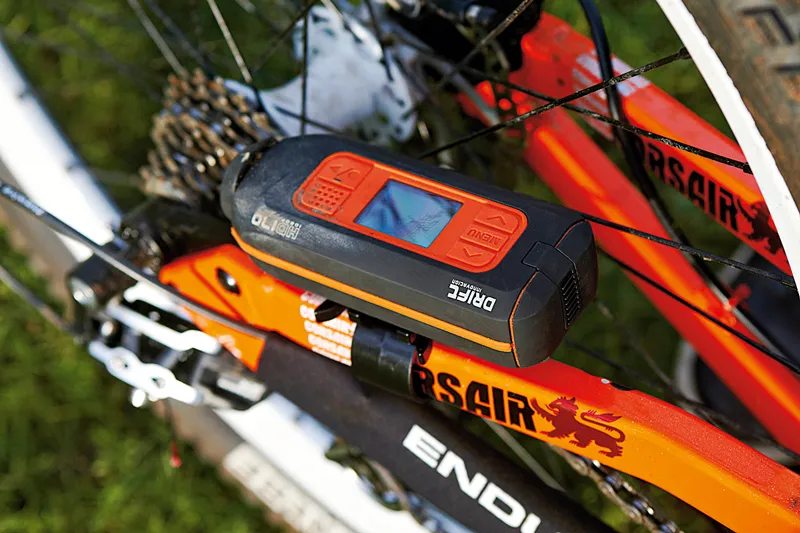
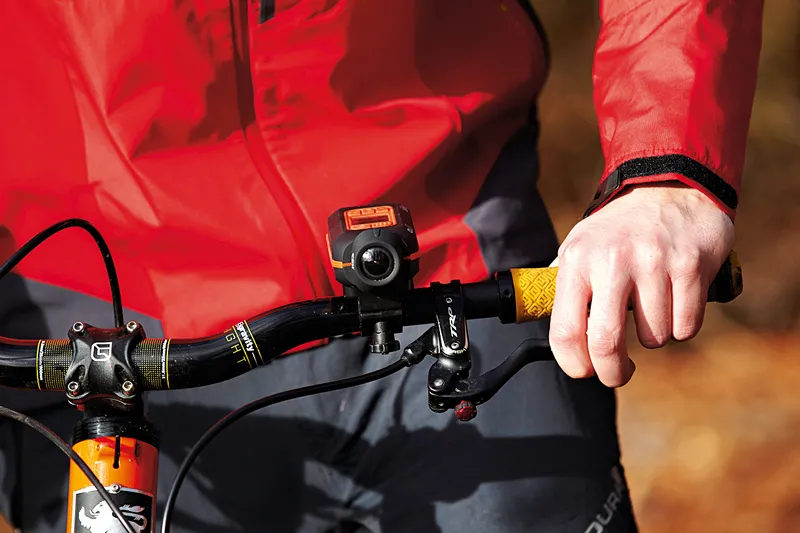
16 Headcams mounted on your helmet and parts of your bike can create great results too. There’s lots to experiment with, so keep filming until you’ve got plenty of shots to start editing with.
You can attach a camera to your bike for more unusual shots
The final edit
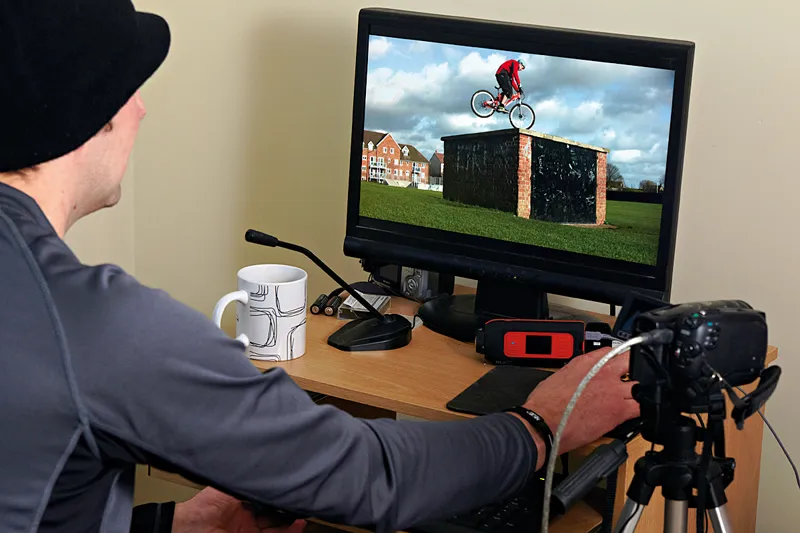
Shooting is only half the work. now you need to edit and promote it.
17 There’s lots of different editing software but most computers have a basic built-in editing program, so your best bet is to upload your footage there before you splash out on any fancy editing software. One of the most important things to consider is the space on your hard drive – video takes up huge amounts of memory!
18 Edit by putting yourself in the position of the viewer, imagining what you'd enjoy watching and what you wouldn’t. Don’t make any one clip too long – trim each jump or section back to the optimum time to keep it entertaining and then move on to the next clip.
19 Transitions between clips and titles keep things interesting, so feel free to add special effects where appropriate. Slow motion can be cool but use it sparingly, and don’t speed stuff up unnecessarily, especially not if it’s a downhill clip!
20 Music can make or break a video too, so be careful with the tunes you choose. Also, be aware of copyright issues with music – you can’t just use any track you like without paying or permission.
21 If you got help from anyone, credit them with a link to their website or put their logo somewhere in the video.
Shooting is only half the work. Now you need to edit and promote your video
Upload it
Once you’ve created your masterpiece, share it with the world via the internet.
22 One of the easiest sites to upload to is YouTube, which has step-by-step instructions. An average quality two-minute-long film takes around 30 minutes to upload. It works on most computers, iPhones and smartphones. Others, such as Vimeo, use Flash so some users won’t be able to watch the video. It can take longer to upload to a Flash site too.
23 If you’re shooting in High Definition, make sure you select the HD option on the upload screen, but remember that this option will take up more bandwidth.
24 YouTube is very strict about music and copyright, so bear this in mind.
Promote it
Marketing your video is important. Stick the vid – or links to it – online, anywhere you can.
25 The best places are social network sites such as Facebook and Twitter. If it gets retweeted and ‘liked’ by enough people, the link to the video will go everywhere.
26 Try bike websites such as BikeRadar. It’s your target audience, after all!
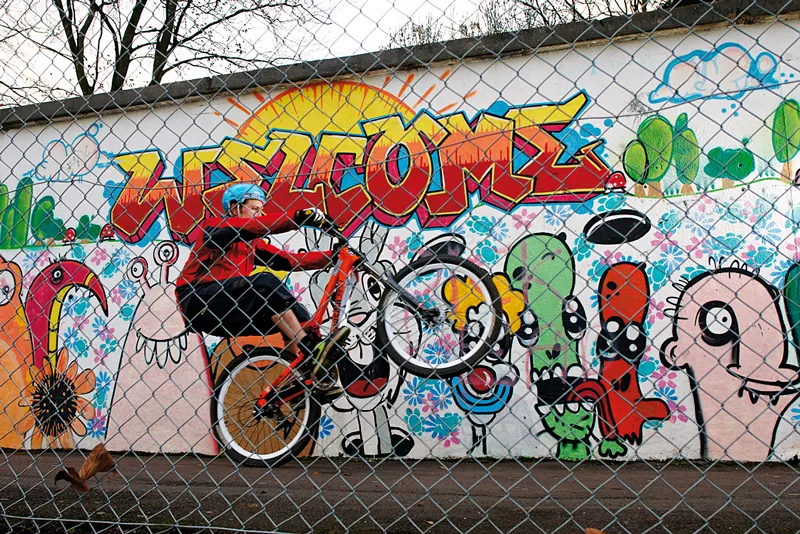
Hit a section a few times to make sure you get the best footage of it