If your wheels feel rough when you spin them, it's time to service the hubs on your bike.
Usually, the problem will be caused by wear in your bearings or by the ingress of water and grime. Wheel bearings also eventually wear out over time, which will introduce play to the hub, allowing the wheel to rock from side-to-side on its axle.
There are two types of bearings seen commonly in hubs – sealed (cartridge) bearings and non-sealed (cup and cone, or loose) bearings.
Regular servicing can extend their life, although they will eventually wear out to the point that they need to be replaced.
How to service bike hubs
How to service loose ball cup and cone hubs

You will need:
- Cone spanners – usually 15 and 17mm
- Grease
- A magnetic hex screwdriver or pick
- A chainwhip and cassette-removal tool
- Adjustable spanner
- Degreaser
- Paper cloth or clean rags
Step 1: Remove the locknuts

We are using a rear wheel, but the procedure is the same for a front wheel.
For the rear, first remove the cassette from the freehub body. If your bike has disc brakes, you'll also want to remove the disc brake rotor.
Undo the lock nut on the non-driveside by using a cone spanner to hold the cone and another to undo the nut. Remove the locking nut and spacer by hand.
It’s a good idea to take note of the order in which the locking nut and any spacers are removed to ease re-assembly later – we recommend taking a photo on your phone.
Hold the lock nut on the driveside with one spanner, then undo the non-driveside cone with the other and wind it off by hand. You should now be able to remove the axle from the hub.
Step 2: Remove and clean the bearings

Carefully remove the bearings from the race – the tip of a magnetic screwdriver will help you lift the bearings out.
You’ll now need to clean the bearings. Use a degreaser and some paper towel, making sure you fully clean away all the old grease before proceeding.
Take a close look at the bearings, the cups (which are pressed into the hub) and the cones. If there’s any sign of wear on them, they'll need replacing.
Note: The cups in Shimano, and many other clone hubs, are non-replaceable. If they have worn out, you will have to rebuild a new hub into your wheel. Campagnolo cups are replaceable.
Step 3: Re-grease the hub

Take some grease and apply a healthy dose to the bearing race in the hub.
You can now place the bearings into the grease, which will help hold them in place. Again, a magnetic screwdriver makes this job much easier.
When all of the bearings are in place, you can refit the axle and gently turn it to ensure they are installed correctly. Remove the axle then repeat the process on the other side.
Step 4: Refit the axle

Now return the axle to the freehub side. Press it against the bearings and rotate it to check it’s seated correctly. Refit the cone to the non-driveside of the axle and tighten it until it contacts the bearings. It doesn’t need to be very tight – finger-tight will do.
You can then spin the axle to make sure it rotates cleanly. Give the axle a little wiggle to ensure you have eliminated any play.
You may need to adjust the tightness of the cone to stop any play or drag – if it’s too tight the hub will not spin freely. Conversely, if it's too loose, there will be play in the axle.
This step takes a little trial and error, but don't rush it, because a poorly adjusted hub is likely to cause issues in the future.
Return the other nuts, spacers and seals to the non driveside of the axle, referring to your notes for which order they were removed in.
Then, while holding the cone in place, use the other spanner to tighten it against the locking nut. It’s important to check the axle still rotates freely at this point because it’s very easy to tighten the cone also during this procedure.
Step 5: Refit the cassette
Finally, refit the cassette to the freehub body and disc brake rotor (if applicable), replace the quick-release skewer and return to the bike.
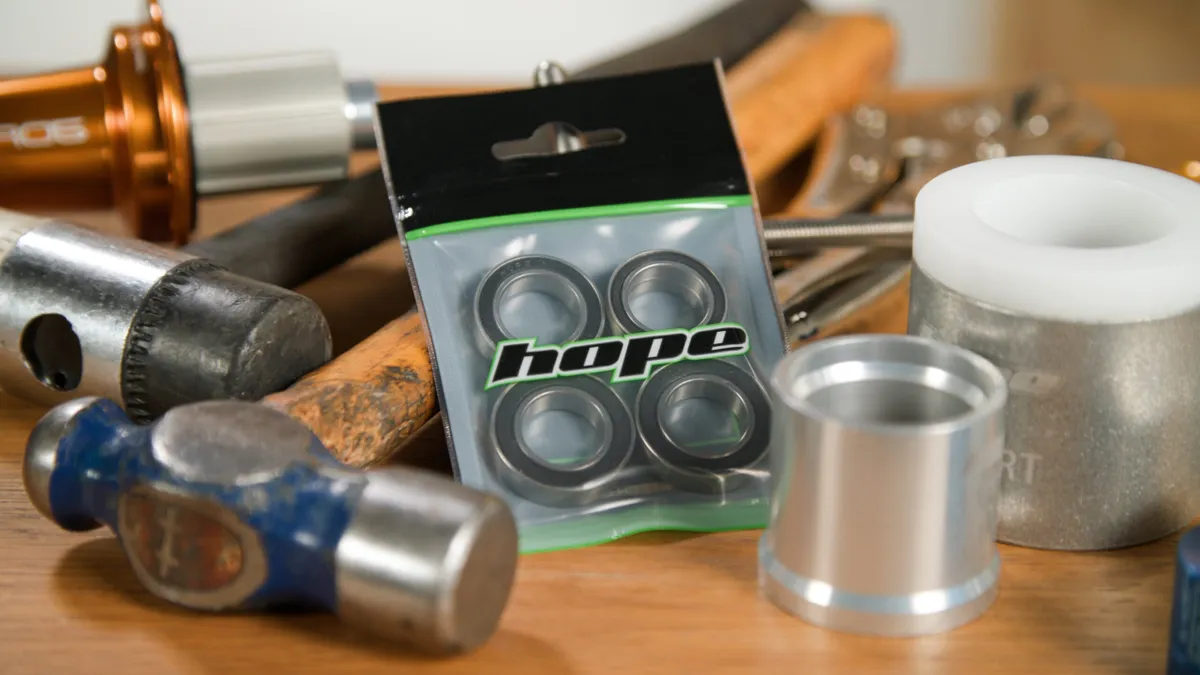
How to service sealed cartridge bearing hubs
You will need:
- Multi-sized cone spanners: 13, 14, 15 and 16mm (often but not always required)
- Allen keys
- Soft-faced mallet
- A bearing remover
- Suitable grease for the bearings
- Bearing press or equivalent to install the new bearings
Step 1: Remove the end caps
You'll first need to remove the end cap. On more modern hubs, these will either be removed by force or with an Allen key. There may also be a locknut that you’ll need to loosen or remove, too.
Either way, refer to your manufacturer first for exact instructions before attempting to remove it.
If the end cap removes by force, it's a good idea to stick the end cap in a vice if you have one and then pull up on the wheel.
Keep track of any washers and their positions that may sit behind the end cap and hub bearings.
Step 2: Remove the old bearings
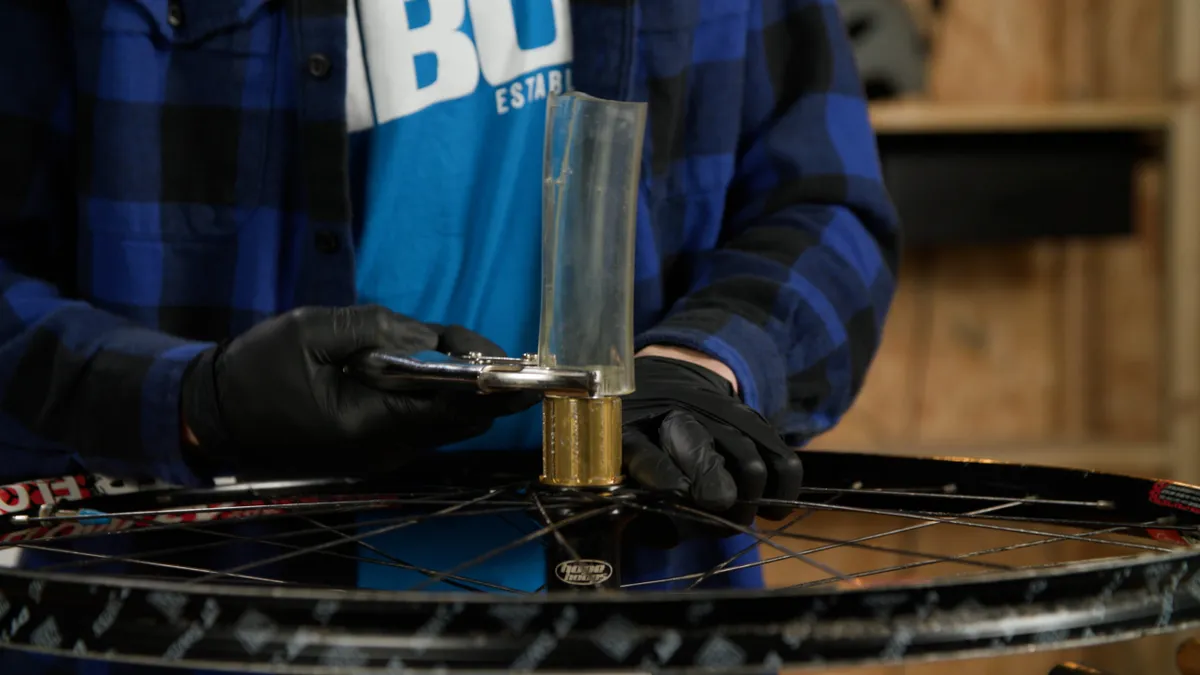
In order to remove the bearings, you’ll first need to support the hub in such a way that you won’t damage it. For example, you could use a delrin tube of the sort you can pick up (for a very reasonable price) from Hope.
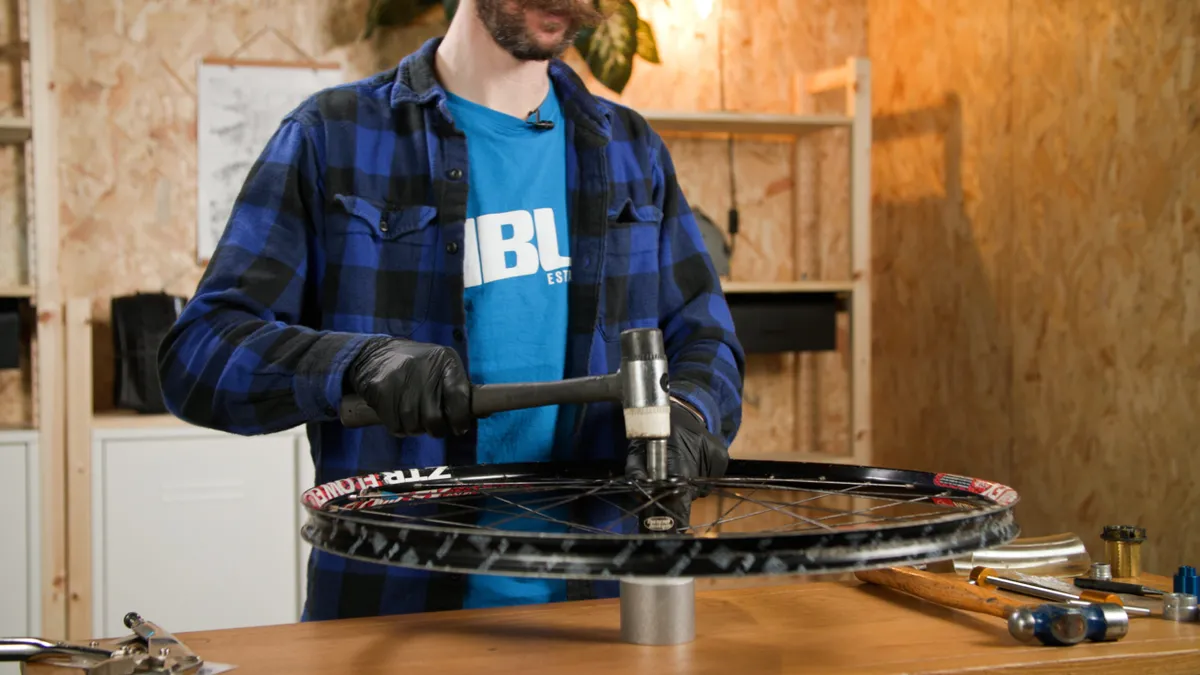
You’ll need to strike a few sharp blows to get the bearings out, so a rubber mallet probably won’t do; a resin mallet or a hardwood block with a lump hammer are much better at delivering the force necessary to dislodge it.
Step 3: Remove the other bearing
The next operation removes the bearing that's left behind.
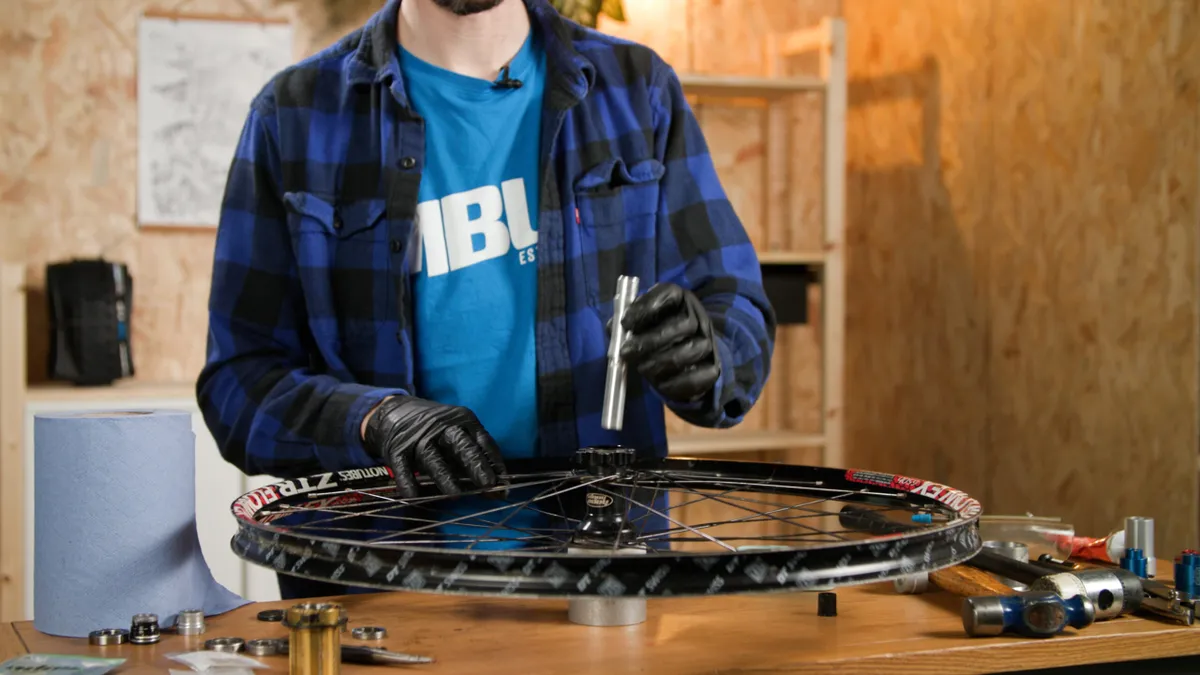
Flip the wheel over and position the hub with the bearing facing down. Make sure the hub is sufficiently supported by the flange and there’s room for the bearing to come out.
Carefully position either the axle or a suitable drift tool (an aluminium tube or even an old solid axle with a cone or nut threaded partially onto it will do) and knock the bearing out with a few sharp blows. Be aware that you might have to hit it pretty hard if it’s a tight fit.
Clean the whole hub with a suitable degreaser and a rag, including the hub flanges around the spoke anchor points – you don't want any debris to get into the bearing seat when refitting.
Inspect the flanges of the hubs, particularly around the spoke holes, for cracks or corrosion. You’ll need a new hub or wheel if cracks are spotted.
Now's also a good chance to inspect the condition of your freehub if you're working on a rear wheel and replace any bearings or pawls that might be worn.
Step 4: Press in the new bearings
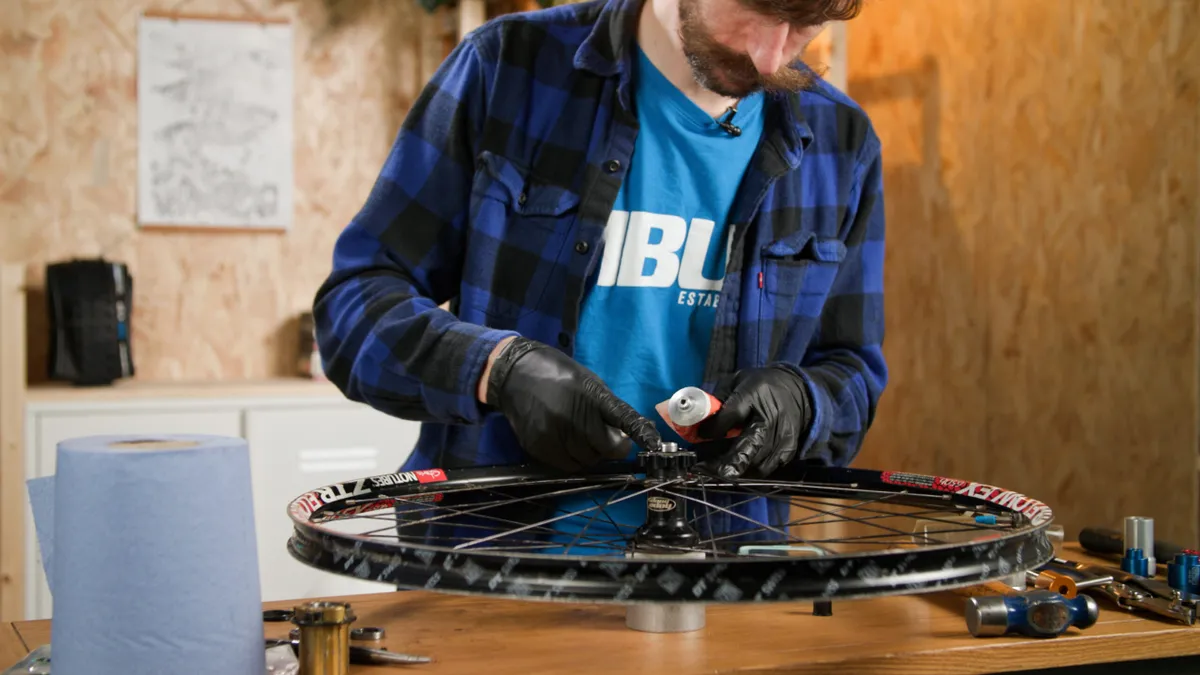
Spread a light coating of grease on the outside and inside of the new bearings on the inside of the hub shell and on the axle. If the grease is too thick between the bearing and the hub, it could prevent it from seating completely.
Some hub manufacturers may suggest you use a retaining compound, such as Loctite 641, or nothing at all – as always, refer back to your manufacturer for the correct advice.
The new bearing should only be driven using the outer race of the bearing as striking the inner race is likely to cause damage to the small ball bearings inside the cartridge.
Use the old bearing or a socket of exactly the same diameter to drive the new bearing in. Keep in mind that the bearing races are made of hardened steel and are therefore potentially brittle. Wear protective goggles and make sure the contact area between the drift edge and the outer race edge is maximised by being perfectly aligned. You’ll know the bearing is seated when the blows suddenly firm up.
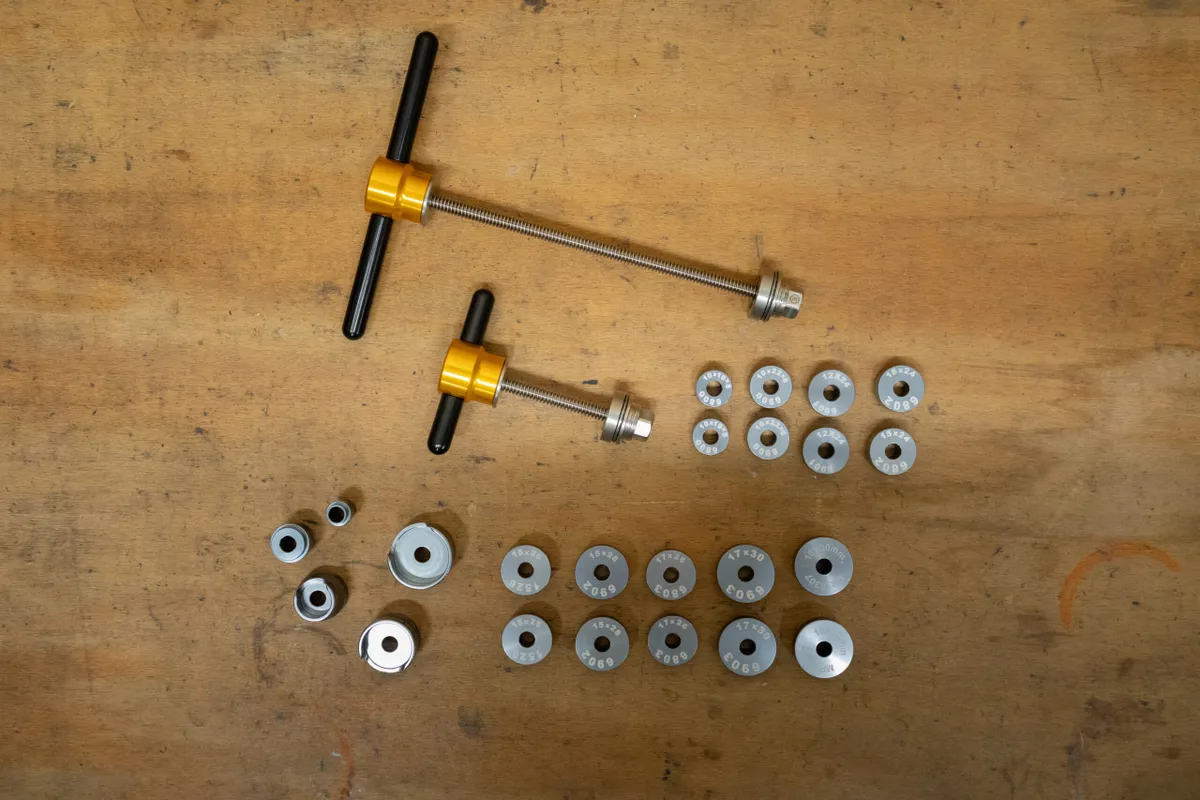
A bearing press is, by far, the best solution for this job, and is something well worth investing in.
Refit the axle, position the second bearing and then drive it in with a few blows.
Don’t allow the bearing to go in askew, because attempting to force it in if it’s badly out of line will only get it jammed and make it harder to install. It's also likely to create ridges that could prevent it from seating correctly, or could even damage the hub beyond repair.
Thread the dust caps back on with a little oil, then feel for that well earned, buttery smoothness.