Wrapping handlebar tape can be a tricky task, but our step-by-step guide will help you achieve a professional finish.
Replacing handlebar tape will breathe new life into the cockpit of your road or drop-handlebar gravel bike, whether it’s worn out or you want to try a new colour or style.
Ask mechanics the best way to wrap bar tape and you’ll get different answers on this hotly debated topic.
However, wrapping a drop handlebar needn't be stressful, and here are our tips for smart handlebar tape with minimal hassle.
How to wrap handlebar tape
Tools needed to replace handlebar tape
- New handlebar tape
- Bar end caps
- Scissors
- Electrical tape (or adhesive finishing tape supplied with your new bar tape)
1. Remove the old bar tape

Pull back the hood covers and undo the tape securing the bar tape onto the bar.
Remove the bar tape starting from the top. Clean the bar with a solvent, such as isopropyl alcohol.
Now is a good time to inspect the condition of the bar, particularly around the shifter clamps.

Check that the electrical tape holding your cables to the bar is still securing them effectively.
2. Add the ‘cheat strips’
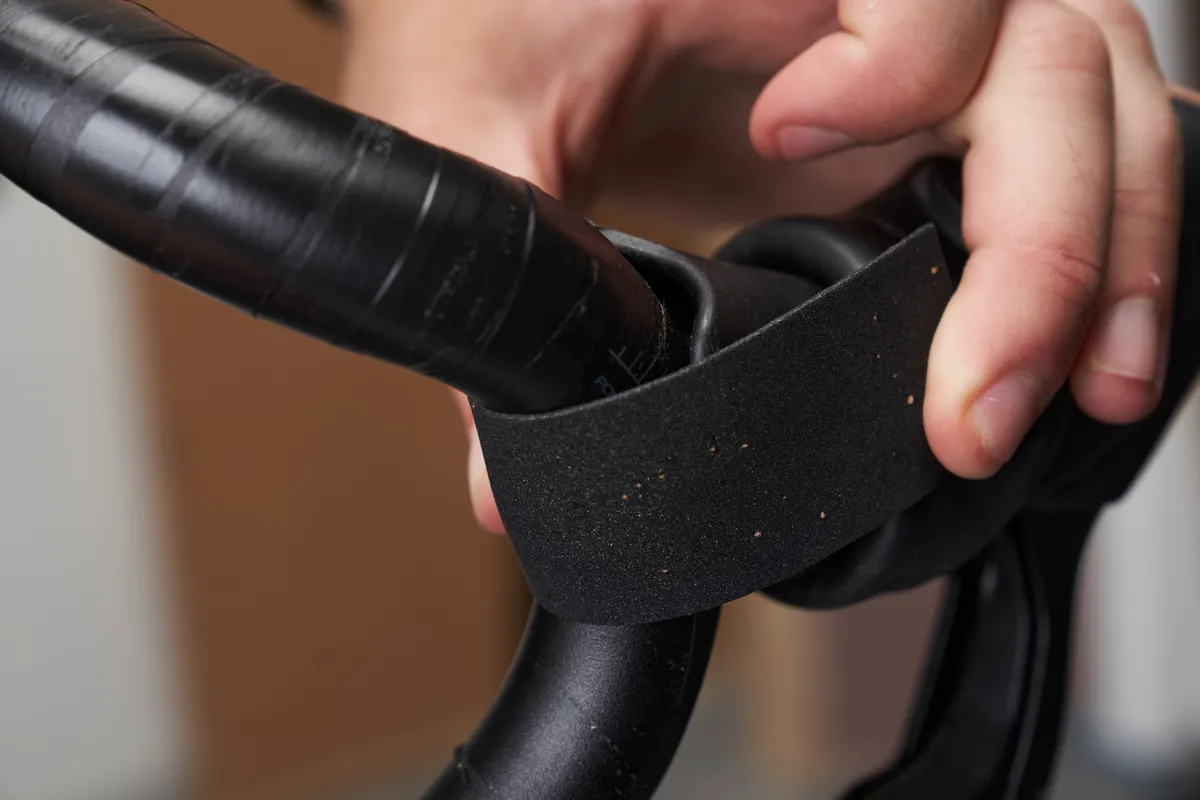
Most bar tape comes with two small sections of tape – sometimes called cheater strips – that are designed to hide the little gap left when you wrap around the shifters.
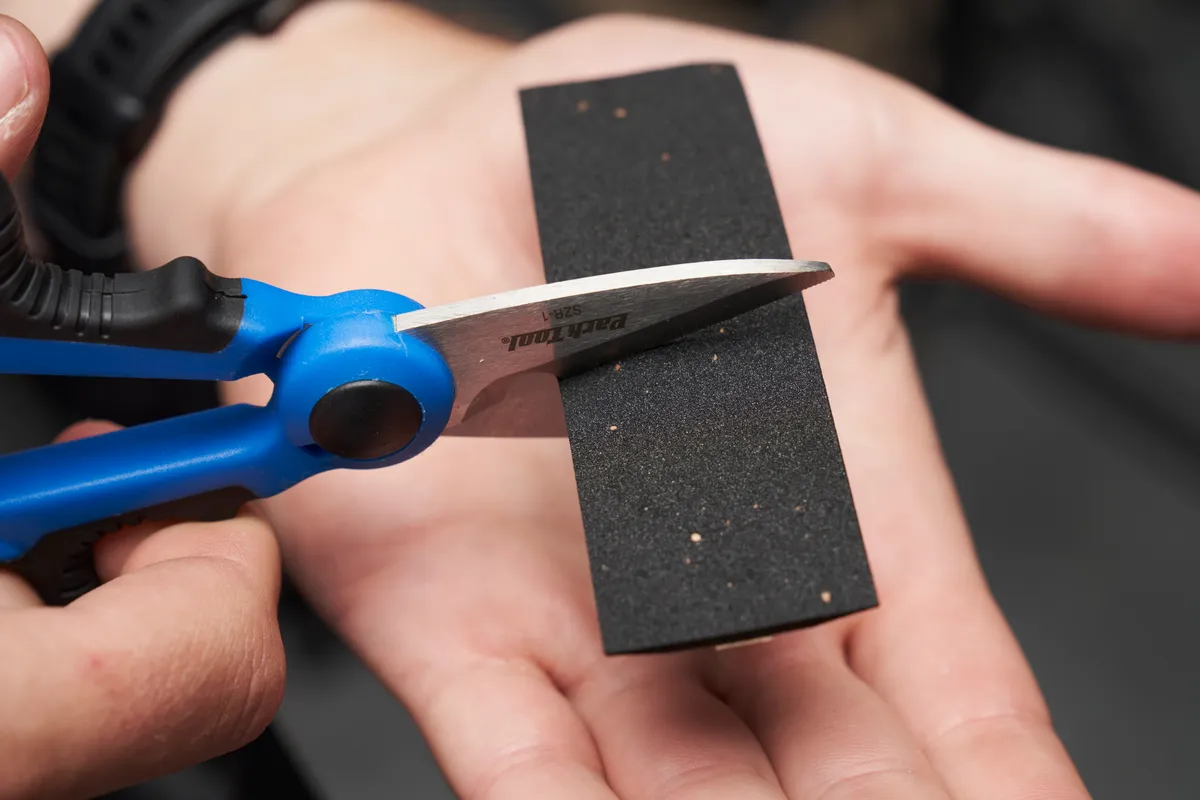
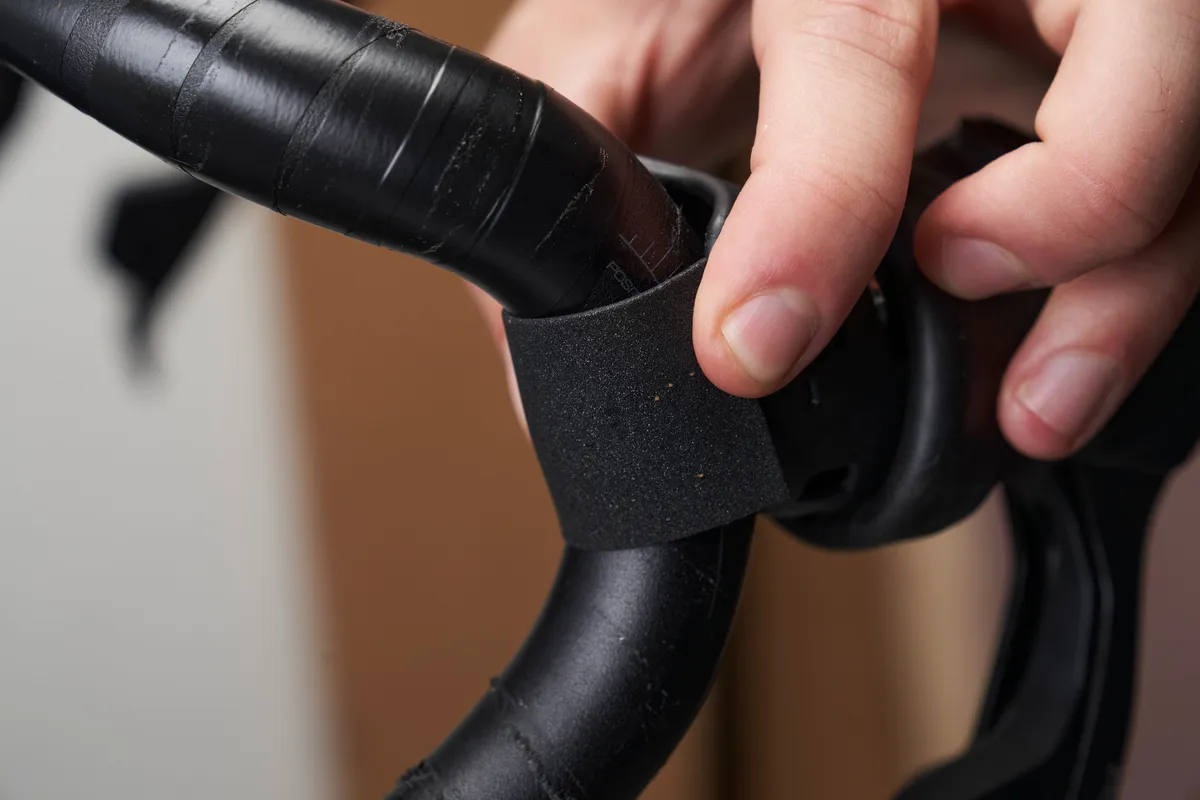
When using cheater strips, check the strip is cut to size before you start wrapping the bar tape. To check, place the strip behind the lever. It should just cover the clamp without extending onto the body of the lever. Carefully measure and cut down to length.
Keep the shortened strips within arm's reach for when you need them mid-wrap – we like to stick them loosely on the frame's top tube.
3. Begin wrapping the new bar tape

Before you start wrapping the new tape, there are a couple of points to note.
Begin wrapping from the bottom of the bar upwards, toward the hoods. If you wrap the bar the other way round, it won't be as durable as you'll be loosening it with your palms as you ride.
When wrapping the driveside of the bar, the tape should be wrapped in a clockwise orientation. The non-driveside should be wrapped anti-clockwise. It should be wrapped in this direction because, when you are riding on the drops, your weight will be naturally tightening the tape.

Starting at the bottom of the drops, keep firm tension on the tape. Wrap moving out from the bike. Stuff the end of tape inside the the bar and trapit with the bar-end plug before beginning your wrap. This will help keep the tape locked in place as you fit it, and whilst you ride.
Make sure to keep an even gap as you wrap – if the other side is already wrapped, keep referring to it to make sure they match. Most tape has chamfered edges, to allow a given level of overlap without adding thickness, but at the sharpest curves you’ll have to vary the overlap, making the wrap thicker on the inside of the curve.
4. Install the bar-end plug

Once you've wrapped three or four rotations, secure the tape and install the bar-end plug. It's best to install the bar-end plug now rather than at the very end to make sure it installs neatly.

One tip is you can use a pin spanner to hold the tape while inserting the bar-end plug. If you don't have one, you can also use a pair of pliers.
Once the bar plug is installed, continue wrapping the tape until you arrive at the shifter.
5. Wrap around the hoods

Now that you've arrived at the lever area, there are a couple of different routes you can take.
You could simply extend the wrap, but that will likely result in a gap, especially if you're not using a cheater strip. Others prefer to wrap the tape around the shifter in a figure-of-eight to ensure full coverage, but this can translate into excess bulk.
We like to wrap the tape so it covers the underside of the shifter before swinging around the inside curve of the bar and up and over the top face of the lever hood.
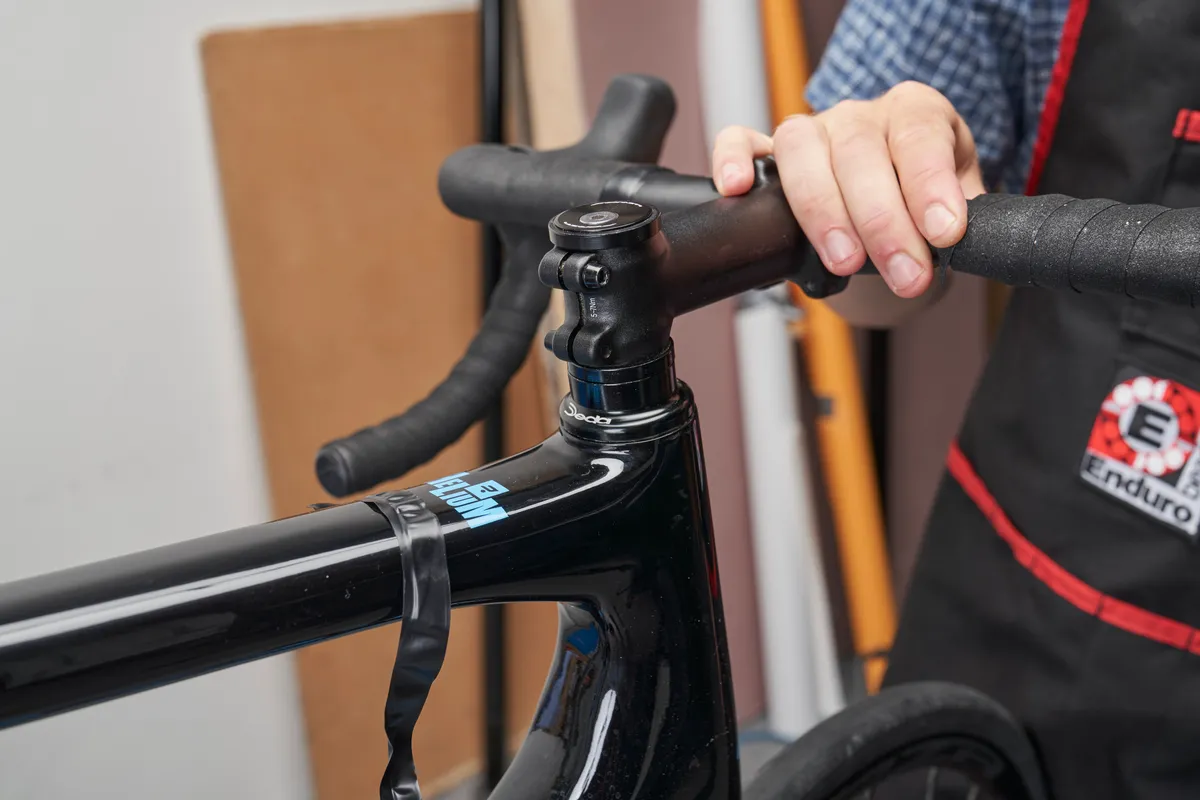
6. Wrap the top of the bar
Once you have wrapped around the lever area, continue to wrap the tape along the top of the handlebar.
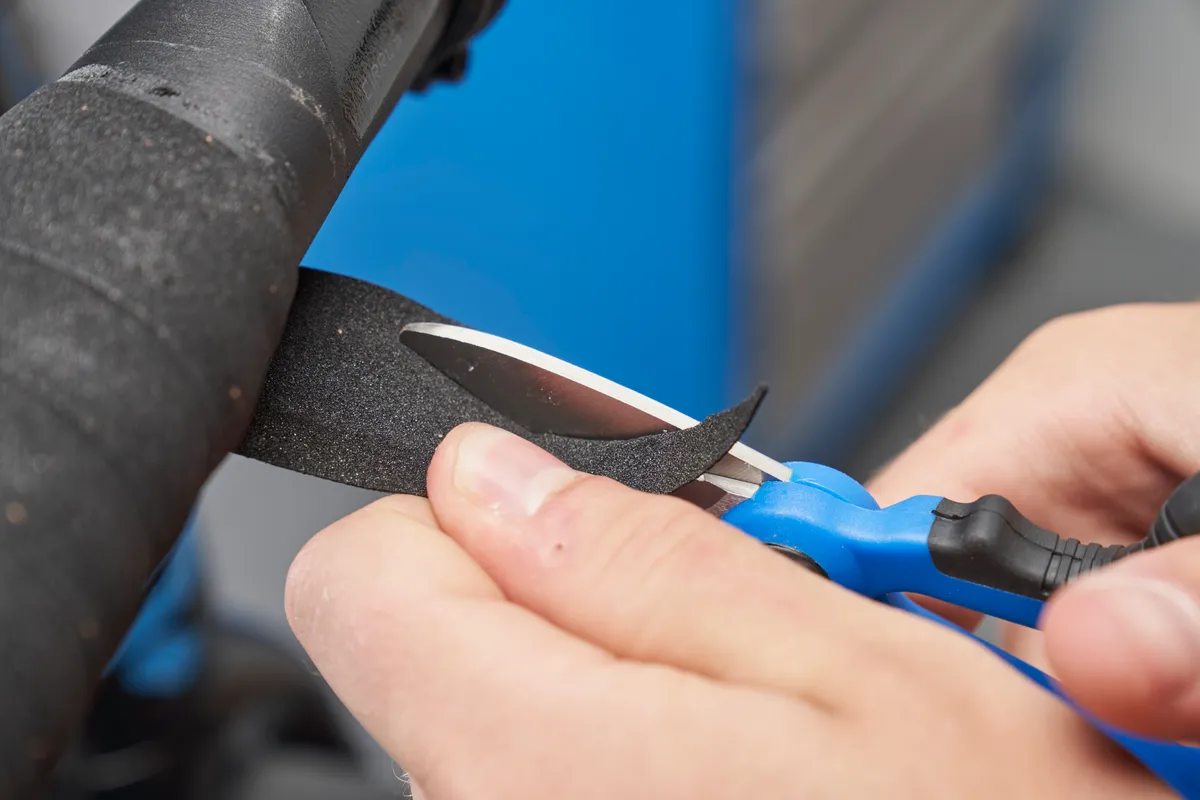
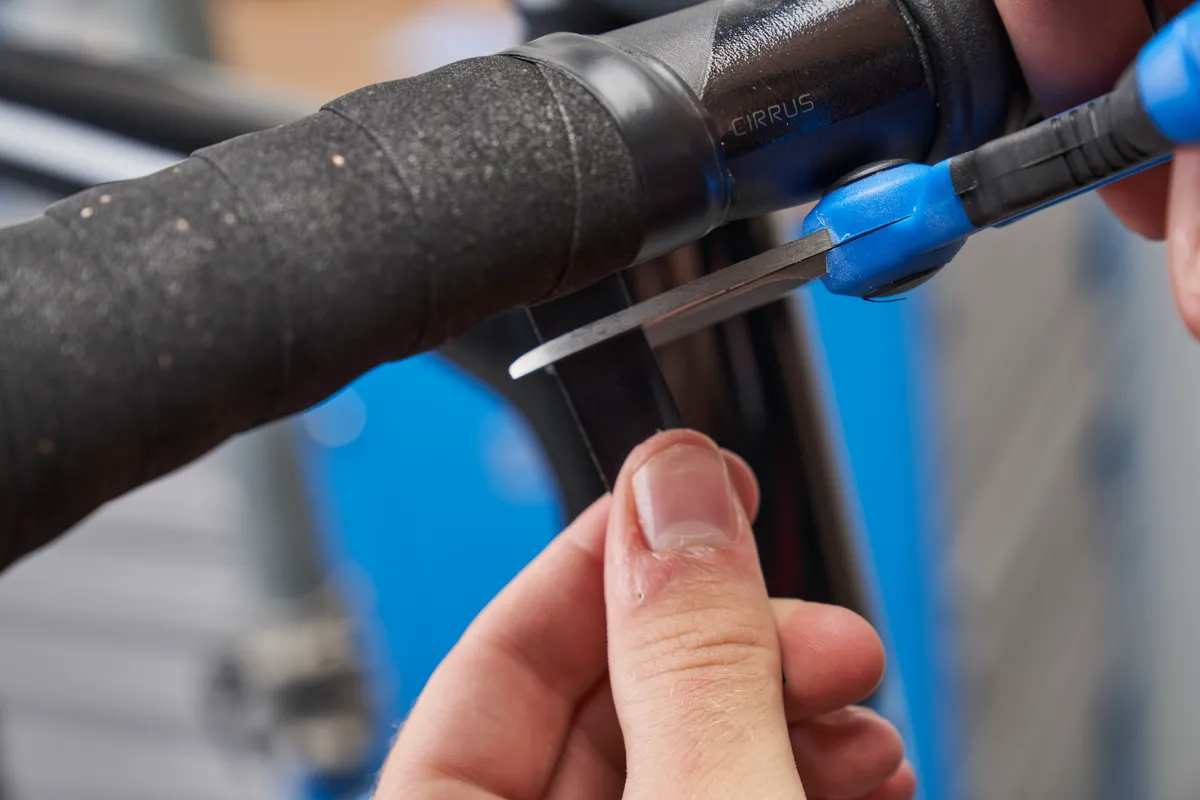
7. Cut the end of the bar tape
Work out how far from the stem you want the wrap to finish, taking into account any logos that may be on the handlebar. Too close to the stem may look unsightly and cause awkward cable routing.
Aero handlebars typically specify a finishing point for any bar tape.
Once your finishing point is decided, cut the end of the tape to a point (not square). This is because you are aiming to line up the edge of the tape square around the handlebar - not continuing the spiral you’ve been making.
8. Secure in place
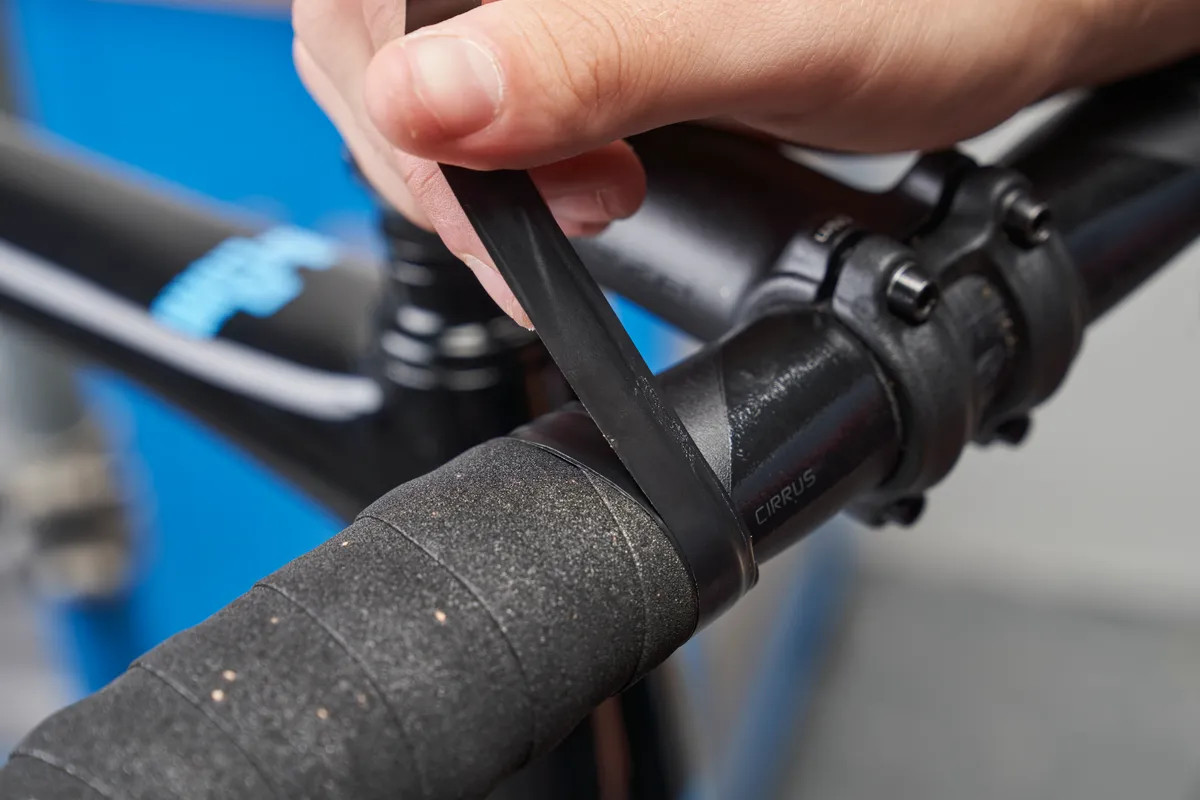
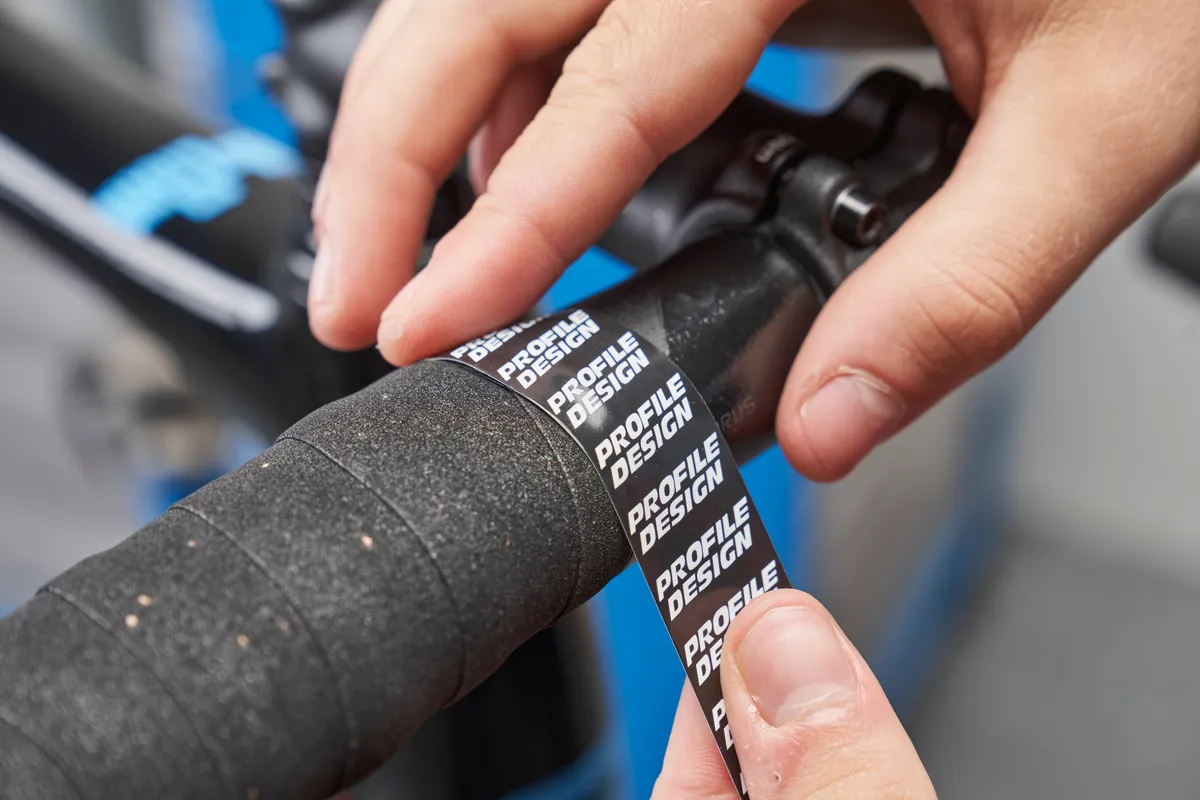
Use electrical tape or the finishing strip included with the bar tape to secure it in place, so that it won’t come loose.
Although many tapes come with specific finishing pieces, we'd still recommend using electrical tape and then installing the finishing piece over it, for extra security.
What bar tape should you buy?
There are plenty of bar tapes on the market, made from different materials and of varying thickness.
Our guide to the best handlebar tape rounds up our favourites, as reviewed by our test team, and explains all you need to know about bar tape.
SQUIRREL_PLAYLIST_10156853
How often should you replace handlebar tape?
We'd recommend replacing your handlebar tape once or twice a year if you're riding frequently.
If your bike sees regular use on a turbo trainer, it’s worth checking the condition of the bar fairly regularly. Stories of bars corroding under a mix of sweat, spilt energy drink and dribble are not just urban myths.
Given they're exposed once the tape is removed, you may want to consider timing the job with when you replace your bike's gear and brake cables.
Can you reuse bar tape?
Yes, you can reuse bar tape, saving you money and reducing waste in the process.
However, most bar tape has an adhesive backing, which can become less sticky over time. If your tape has lost its 'stick', we'd advise you replace it to avoid the tape slipping on the bar.
You may also want to replace your tape rather than reusing it if it's ripped, worn or contaminated.