
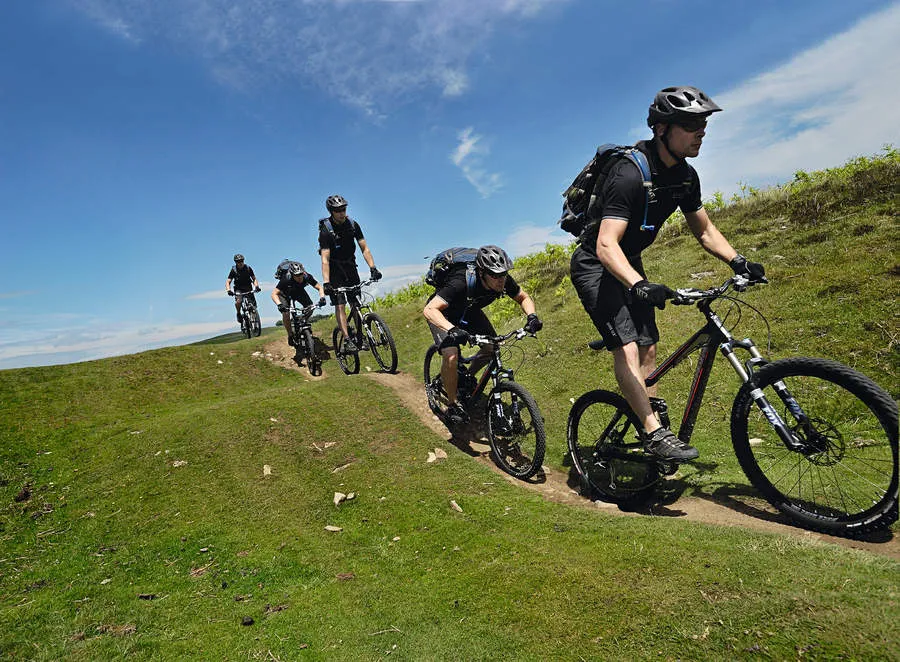


A valuable but often overlooked technique, pumping can vastly improve your riding technique and overall speed on the trail. Here are five reasons why you should get pumping.
Simply put, pumping is the act of pushing the bike into the trail in some way as you ride to tap into its latent energy. Whether you’re pushing the bike down, forwards or into the side of a turn – it’s all pump. The action of pushing your bike can be done through hands, feet or both.
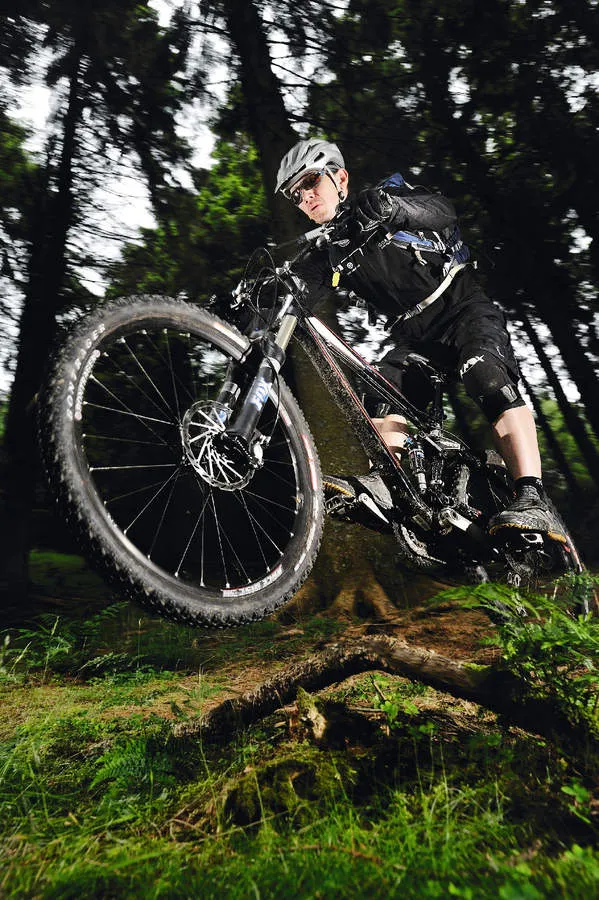
1. Pumping allows braking with force
The most straightforward way to use pump is to improve your braking. If you can brake hard and fast with confidence then you can ride faster into every turn, or into the entry to a tricky section of trail.
- As you ride along, stand up with cranks level and weight centred
- Drop your heels and thrust your bodyweight down through your feet as you squeeze both levers
The downward force will flatten the tyres and compress the forks and rear shock, giving extra grip and allowing you to brake harder before the wheels lock up. By dropping the heels you’ll maintain good body position as the bikes decelerates hard – absorbing forces through the feet rather than the handlebars.
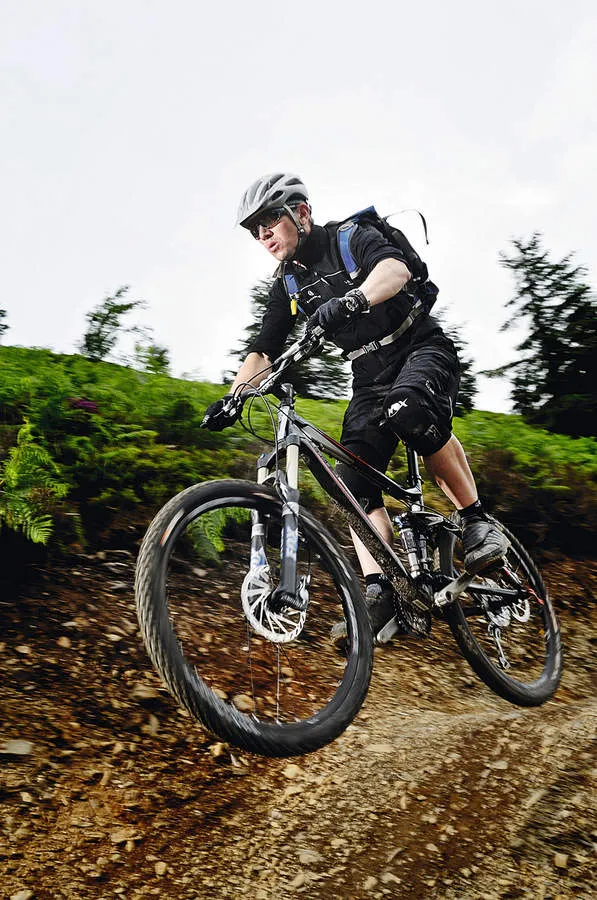
2. Pumping produces free speed
By pumping on the downside of every bump or slope you can generate huge amounts of acceleration without even pedalling.
The science is simple. If you drop a ball onto a plank of wood, and hold that wood at an angle, the ball will bounce off forwards. If you then throw the ball downwards with extra force it’ll shoot off forwards even faster.
Apply this to the bike, and think about what happens to the energy if you thrust the bike downwards on the downhill face of a slope. With a rush of sound from the tyres you’ll feel the bike kick forwards, and that’s basically ‘free’ speed. Make sure you are central on the bike so you can thrust down hard and maintain good control as it kicks forwards, though.
- Line of sight: Approach with head and body high so you can plan your line of attack as you see the first lip
- Feel the forks: Push hard down through the fork as the front wheel drops in to the first slope, thrusting the bike forwards
- Upwardly mobile: Extend your body fully after pumping hard and rise up to get the best view of the next section
- Crunch time: Crouching low as you come over the edge gives maximum room for a powerful extension of arms and legs
- Pedal off: Ride away at speed after a final hard pump, but remain centred over the bike as it speeds down the trail
Practice on a flat dirt or gravel track with each brake separately, then combine the two. This will let you see how much force you can put through each one before you skid. In a straight line your stopping force comes mostly from the front brake, so good footwork is essential if you want to stay balanced.
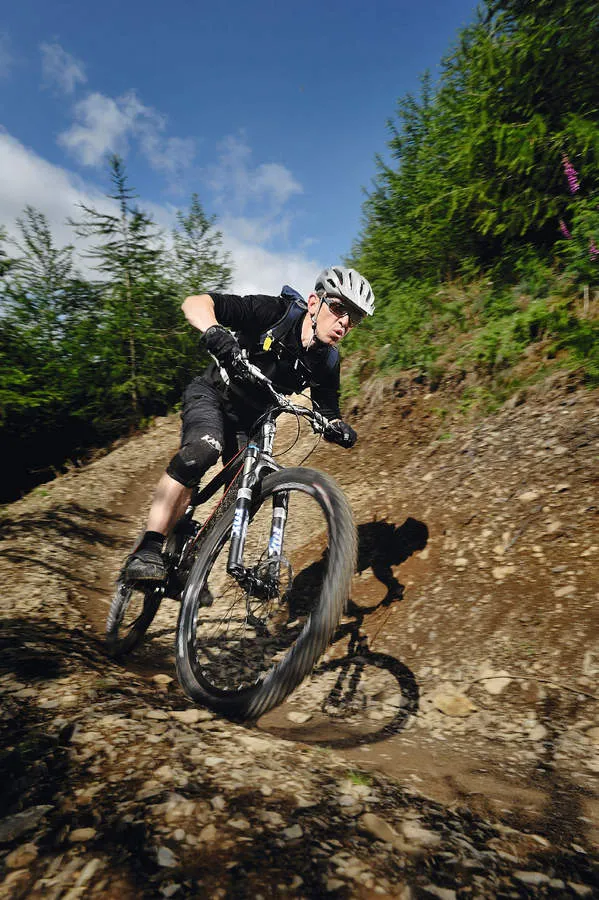
3. Pumping through turns increases speed, grip and all-round stability
Twisting singletrack takes on a whole new life when you learn to pump every turn. The benefits come from a combination of two elements – increased grip and increased speed.
You need to find a part of the turn with something to push against, some kind of berm or banking that will help bring you round the corner. It doesn’t have to be a full berm though – a rut or a thin lip on the edge of the trail will do the same job. As you turn and your wheels bite into the slope, push down and into the corner through your hands and feet. The act of compression will increase your grip in the turn, and the pushing force will ping your bike out of the turn and down the trail with extra speed.
- Stay flexed: Keep your elbows flexed and your body low to allow for good pump as the turn progresses
- Flat feet: Keep your feet level with heels down on gentle turns like this, to give good stability at high speed on loose terrain
- Eyes up: Look through the corner to the exit and beyond for greater speed and better handling right through the turn
- Push through: Compress your front tyre and forks by pumping through the arms, generating huge grip as well as acceleration as the corner progresses
4. Pumped manuals allow you to clear obstacles with ease
The pumped manual is simple, but it may feel very odd at first. As you roll along with body centred over the bike simply push the bike forwards in front of you, sharply. This sudden burst of acceleration will lighten the front wheel and make it lift up slightly. And, by pushing, you increase rear tyre grip and leave your body flexed and ready for the front wheel to come down.
To turn this into a big manual, just make sure your heels are dropped, and as you push forwards with your hands also give a thrust forwards with your feet. In effect, you are rotating the bike around your body. By holding the bars it can’t disappear in front of you, so as you push with your feet, the front wheel only has one place to go, and that’s up!
For many riders it’s very hard to lose the temptation to simply tug up on the bars. A good idea is to use a chunky stick and make it a target – not to lift over but to literally push into.
- Pumped manual: With wrists and elbows low you can pump forwards smoothly with the front of the bike, raising the front wheel cleanly over the root
- Up and over: Obstacles can be cleared with almost no effort and no disruption to body position through a quick, smooth pumped manual
- Extra lift: Push forwards through both feet to generate extra lift as the front wheel clears the obstacle
- Chin up: Don’t look down, look forwards. Dropping your head to check you’ve cleared and obstacle will only slam your front wheel to the ground, so focus ahead
The pumped manual is ideal for riding drops, but also for many other parts of the trail:
- To clear small roots, rocks and ruts then you can pump gently to just clear them, only interrupting your pedalling for a split second.
- For a jumble of roots that lasts for a metre or two, simply pump into – rather than over – the first one. This pushes the front wheel high into the air, letting it clear the rest and thereby avoid being thrown off-line. This is also the start of the bunny hop – once you can push the front wheel into the air quickly and easily then a good hop technique is not hard to master.
Pump to jump
Getting big air is just an extension of the pumped manual. Just like pumping for free speed, we’re pushing into a slope and so the bike pings off it in the direction we want. But this time we’re pushing into an upslope, which means we’re firing the bike into the air with all that pumping force.
As you hit the ramp or tabletop simply push the bike forwards and down into it. This sudden kick of energy sends the bike into the air, and if you pump hard through your feet as well as your hands then you can get amazing height off even the smallest lip. It’s best to find one small tabletop to practice on and session it for as long as you can, trying different speeds and different amounts of pump from both hands and feet. This is the best way to learn how to control the force you put into the bike, and how much you need for the lift you want.
5. Pumping opportunities are everywhere
Even when you’re already heading downhill you should scan the trail for pumping opportunities
- Tyre contact: Front wheel traction is vital, especially if you need to shift your weight back to balance, so run the fattest, grippiest tyres you can find
- Feet first: Good footwork with heels down guarantees that your feet will stay on the pedals, even over rough terrain
- Look ahead: Always focus as far ahead down the trail as possible, allowing peripheral vision to pick up pumping opportunities as they draw near
Top tips for pumping
Stay flexible: Ride with plenty of flex in your elbows and knees, using your arms and legs to pump the bike but also to absorb trail impacts. Flexing and moving your limbs helps to keep good tyre contact with the ground and to move your body smoothly through the trail.

Jump more: Once you’ve learnt to jump by pumping into the face of a tabletop, look for every lip or slight incline and see if you can jump off it. If you ride a little slower than normal on descents then you’ll have time to spot these opportunities and set yourself up for a big pump and big air.
Setup tips for jumping and pumping
Saddles and pedals: Anything that involves getting airborne or pushing your limits is potentially hazardous, so do all you can to minimise risk when you’re learning. Consider swapping to flat pedals so you can exit the bike easily – and improve your technique if you’ve been hopping by tugging up on clipless pedals for years.
Also look at how far you can drop your saddle and, if needed, take a hacksaw to the seat post – you only need the minimum insert amount when you have the saddle at your full cross-country riding height. Any more will make it harder to get the saddle down out of the way as you practice. These adjustments should give you the confidence to get some serious air.
Suspension choices: Mountain bike suspension is designed to absorb bumping forces, but that means it will also absorb your pumping forces. Learning to manual or jump on a hardtail can be much easier, as all of the pumping force goes through the bike and into the trail, pushing you higher more easily.
However, if you’re used to a full suspension bike and you want the confidence it gives on a sketchy landing, try running the rear shock at a slightly higher pressure so it doesn’t compress as quickly or as easily. At the same time, make sure the rebound is relatively slow when learning to jump so it doesn’t pogo back at you after a hard landing.
Meet our coaching expert – Chris Ford
Chris founded his company, CycleActive, in 1996 and set out to create a professional training and travel operation. He was the first to employ only qualified, professional instructors and now his team leads the way in delivering skills coaching.
Recently Chris has been working closely with the CTC on its mountain bike instruction programme, using fundamental elements of this as part of his feature. Combined with his own research on vision in mountain biking, his level 4 coach status as an SMBLA tutor, expedition and night riding instructor, this really sets him apart as a coach — making him the perfect author for BikeRadar's technique pieces.
To find out about coaching or group courses with Chris and his team, visit www.cycleactive.co.uk.
