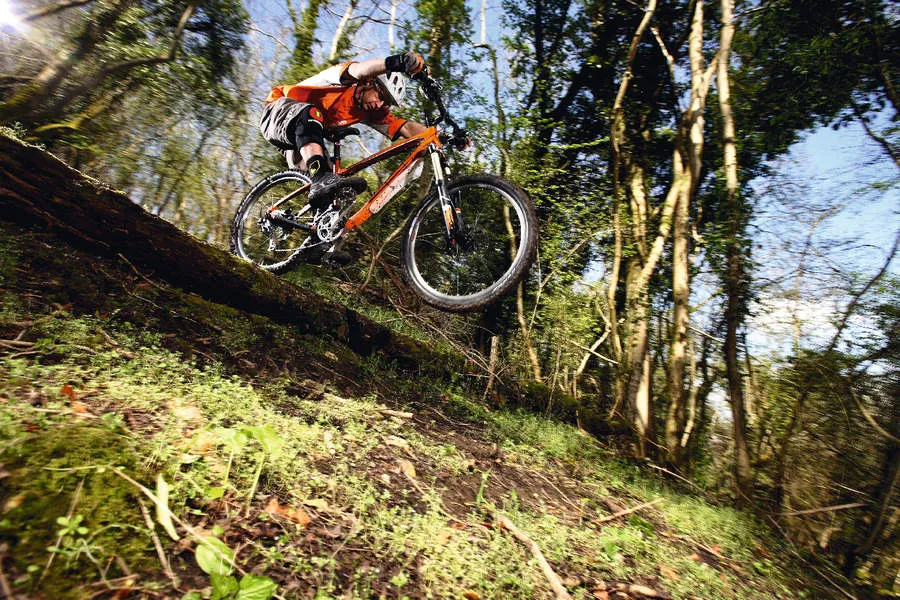

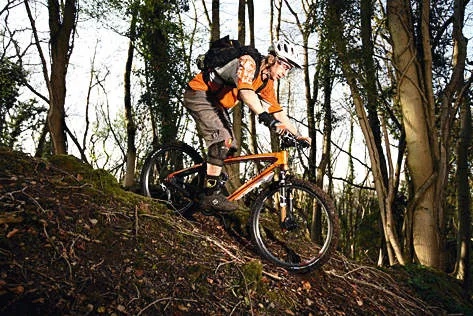

These days a freeride bike can be ridden all day for cross country and also tackle some of the roughest terrain. Follow these simple pointers and more advanced techniques to discover how you can benefit from using a freeride bike.
Use your weight to maintain control
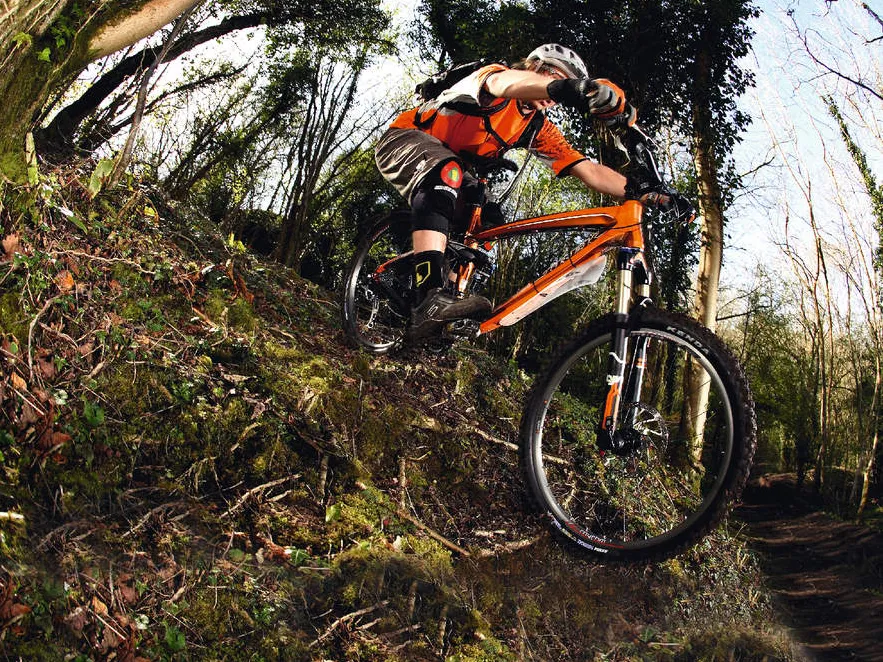
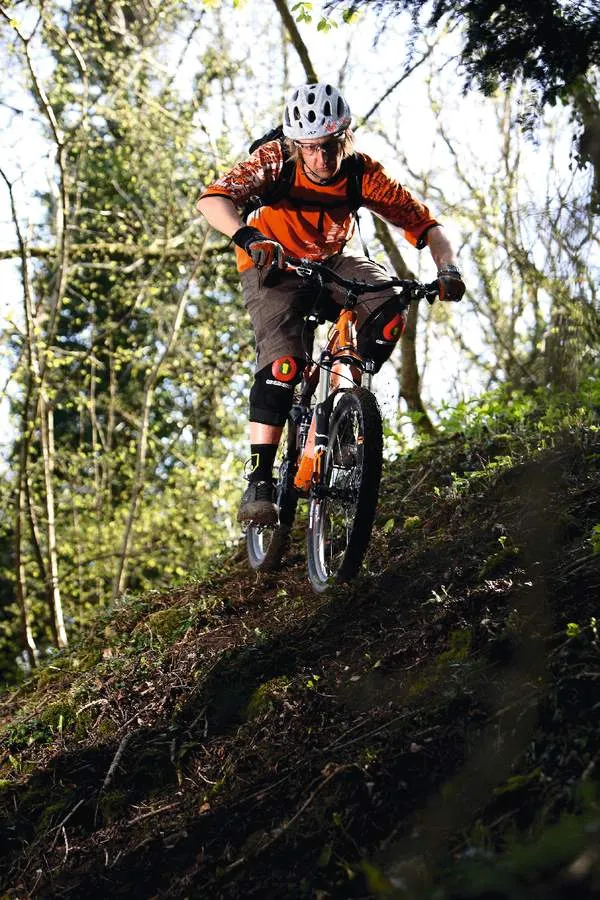
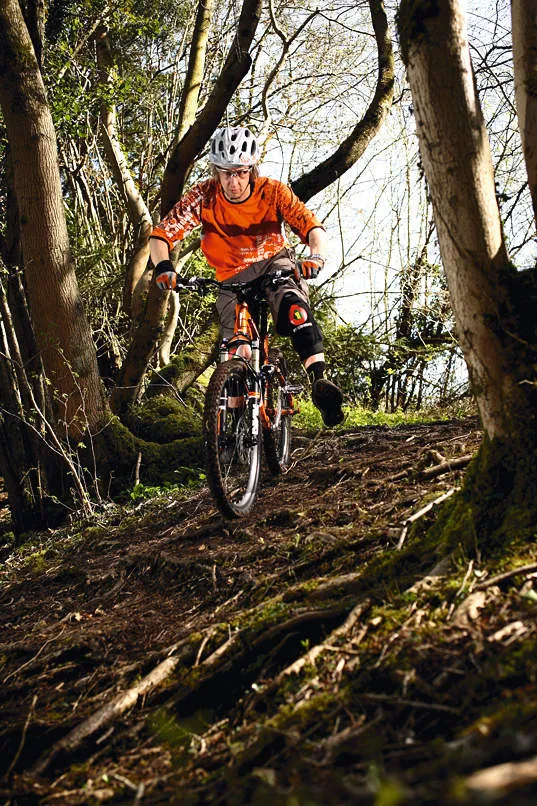
On steep terrain you need to keep your weight back as far as possible – it keeps you steady and prevents you from vaulting over the handlebars. But you need to lean back less than you think.
Hovering just behind the saddle will allow you to support your body weight on your legs properly, while maintaining full use of your arms for steering. The weight on your front wheel will give you a surprising amount of grip – but take it steady until you’ve discovered your limits.
Keep the rear wheel planted
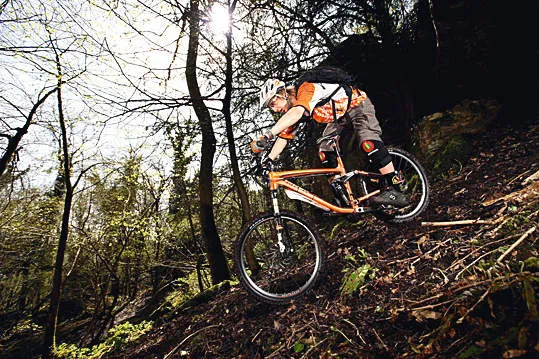
When you need to roll over the edge of something very steep, try to control your speed – you’ll accelerate quicker than you want to in this position because the front wheel is unweighted.
If you’re tackling really steep terrain, avoid taking a foot off the pedals because you’ll find it hard to regain control.
How to maintain traction while braking
Braking on steep terrain is difficult, and in order for it to be effective, you must maintain traction. There are two types of braking that allow you to do this – dragging and hard braking.
When dragging – or squeezing – the brake levers, try not to lock the wheel or you’ll clog the rear tyre. Keeping it clear will improve grip quite a lot.
For hard braking, you need to use the bike’s suspension and identify areas before and after hazards – such as roots – where you lose speed naturally. When you spot a suitable area, pull the brakes and squash the bike into the ground, compressing the suspension. This forces the tyres into the ground for extra traction and allows you to lose a lot of speed quickly.
How to turn on steep terrain
If you come across a turn during your descent, you must get your speed under control before you reach it, especially if it’s a tight turn like a switchback. Use any traction you can to lose speed and spot your entry and exit points before you turn. Make any movements you carry out as smoothly as possible, and let gravity help you round.
Make sure you’ve lost some speed before you start turning, grabbing a handful of rear brake will have you on your arse before you realise you’ve cocked up. And don’t worry about picking up speed too much – momentum will aid you.
How to tackle cambers
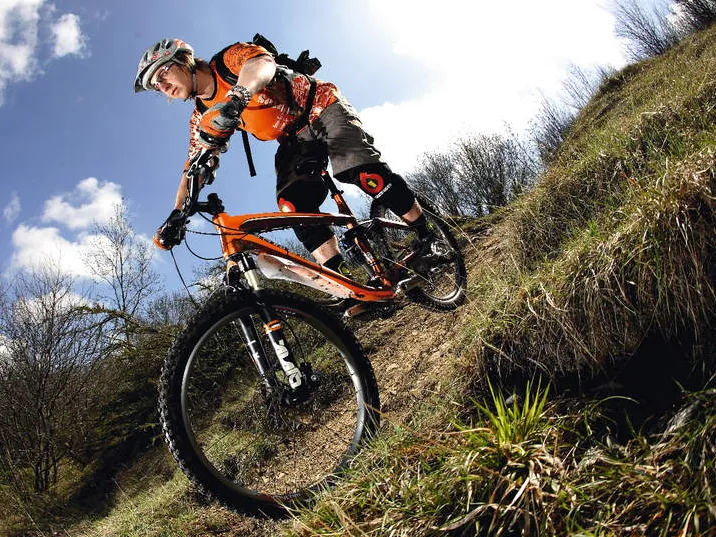
One of the harder parts of descending on steep terrain is negotiating tricky off-camber sections. It can affect you mentally – you’ll be tempted to head away from the camber, but you must stay focused on your exit point.
Put all your weight on the outside pedal and pull up on the inside section of handlebar. Force the shoulders of your tyres to dig in. Again, keep looking at your exit point and you should be able to keep your line – but if your eyes wander downhill, you’ll be heading that way too…
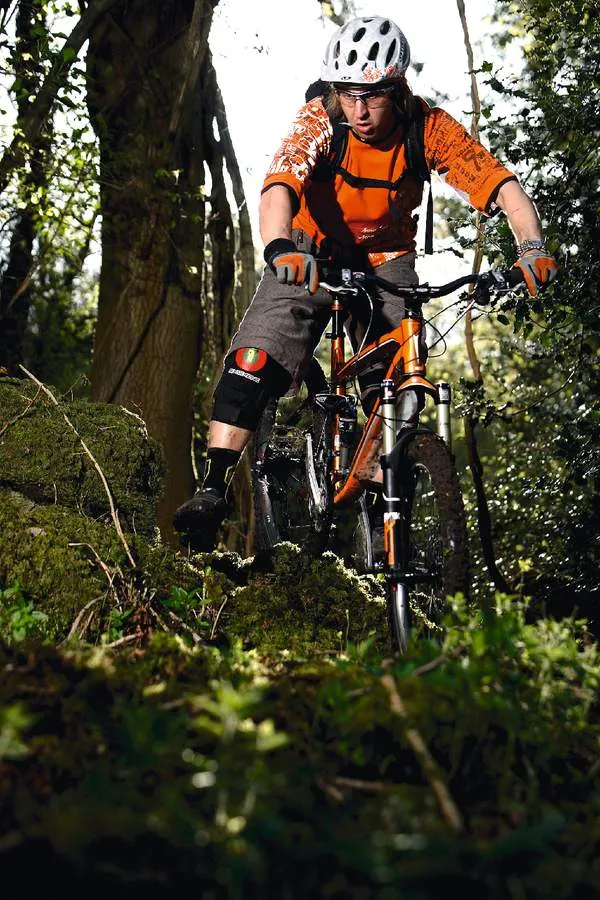
Tri-podding through rough stuff
When negotiating rough off-camber sections, you’ll sometimes have to dab a foot – but this can be used to good effect. If you’re off the back of the bike, you can use this foot as an out-rigger and as an aid to footplant your way over rough stuff. It feels pretty natural, but it does take a bit of practice.
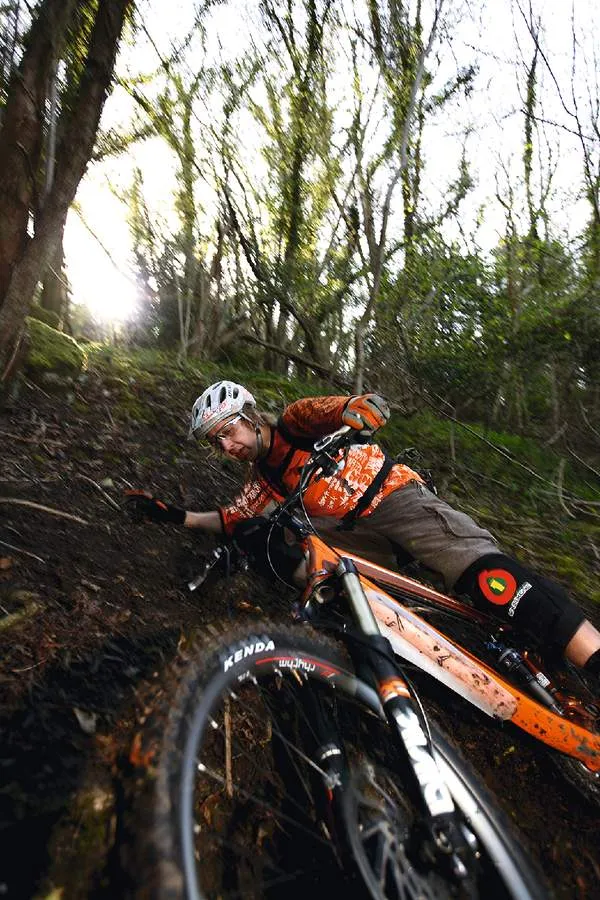
How to bail out when necessary
The last thing you want to do is go over the bars, because you don’t know where you’ll land. The best idea is to try to lay the bike sideways and slide to a halt with the bike as a barrier between you and obstacles.
If you need to get off quickly, ditch the bike by jumping off backwards. If you’re quick, you’ll be able to grab the rear wheel to stop it running away from you.
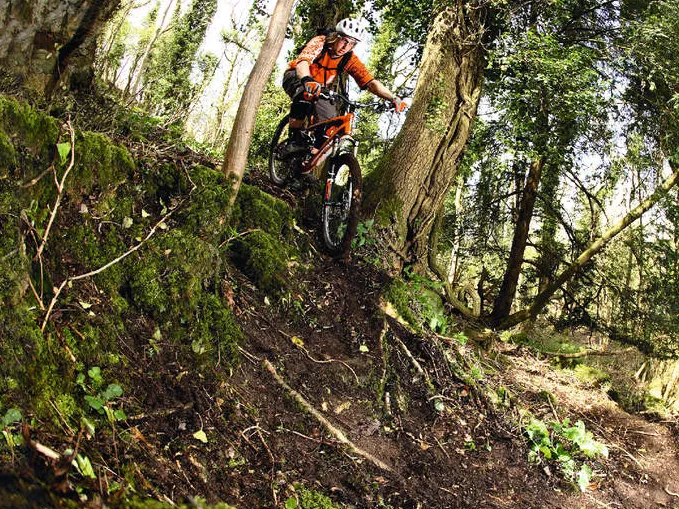
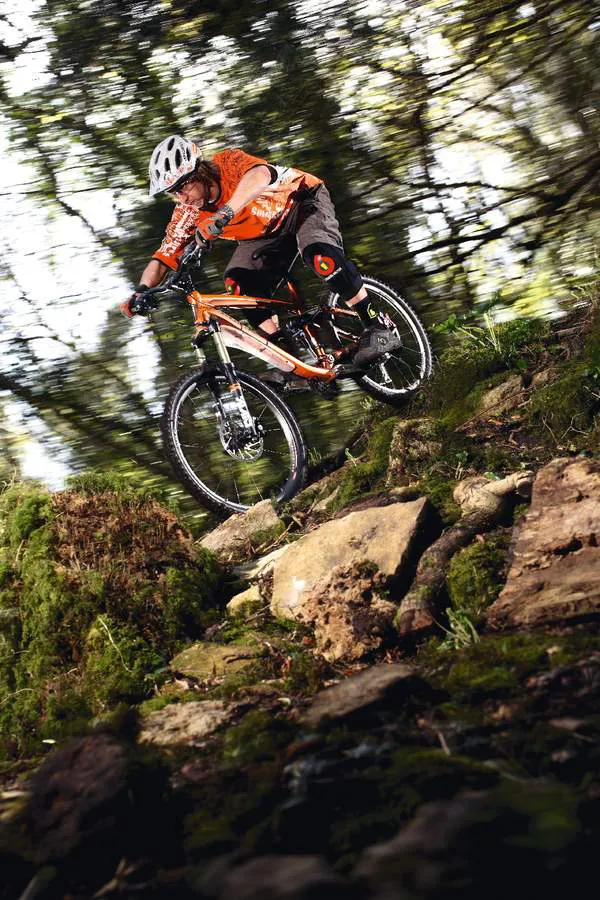
How to tackle obstacles (rocks and roots)
Once you’ve mastered the braking techniques to get you down really steep terrain, you need to learn how to tackle obstacles. If you approach something like a rock garden you need momentum to get over it – but momentum doesn’t necessarily mean speed.
Control your speed, then come off the brakes and preload your bike as if you’re about to bunny hop, then pummel through the rough stuff, keeping a good line.
Time it so your weight comes back onto the bike as you reach the end of the section – that way you’ll be able to land using the brakes.
Pre-load the suspension
On steep cambers, things like roots can make your tyres slide out from under you easily, so riding lightly over them will reduce your footprint on them, and therefore your chance of slipping. Compressing the bike before them and springing up will take your weight off the bike.
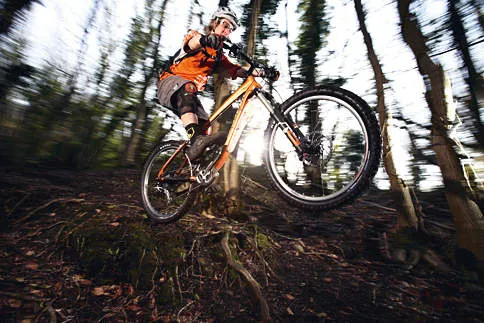
How to take on drops
Like when tackling obstacles, you have to control your speed before taking on drops. The one thing you shouldn’t do on a steep descent is roll off a drop – this could pitch you over the handlebars.
The best option is to lean back to keep the front wheel up and allow the rear wheel to leave and meet with the ground.
As you land, brake firmly to get the bike under control – otherwise you’ll pick up speed like a runaway train, and you won’t be able to muscle it back into control.
Utilise the wheelie drop
If riding slowly, you may not be able to raise the front wheel sufficiently to get off a drop safely, so learning to pedal in order to raise the front wheel is an essential skill.
Equipment tips for riding steep terrain
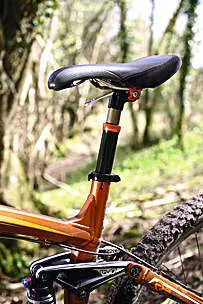
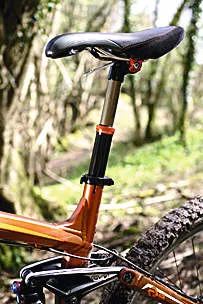
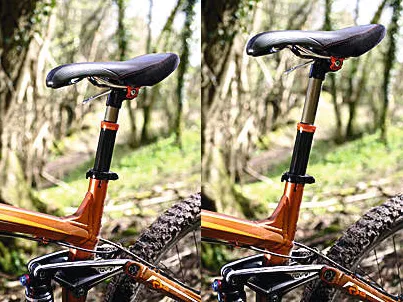
Saddle height
Keep your saddle low when tackling steep terrain. Seatposts such as the Crank Brothers’ Joplin are perfect because you can adjust them on the fly…
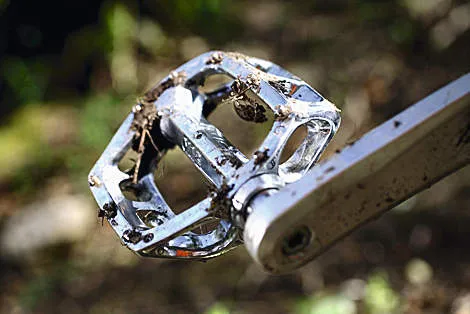
Flat pedals
Until you’re really comfortable with steep terrain, flat pedals are a must – unless you fancy vaulting over the bars while clipped in!
Brake lever position
If you spend a lot of time on steep terrain, you’ll benefit from raising your brake levers. The nearer they are to your hands, the less you’ll have to struggle to reach them.
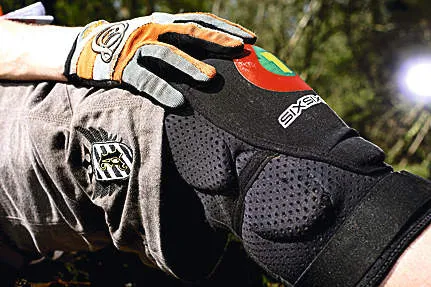
Armour
You will crash at some point, so make sure you are wearing good protection. Knee pads are a good idea, as are elbow guards and gloves. We shouldn’t have to mention a helmet…
Tyre pressure
High tyre pressure doesn’t allow the tyre to conform to the shape of the ground. Experiment with lower pressures to find more grip – even as low as 20psi.
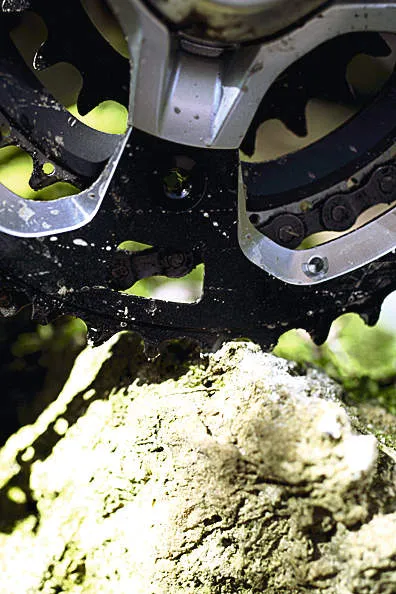
Clearance
On a freeride bike you’re going to hit the chain rings and pedals on rocks and logs. Not everyone needs an outer chainring, so it may be worth buying a bashguard that’ll sit in place of the chainring.
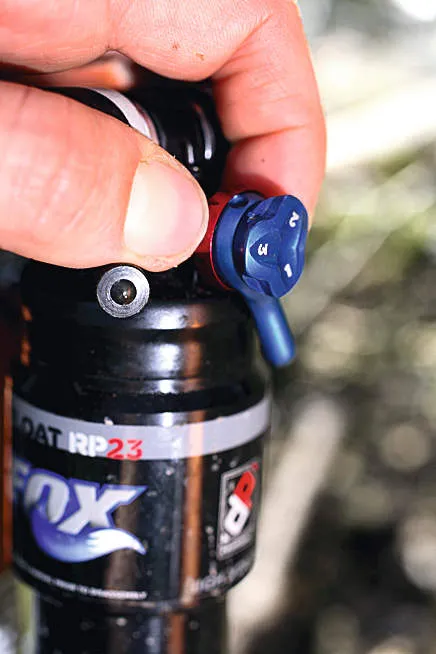
Rebound damping
Sufficient rebound will stop the rear end being kicked about on drops and rocks, so get dialling.
Freeriding can sometimes seem scary, but with these tips and techniques, some practice, and the right attitude, soon you'll be throwing yourself down hills with the best of them.