While not tangible, taking a KOM or QOM on a Strava segment is the closest many of us will get to cycle-racing success.
Chances are you’re not an elite athlete, but that doesn’t mean you can’t get a King or Queen of the Mountains crown on Strava.
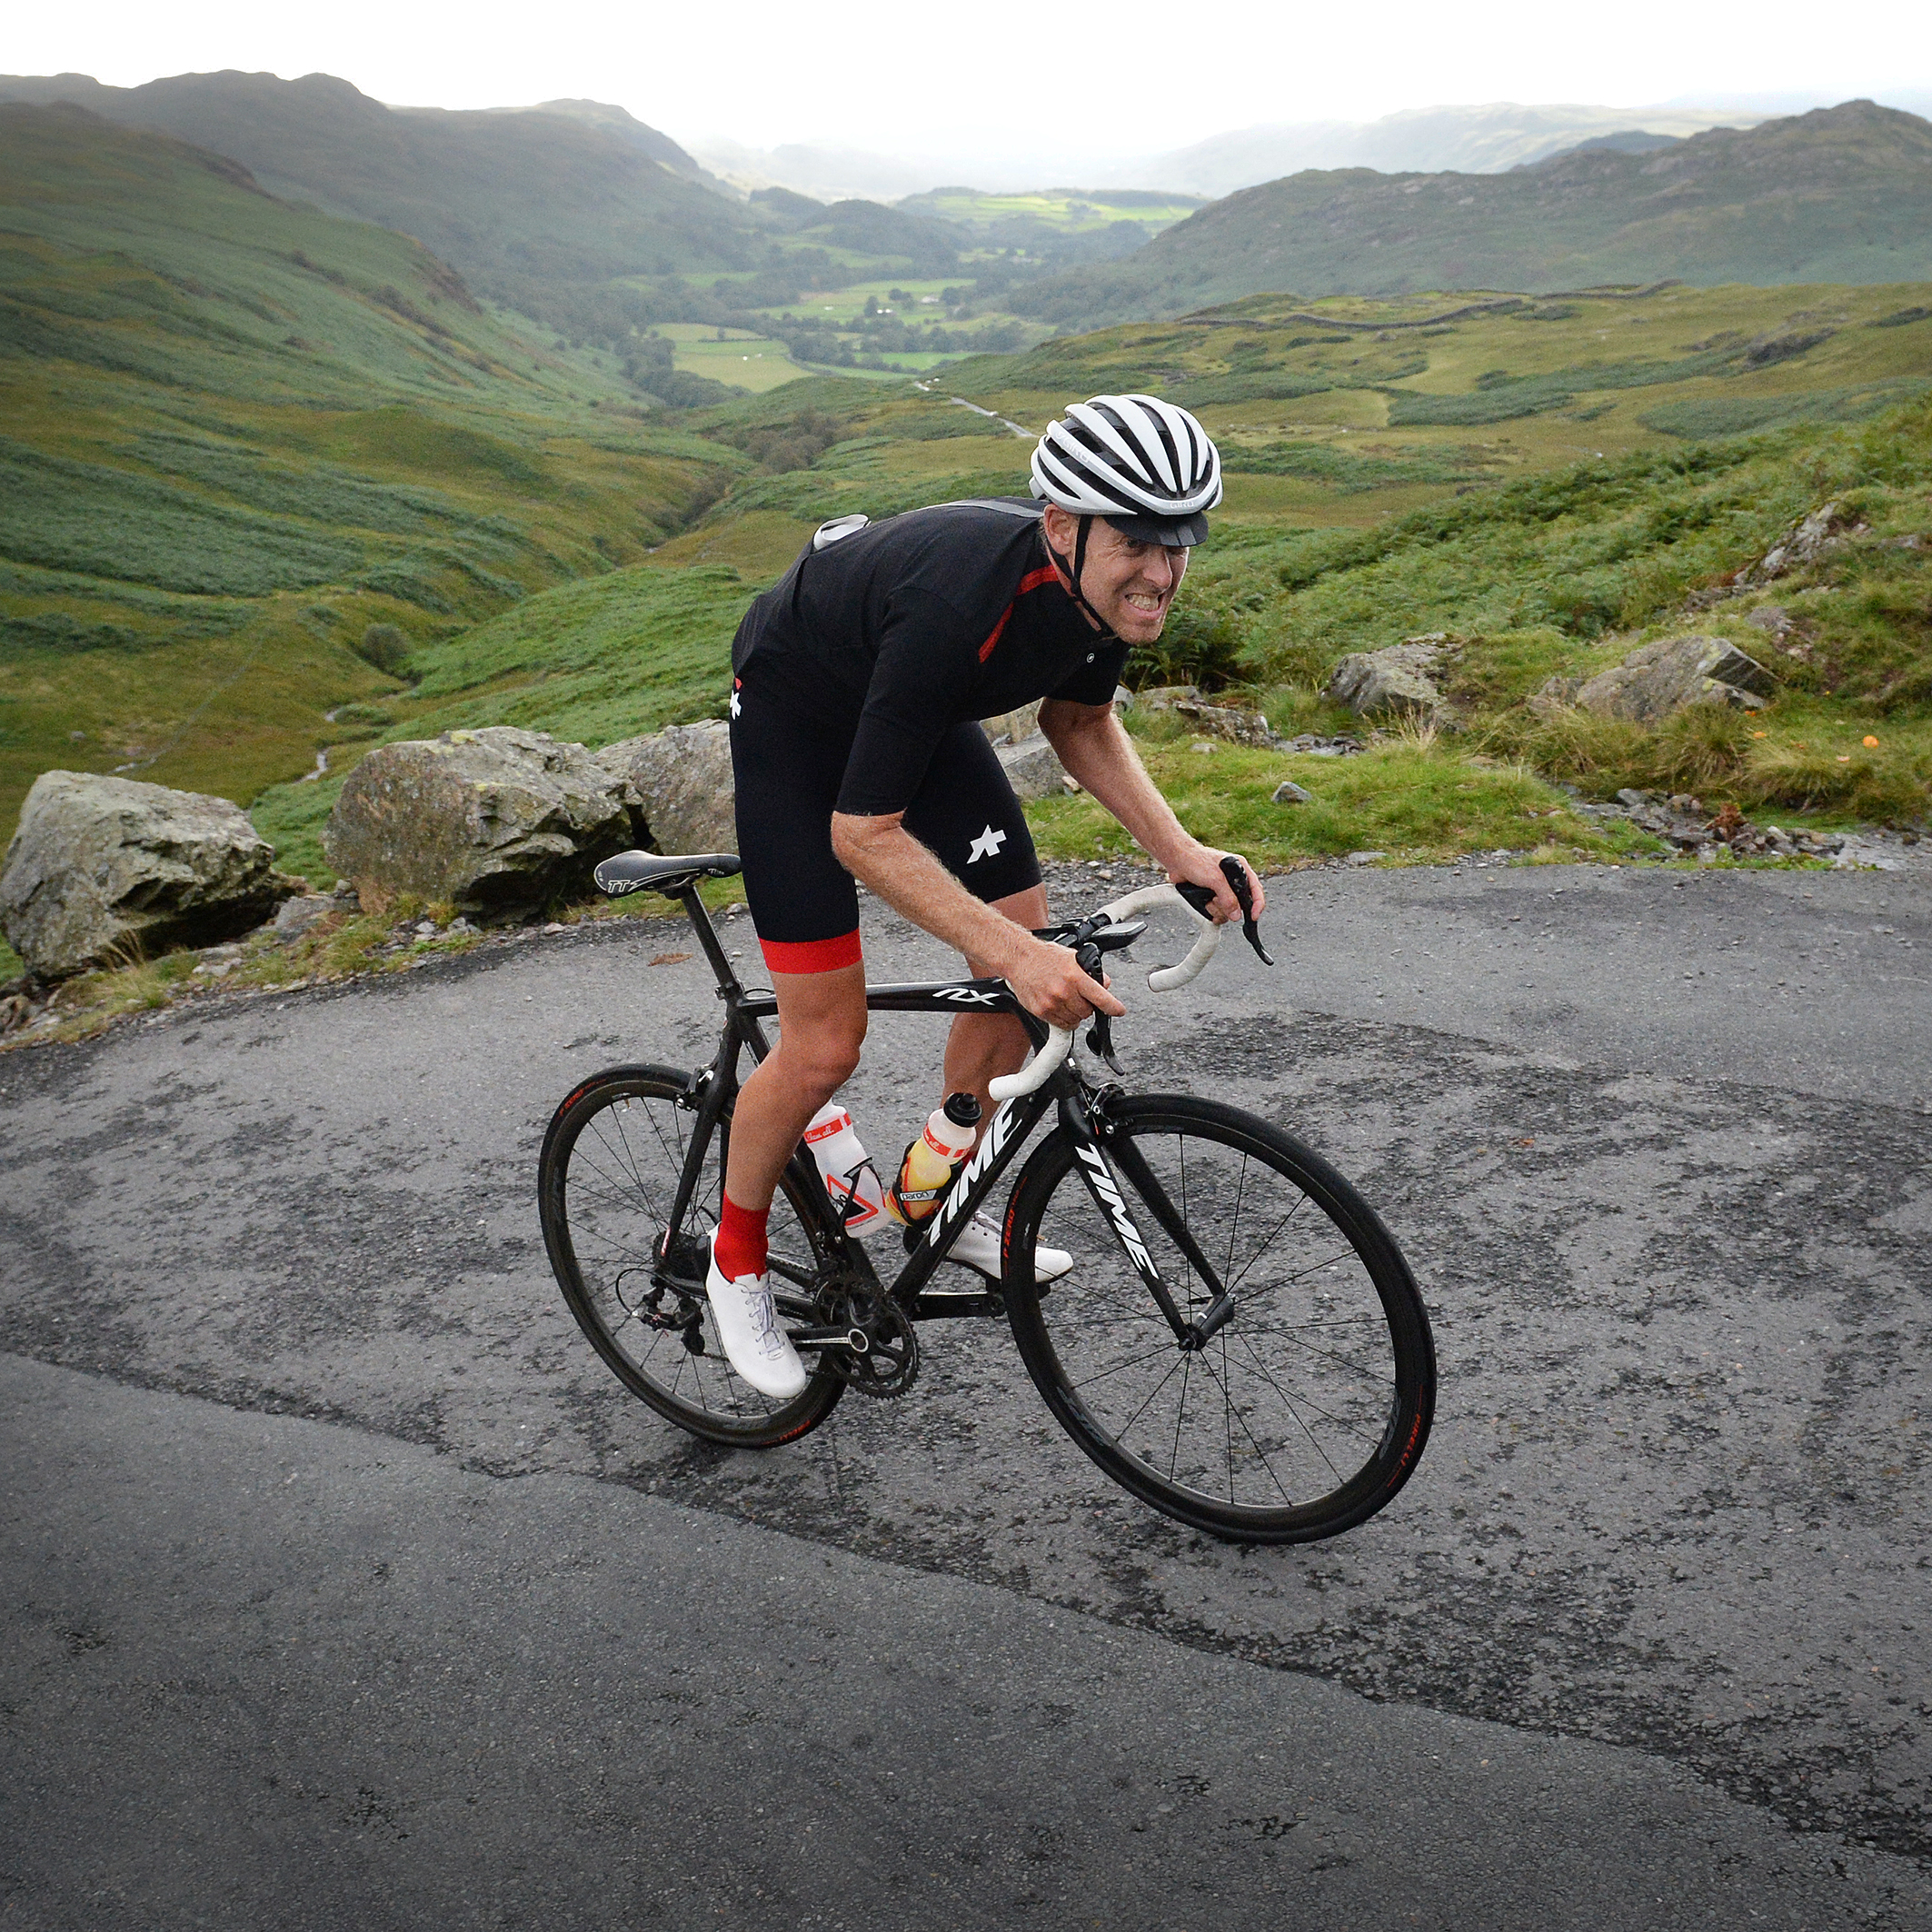
Simon Warren, author of the 100 Greatest Cycling Climbs series, has some essential advice on getting ‘virtual’ gold in the hills.
10 steps to achieve your first Strava KOM/QOM
1. Know your limitations

Identify your strengths, and discover what your body’s best suited to and what it’s capable of. Even if you’ve only been riding a few months, you’ll already have a pretty good idea about where you feel the most comfortable.
Are you at home smashing the big ring on the flat, or twiddling the granny ring heading uphill? Can you sustain your power over a long distance, or are you best in an all-out sprint?
The beauty of cycling is that there’s a discipline for all, from 200m time trials in the velodrome to a 3,000-mile race across America. Work out what you’re built for and pick a segment that matches your physique.
If you recognise yourself as a climber, and are able to tuck your mates away on a few hills, don’t head straight to Box Hill in Surrey – one of Britain’s most iconic climbs – because unless you’re a professional, you aren’t going to top that leaderboard.
The purpose of this exercise is to guarantee a KOM/QOM, so there is very little point in targeting one of the country’s most famous ascents unless you are a top-class athlete.
2. Identify your segment

For the purpose of this article, I’ve chosen Wellington Hill in Epping Forest (I jointly held the KOM for four years, until last summer). It’s a short climb at only 800m and it starts steep, backs off a little in the middle then kicks up again at the end.
So, what made me think I could take the KOM there? Well, the longer you ride in an area, the more you see the same familiar names at the top of leaderboards. You may be faster than them on some, they may be quicker than you on others, but you’ll soon begin to recognise the peer group you operate within.
When I set out to bag this climb, I knew it would be hard, but attainable. I picked a battle I knew I had a fair chance of winning based on my perceived ability.
It’s important to target an existing segment rather than make your own. It gives you a definite goal, more kudos when you bag it and a greater sense of achievement when you take that gold crown from a local rival.
3. Carry out reconnaissance

If you’re feeling great, you may be able to just rock up and smash your segment first time out, but I’d strongly recommend some serious recon before your attempt, both virtual and physical.
How many times have you got home and loaded up your data only to find out that you sat up before a segment ended or turned off a road before the summit?
Have a quick look on Google Earth, see where the course starts and finishes, and make a mental note of any landmarks. Next, head out for some test rides.
In the case of Wellington Hill, there are two ways to begin the climb.
From the south, you approach via a short downhill, which will give you greater speed to take on to the ascent, but you have to turn right across the road, so must be ready to abort if any traffic is coming. Heading from the north, it’s easier to turn left, but the approach is flat so there’s no free momentum. There’s a decision to make.
Once you have your approach sorted, pick the gear you’ll begin in. There’s no point in hitting the base in the big ring then changing down; be ready in the correct gear right away.
Next, will you stay seated for the effort or stand the whole way up? Look for any deformation in the surface, study the camber and, again, note where the finish is. You should be able to map the climb with your eyes shut by the time you are ready for your attempt.
4. Know when to ride

Gone are the days when you could tape an IV bag to your bedroom wall and infuse a fresh litre of supercharged blood the night before an attempt. The only way you’re allowed to ‘cheat’ now is to utilise Mother Nature, yes, ‘wind dope’. The wind is the one drug officials can’t ban, and I intend to abuse it as much as possible.
When I was younger, I dreamed of becoming a surfer. I watched the movie Big Wednesday over and over again. I remember the lines of tanned bodies, waxing their boards, looking out to sea, patiently waiting for the swell to build, looking for the perfect moment to hit the water. Alas, I never moved to the ocean, but I did buy a bike and found the hills, so now I replicate the surfer’s ritual by sitting at my desk in Lycra looking at meteorological websites to get the perfect wind direction for a KOM attempt (sad, I know).
What you need is the line of that wind arrow parallel to your segment; wait till the strength rises over 10mph then go! You don’t want it much stronger, there’s no point holding tight hoping for a hurricane because strong winds bring gusts, and one random gust in the face will stop you in your tracks, or take you off the bike.
You are just looking for a firm helping hand, a gentle push. If you’ve plenty of time to plan, you can identify a whole host of segments that run in all directions so you have something to attack no matter which way the wind is blowing.
5. Get race-ready

It’s not a race, of course, and Strava doesn’t really count, and the only real way to get kudos is to pin a number on and do it for real. However, for training, for feeling good about yourself and achieving a goal, of course it counts. So, approach it like it is a race.
Make sure your bike is clean and working flawlessly with the tyres at the optimum pressure. Wear your best kit, the one that makes you look like a pro when you check yourself in parked cars, tighten your shoes that little bit more and get your head ready.
On the ride out – make sure you do at least a 30-minute warm-up – think of nothing else. Run it through in your head – the approach, the gear changes, the start – focus only on your task and get ready to put the effort in.
Whether it’s 5km on the flat or 500m uphill, it’s going to hurt if you want that gold.
6. Ride casually

You know your ride has the sole purpose of smashing that one segment, but you don’t want to make it that obvious on Strava, hence, ride casually.
Don’t just head to the hill, stop at the bottom, ride up, turn round, then go home. Build it into a normal-looking training ride, so when your followers see what you’ve done it looks as if you just bagged it while out for a spin.
Build in your warm-up and cool-down. If you’re feeling good, stick a few efforts in, but be wary of spreading yourself too thin – quality always outranks quantity.
7. Focus on marginal gains

When riding uphill, the more you carry, the more effort is needed – it’s simple physics.
For the end-of-year hillclimbs, I’ll strip my best bike down to its bare bones, but this isn’t a practical option during the rest of the year. If I really want to make a serious attempt, and if I know I’ll need every advantage I can find, I ditch unwanted weight into the bushes beforehand.
If it’s cold, you’ll also want to hide your gloves and arm warmers – in fact, anything and everything you can offload. If, as suggested, you are riding casual and have built a loop into your attempt, you can make it less obvious.
On the first passage, ditch your stuff and remember where you put it (you can’t just throw your bottle in a field like the pros, it’s littering). Make your attempt before riding back round to pick things up.
Of course, if the loop is long, you’re taking the risk of getting a flat and having no way of fixing it, but this is a sacrifice you’ll have to make in search of that crown.
8. Use your road craft

From the moment you start the effort, every second counts over every centimetre of tarmac, and what’s the shortest distance between two points? A straight line. We won’t condone using all the road, there are rules in place for a reason, but those rules can be stretched, as long as safety is paramount.
Corners need to be cut, steeper gradients avoided and nasty cambers bypassed to ensure your course is the shortest it can be between the start and finish. Prior knowledge of the road is essential, as is being alert to dangers both in front and behind.
Do not sit on the crown of the road if there is a car behind and do not fly around a blind bend on the wrong side of the road; use a perfect mix of common sense, road craft and cunning.
9. Never give up

During your attempt, you’ll be going deep into the pain cave and your body won’t like it. From the moment you reach that dark place, the instincts that for millennia have kept man and woman alive will be telling you not to go in, to not hurt yourself – ignore them.
Ignore every voice in your head, chest and legs; focus on your goal and nothing else. When they shout louder, try harder. When they tell you to sit down and rest, stay standing up, pounding those pedals. When you can’t bear their screams any more just shout back, “Strava is watching and there’s no way you will stop me because kudos and a gold crown are at stake”.
Remember to always go past that imaginary line, always give it a couple more revolutions, just to be certain, then be ready to slam the brakes on when you hit a fast-approaching T-junction.
10. Wait…

I know you can track your progress while you’re out, but I always wait until I’m home to upload – why spoil the rest of the ride? Then comes the waiting, the anticipation, the not knowing. Will it be mine? Have I broken it?
The longer you wait, the more the excitement builds and the better the feeling when you succeed. Perfection is attained through dedication and planning, with a bit of help from luck, marginal gains and a strong tailwind.
So ‘bon chance’ in your attempts, and may the wind be with you – so long as you’re not chasing any of my gold crowns that is.