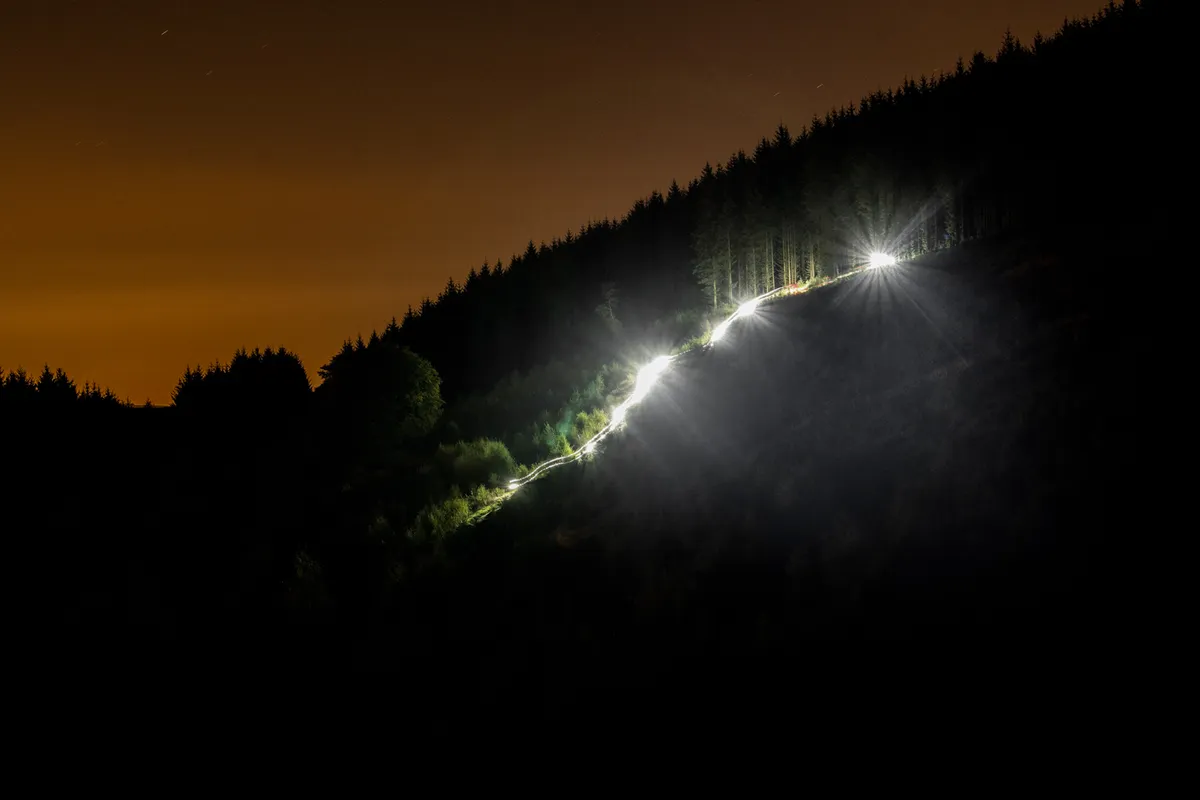
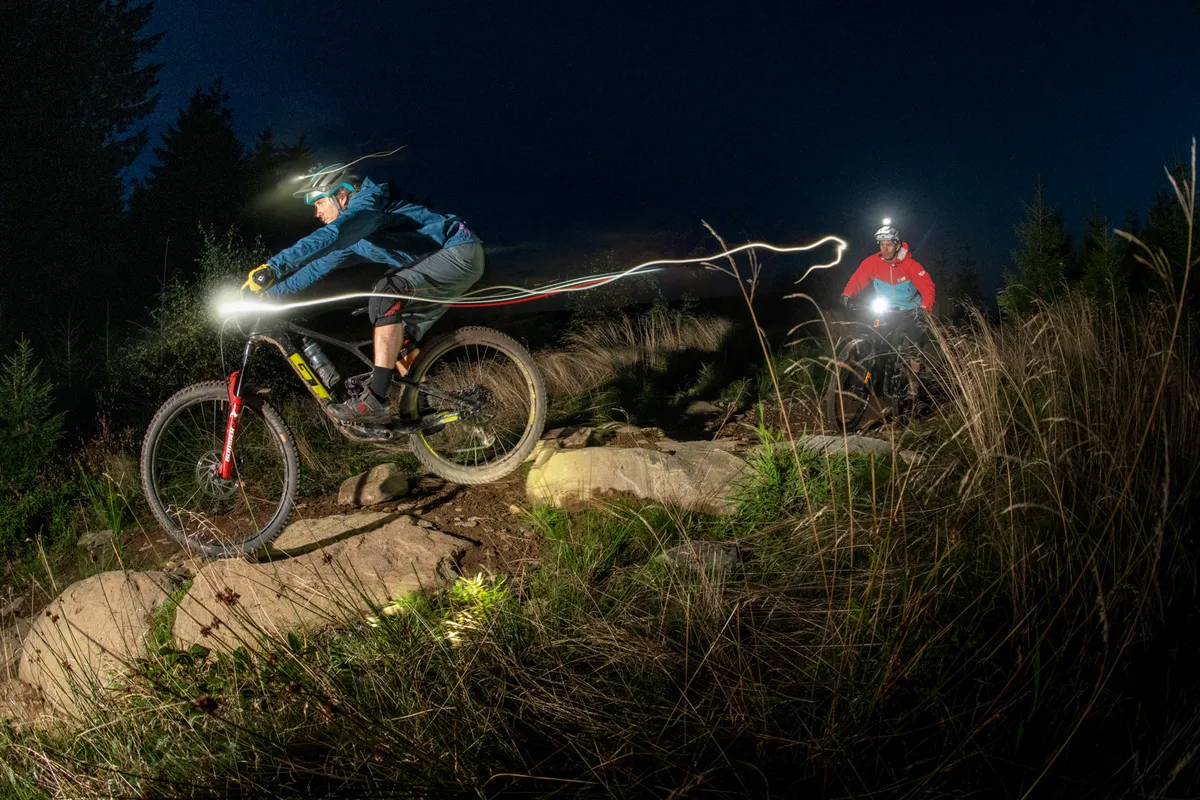
Using a helmet light can help illuminate your line of vision when night riding, enabling you to spot features, see around bends and, ultimately, ride safer and faster.
A helmet light is especially effective for off-road riding when used alongside a high-powered mountain bike light on your handlebar. This gives you the ability to flood the trail ahead, while having a spotlight to navigate technical sections and look where you are going.
While a handlebar-mounted light remains in a fixed position, a helmet-mounted light moves as your head moves, providing additional illumination for where you want to be riding, not just what's immediately in front of you.
Helmet lights aren't used as commonly for road cycling or commuting, but they can provide added visibility and better depth perception, if you want to add a second lamp to your setup.
In this test, we put six of the latest helmet lights for trail riding through their paces. When testing, we considered their weight, adjustability, run-time, ease of mode selection, power and beam pattern.
Read on to the end for our full buyer's guide, to help you choose the best helmet light for your requirements.
The best helmet lights tested by BikeRadar
Cateye AMPP800

- Lumens: 800 max
- Weight: 163g
- Burn time: 1h 33min
- Price: £64.99 /$64.95 / €81.99 / AU$99.99
Considering the Cateye AMPP800 has fewer lumens than most of the other lights on test, it uses them really well.
An impressively wide circular spread highlights the track’s edges well and produces a long throw down the trail.
This is matched with a bright white spotlight in the centre, which helps draw attention to specific features.
The mount is secure and helmet-friendly, and the light has a battery-level indicator.
You may have to control your speed more, compared to using a more powerful light, but combined with a high-powered, handlebar-mounted unit, this is a smart option.
Exposure Zenith Mk2
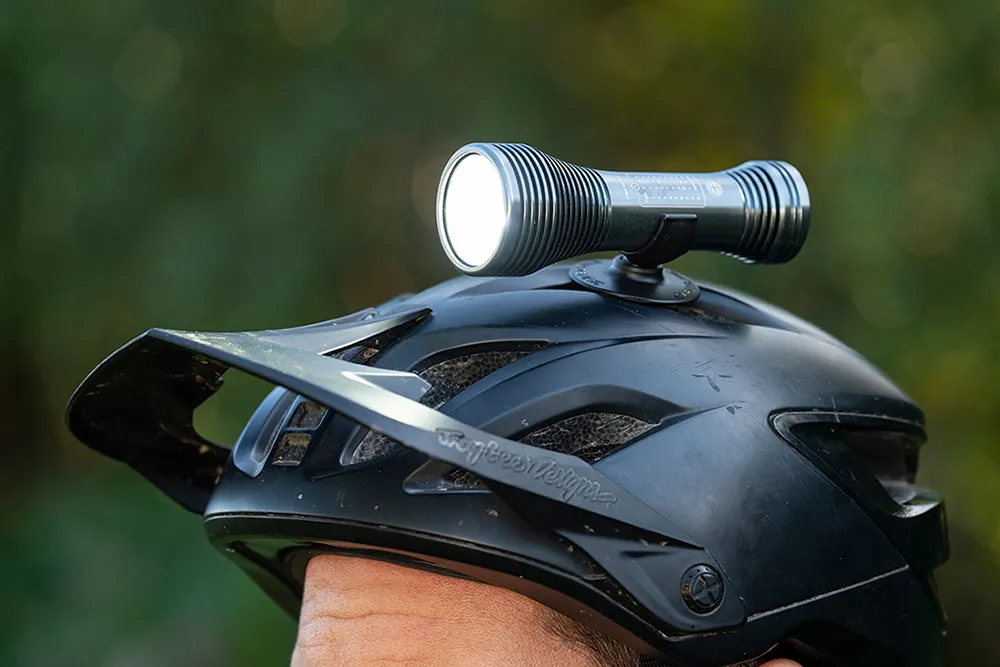
- Lumens: 2,100 max
- Weight: 160g
- Burn time: 1h 21min
- Price: £264.99 / $329.99 / €334.49 / AU$464.99
With three LEDS and a 2,100-lumen output, the Exposure Zenith provides seriously impressive illumination. It floods the trail with light, making it easy to ride fast.
There’s plenty of throw and a smooth outward transition from the beam’s bright spot, which means it highlights the trail’s edges well.
You get plenty of settings, too – including the TAP feature, which lets you hit the rear of the light to change mode – plus a battery indicator light.
However, this is one of the most expensive options out there and it could do with padding on the mount.
Moon Rigel Pro
- Lumens: 1,000 max
- Weight: 175g
- Burn time: 1h 30min
- Price: £64.99 / $59.90 / €81.99 / AU$116.98
In terms of lumens-per-pound, the Rigel Pro is the best-value light in this list. Its two LEDS throw out plenty of bright white light and the beam pattern covers singletrack well.
The tight spot focuses its power to show trail features and has plenty of throw, so you can see what’s coming up next.
There’s a battery warning indicator, the mount is padded and secure, and the light is waterproof enough to survive heavy rain (and can be submerged to a depth of one metre).
The beam doesn’t have the best spread and overall performance is not as good as the Exposure Zenith Mk II, however. It is a lot cheaper, though.
Also consider…
The following helmet lights scored fewer than four out of five stars in testing so haven’t been included in our main list, but are still worth considering.
Specialized Flux 1250
- Lumens: 1,250 max
- Weight: 182g
- Burn time: 1h 41min
- Price: £120 / $140 / €180 / AU$260
Specialized does things differently with the Flux 1250, packing in two side-by-side LEDs to provide a spotlight and a flood beam.
A reasonably bright spot in the centre highlights specific features, while an extensive spread helps you pick out the trail’s edges.
The large mount is well-padded and secure, although the Flux 1250 does have a tendency to rattle in its cradle.
As for downsides, the brightness is middling for its claimed 1,250-lumen output and distributed too widely.
The lower output from the spot LED also isn’t great for highlighting trail features.
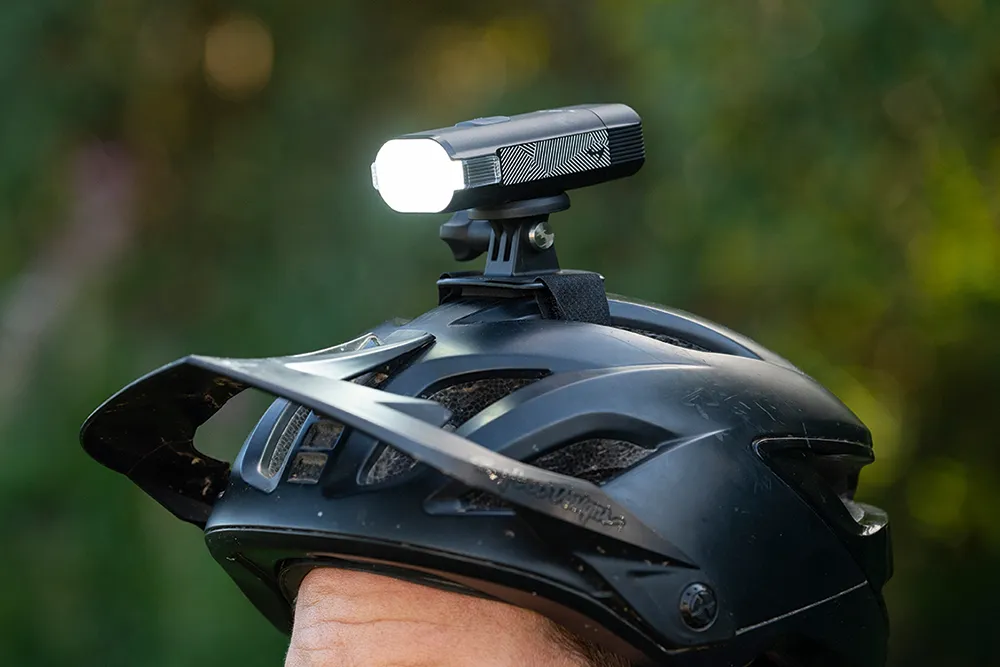
Light & Motion Vis Pro 1000
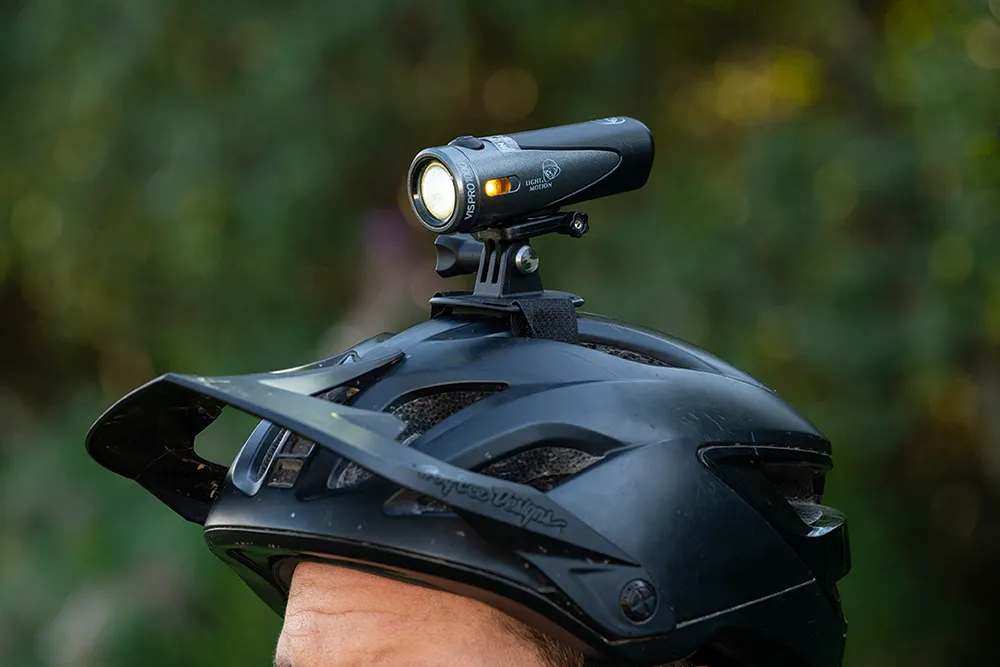
- Lumens: 1,000 max
- Weight: 115g
- Burn time: 1h 44min
- Price: £135 / $124.99 / €155.10 / AU$181.61
L&M’s Vis Pro 1000 is compact and attaches to its mount via a secure GoPro-style fitting. The wide beam picks up the edges of the trail.
There’s a low-battery warning light, plus an auto shut-off to prolong its usable life on the trail. It’s claimed to be waterproof to one metre, so should shrug off heavy downpours.
In use, the yellow beam casts a large circular pattern and is too diffused to create a bright central spot, making it more challenging to pick out specific trail features.
With that in mind, the Vis doesn’t use its 1,000 lumens as effectively as other similarly-powered lights, and the price is high.
Also tested…
This helmet light was tested alongside the other five lights in our list, but scored fewer than three stars out of five.
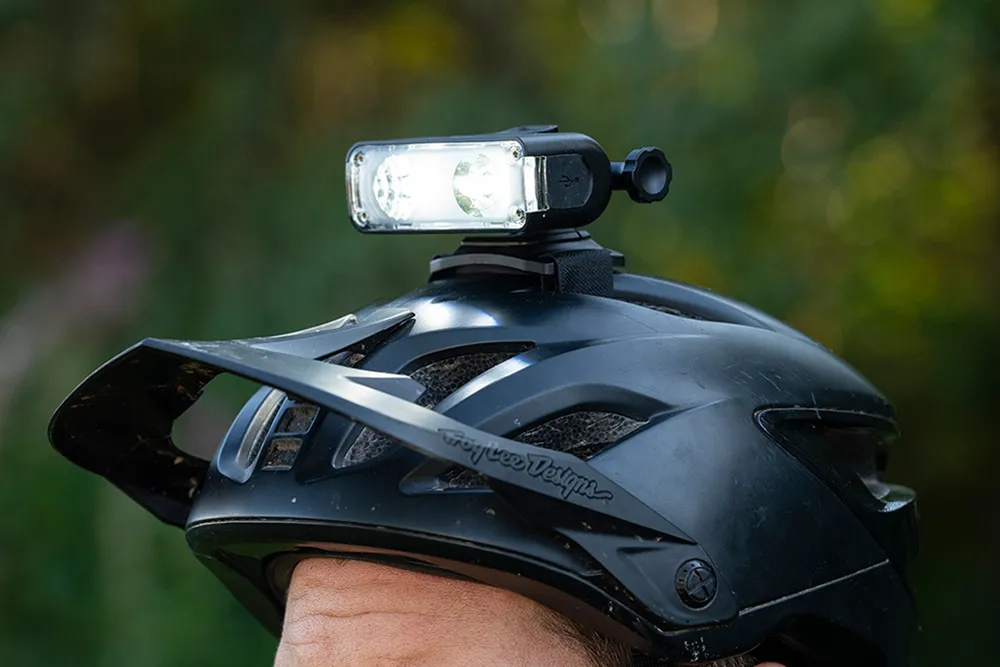
Knog PWR Rider Duo
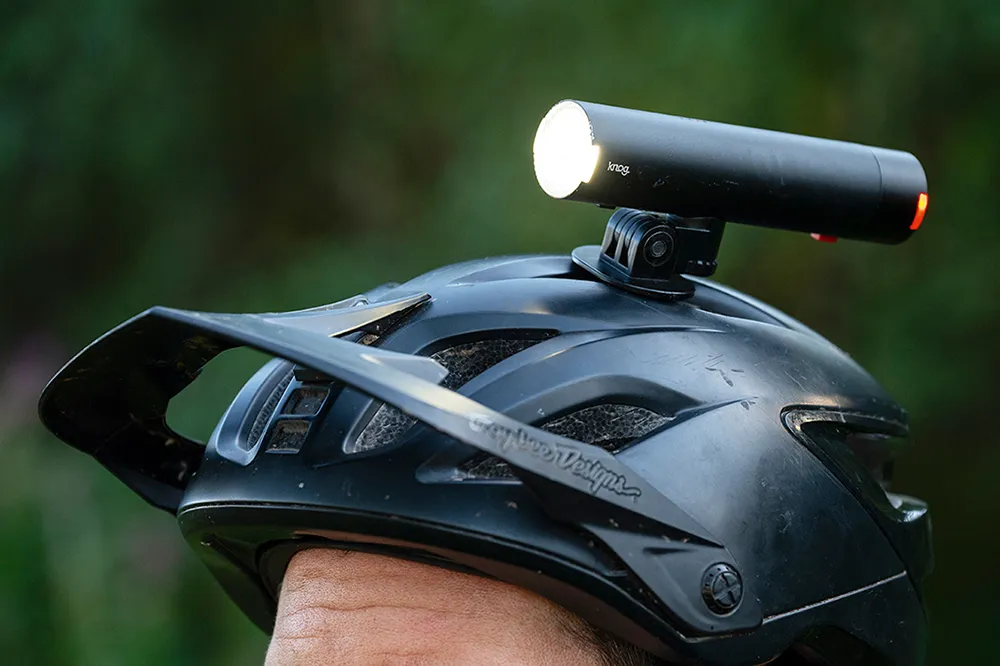
- Lumens: 450 max
- Weight: 151g
- Burn time: 2h 07min
- Price: £87
The Knog PWR Rider Duo'sn diffused white beam has a good spread that helps pick up the edge of the trail.
It also reaches a moderate way into the distance, and both the brightness and burn time are programmable.
Fit the red end-cap and you’ve got a 12-lumen rear light; remove it and you can use the PWR Rider Duo as a power bank to charge other devices via USB.
However, when it comes to riding, the beam lacks a bright spot in the centre to highlight trail features.
Paired with the relatively low lumen count for mountain biking, the PWR Rider Duo has its limitations when riding at speed. The helmet mount also lacks padding and needs a tool to fasten it tightly enough.
Buyer's guide to helmet lights | How to choose the best helmet lights
When riding off-road at night, it's best to use two lights. The first should be on your handlebar to give you a broad view so you can see where the trail edges are, the direction of the trail and its main features.
The second light should be a helmet light. When riding technical trails off-road, you're not often looking where your handlebars point, so relying solely on a handlebar light isn't always ideal.
However, using a helmet light to pick up the exits of corners and illuminate features further down the trail makes night riding off-road much more enjoyable. So what makes a good helmet light?
How many lumens do you need?
Mountain bike lights are all about lumens; the more, the merrier. This applies to helmet lights as well as handlebar lights.
We recommend a minimum of 1,000 lumens for a helmet light. Lower than that, the light beam gets absorbed into your handlebar light and isn't as great at doing the job you're asking of it.
More powerful lights also enable you to see further down the trail, which is the primary goal of a helmet light. You want a light that can pick out the details of the trail where you're looking.
Remember also, the more powerful your handlebar light, the more powerful your helmet light will need to be to get the same benefit.
If you only have one light, it's best to use a handlebar light. For gentle, flowing terrain, you can get away with fewer lumens, but if you want to ride technical and wild trails, a light with plenty of power will enable you to ride faster.
Which beam pattern is best for helmet lights?
For a helmet light, it's better to have a more focused beam pattern from spot LEDs rather than flood LEDs. This helps to concentrate the light where you're looking, highlighting the features that catch your attention.
If the beam is spread out too far, it can bleed into a brighter handlebar light and become less effective. Also, when the beam is dissipated too wide, it lacks the power to throw the light into the distance, which is where you want to be looking.
Helmet lights, especially those with integrated batteries, tend to have less power and thus don't create harsh contrast or hot spots that tire your eyes. That said, there are plenty of options out there that can produce ample power. Still, with a helmet light projecting further afield, these issues are less drastic than with handlebar lights.
Contrasting beam colour
We recommend your helmet light has a whiter light, with a slightly different colour temperature from your handlebar light. This helps you differentiate between the two beams.
In addition, a whiter (or cooler) light will appear brighter for a given lumen and help add more contrast to features in the distance.
While a bluer light temperature can fatigue your eyes more, as a secondary light source, it tends to have less effect.
Helmet mounting systems
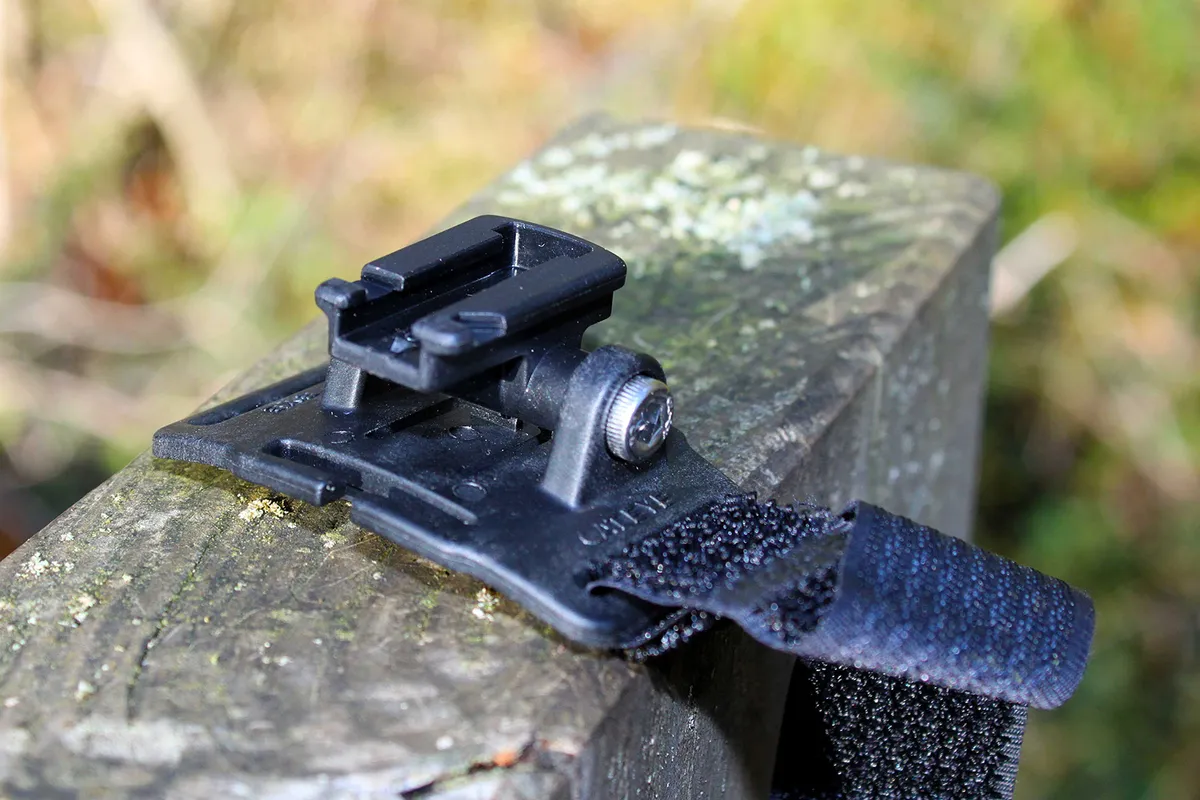
Helmet lights use two common designs to attach the mount to the helmet. The first and most common design uses a Velcro strap and a padded base. You thread the strap through the helmet vents and tension the strap to secure it.
The second typical type uses two plastic plates. One sits inside the helmet and one outside. These are bolted together with a plastic screw to tighten them.
Light bodies can be attached to the mount in various ways, depending on the brand. For example, GoPro-style mounts, Garmin mounts and clip-in designs are commonplace.
Most lights are easy to secure firmly in place to a helmet. However, ensure you don't tighten them too much and compromise the integrity of the helmet's protection.
What is important is placing them in the best spot. This will change depending on your helmet, because the vents will differ depending on the model. Try to get it as central as possible. You're typically adding somewhere between 100g and 200g for a light. This weight sits higher, so making sure it's well balanced and not making your helmet slide forwards, backwards or side-to-side is key.
Battery location
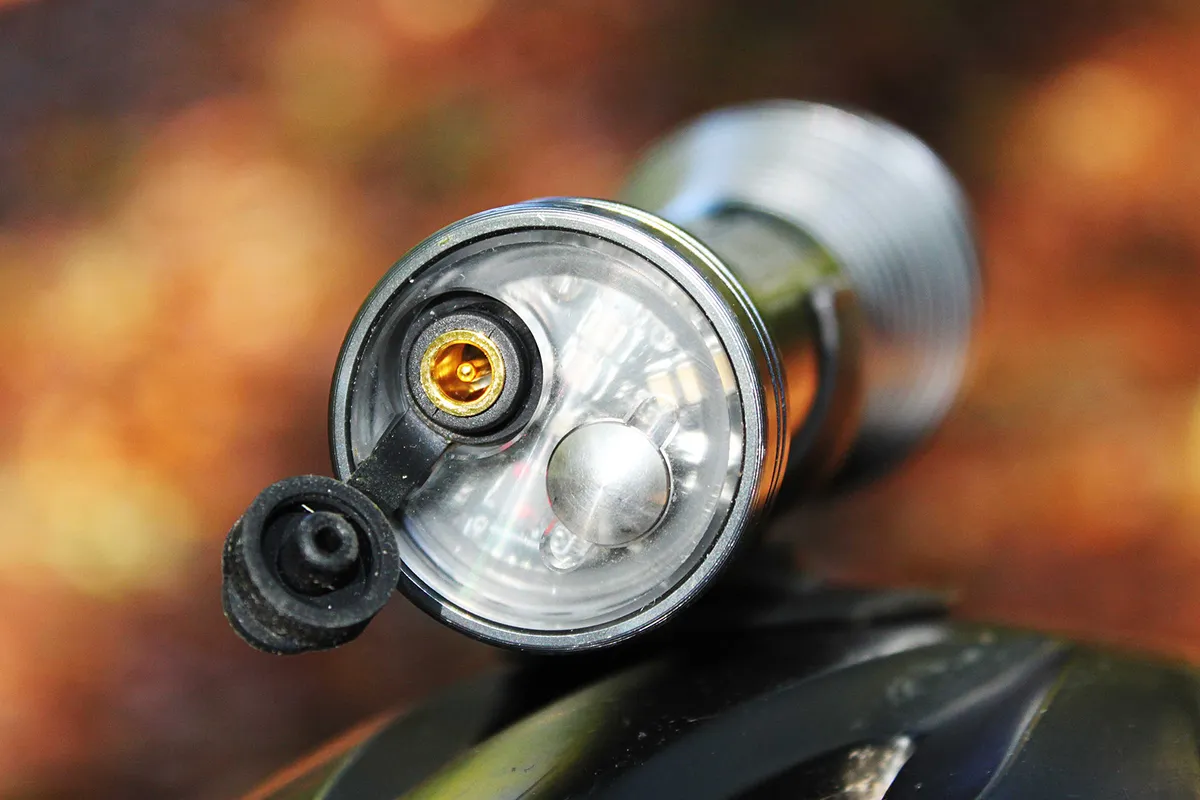
If you're looking to minimise weight on top of your helmet, an external battery is best. Just accept that you must run the battery cable around your body somewhere. For example, into a pack of some kind or a pocket, both of which can be a nuisance.
Internal battery lights are much simpler, but may have less capacity or power. We've found lights weighing anything up to 200g fine on the helmet if positioned well, but we wouldn't be keen on much more. So, if you're looking for something to power a lot of lumens, an external battery is best.
One thing to mention is you'll need a buddy or to remove your helmet in order to keep track of your remaining battery life once the light is fastened to your helmet. This can be more annoying if you have to hunt around for a battery stowed away somewhere.
Remote
Remotes are less common on helmet lights. They need to be wireless, or you'll be connected by a long cable to your bike's handlebars. If you're not going to attach the remote on your bars within easy reach of your grips, you may as well not use a remote. Light function buttons are easy to use these days.