Mountain biking at night enables you to get out to enjoy the trails even after the sun has set and delivers a whole new riding experience. For many, it’s the only way to enjoy evening rides in the darker winter months.
While it may seem like a daunting idea, night riding can throw a whole new light – if you’ll excuse the pun – on your local trails. Routes you know like the back of your hand in the day take on a whole new lease of life when night falls.
Here are 10 tips that will make your nocturnal adventures faster, more fun and safer.
1. Get lit
First up, it’s important to understand that not all bike lights are created equal.
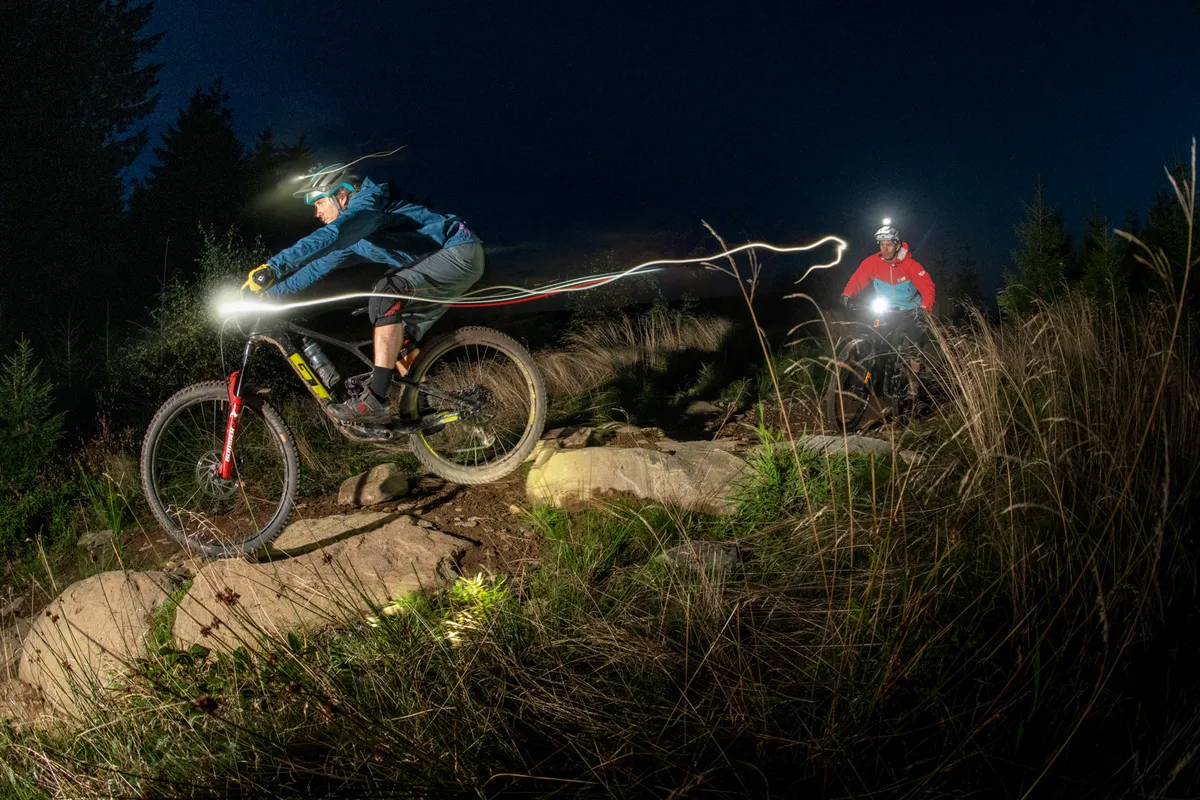
A decent front light is essential if you want to enjoy brilliantly illuminated trails, rather than spending the whole time scrabbling around in the dark looking for lines or wondering where the trail went.
While you may be able to get away with a 400-lumen output light if you know the way or aren’t looking to ride quickly and confidently, once speeds pick up or trail difficulty increases, you’ll be left wanting more power.
We would generally recommend 1,500 lumens as a starting point for night riding off-road on blue-graded trail-centre style runs. As a rough guide, increase lumen output by around 1,000 per trail grading increase.
That means for a red trail, you’ll want at least 2,500 lumens and, for a black trail, at least 3,500. Off-piste technical trails will require even more, so think carefully about the type of light you’ve got and its output before committing to a gnarly downhill.
Take a look at our guide to the best mountain bike lights for BikeRadar's favourite tried-and-tested options at a range of budgets.
If your ride also includes sections on the road and you want to stay on the right side of the law, you'll also need a good rear light.
2. Beam pattern
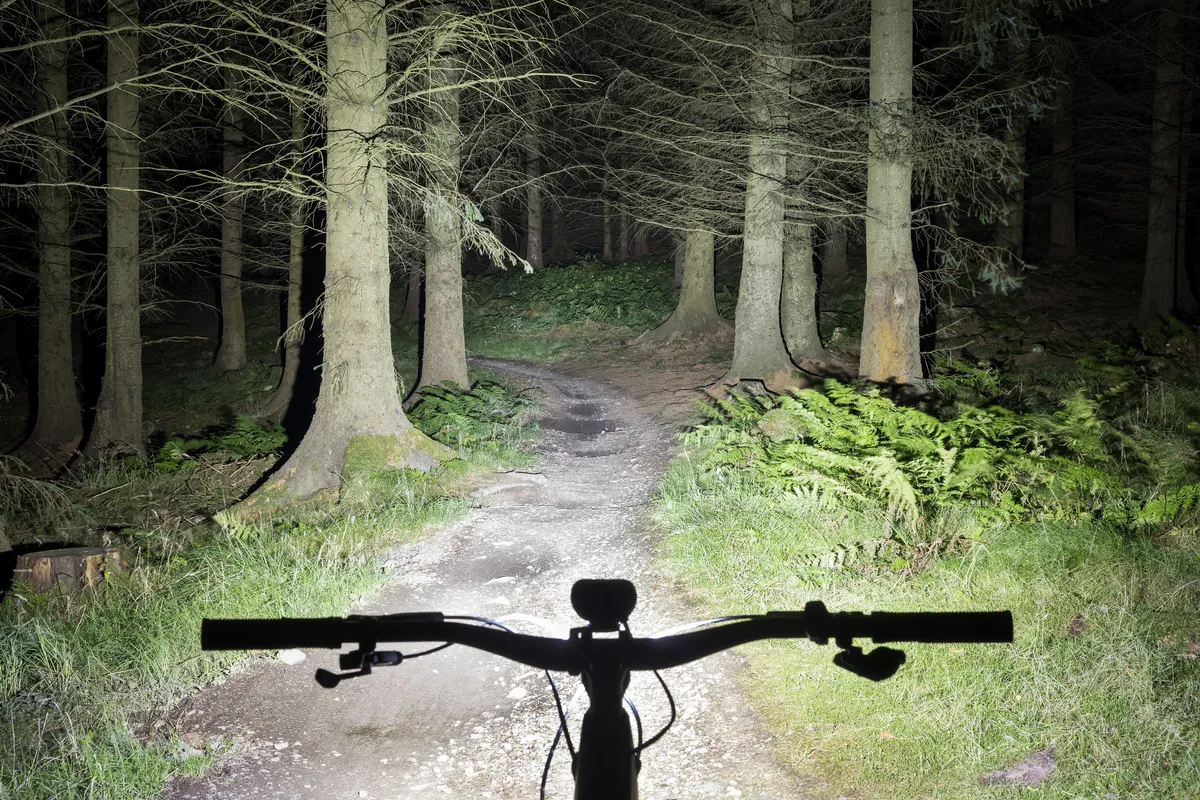
Beam pattern is just as important as how much output a light has – there’s no point having an 8,000-lumen monster if all of its power is projected into one spot.
That means the broader a light’s beam, the more of the trail it can illuminate, and it will generally create a much better riding experience. This wider spread means you can see more of the trail you’re riding, helping to improve context, which can make it easier to ride faster.
It also means you’re able to see around turns, because the peripheries of the beam will cast light to the exits of corners. Being able to see where you’re going, not where your light is pointing, is a crucial component of successful night riding.
The colour of the light emitted is important, too. A 'warmer' light will help you pick out trail details, whereas a 'colder' light will create a harsher glare that your eyes will struggle to adapt to.
3. Find the best mounting options

If your light focuses its power into one small area, it’s going to be best suited to being mounted on your lid. A broader beam pattern means the light will be best mounted to your handlebars.
Mounting a light in either place has both drawbacks and positives.
We'd recommend combining a lightweight helmet-mounted light with a focused spot beam (our guide to the best helmet lights includes our top-rated options), which helps you see around corners, and a bar-mounted light with a broader spread.
This gives you the best of both worlds and removes any potential mounting headaches.
4. Save your battery

While it’s tempting to keep your lights on full power for the duration of your ride, it makes sense to conserve your lumens when they’re not needed.
Simple singletrack climbs or fire roads don’t require as much illumination as techy descents, and you’ll get much longer battery life if you use a lower-power mode.
On particularly moonlit nights, you may even find it bright enough to pedal across open sections of hill. Once your eyes have adjusted, you’ll be in for a truly magical experience.
5. Pick the right route
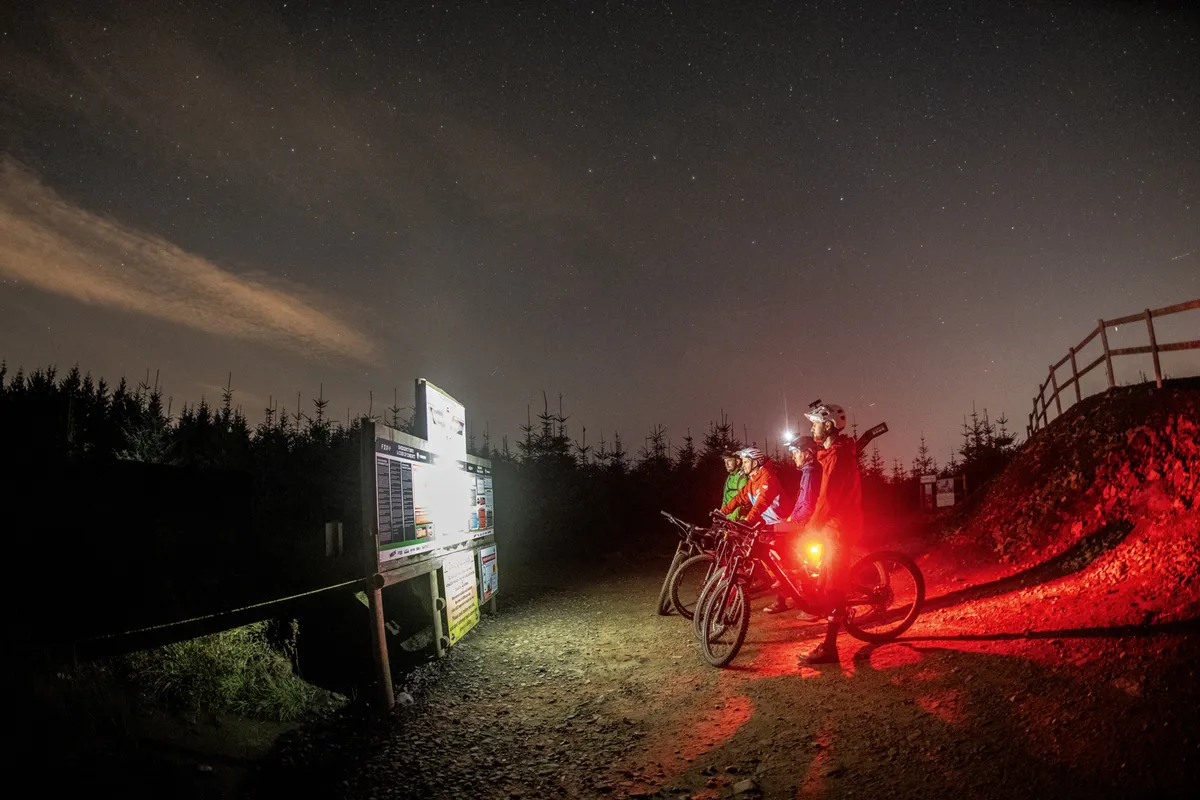
Once you’ve got your setup dialled, it’s important to pick the right route to ride.
If you’ve never been on a night ride before, start on an easier and well-trodden route you’re familiar with to build confidence.
You’ll be surprised by how alien the trails look and feel. Subconscious cues that you use to initiate turns and features you’re familiar with will be cast into shadow, and won’t appear when you expect them.
It’s important to take it easy and not get too confident too quickly.
Trail centres are ideal places to hone your night-riding skills. The tracks are less likely to have hidden surprises such as stumps or rocks that could cause you to crash by catching a pedal.
Once your confidence has improved and you’ve got used to how the trails look, you can challenge yourself with more technical trails, but build up gradually.
When you become a seasoned night rider, the only limit to how far you can ride and the types of trails you can tackle is your light’s power and battery life (unless you buy a dynamo light).
6. Make friends
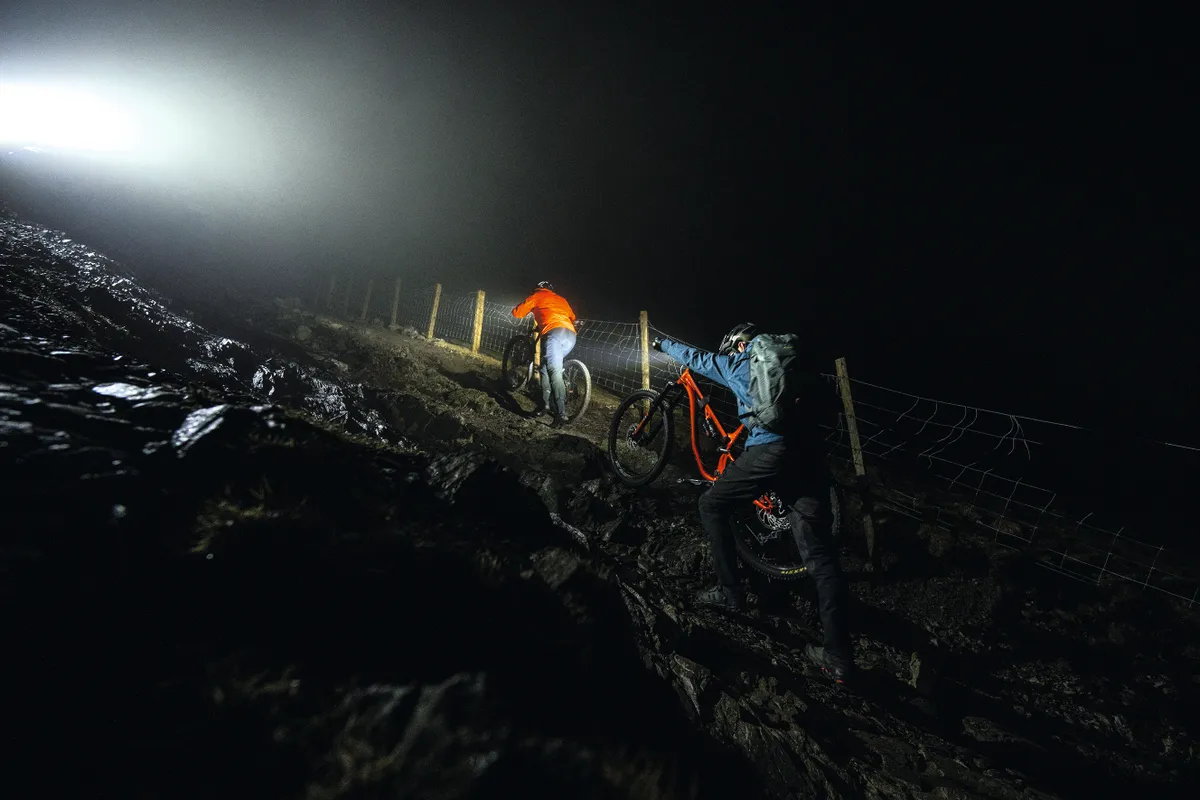
Riding on your own can be great fun, but night rides become even better once you head out with other people.
After-work rides with mates are a great way to keep the winter blues away. Shops and cycling clubs around the country organise evening rides too, and they’re a great way to meet new and like-minded people.
With daylight hours limited in winter, if you want to ride regularly you’ll need to get out after dark. Having riding buddies to team up with can help you get out of the door when it’s otherwise tempting to stay at home.
It also makes riding at night safer. Should the worst happen and someone has a crash, light failure or mechanical, you’ve got company to help deal with the consequences.
7. Keep your distance
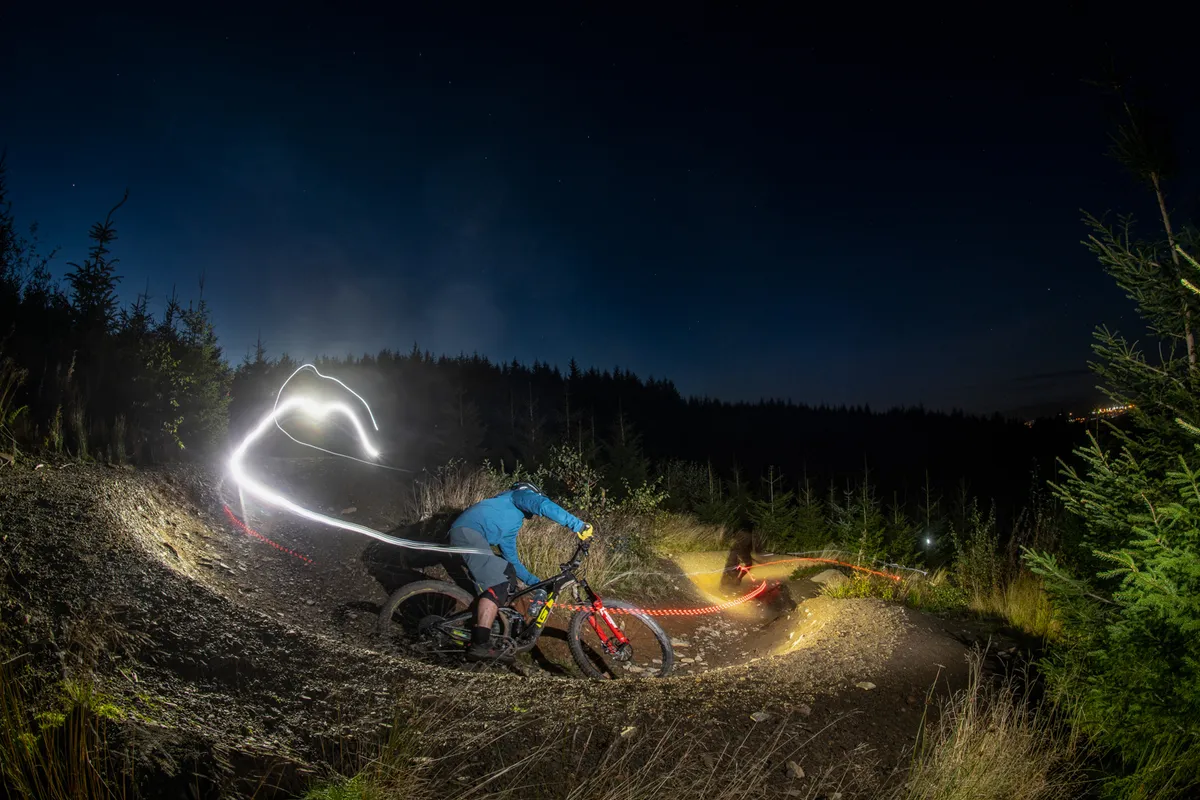
Riding at night brings with it a unique number of considerations that wouldn’t normally cross your mind on daytime adventures.
Remember to not ride too close to the person in front of you, especially if your light is brighter than theirs. If it is, you’ll cast a giant shadow ahead of them, plunging the bit of trail they’re riding into total darkness.
It’s going to sound obvious, but if you stop to have a chin wag with your mates, try not to shine your light directly into their eyes, temporarily blinding them. This is easily done with helmet-mounted lamps.
To improve your light’s battery life, remember to dim it on sections of your ride that require fewer lumens – for example heading down a smooth, flat fire road, or on-road transitions between bits of trail.
Remember to bump it back up to full power when the trails get more technical though.
8. Look ahead (even more than usual)

When riding in the hours of darkness, it’s even more important than usual to keep your eyes up and looking ahead on the trail.
Shadows, depths and textures on the trail can look different under the beam of a light, so having a good idea of what’s ahead will enable you to ride more smoothly and confidently.
While this tip will improve your riding at all times of the day, it’s especially important when riding at night with a torch mounted to your helmet. If you stare at your front wheel, that’s where your beam will land, meaning you’ll be playing a constant game of catch-up as trail features and turns jump out at you from the darkness.
9. Stay safe
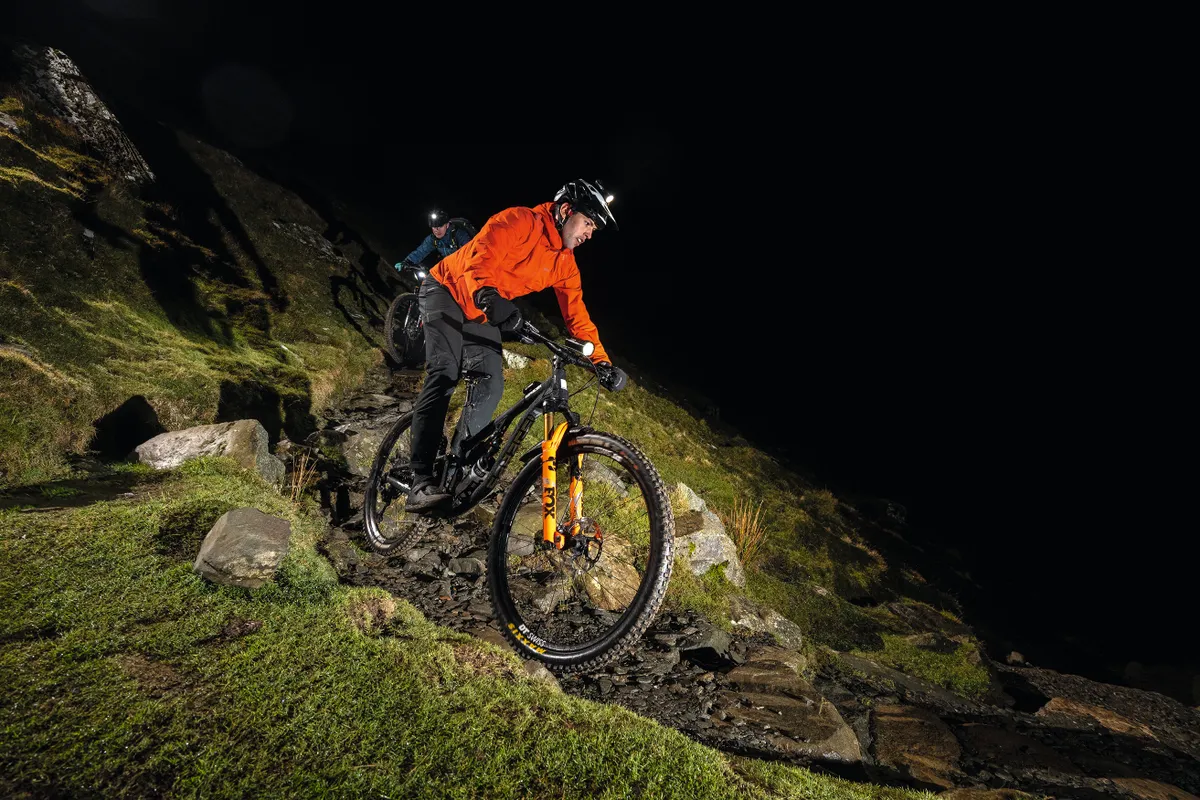
There’s no denying riding at night has its dangers. The likelihood of crashing is higher, you’re less visible to other trail (and road) users and you’re less likely to encounter other riders in the event of an accident.
Take a working rear light even if you’re planning on staying off-road – you never know what might happen.
A back-up front light is a good idea too, and pay close attention to your main light’s battery life – you don’t want to get caught out in the middle of nowhere, unable to see or be seen.
Wait for friends if you get separated and always let someone know where you’re planning to go and how long you’re going to be out.
If you ride with a GPS cycling computer, consider using a location tracker. Some of the best cycling apps also offer similar functionality.
Make sure your bike is ready for the mud if you live in a wet climate and take everything you need for trailside repairs.
Wrap up warm, too – when it’s dark, the temperature drops. A spare layer in your riding pack could make all the difference if the weather changes or you need to make an unscheduled stop.
You can read our guide to the best waterproof mountain biking jackets for starters.
10. Enjoy the experience for what it is

Night riding offers an unforgettable experience, if you accept it for what it is. While you may be tempted to ride as hard and fast as you would during the daytime, this approach will likely end in frustration.
To make the most out of your nocturnal riding experience, we recommend you embrace the darkness, focus on picking smooth lines rather than setting record times, and take some time to marvel at the experience of riding your mountain bike through the woods while the rest of the world is getting ready for bed.
