It's a good idea to carry out a basic safety check, otherwise known as an M Check, on a bicycle before any long ride, or at least once a week. This guide helps you pick out potential problems in a methodical and easy-to-remember way.
Our guide applies equally to a road bike, gravel bike, hybrid bike or mountain bike – and both a new bike or one that may not have been ridden for some time.
If you've bought a bike online and need to build it at home, check out our guide on how to assemble a bike.
What is the M check?
The M check is a basic safety check of all the main working parts of a bike, moving from the front hub back.
The check is named after the way you follow the shape of the letter M when checking the bike (clever, eh?).
It's a useful pattern to follow and helps you quickly identify any problems with the bike. With practice, it should take only a couple of minutes to check over any bike thoroughly.
We've outlined each step of the M check below.
How to safety check an adult bike
How to safety check wheels, brakes and hubs on a bike

Check that the wheels are attached securely to the bike.
These days, wheels are most likely to be secured with a quick-release skewer or some form of bolt-thru axle.
If your bike uses quick-release levers, secure them by clamping the lever down and turning the nut on the other side until it’s tight against the fork (or frame).
Then, open the lever and give the nut another full turn or so. You should now be able to tighten the quick-release firmly without forcing it, ensuring the wheel is firmly and squarely seated in the dropouts.
Doing this while the bike is sat on the ground can help ensure the wheel is seated squarely within the dropouts.
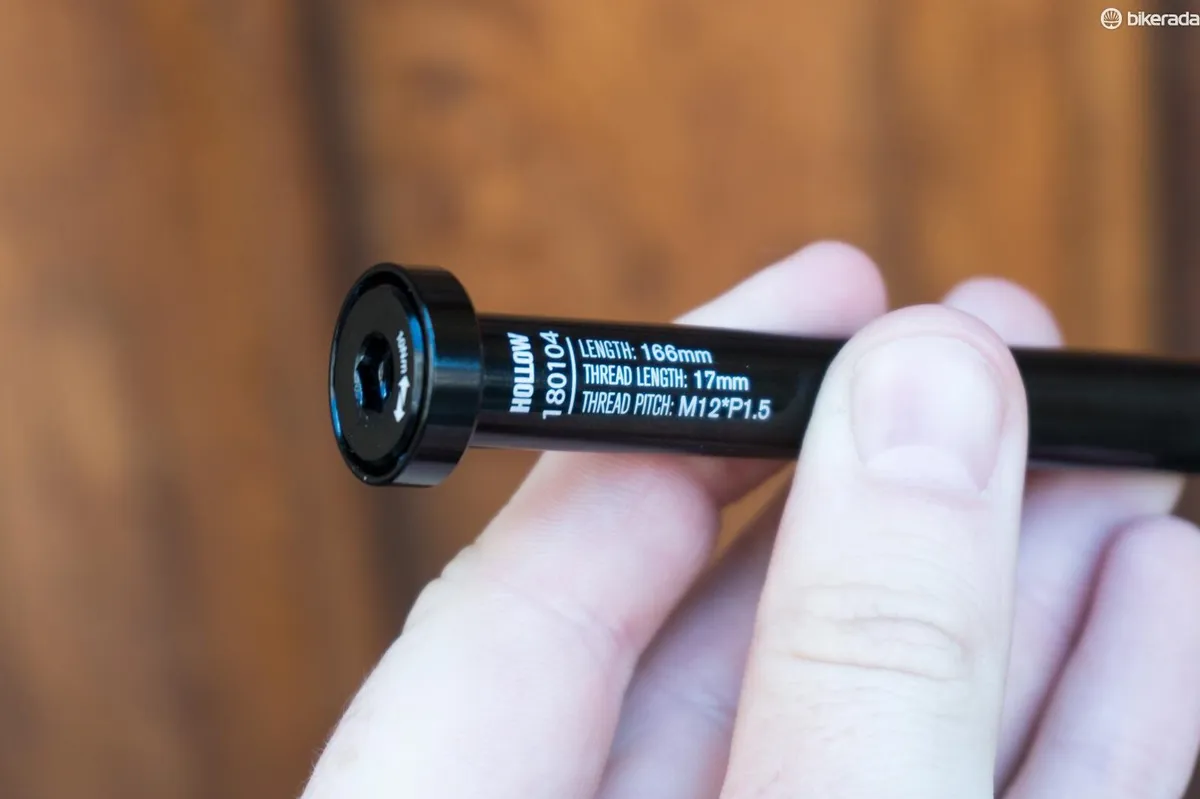
Bolt-thru axles will usually be threaded through the hub and screwed into the opposing fork leg or chainstay. Before riding, you need to make sure the closure system is secured as per manufacturer instructions.
Next, ensure the hub is in good condition by rocking the wheel from side to side to check for play or sideways movement.
Give the wheel a spin. If you hear grinding, or if it sounds rough, it might be time for a bearing replacement or service.
While you’re spinning the wheel, check the disc or wheel rim is running cleanly through the brake caliper. If it’s rubbing, you’ll need to adjust the brakes or caliper.
Finally, give the brake levers a squeeze to check the brakes are working correctly. If you notice a slightly more spongy feeling with hydraulic brakes, they might require bleeding.
If your cable-pull brakes don’t feel firm and decisive, you may need to adjust your cable tension or replace your disc brake pads.
How to safety check bike tyres
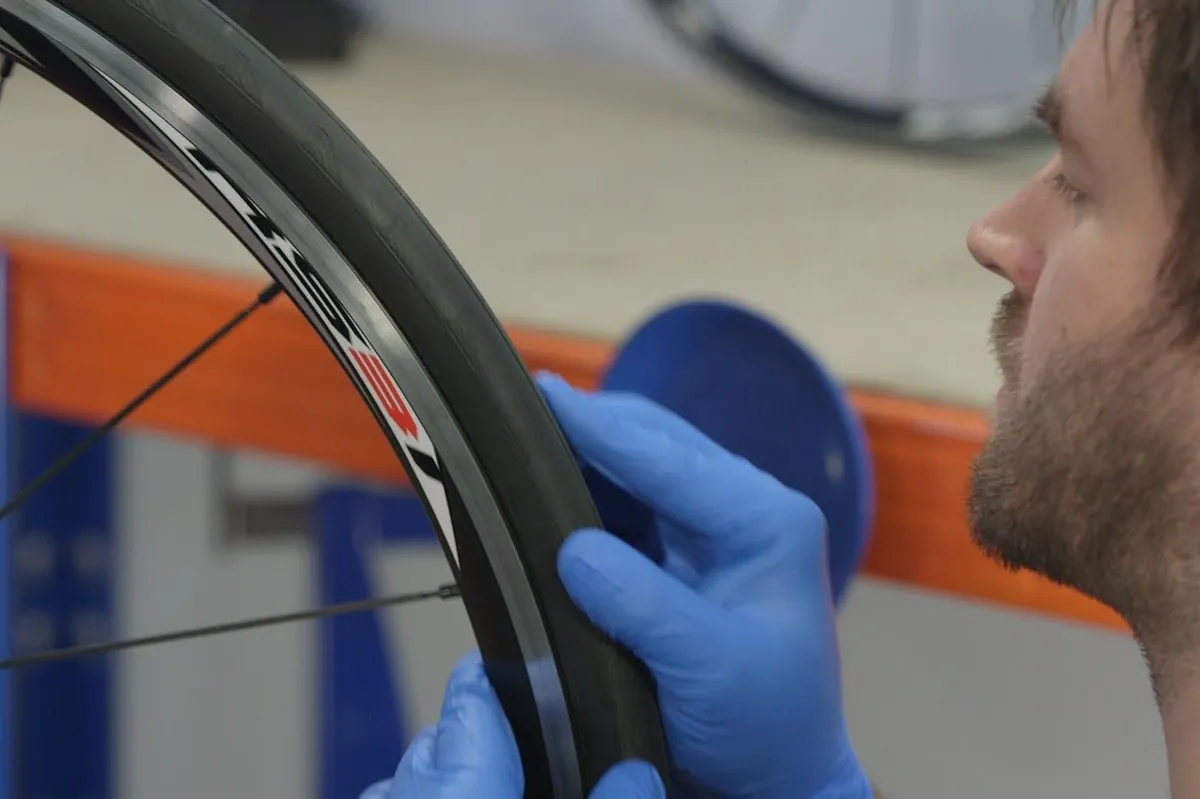
Tyres need to be seated correctly in the rim. Examine the bead where the tyre contacts the wheel rim. Make sure the bead looks uniform all the way round. If it doesn't, you may need to reinstall the tyre.
When you’re happy the tyre is seated, check the sidewalls and tread for excess wear or damage. Worn or torn tyres can be dangerous, so replace them before riding if you are in any doubt.
There are no regulations or markers on bike tyres, so you have to use your own initiative – for road tyres, you’ll start to notice a flat spot, and seeing carcass is a definite sign they need replacing.
Mountain bike tyres suffer degradation to the knobs and when they’re gone, the tyre is pretty much useless and will need replacing.
If you are running a tubeless tyre setup and haven't ridden the bike in some time, pop the bead open and check the sealant hasn't dried out.
Although inner tubes lose a small amount of air over time, returning to your bike to see a fully flat tyre suggests there could be a puncture. You don't want to deal with this mid-way through a ride, so take the time to fix a puncture – even a slow one – before you head out.
Pump up your tyres to the correct tyre pressure before riding. Note that optimal tyre pressure differs between road and mountain bikes.
How to safety check your bike's suspension components
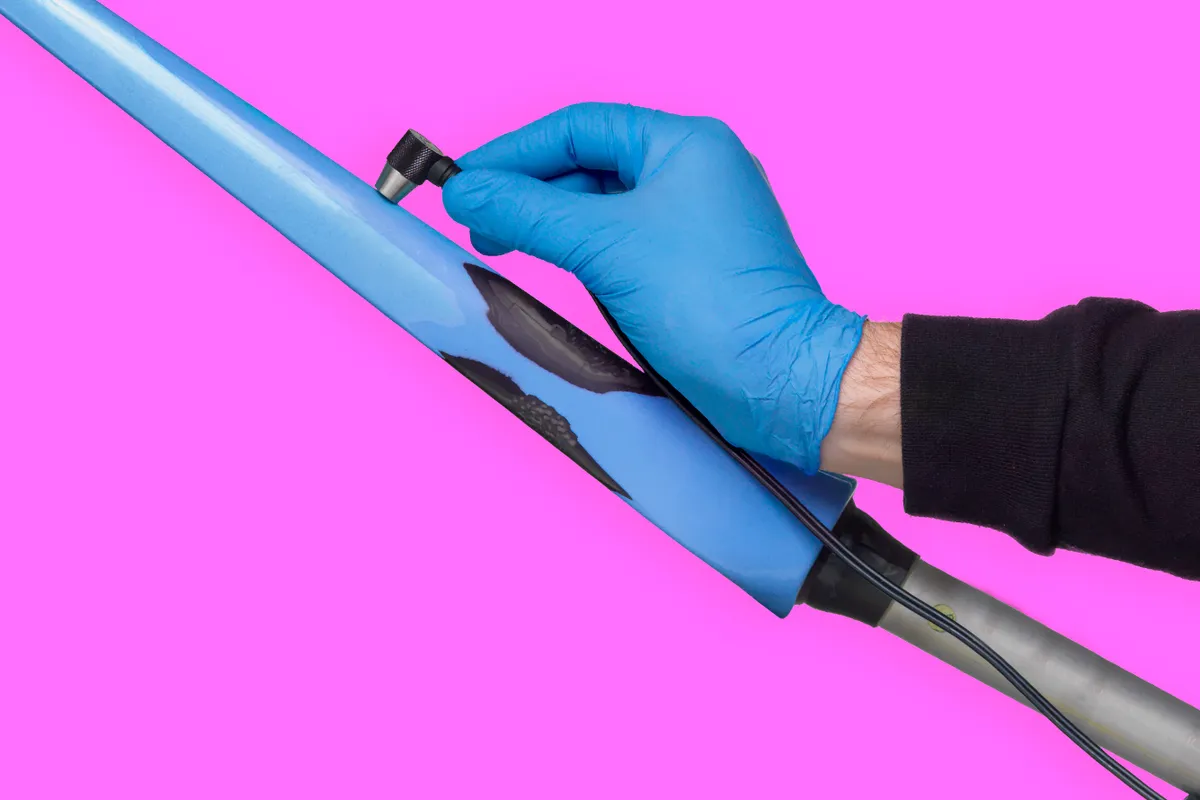
Next, inspect your fork for hairline cracks or any other kind of damage. If you have a suspension fork, check the stanchions for scratches or for excessive suspension fluid near the bolts.
It’s worth noting that a small amount of oil on the stanchions – or a witness mark, as it’s known – is perfectly normal and expected on some forks.
With front and rear air suspension, it’s also worth checking the sag is set correctly about once a month.
How to safety check your bike's cockpit
Moving up to the headset, rock the fork forwards and back with the front brake applied to see if there is any obvious play. If you notice the bike knocking, try to isolate where it’s coming from by placing your fingers on the joints.
Next, lift the wheel and turn the bar slowly. If you feel any grinding or resistance, it might be a good idea to service your headset or replace it.
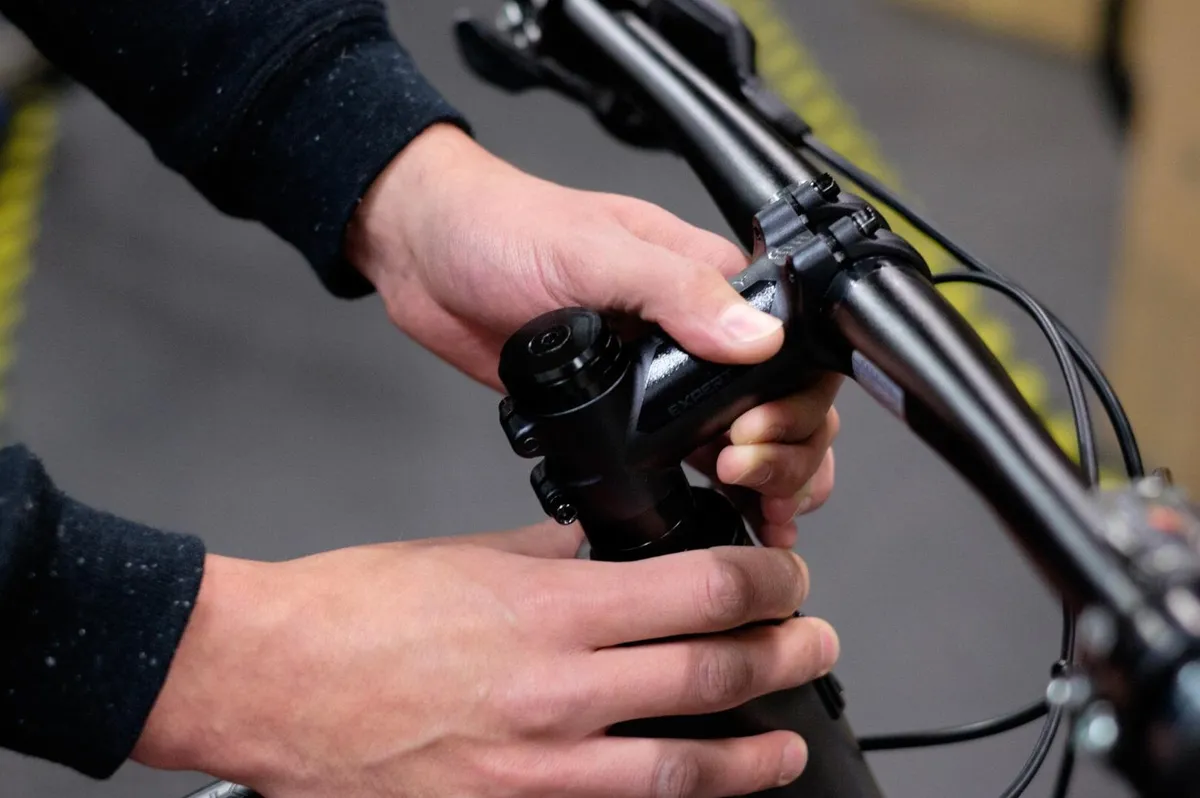
Check the stem is secure by holding the front wheel straight with your knees and pushing on the bar. You should be able to apply a reasonable amount of force without the stem turning on the steerer tube.
Stand over the bike and rotate the bar forward and back – if you have drop handlebars, push on those too. There should be no movement of the bar or the grips.
On bikes with flat handlebars, you should also check that the brake levers and shifters are fixed securely.
How to safety check a bike frame

Moving down the frame, check any frame accessories, such as a bottle cage, are attached properly and not rattling
You’ll also want to visually inspect the entire frame, especially around the welds, if applicable. If you find even a small hairline crack, you should get it checked out by a professional before riding.
If you have a frame with a suspension system, check the shock mounting bolts are holding it firmly in place and the shock is in good working order, as with the fork.
If you are buying a second-hand carbon frame, check out our comprehensive guide on what to look out for.
How to safety check your cranks and pedals
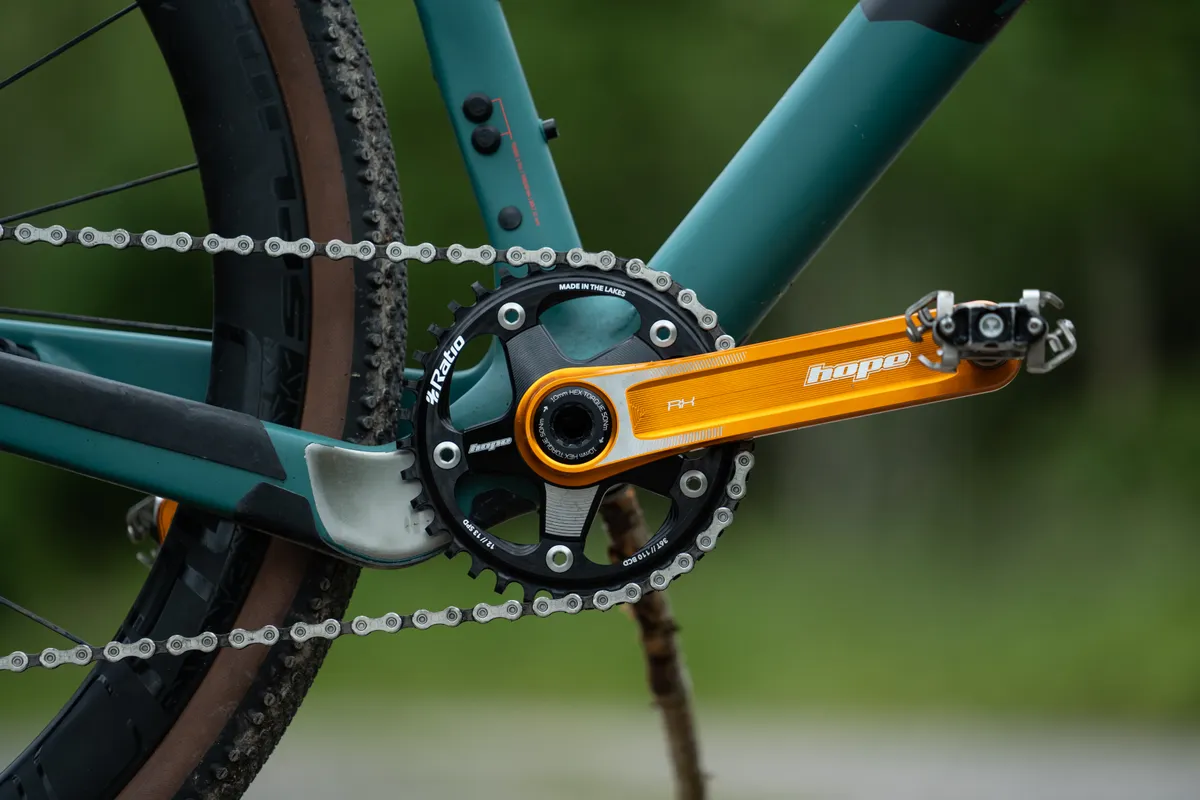
Give the cranks a spin in the backward direction, so you don’t spin up the rear wheel. As long as the drivetrain is running smoothly, the bottom bracket should also be running smoothly.
Inspect the chainrings for damaged, missing or excessively worn teeth. Worn chainrings will wear to a shark-fin like profile.
Rock the cranks toward the frame to check for any grinding, resistance or play. If you feel any play, it may mean you need to replace the bottom bracket.
Check your pedals by giving them a spin. A well-serviced pedal won’t spin freely because the grease should stop it. Again, check for play by rocking the pedal body. If you find your pedal is not performing correctly, it’ll need to be replaced or serviced. Check your pedals are fitted correctly while you're at it.
If you have clipless pedals, check the metal or plastic cleat on your shoe is not overly worn, is securely bolted and clips in and out with your preferred resistance.
How to safety check your saddle and seatpost
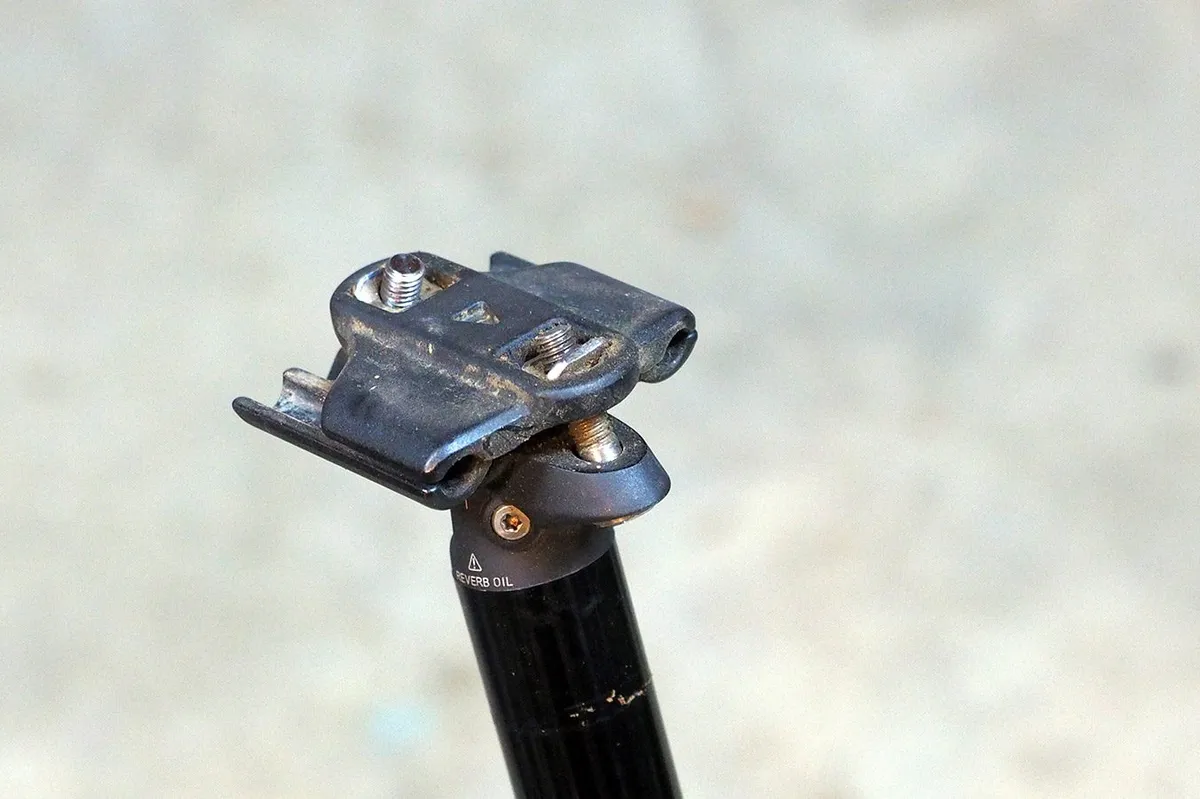
Periodically remove the seatpost from the frame and give it a clean.
If you have aluminium, titanium or steel components, apply some grease before reinstalling. If you have either a carbon frame or seatpost, you’ll need to apply a specific carbon grip paste. This paste is grease-like but contains small particles to increase friction between components.
A stuck seatpost can write off a frame, so be diligent with this step.
When the seatpost is reinstalled at the correct saddle height, check the saddle is mounted securely in the clamp.
How to safety check the rear wheel and drivetrain on a bike
Repeat the procedure performed on the front wheel at the back, checking the hub, tyres and brakes for play, effectiveness, rubbing and wear.
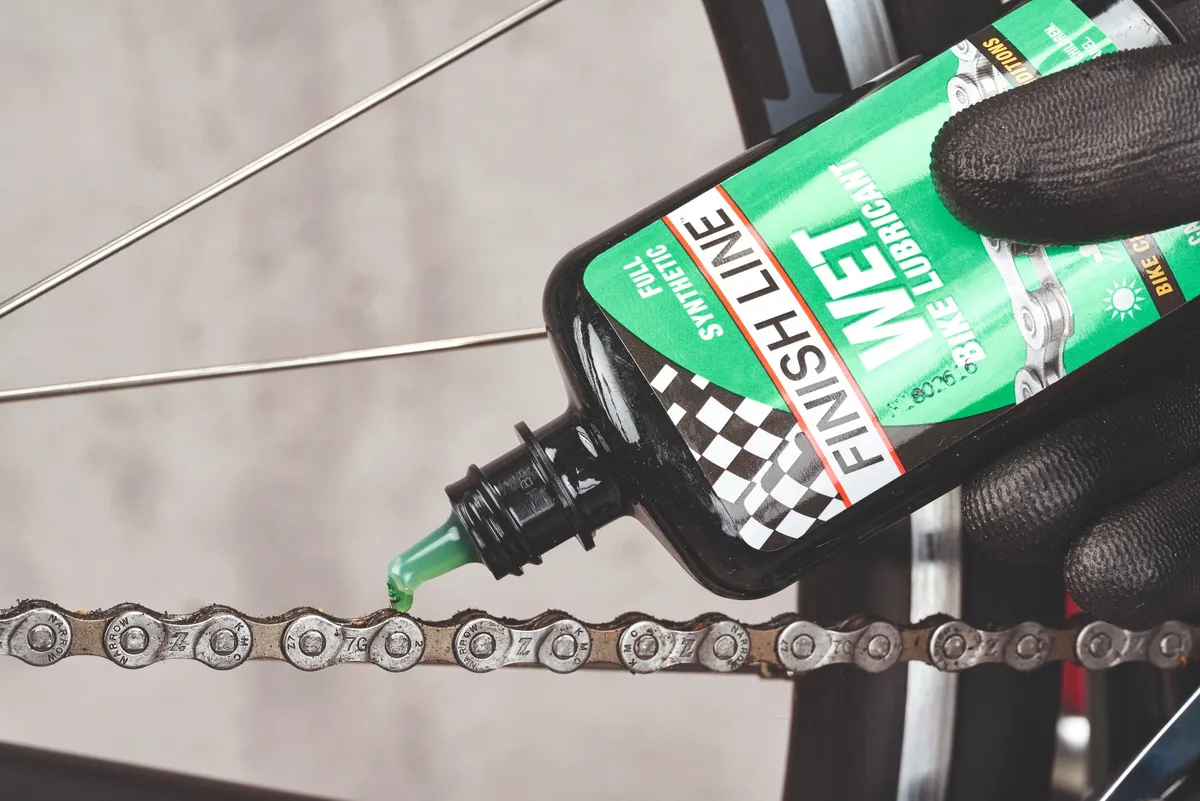
Pedal by hand and check that the chain runs cleanly, with no stiff links. Shift the front and rear derailleurs through their range of gears.
The chain should shift up or down one set of teeth for every click of the relevant shifter. If the chain doesn’t shift in this way, is hesitant, or drops off the teeth, then you may need to adjust the gears on your bike.
Regular pre- and post-ride checks are important, but getting to know your bike can mean you identify problems as soon as, or even before, they arise.
Keep an eye out for irregular mechanical noises, frame creaks or unusual behaviour while riding, and check them out as soon as possible.
It is also important to use chain lube in order to provide efficiency and longevity to your drivetrain.
How to safety check a children's bike
Kids' bikes often come in need of assembly. A safety check before they pedal away is most definitely a good idea.
The above video will show you how to make sure your child's bike is in good working order.