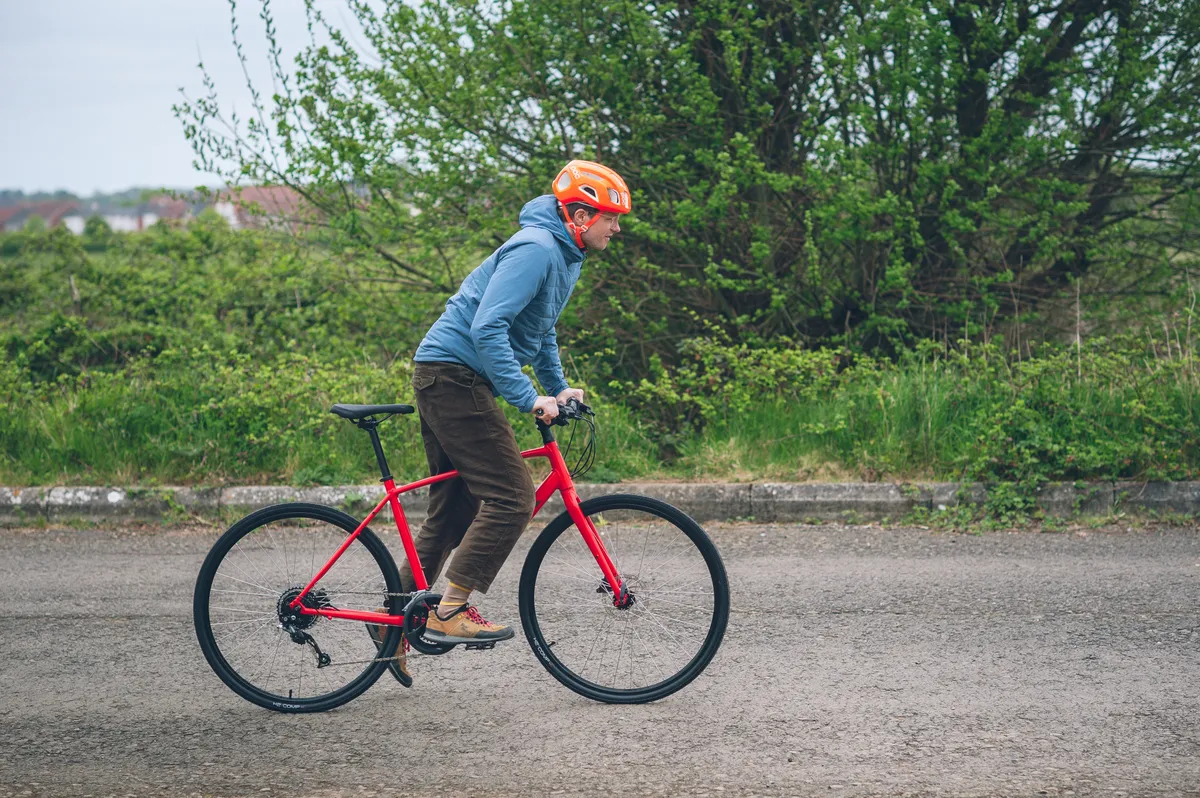
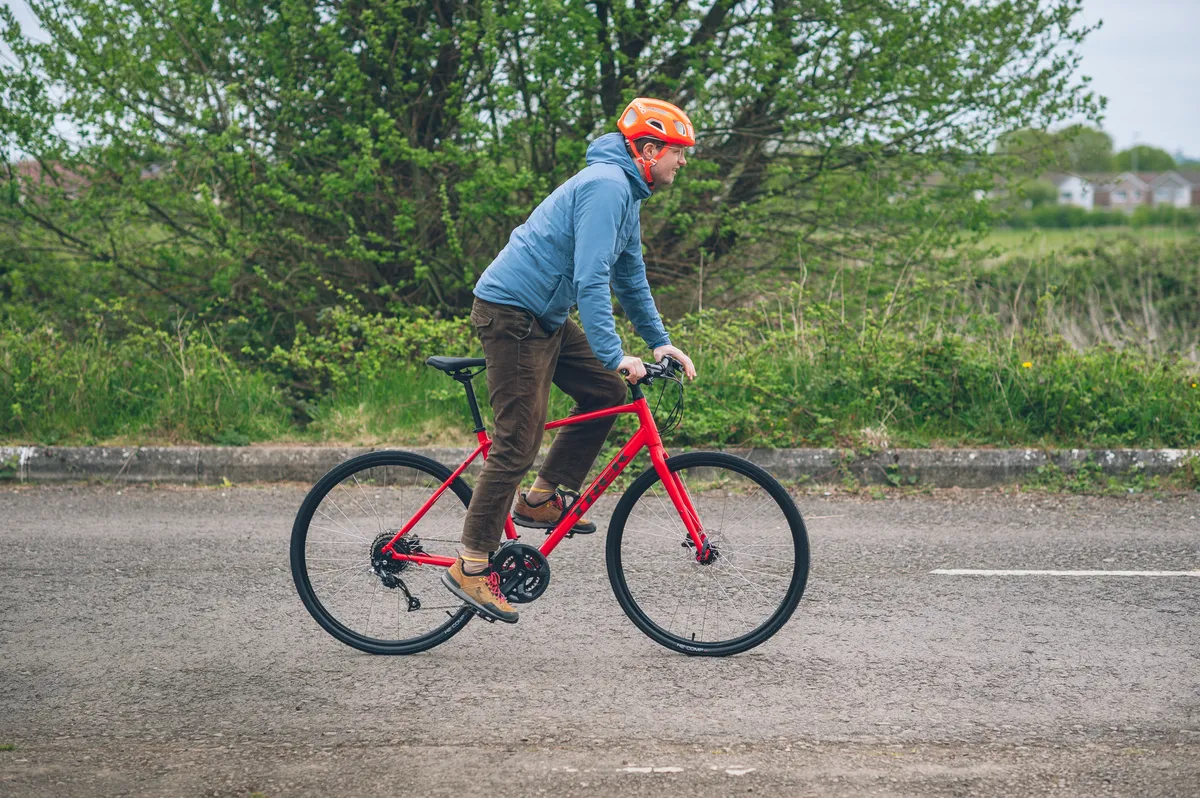
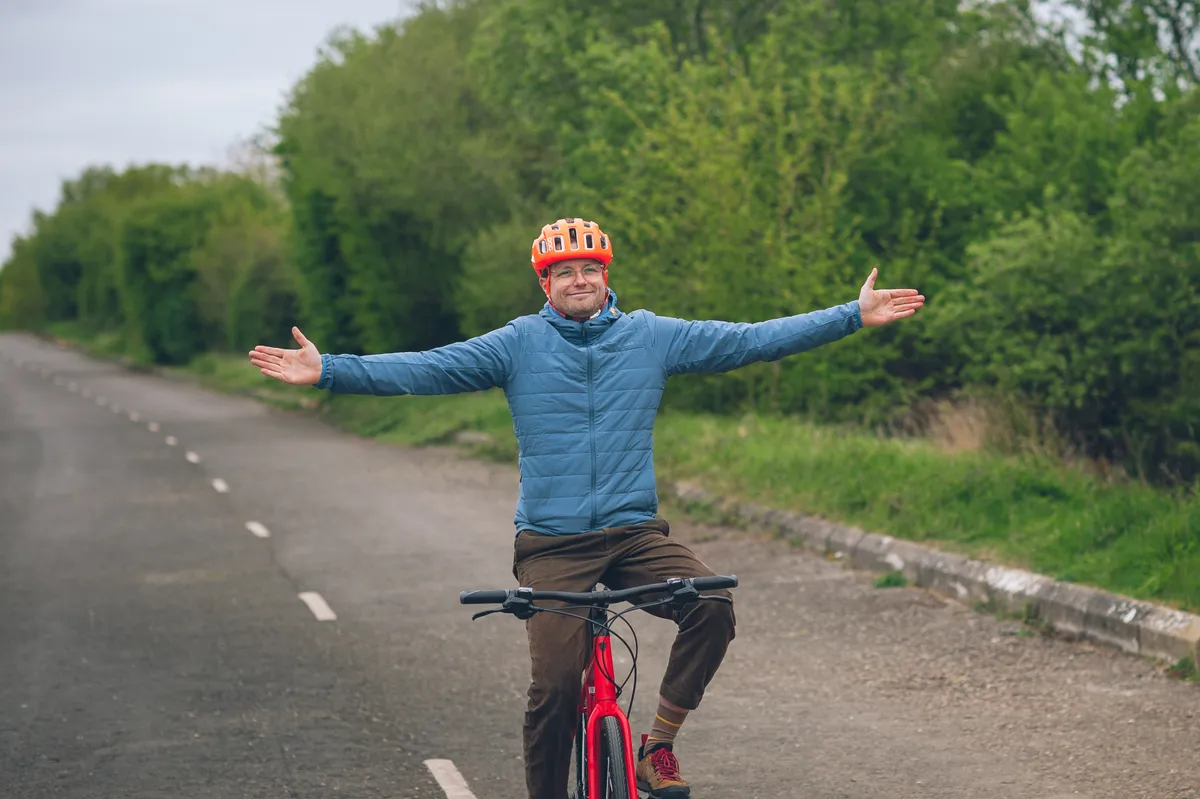
If you’re an adult who hasn’t cycled in a long time – or never learned in the first place – there are a number of key skills you should learn and practise before you hit the road.
In this guide, we’ll go over the beginner’s cycling skills you need to know, including setting your saddle height, safety checking your bike and key riding skills such as getting going, braking and signalling.
We’ll also discuss adult cycling lessons and where to find them in your local area.
Use the links below to jump to the section you need. And, if you're looking for more information, check out our top 25 tips on cycling for beginners.
Bike setup basics
Let's start by running through the basics of how to setup your bike.
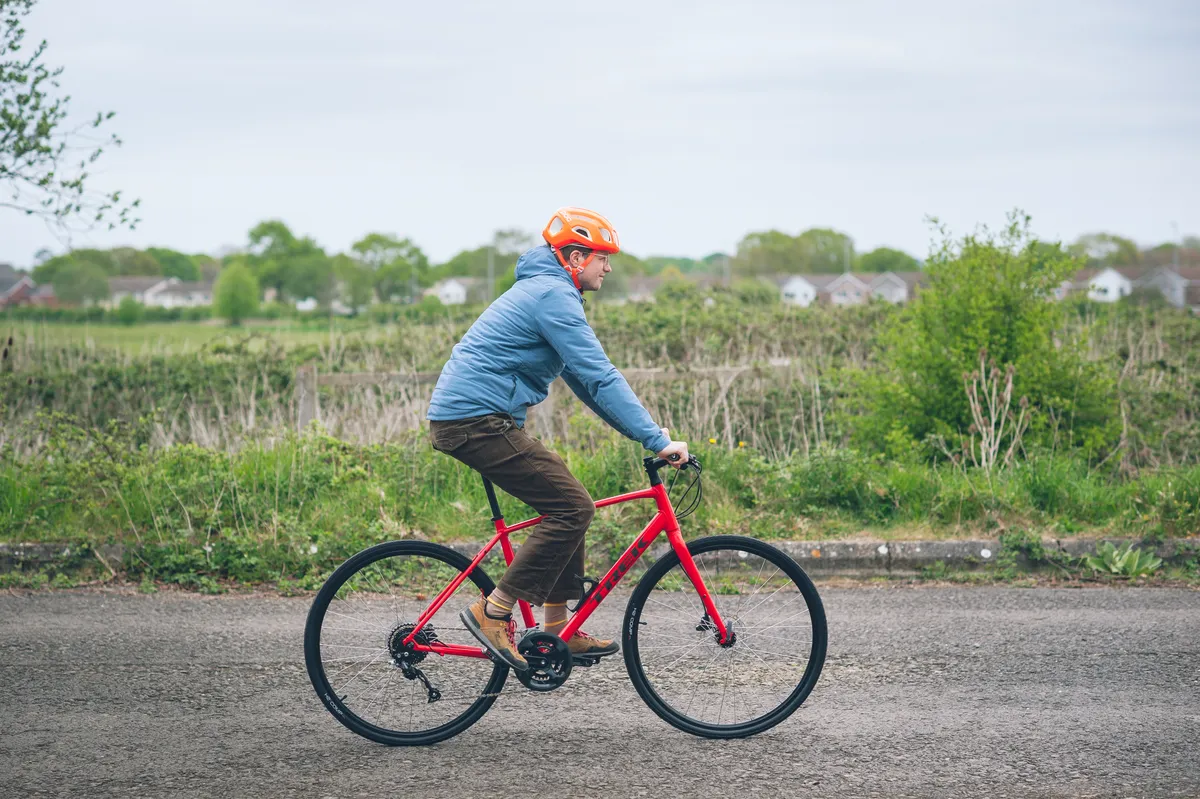
How to set your saddle height
Getting your saddle height right is vital to ensuring your bike is comfortable, safe and easy to ride.
Most beginners will feel comfortable riding with a saddle height that is, in fact, too low for them. This is usually because allows them to sit across the bike with a foot flat on the floor, which feels safe.
This is fine if you’re just starting out and want to get used to riding a bike, but you will quickly find a low saddle height position becomes limiting and annoying.
A low saddle height makes it harder to pedal, particularly uphill, as your legs are unable to fully stretch out. This reduces your muscular efficiency. For some people, the sharper bend in the knee caused by a low saddle height can cause injury.
As an analogy, imagine trying to crush a can with your foot while sitting down compared to when standing up. The latter is, of course, much easier.
A low saddle height will also make it harder to stand up on the pedals if you, for example, want to bump off a kerb.
Another helpful analogy: think about standing up from a seated position on a low sofa compared to a high stool.
Conversely, if your saddle is far too high, you won’t be able to reach the pedals.
If it’s just a little too high, you will still be able to reach the pedals but your hips will rock from side to side as you pedal. That will quickly make you sore and uncomfortable.
As a very general rule of thumb, you want to set your saddle height so there is a bend of approximately 25 to 35 degrees in your knee when your pedal is at the bottom of the stroke.
You can test this out by leaning against a wall or fence and pedalling backwards. Recording yourself with a smartphone is the easiest way to check your position.
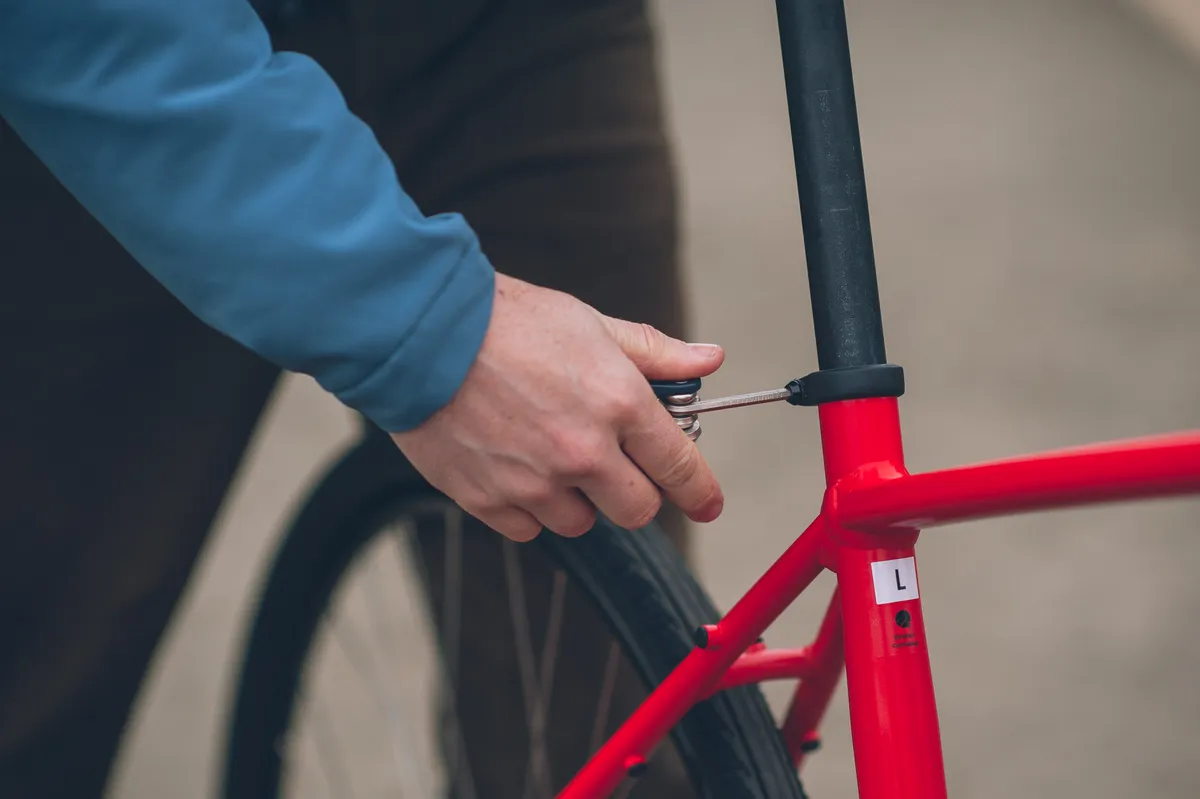
To move your saddle up and down, you’ll probably need a hex/Allen key to loosen the seat clamp. Some bikes come with a quick-release saddle clamp, which makes this process even easier.
Unscrew the bolt by turning it anti-clockwise, then lift or lower the saddle as necessary. Even small changes of 5-10mm can make a big difference, so don’t be afraid to take your time here.
Once you’re happy with your saddle height, ensure the saddle is sitting straight. You can check this by looking at the back of your bike and checking whether the nose of the saddle is sitting in line with the top tube of your bike.
Tighten the seat clamp bolt firmly so that the saddle won’t rotate if you try and twist it. That should leave it tight enough that it won’t sink under you. If you have a lightweight carbon bike, it’s worth investing in a torque wrench.
If you really want to nerd out on getting your saddle height just right, check out our in-depth guide to setting your saddle height.
Pump up your tyres
Getting your tyre pressure right will make your bike as comfortable and efficient to ride as possible.
If your tyres are too soft, riding will be hard work and you run the risk of damaging your inner tube, tyre or wheel.
If your tyres are too hard, your bike will be uncomfortable to ride, and less efficient on rougher surfaces.
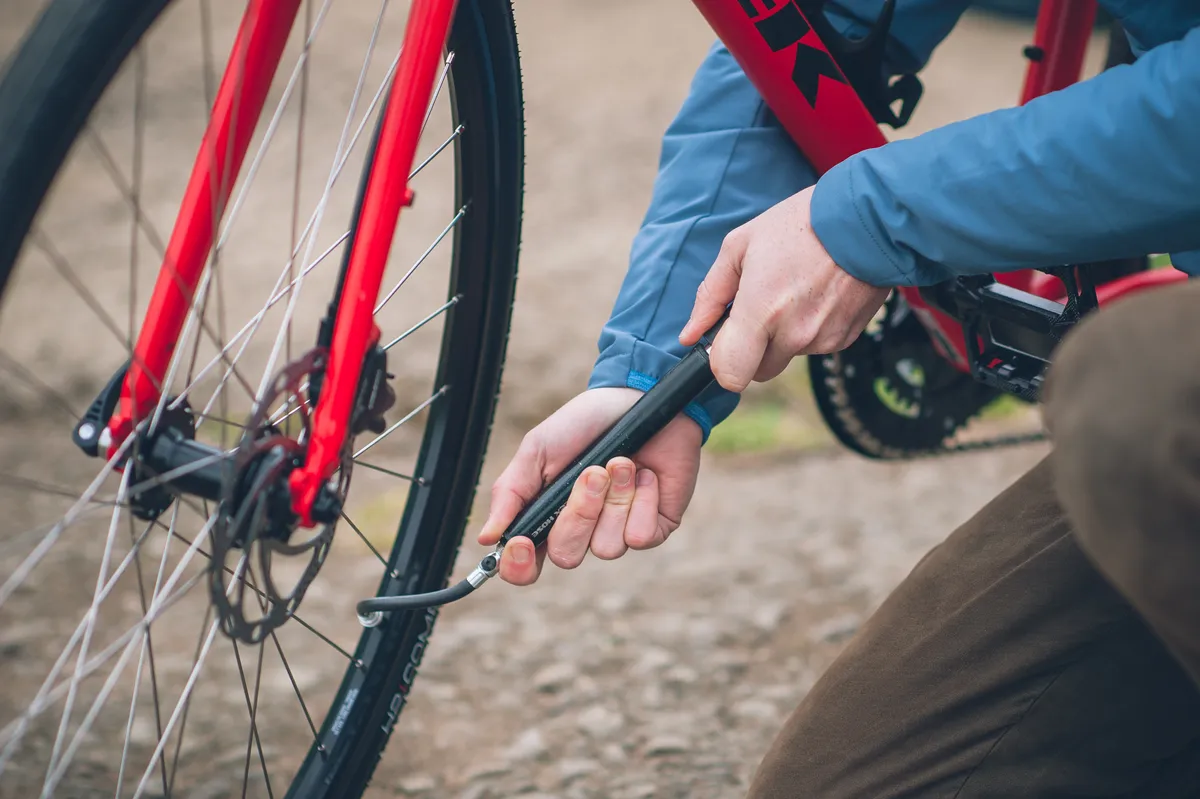
Pumping up your tyres to the right pressure will allow them to support you and your bike’s weight on a cushion of air that absorbs bumps without squirming or deforming as you ride.
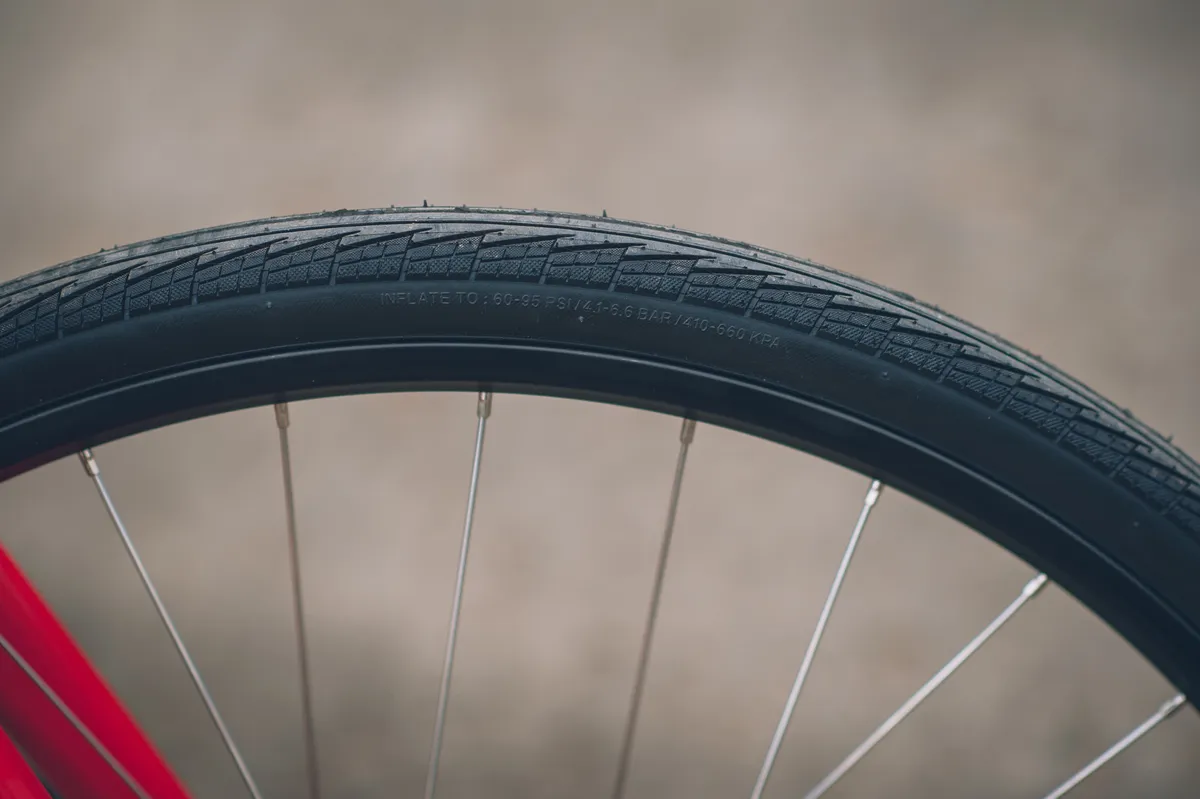
Almost all bicycle tyres will have a tyre pressure range printed or moulded onto their sidewall. This will state the recommended minimum and maximum pressure range for a tyre.
Somewhere around the middle of these two figures is a good starting point.
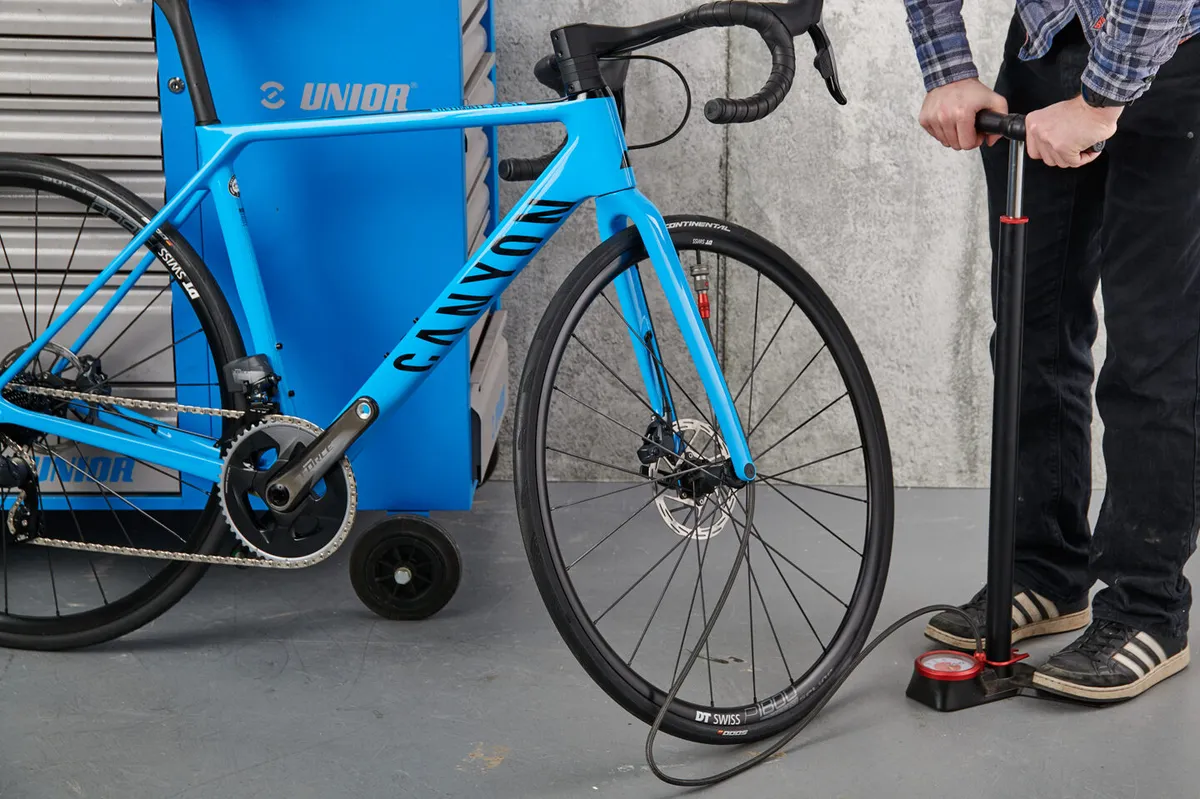
If you want a more accurate figure, try a tyre pressure calculator. We recommend the Silca or Zipp tyre pressure calculators to most riders.
If you really want to go to town, check out our in-depth guides on how to set mountain bike tyre pressure and road bike tyre pressure.
We've also got a separate guide on how to pump up a bike tyre, covering the basics of Presta valves, Schrader values and, of course, inflation – as well as our pick of the best bike pumps.
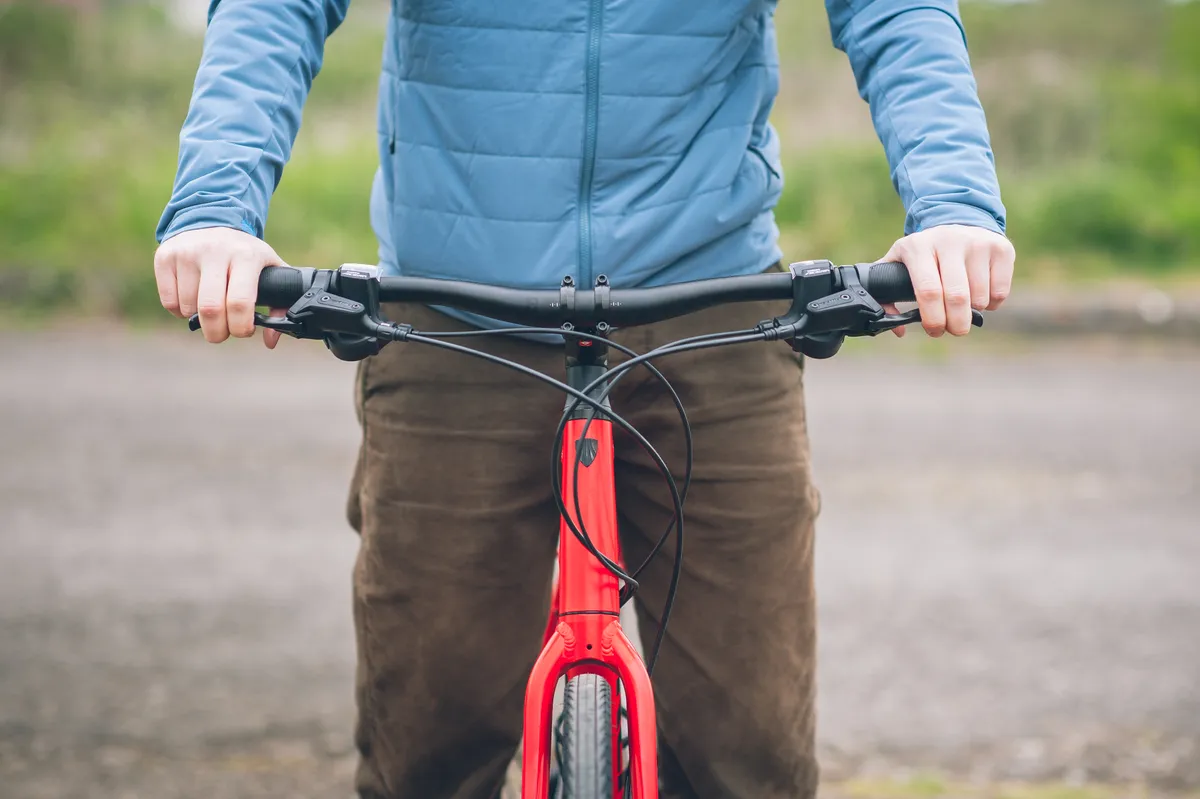
Adjust the handlebar height

An often overlooked but important part of ensuring your bike is as comfortable as possible is setting your handlebar height.
Generally speaking, a bike with handlebars that sit above the saddle will be more comfortable and easier to ride. An upright riding position also makes it easier to look around and be aware of your surroundings.
If you find your bike difficult or uncomfortable to ride, raising your handlebar height may help.
Changing your handlebar height is slightly more mechanically involved than setting your saddle height, so refer to our full guide on how to adjust handlebar height for more information.
Safety check your bike

If you have unearthed a bike that hasn’t been used in some time from the depths of your shed, or bought a second-hand bike, it’s worth giving it a quick safety check (also known as an 'M check').
Key things to look out for include checking the wheels are secure, the tyres are in good condition and all bolts are tight.
For more information, refer to our full guide to completing an M check.
Adult cycling lessons
It is important to start this section by emphasising that there is absolutely no shame in not knowing how to ride a bike in your adult years – you are not alone.
According to a 2013 YouGov survey, an estimated six per cent of adults in the USA did not know how to ride a bike. A 2017 survey from the British Heart Foundation found that the figure was 12.5 per cent for adults in the UK.
More generally, the same British Heart Foundation survey found one in five Brits hadn’t ridden a bike in more than ten years.
Many charities across the UK offer cycling lessons for adults, but the best known of these is the Bikeability Trust.
This charity is focused on introducing skills to children, so does charge for adult lessons, but it’s well worth the investment if you want to get started in cycling later in life.
Basic cycling skills
Getting going
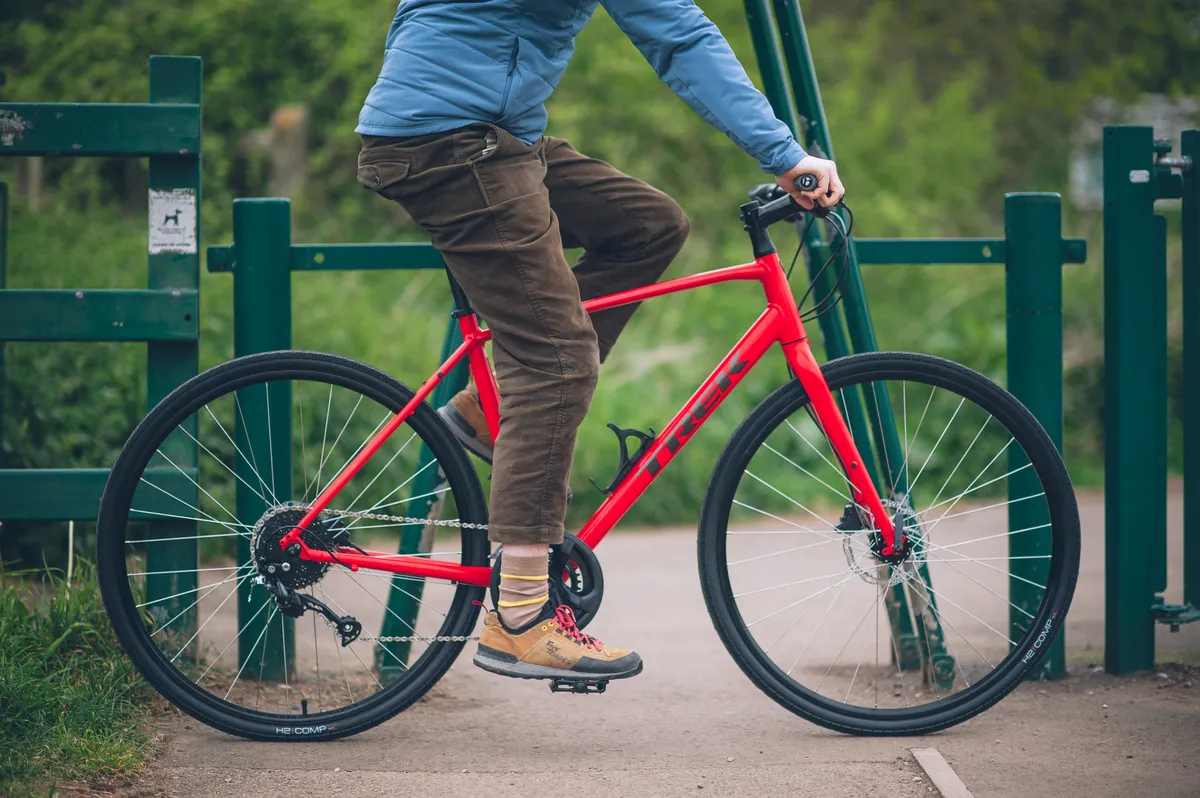
A vital skill that beginners often struggle to master is simply pushing off at the beginning of a ride.
If you’ve only ever ridden a bike with the saddle set too low, setting off can feel especially intimidating.
The trick is not to teeter on the saddle, but to straddle the bike and lift yourself on to the saddle as you set off.
It’s useful to know which is your lead foot, because this is the best one to start pedalling.
Imagine yourself sliding across a floor in your socks. Which foot do you lead with? That’s your lead foot.

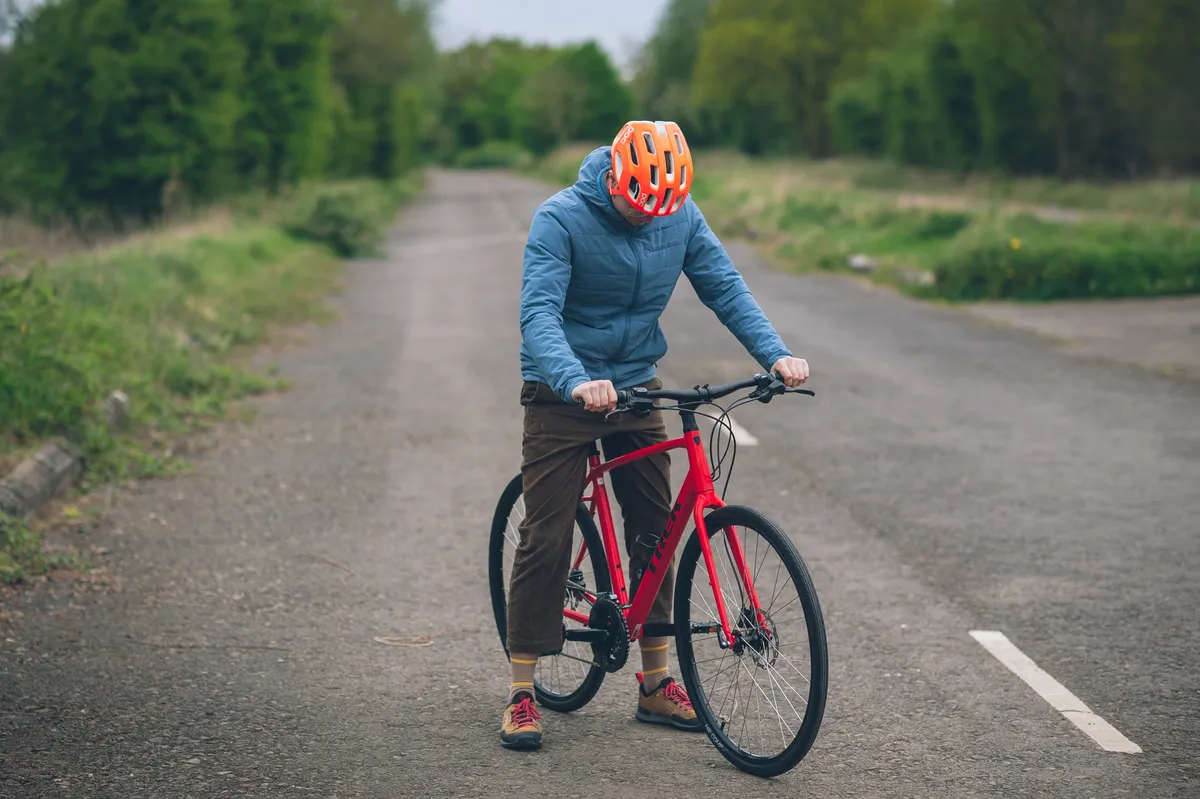
Step 1: Start with your lead foot on the pedal, straddling the bike. Squeeze the brake levers gently to hold the brakes on lightly and steady the bike.
A look over your shoulder to ensure the road or path is clear is always a good idea, even on a car-free path.
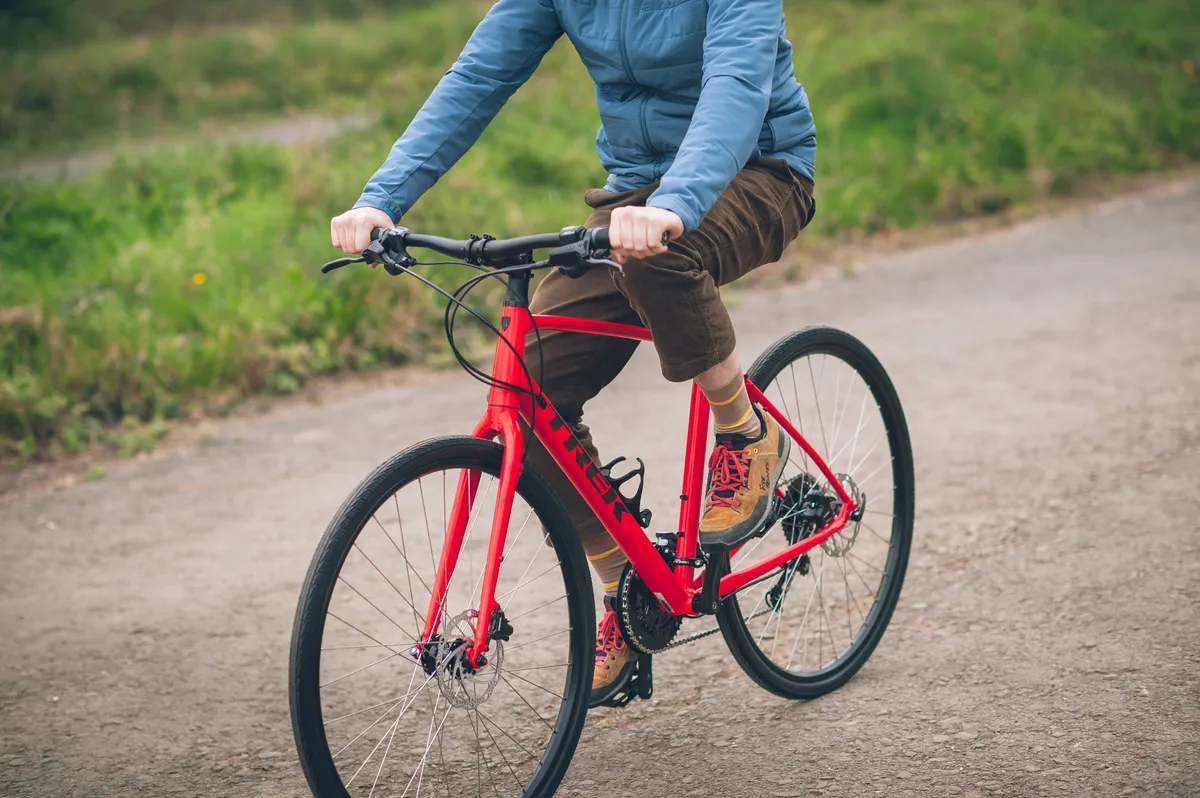
Step 2: Release the brakes and push down with your lead foot. As you start moving, push off the ground with your other foot and lift yourself up away from the bike frame. Keep a firm grip on the bars, pointing the bike forward.
Step 3: Place your other foot on the pedal and start pedalling, moving your bum back toward the saddle as the bike starts moving. A couple of pedal strokes while out of the saddle will help get you up to speed and balanced quickly.
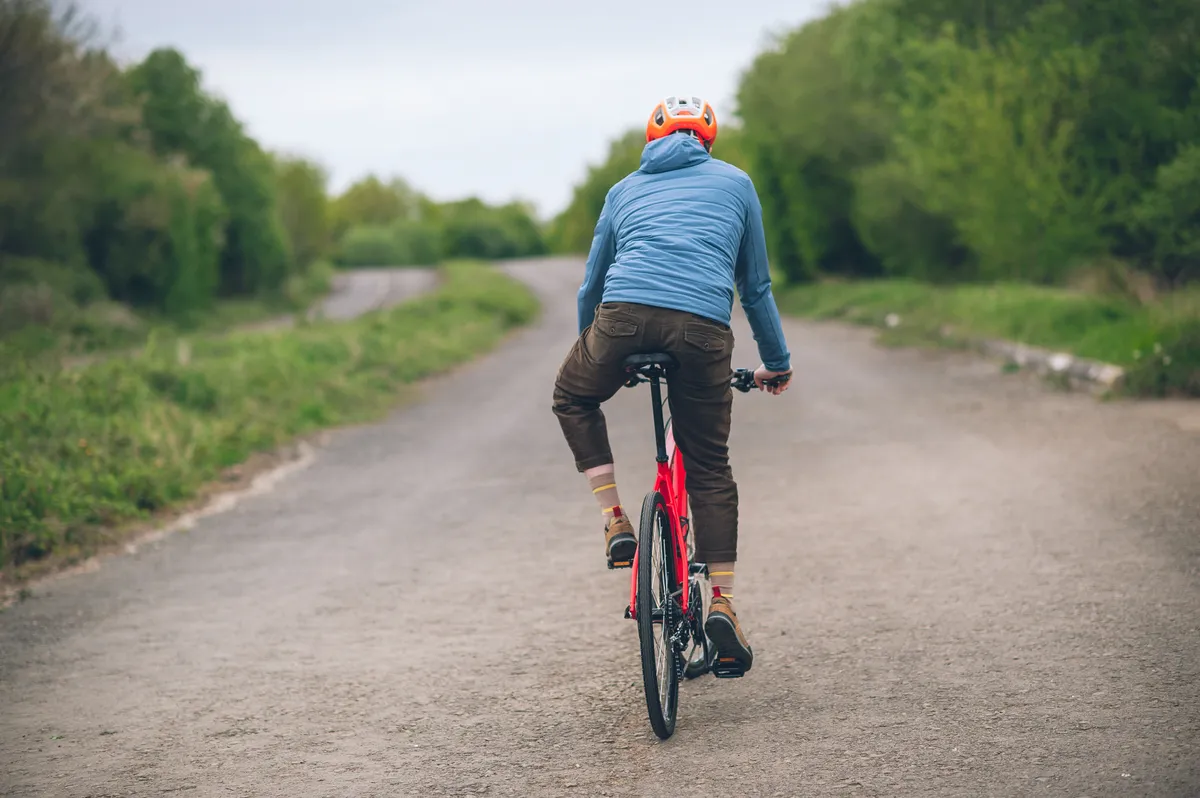
Step 4: Carry on pedalling, and gently lower yourself on to the saddle. Keep looking forward, rather than down at the handlebars or the road, as this will keep you steady.
Step 5: Sit yourself comfortably and away you go. Keep a light grip on the bars and your head up, and keep looking down the road or track.
Top tip: Try not to focus on what is right in front of your wheel. Instead, look ahead around five to ten metres. This will help you react to any upcoming obstacles but also helps you keep your balance.
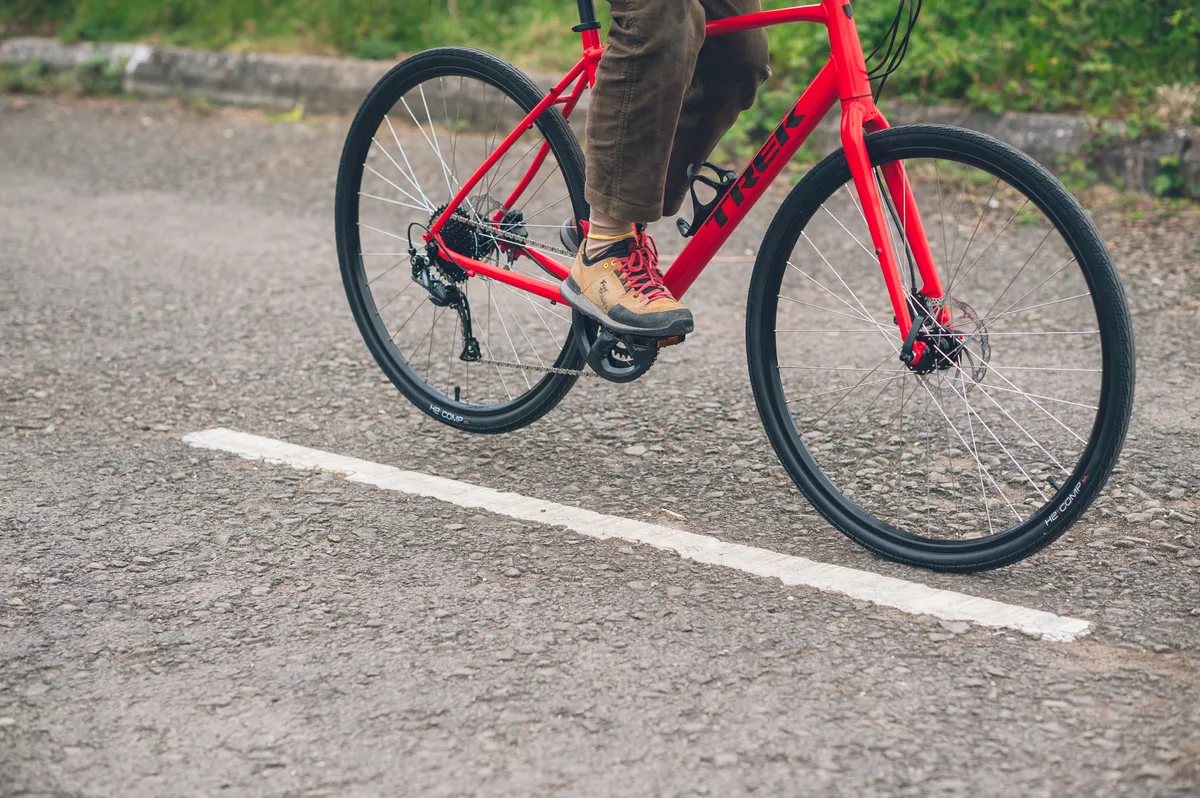
Pedal position
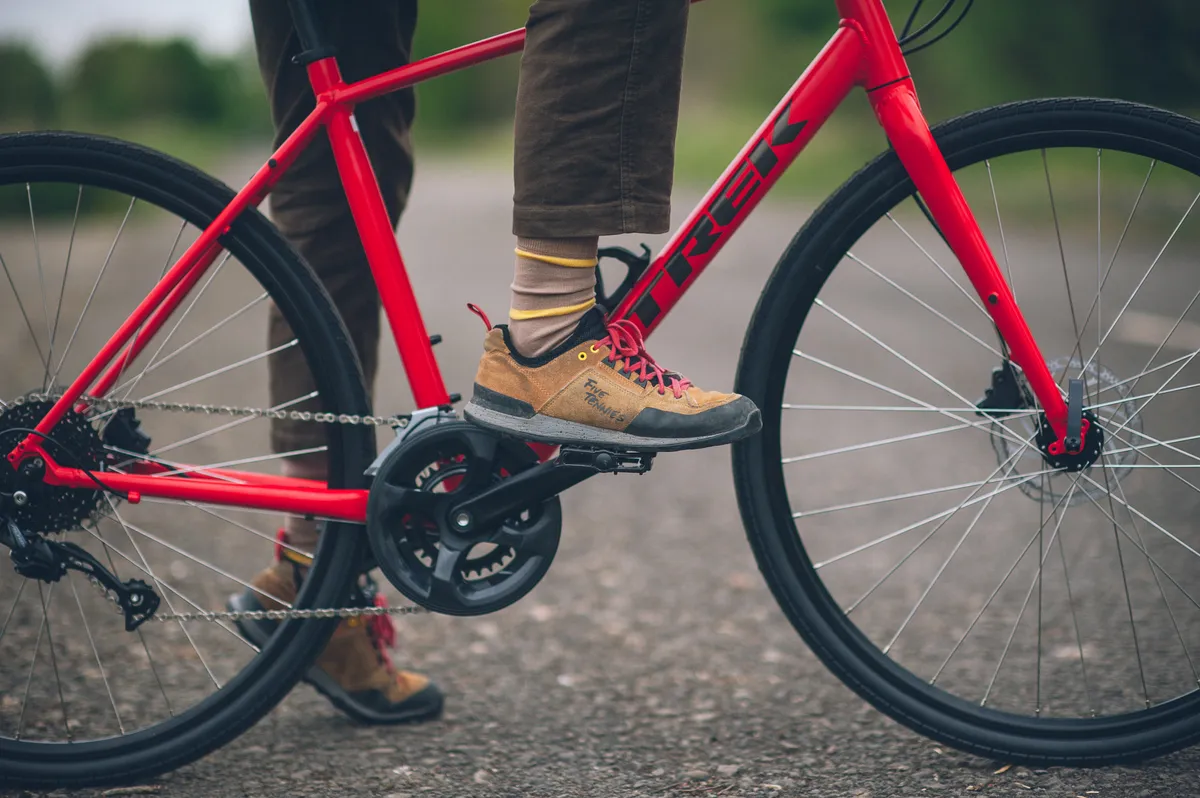
Where you place your feet on the pedals also has a significant impact on comfort and control.
Most riders are best served by placing their feet in the middle of the pedal or towards the ball of their foot. Your feet should also sit parallel with the body of the pedal.
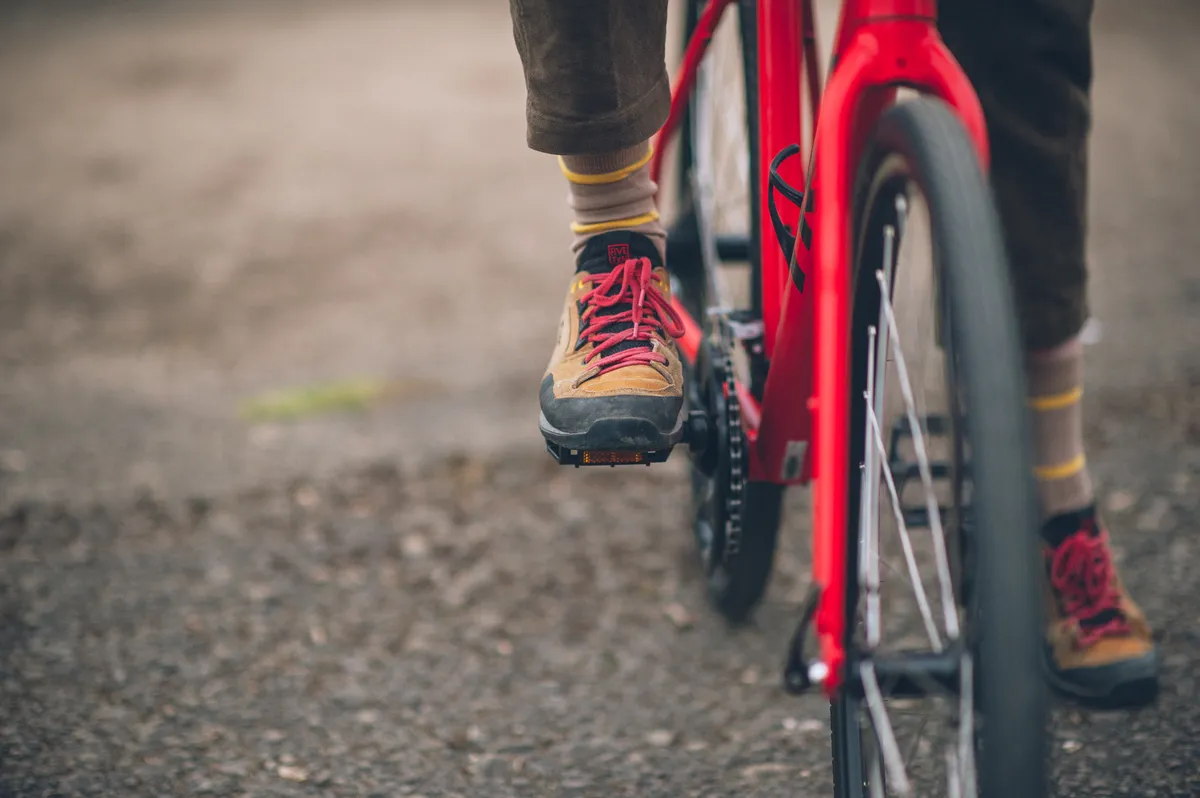
If the pedal is too far forward under your foot, you'll find it harder to main control and stay comfortable on rougher terrain. If the pedal is too far back under your foot, you'll struggle to reach the pedals (provided your saddle height is correct).
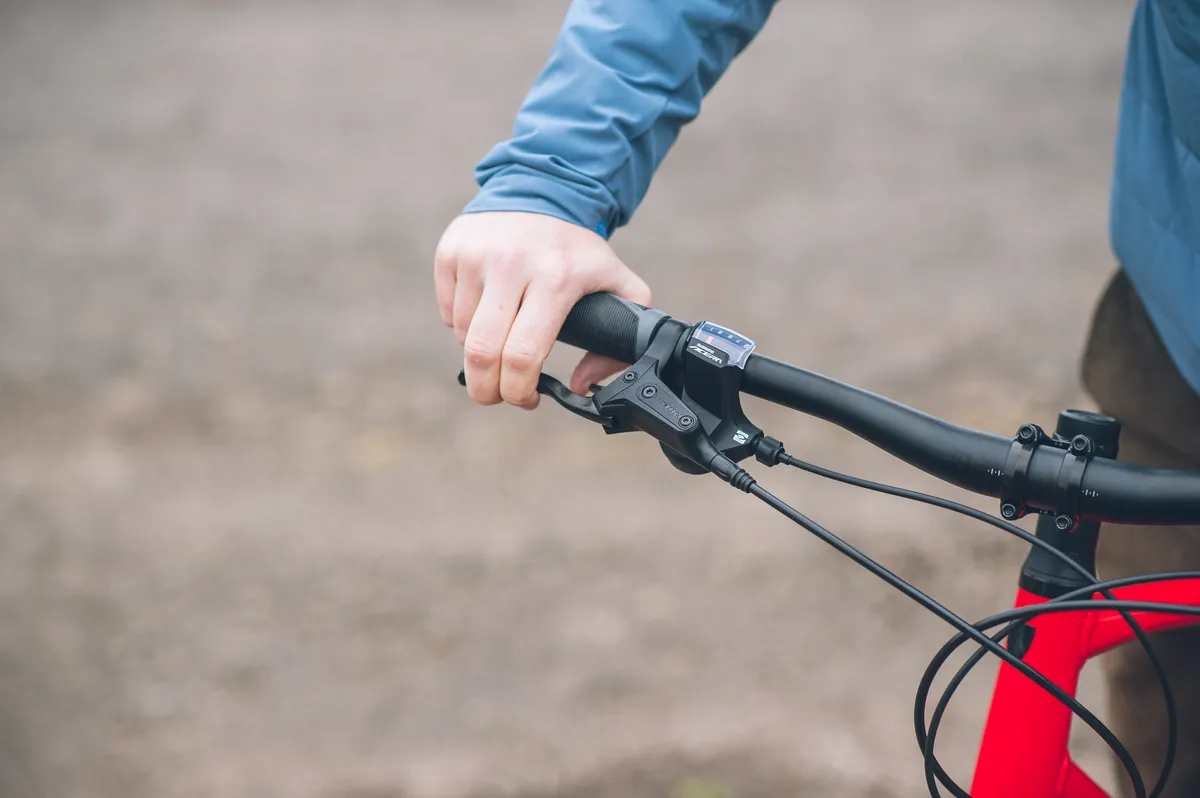
Braking
Now that you’ve got going you’ll also want to know how to stop.
On bikes assembled to UK standards, the rear brake is controlled by the left lever.
It’s the opposite way around in almost every other country in the world.
The key to stopping in a quick and controlled manner on a bike is to use the brakes together.
Many novices prefer to use the rear brake alone for fear of going over the handlebars.
While you can use the rear brake alone to stop, your front brake is your most powerful brake.
This is because your weight shifts forward as you brake. With more weight on the front wheel, traction increases, and thus you can apply more braking force without forcing the tyre into a skid.
Learning to use it to your maximum advantage takes a bit of practice. Here’s how to bring your bike to a quick stop in a quick and controlled manner.
Step 1: Start rolling down a gentle hill that has a clear line of sight. Once you’re up to a comfortable speed, start pulling the rear brake lightly.
Step 2: Next, begin gently pulling the front brake, gradually ramping up the power until you come to a stop.
Don’t slam the front brake on suddenly like a switch – instead, try to progressively increase the force with which you pull the lever in a controlled manner. Using only one or two fingers on the brake levers makes this much easier.
Repeat this until you get a sense for how the front brake responds to your control.
To get off the bike, rather than step forward such that you’re straddling the bike, lean over and point out your foot such that you prop yourself when you come to a stop. It’s much easier to dismount from this point.
Step 3: Once you feel comfortable, repeat this process but only using the front brake.
This is not how you would brake in real world situations, but the fastest braking comes when the front brake is almost lifting the rear wheel off the ground. Practicing using the front brake alone will help you learn where this limit is.
Being aware

Being aware of your surroundings is a key part of riding safely on a bike, even when you’re on a traffic-free cycle path.
Having full awareness of what’s going on around you before you make a manoeuvre will allow you to ride more calmly, with no need for last-minute evasive action.
While it sounds obvious, looking ahead rather than staring at your front wheel is key. Keep making a conscious effort to focus five to ten metres ahead and you’ll feel a lot more comfortable moving among traffic.

It’s also worth practising looking over your shoulder while riding. Find a quiet place and try to maintain a straight course while looking backwards over your shoulder.
If you find this particularly difficult or have mobility issues, you may find a wing mirror can help.
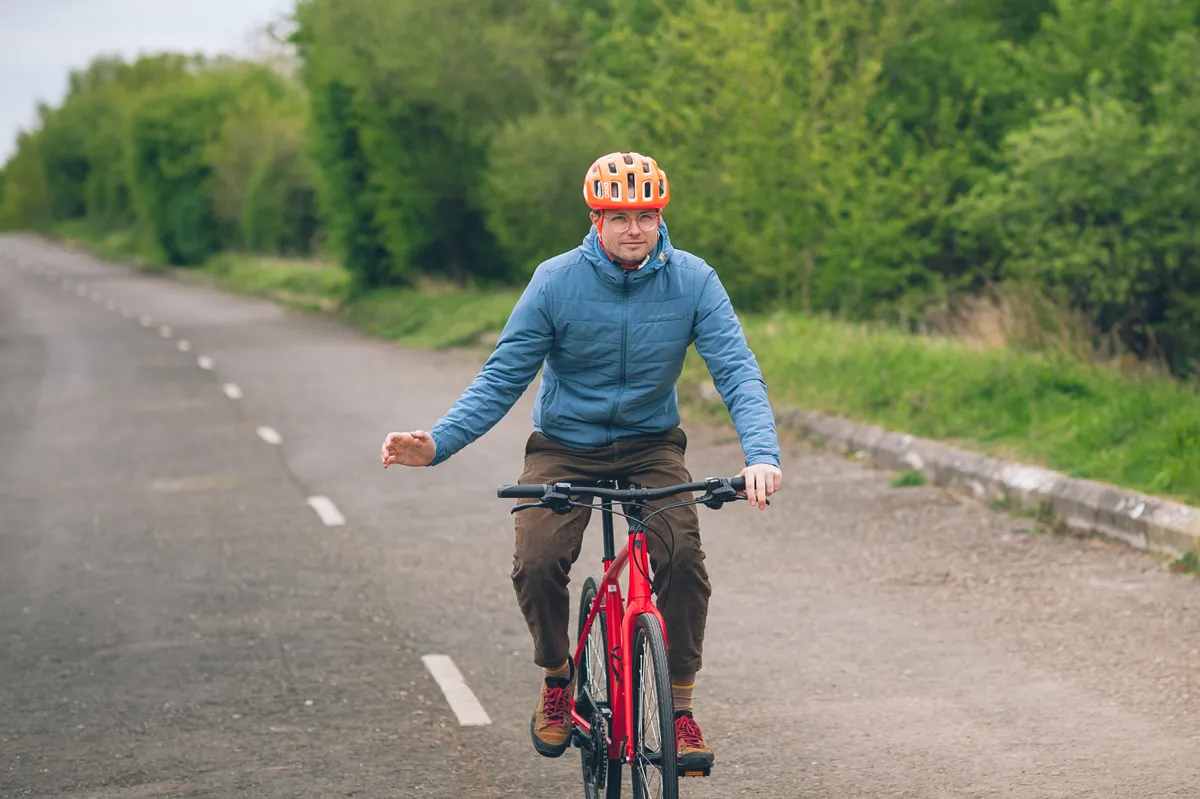
Signalling (or how to ride with one hand)
Just like driving a car, signalling your intentions to other road and path users is key to staying safe on a bike.
Taking your hands off the bars can feel really intimidating for new riders and is well worth practising in a quiet space.
Novice riders typically feel most comfortable learning how to ride one-handed by practising with their dominant hand first.

Step 1: Once rolling at a comfortable speed, begin by raising your hand lightly off the bars.
Hover in this position for progressively longer intervals until you feel comfortable doing so. Again, looking ahead and not focusing on your front wheel will make this feel more comfortable.
Step 2: Repeat the process but, this time, try raising your arm progressively higher and further back. Do this in small increments.
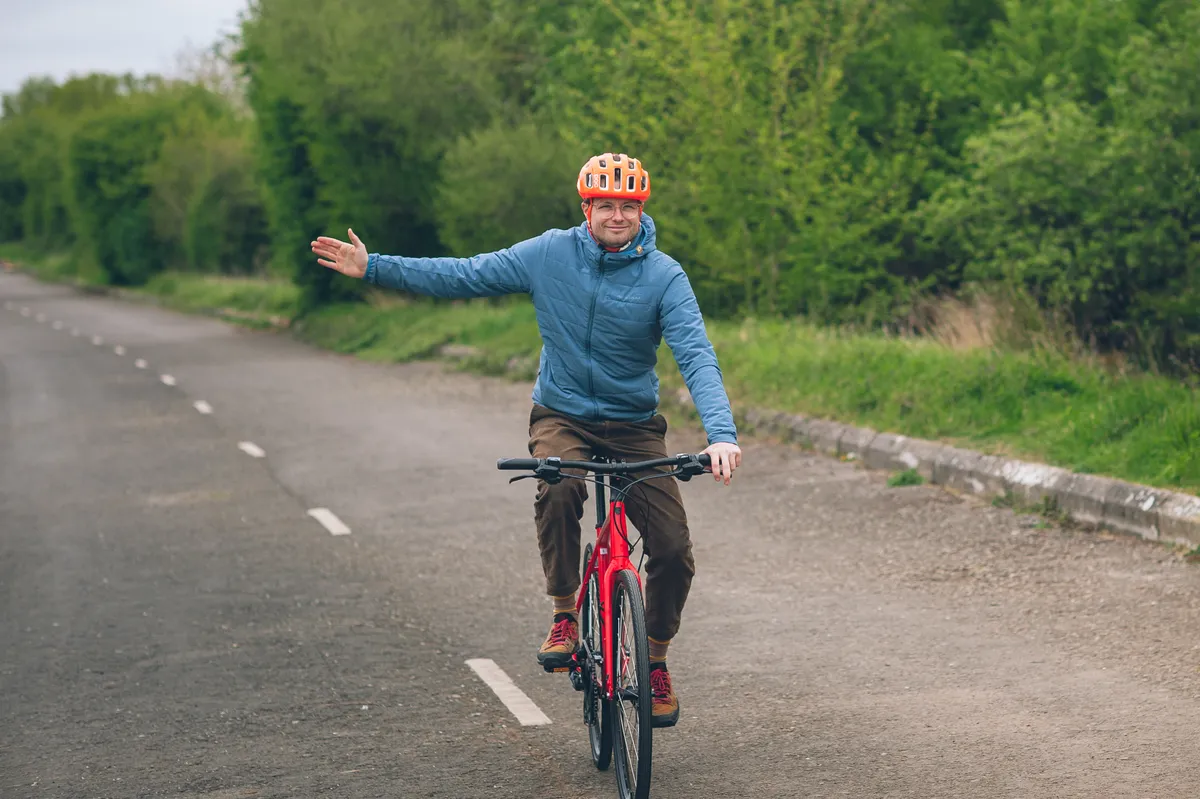
Step 3: Finally, practise pointing your arm fully outward. You’ll only ever need to do this for very short periods of time when actually riding, but practicing with your arm fully extended will really help.
Step 4: Once you feel comfortable doing this with your dominant hand, repeat the process with your other hand.
Keep up with this and you'll be on your way to learning how to ride a bike with no hands.
Pushing your bike

Many beginners struggle to push their bike comfortably.
The key to easy 'portaging' is clocking the pedals such that the crank arm is pointing towards the back of your bike. This gives you more room to walk without the risk of bashing your legs off of the pedals.
It’s also a good idea to push from the non-driveside (the side of your bike without gears) to avoid soiling your legs or clothes on the chain if you do get snagged.
You can also use your brakes to hold your bike steady if you’re struggling to control things on an incline.
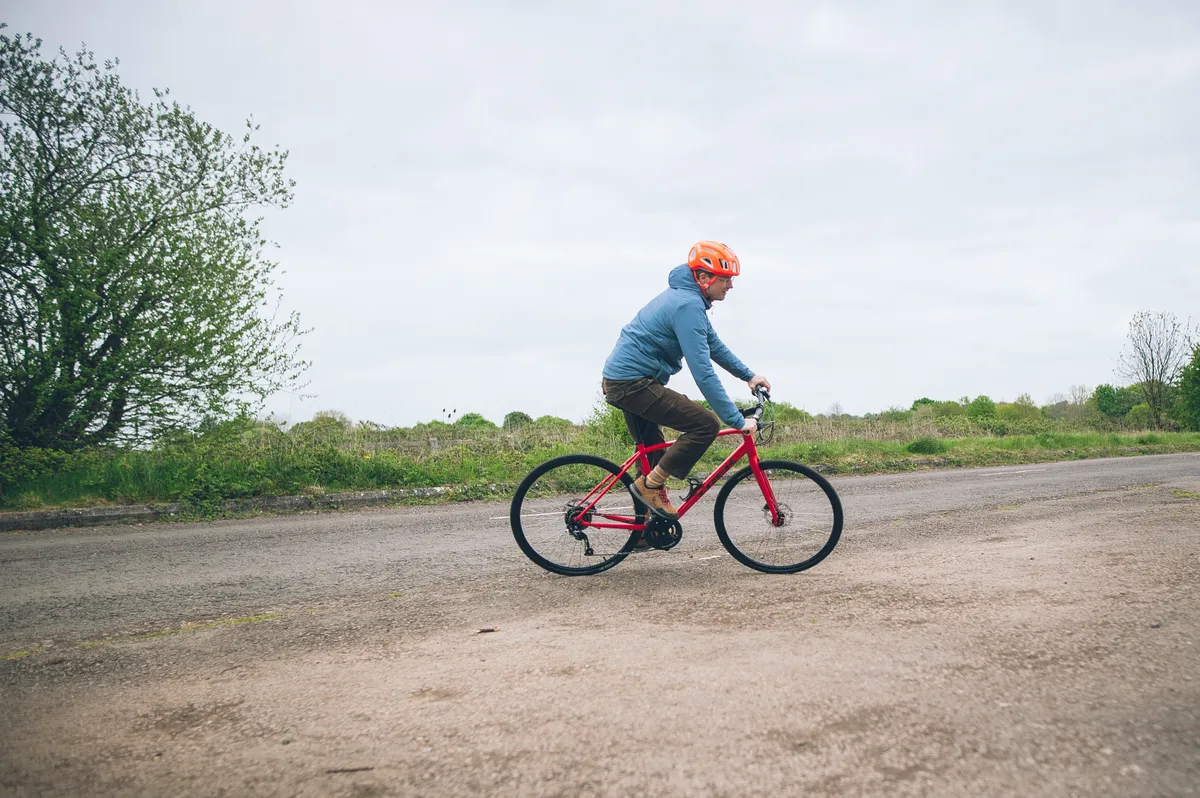
Cornering and ‘agility’
Once you’ve mastered the absolute basics, it’s well worth practising your cornering and general bike handling skills.
You’ll quickly become more confident by just riding around, but setting up your own DIY skills workshop will really help speed things up. Kids also love these exercises if you’re getting into cycling as a family.
Slalom
While you’re unlikely to encounter a slalom course midway through your commute, this exercise can really help sharpen your handling skills, particularly for avoiding debris on the road or potholes.
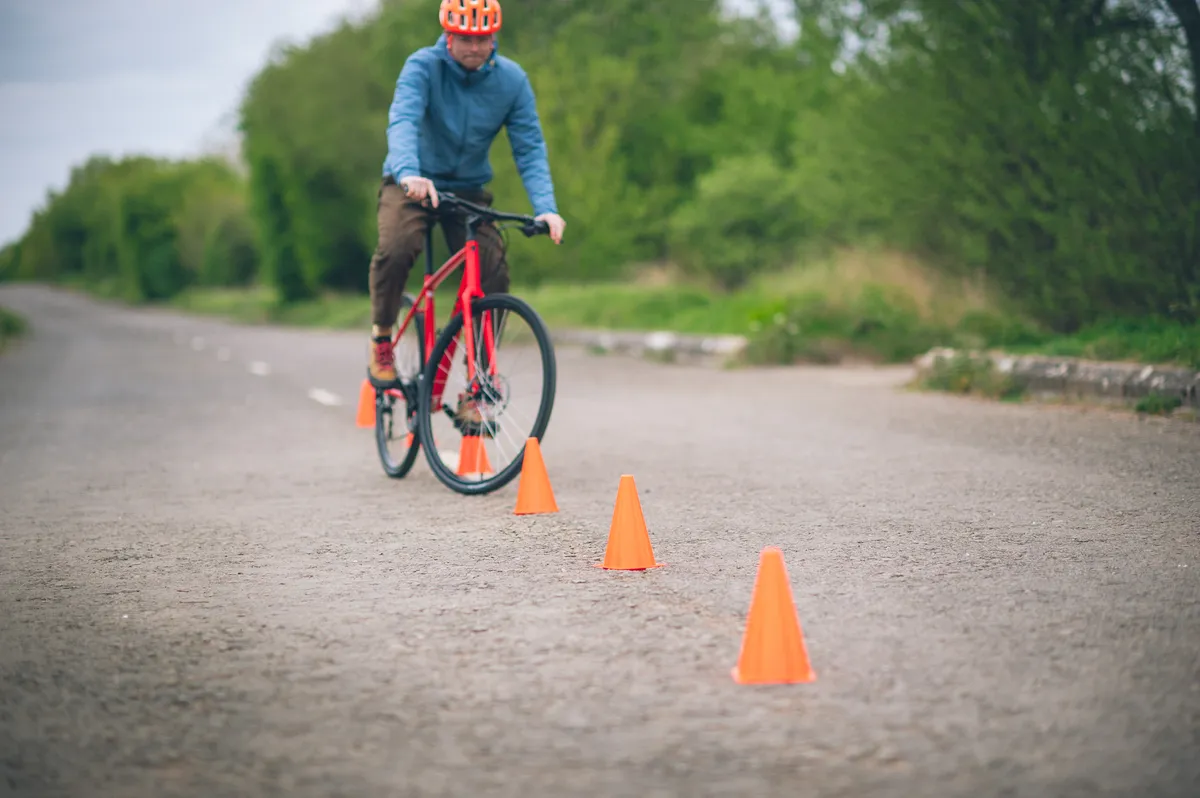
Step 1: Set out a slalom course using cones, paper cups or any other soft object. Start with gaps 2-3 metres apart, or further. You’ll be surprised how hard it is to ride through small gaps at speed.
Step 2: With the cones set, start out by approaching at a moderate speed, clock your pedals into the 3 o’clock/9 o’clock position and make sweeping arcs through the cones.
Try to avoid braking – you want your speed to be just high enough that you can make your way through the cones without coming to a stop.
The aim of this exercise is to get a feel for how the bike responds to leaning and small movements through the bars, rather than significant steering input.
Step 3: Increase your speed gradually until you can easily clear the full course.

Step 4: Reduce the gap between cones and repeat as above.
Bonus exercise: Repeat the exercise above but, instead of approaching at speed, try pedalling through the course. This will help you understand how far you can lean through a corner while avoiding pedal strike.
Cornering
Confident cornering really does take practice – even seasoned cyclists can benefit from structured exercises, particularly if you’re riding a new bike.
While we definitely don’t want to find the ‘limit’ of your bike’s cornering ability (after the limit comes crashing!), learning how to feel the approach of that limit will improve your bike handling skills immensely.
Step 1: Find a well-surfaced corner that is free of debris, drain covers or other obstacles.. Something with a positive camber, away from traffic and a clear line of sight is the absolute ideal.
Step 2: Approach the corner at a speed you feel comfortable and make a mental note of where you entered and exited the corner.
Step 3: Approach the corner again and try to make a line through the corner that is tighter than the last time. Marking your rough entry and exit point with chalk can help here.
Step 4: Continue this process until you feel a significant lean in the bike as you corner. While this isn’t the time to push things too far, you’ll be surprised by quite how far you can lean over before things feel uncomfortable.
Bonus tip: Clock your pedals as you enter the corner such that the pedals on the inside of the arc (ie, the direction you are leaning) is pointing upward. This stops you from clipping your pedals on the ground, but also allows you to apply pressure to the outside foot to help improve grip.
Using gears
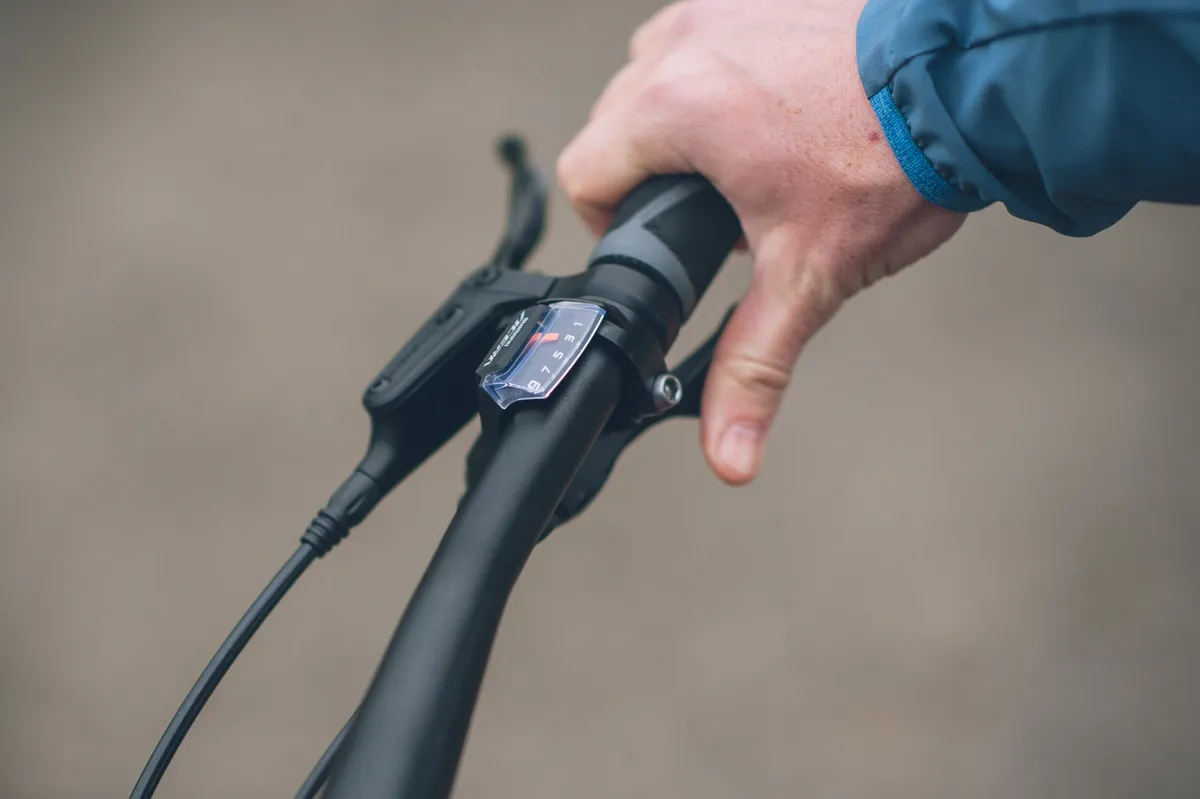
We see many beginners toiling up hills because they don’t know how to use bike gears. It’s not obvious what all those sprockets and the buttons on the handlebars do, so don’t be afraid to ask your bike shop for a demonstration.
On a bike with derailleur gears, the front derailleur provides large jumps in gears, and you fine-tune with the rear derailleur.
The right-hand shifters control the rear derailleur, and the left-hand shifters control the front derailleur.
Hub gears or bikes with a single chainring usually have just one control, on the right hand side of the bar, to move through the whole range.
For more information, check out our full guide on how to change gears on a bike.