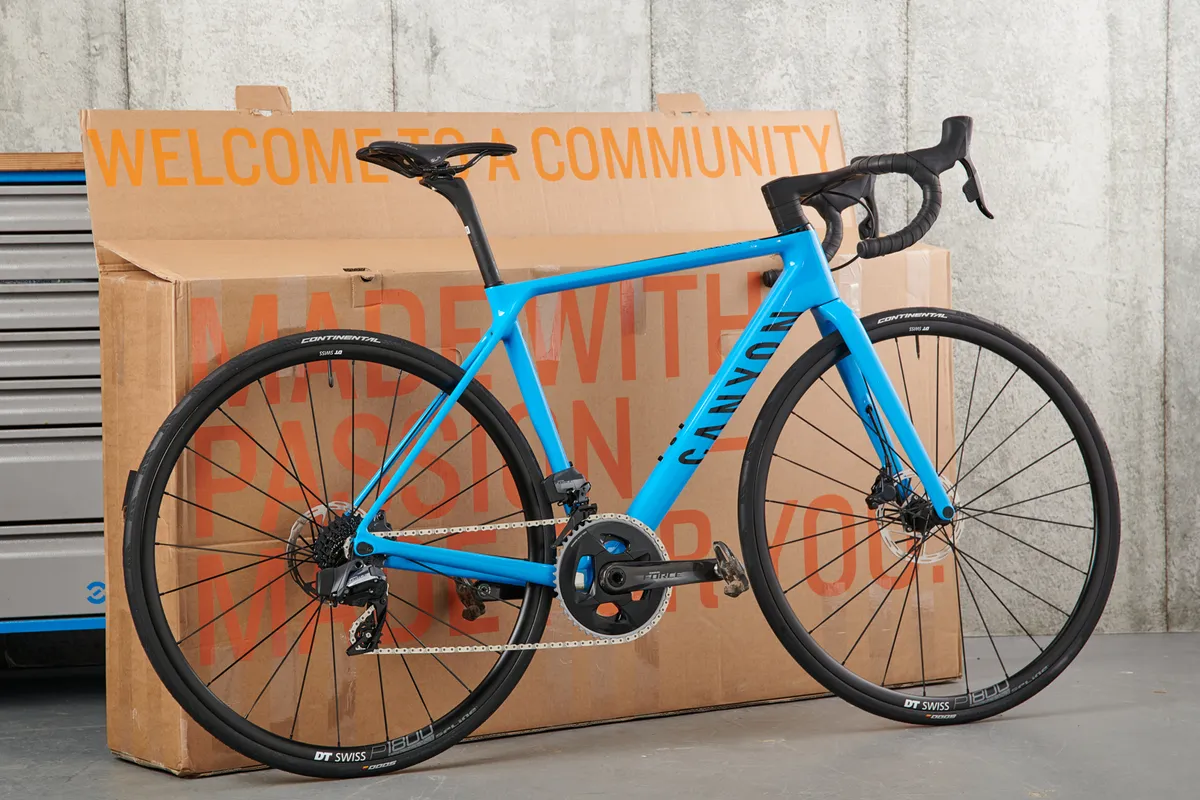
Over the last few years, the number of bikes sold online has rocketed. Buying a bike online rather than from a bike shop often means you have a lot more choice, but it also means you have to do the final bike assembly yourself when it arrives in a box.
Visiting your local bike shop has lots of benefits – from the opportunity to try before you buy, to knowledgeable mechanics who can help build your new ride – but online retailers and direct-sales bike brands often offer impressive value for money.
If you do choose to buy your bike online, putting it together at home is a relatively simple task. This guide offers step-by-step instructions on how to assemble a new bike, plus a few useful home mechanics’ tips along the way.
1. Unboxing
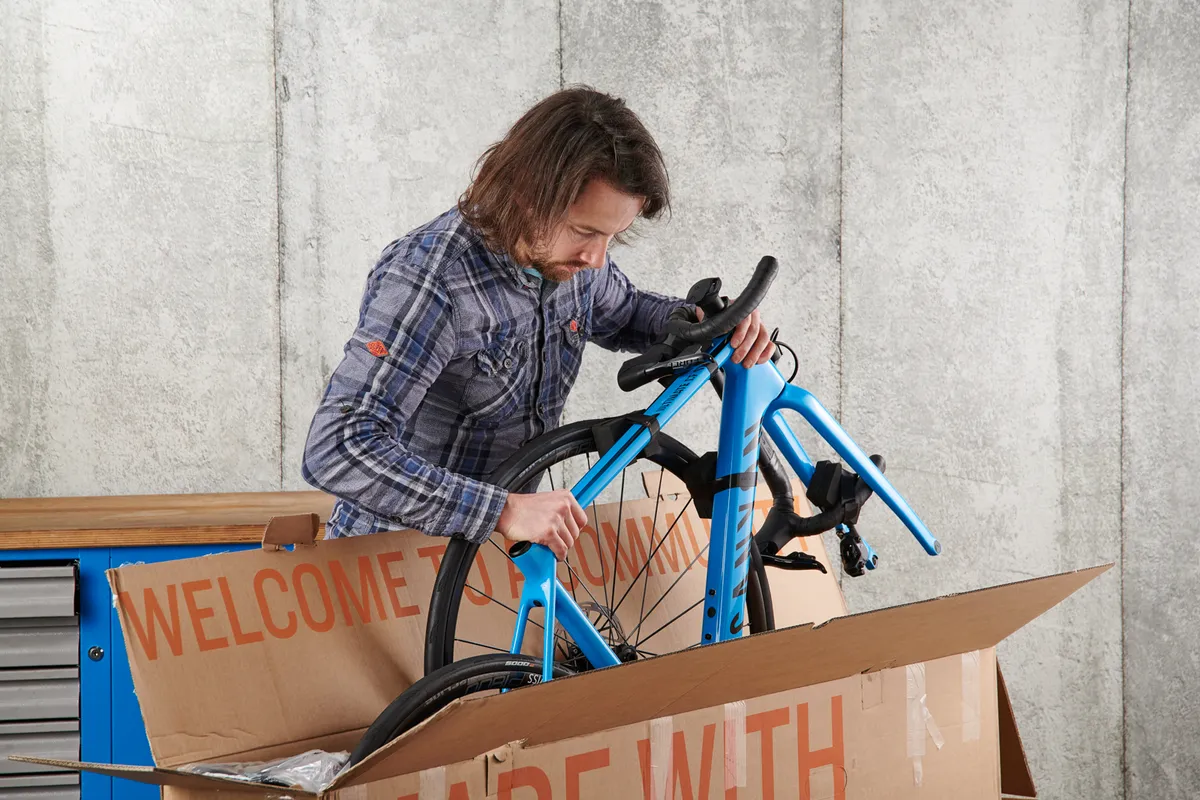
With the box upright, work your hand along the underside of the top flap of the box to pull it open.
Before removing the bike, use a large flat-head screwdriver to lift off any staples in the box lid to prevent injury to you or damage to your bike.
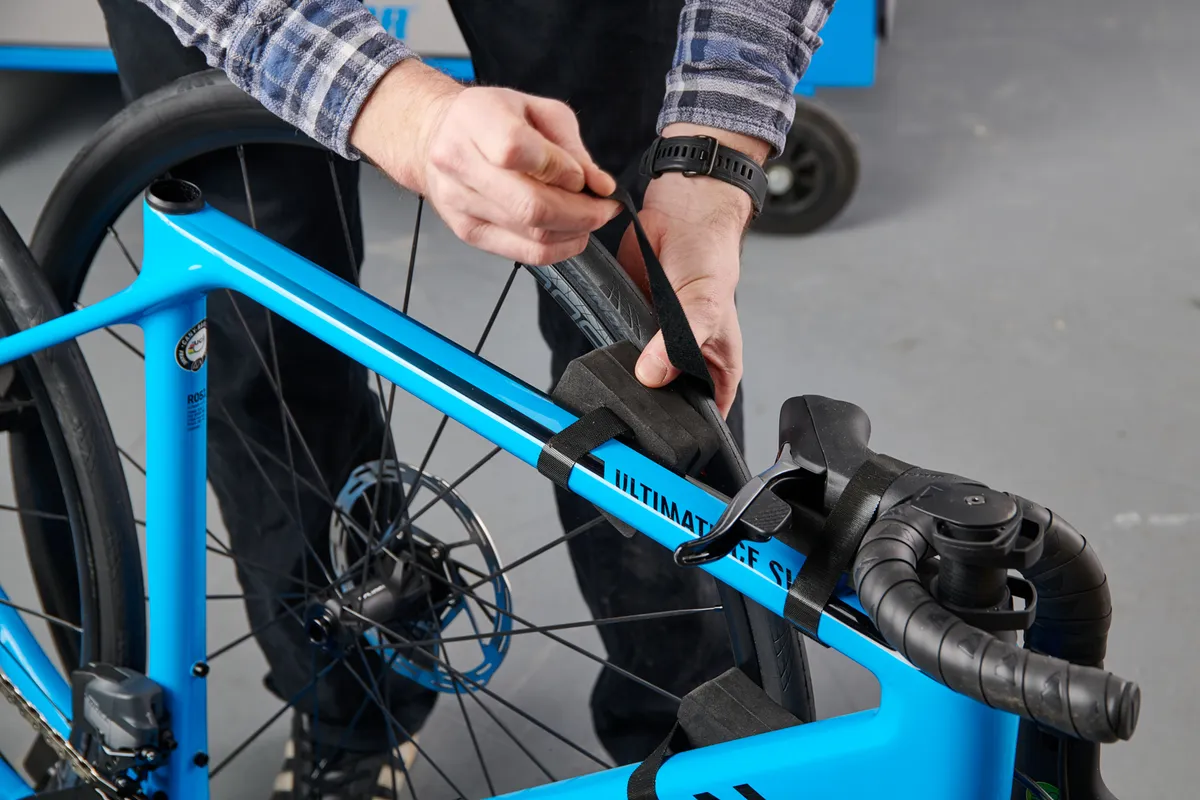
The front wheel and handlebars will have been removed for shipping. Lift the bike, front wheel and handlebars from the box, and remove any protective packaging.
Keep hold of the packaging – it will come in handy if you need to send the bike back, or you need to travel with it in future.
Check the box for the manual or any paperwork, as well as any small parts that may be boxed separately. Keep them safe because you’ll need them later.
2. Tools for the job
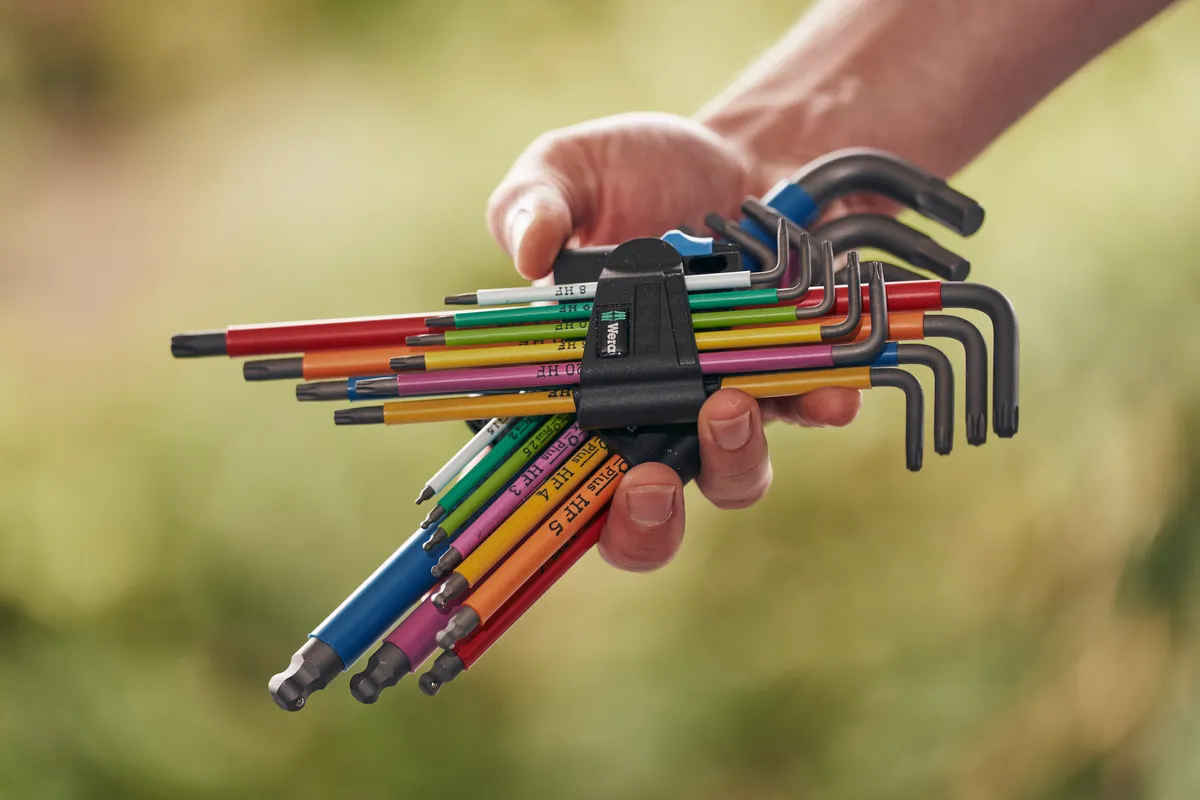
The tools you need will depend on the level of assembly your specific bike requires but, in general, you will need:
- Allen (hex) keys
- A small torque wrench or torque key (optional)
- Bike grease
- Carbon assembly paste (if your bike has carbon parts)
- Pump
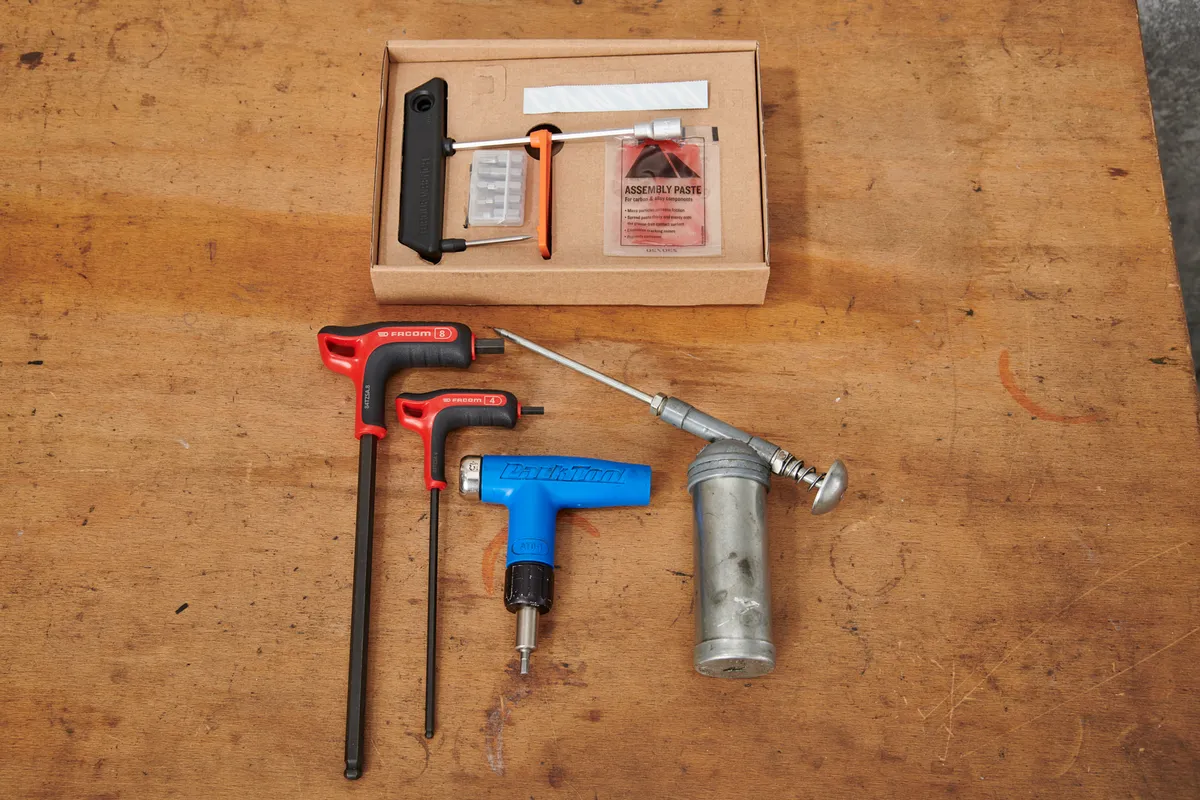
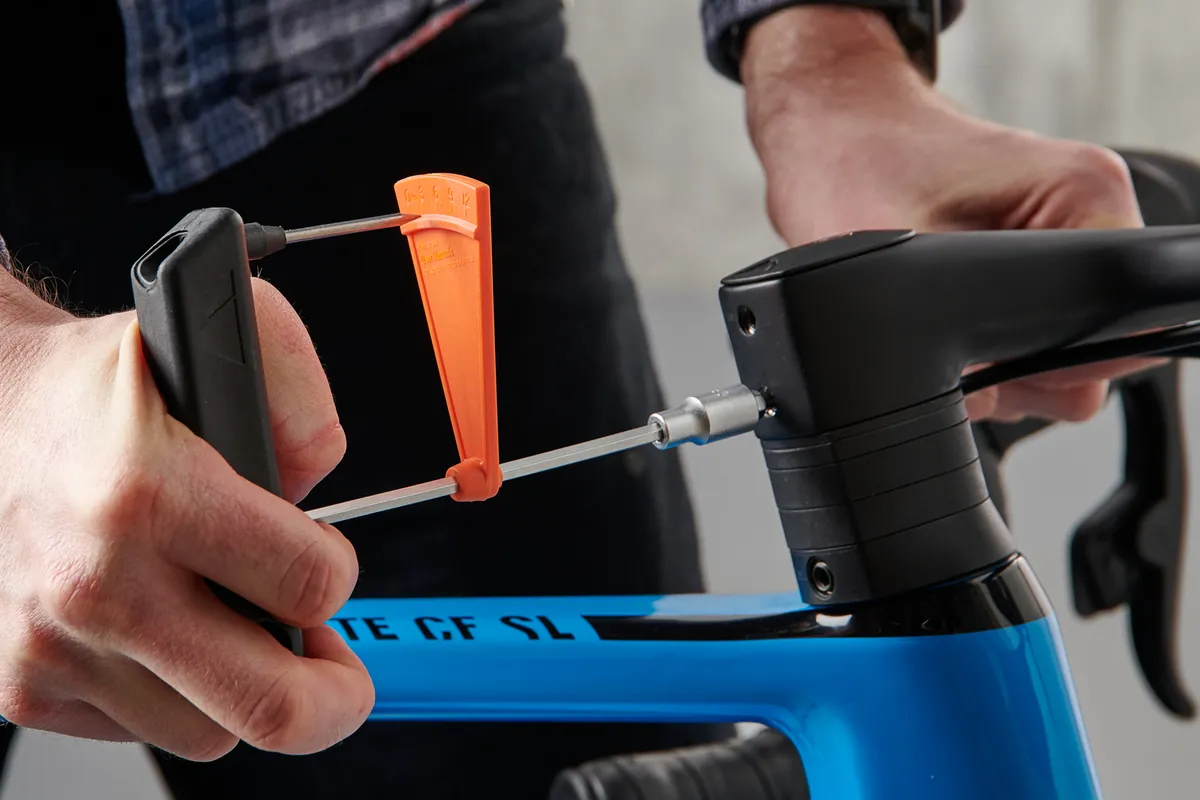
If any of the bike’s components are carbon fibre, it's important to use a torque wrench or key so that you apply the correct amount of force (Newton Metres or Nm, often marked on the part itself) when tightening bolts.
Carbon assembly paste has a gritty texture to add extra grip and is used rather than standard bike grease where you have a carbon component, most often the seatpost.
Some retailers and brands may supply the basic tools with the bike – the bike we’ve featured here comes with a basic torque wrench, a range of bits for the torque wrench and carbon assembly paste.
3. Insert the seatpost
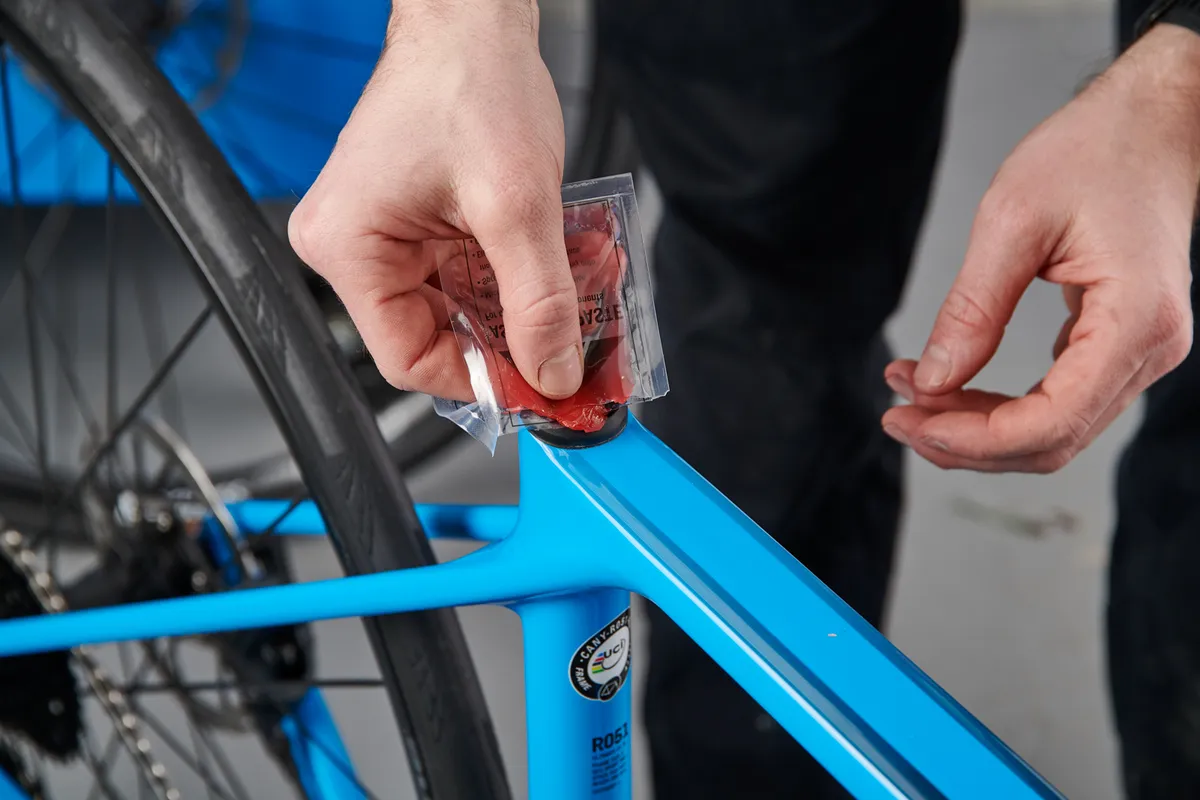
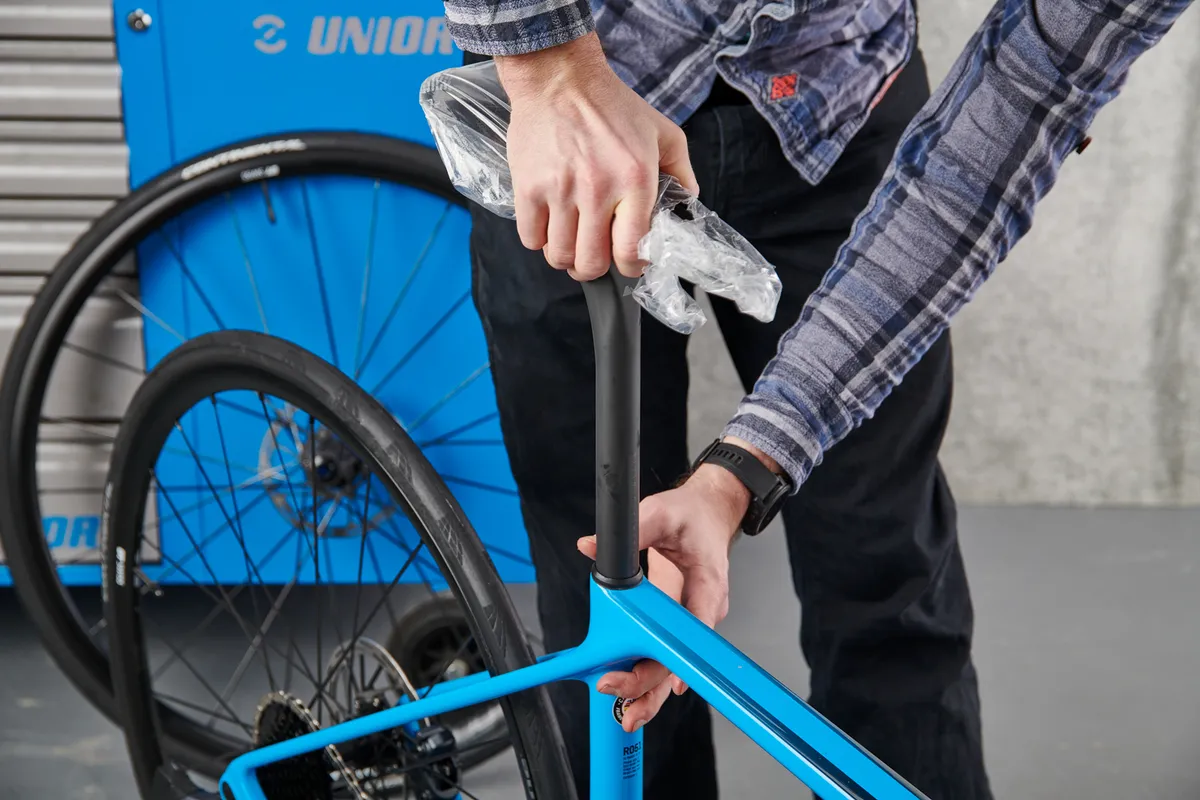
Unpack the seatpost (in most cases it will have the saddle attached) and put a smear of carbon assembly paste (if the seatpost is carbon) or grease (if the post is metal) around the inside diameter of the seat tube, before inserting the seatpost and doing up the clamp. We’ll set the correct saddle height later.
Wipe off any excess assembly paste with a clean rag.
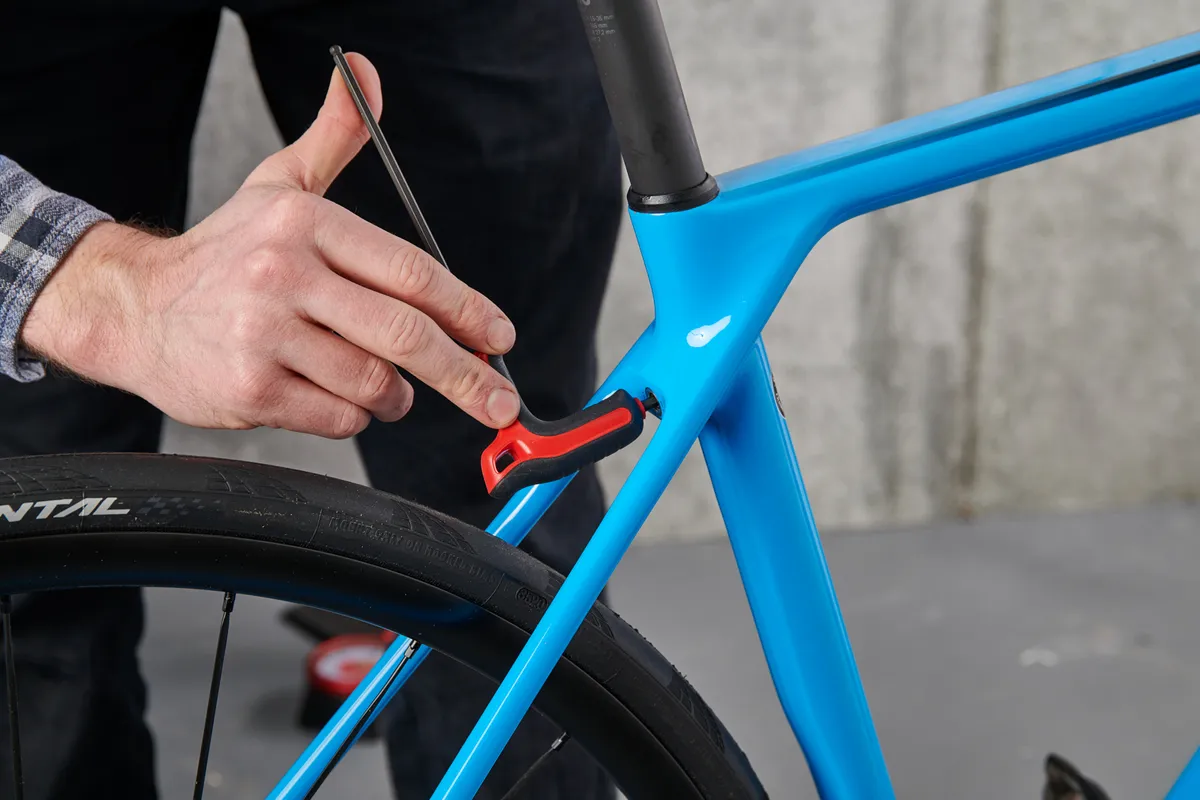
The seatpost clamp-bolt on the bike above is at the rear of the seat tube, between the seatstays. Check the frame, clamp or manual for the correct torque setting when tightening the seatpost clamp.
4. Attach the handlebar
Now it’s time to attach the handlebar.
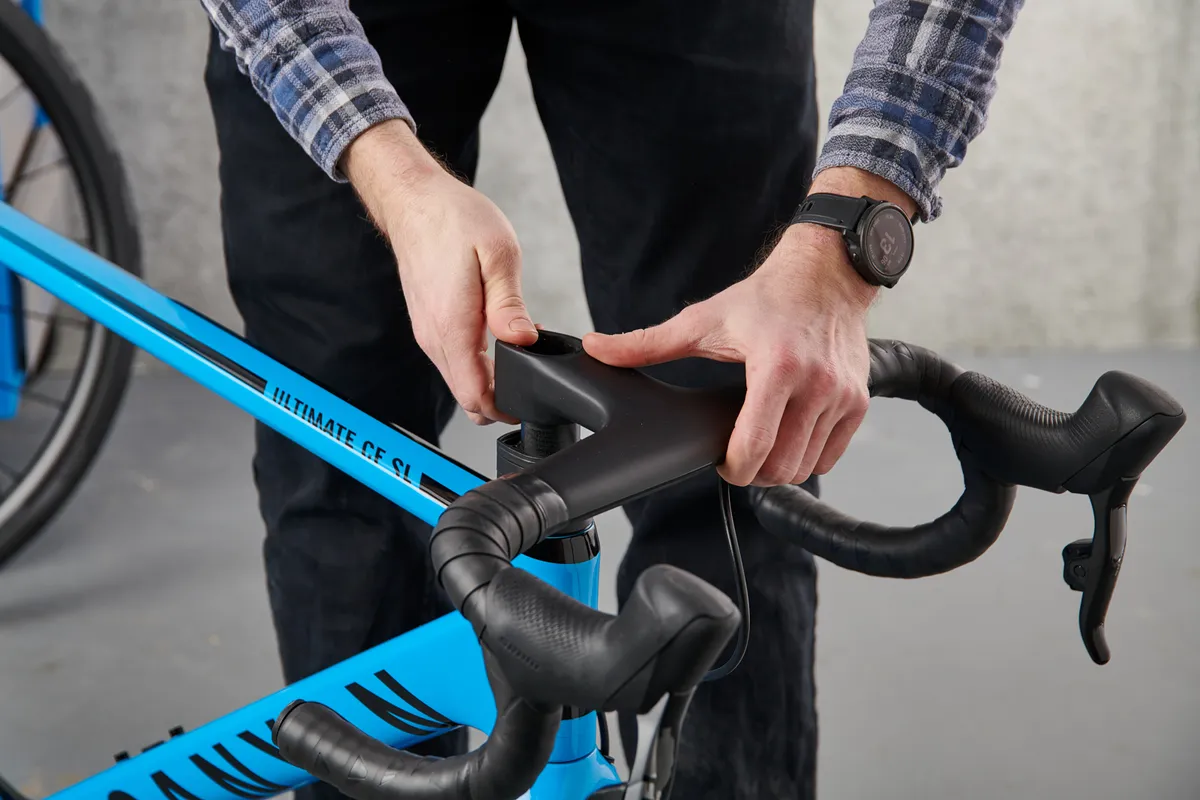
Some of the latest bikes, particularly mid-to-high-end road bikes, have integrated cockpits, with the handlebar and stem in one piece. If that’s the case, check the manual to ensure you fit the handlebar correctly.
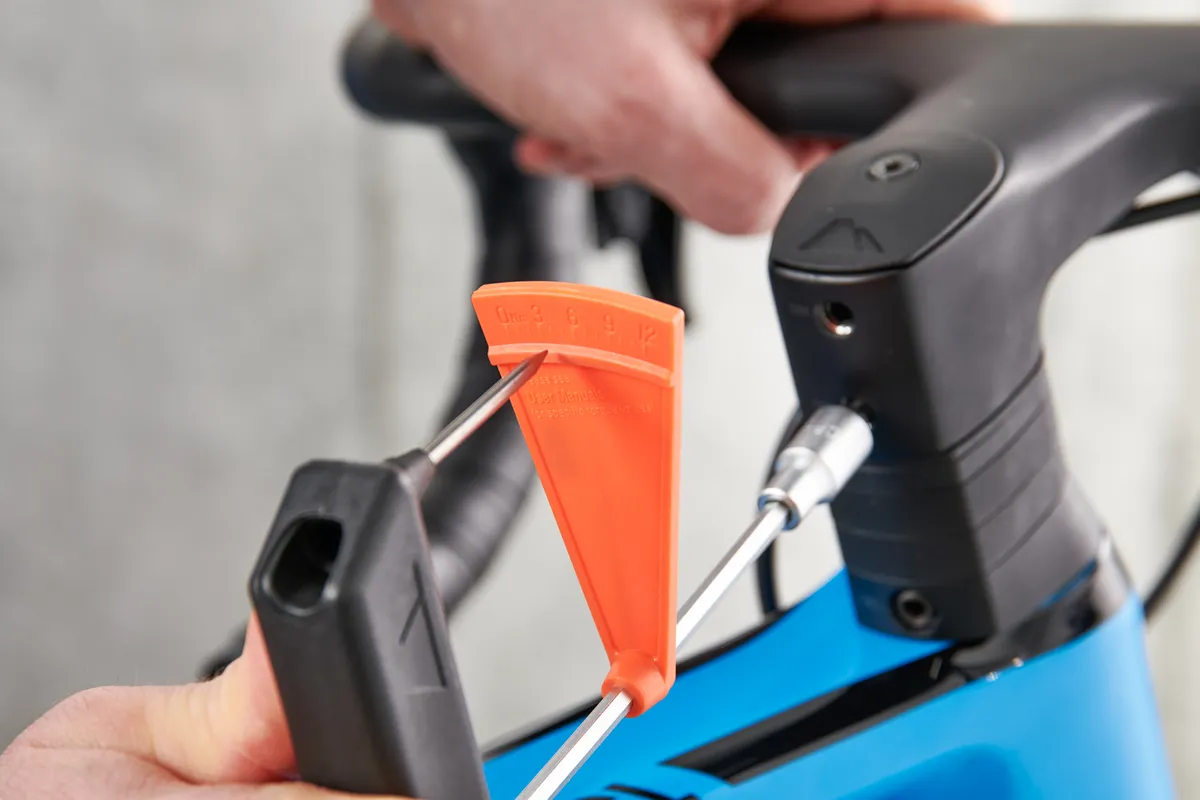
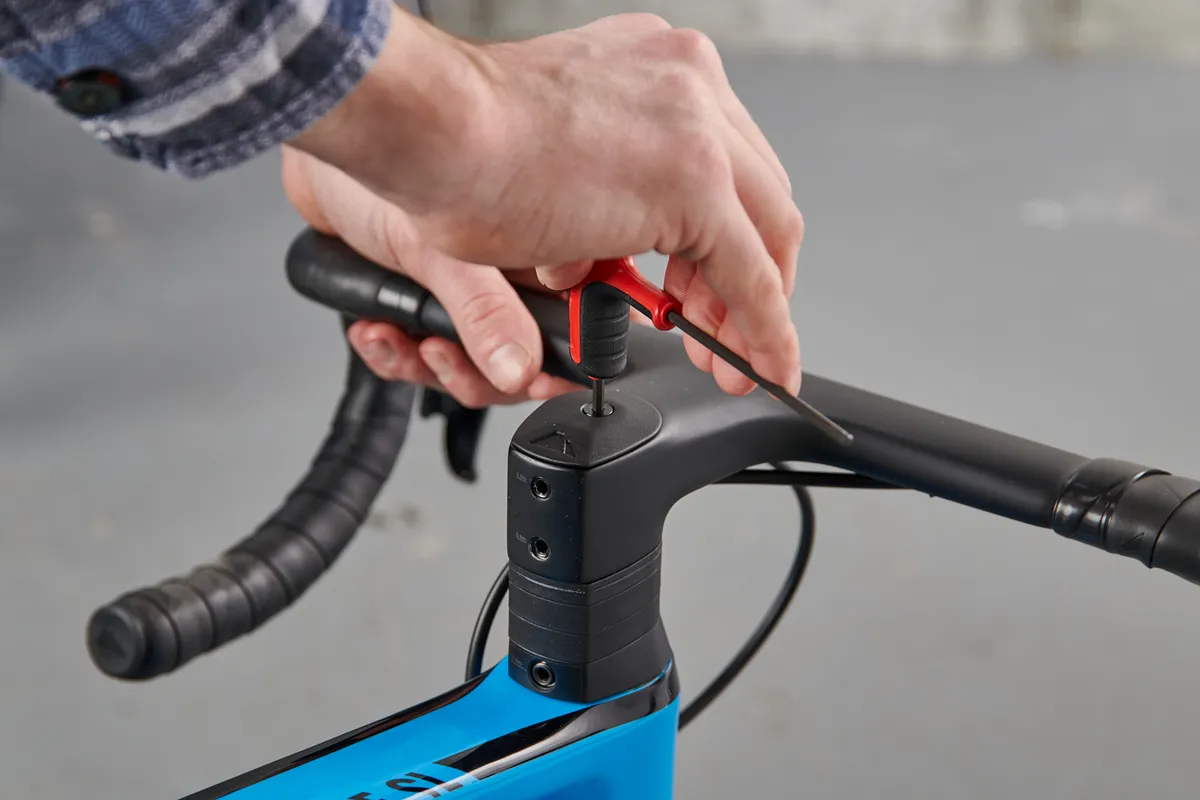
The integrated Canyon Aerocockpit on this bike simply requires the base of the stem to slot onto the steerer tube, before tightening the two stem bolts to the recommended torque setting.
Check the bars are straight before nipping up the bolts.

If you have a two-piece stem and handlebar setup then you will need to:
- Remove the plate at the front of the stem (the piece that holds the handlebar to the stem)
- Insert the handlebar and tighten the face-plate bolts to the required torque setting. Note: The bolts should be tightened evenly, usually with an even gap between each bolt and the face plate (some stems differ, so double-check)
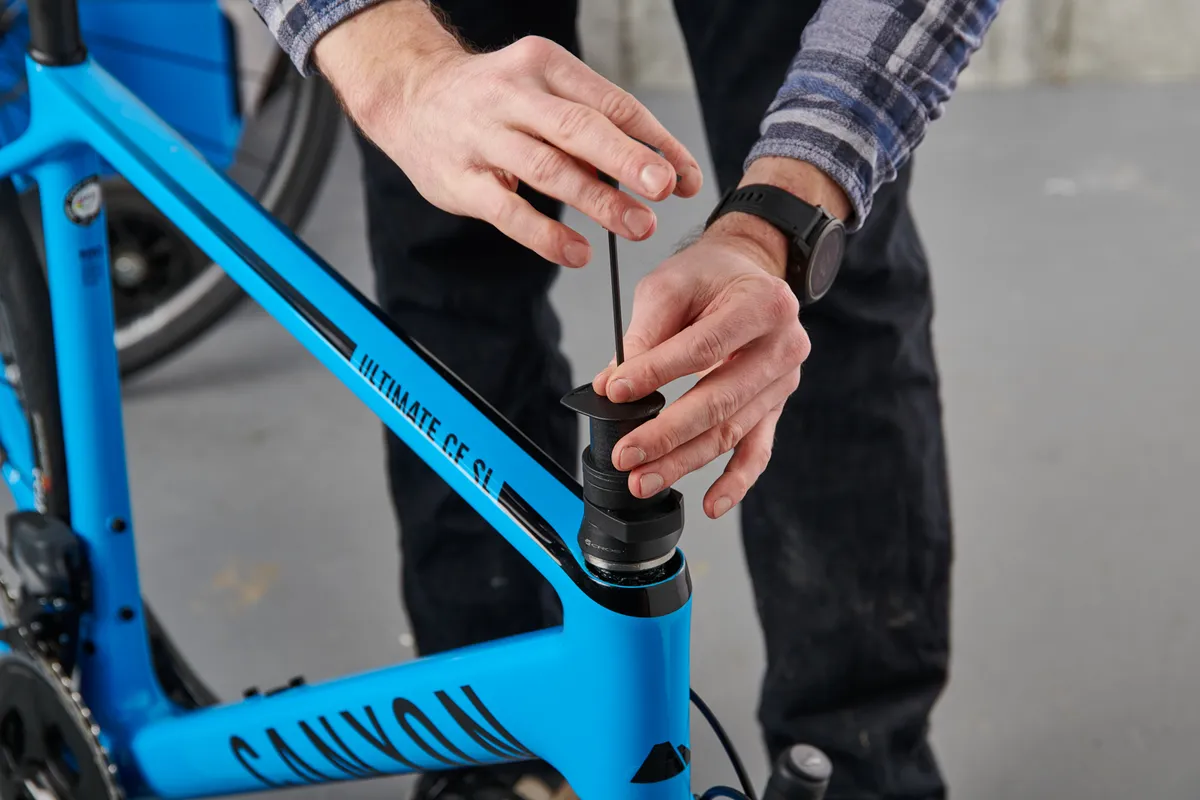
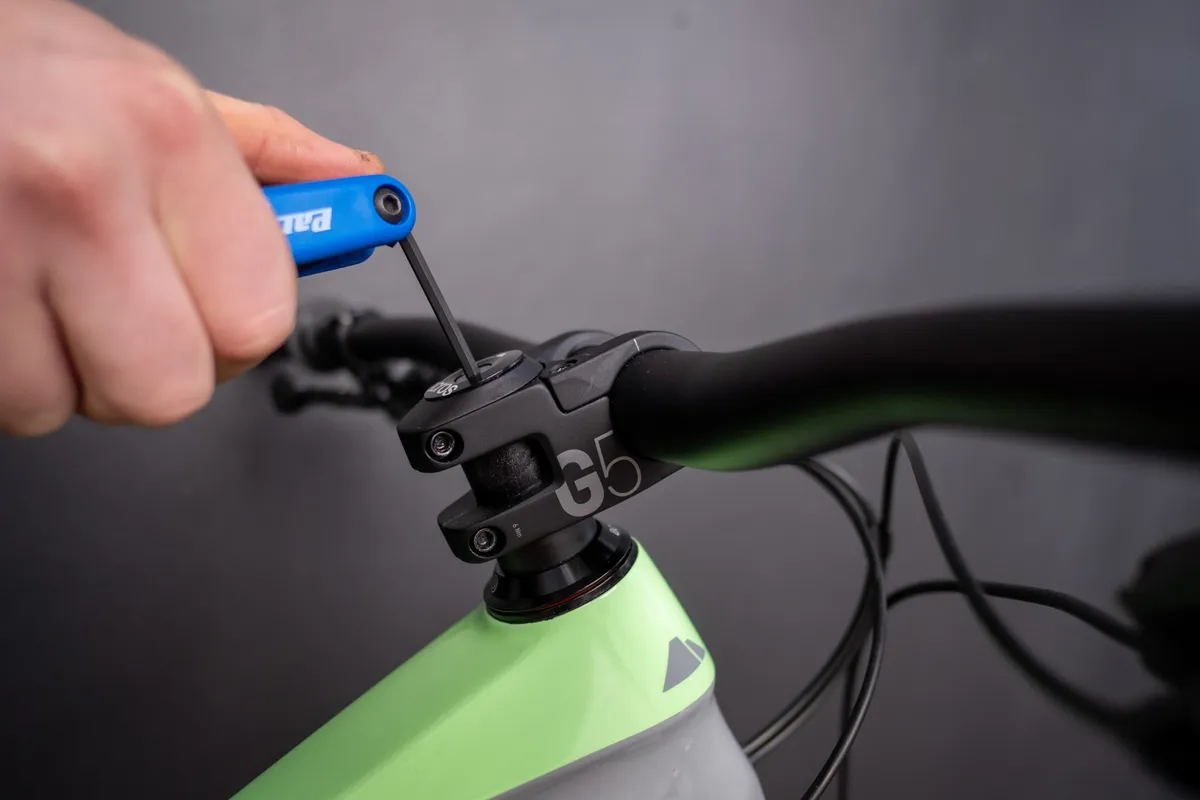
- Next, with the bolts at the base of the stem slackened off, tighten the bolt at the top of the stem until you feel some resistance. On many stems, the bolt-on top screws into either a star nut or bung within the steerer of the fork, which preloads the headset. There is no Nm setting for this bolt because it's different on each bike: too loose and there will be play, with the fork moving fore and aft within the headset; too tight and it crushes the headset bearings inside the frame. Check for movement where the frame and stem spacers meet
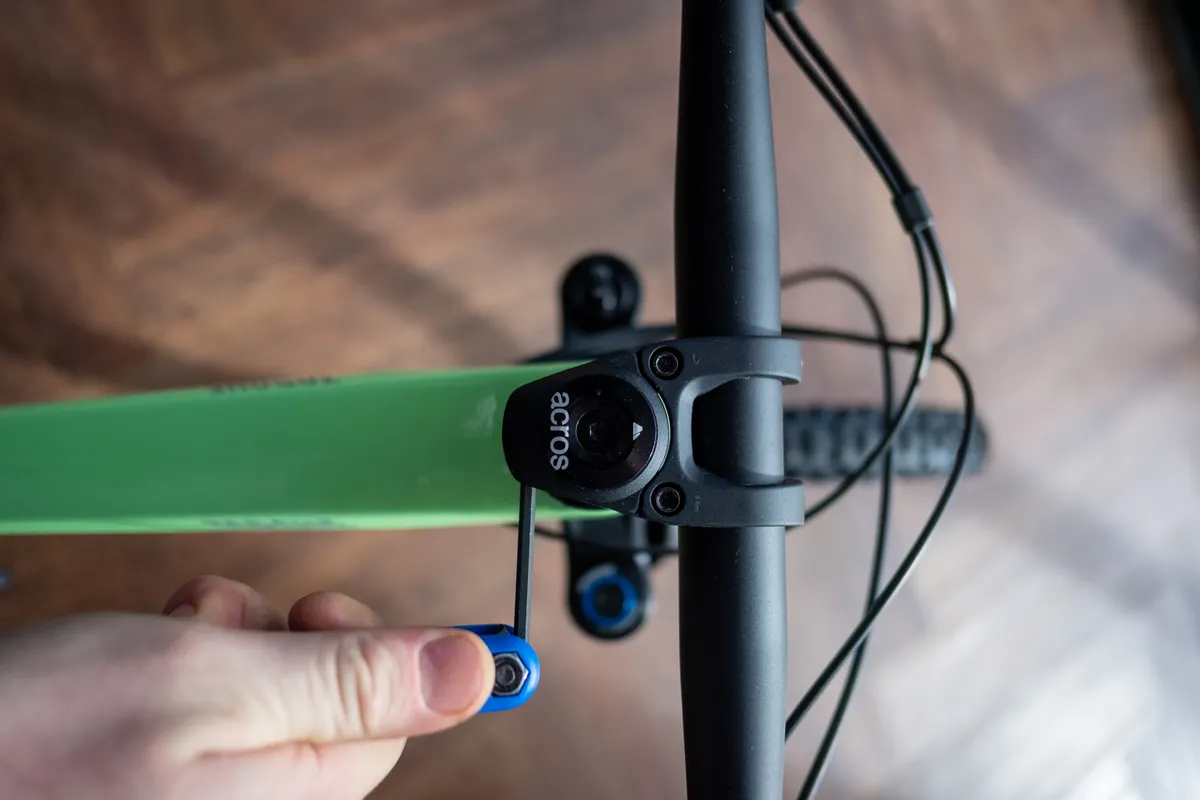
- Straighten the stem so it lines up with the front tyre
- Evenly clamp the two stem bolts to the manufacturer’s torque setting
The above is based on not needing to change the handlebar height. For more information on fine-tuning handlebar position and headset pre-load, check our guide on how to adjust handlebar height.
5. Insert the front wheel
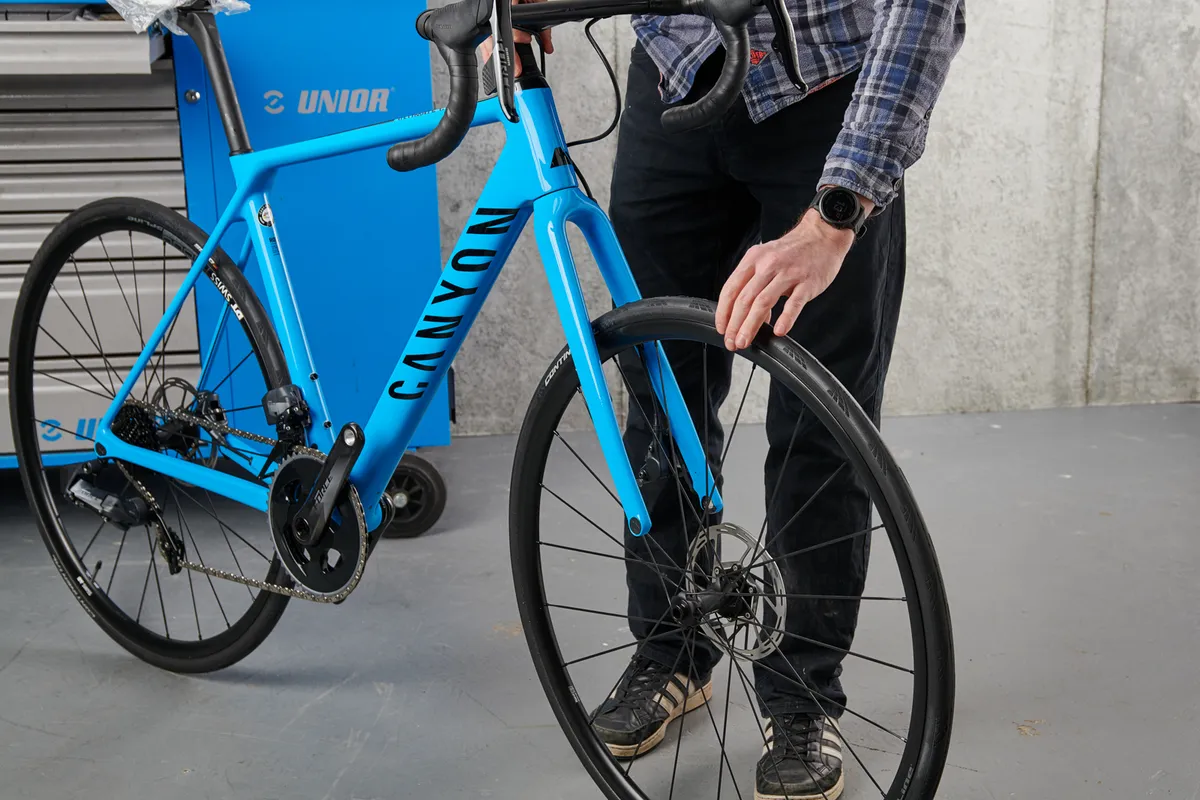
Insert the front wheel into the fork.
Broadly speaking, there are two types of axle on a bike:
- Thru-axle: differing in diameter and length depending on the type of bike, a thru-axle bolts the wheel directly into threads in the fork or frame
- Quick-release skewer: a narrow skewer that passes through the wheel. The fork and rear of the frame have open slots (dropouts) at the bottom, which sit over the axle of the hub. The skewer is fixed in place using a nut on the threaded end. Once the skewer is threaded into the nut, the lever is used to add the final tension, clamping the frame onto the axle of the hub. Closing the lever should require enough force to leave a mark on the palm of your hand. Make sure the wheel is in straight because misalignment in the dropouts can cause brakes to rub
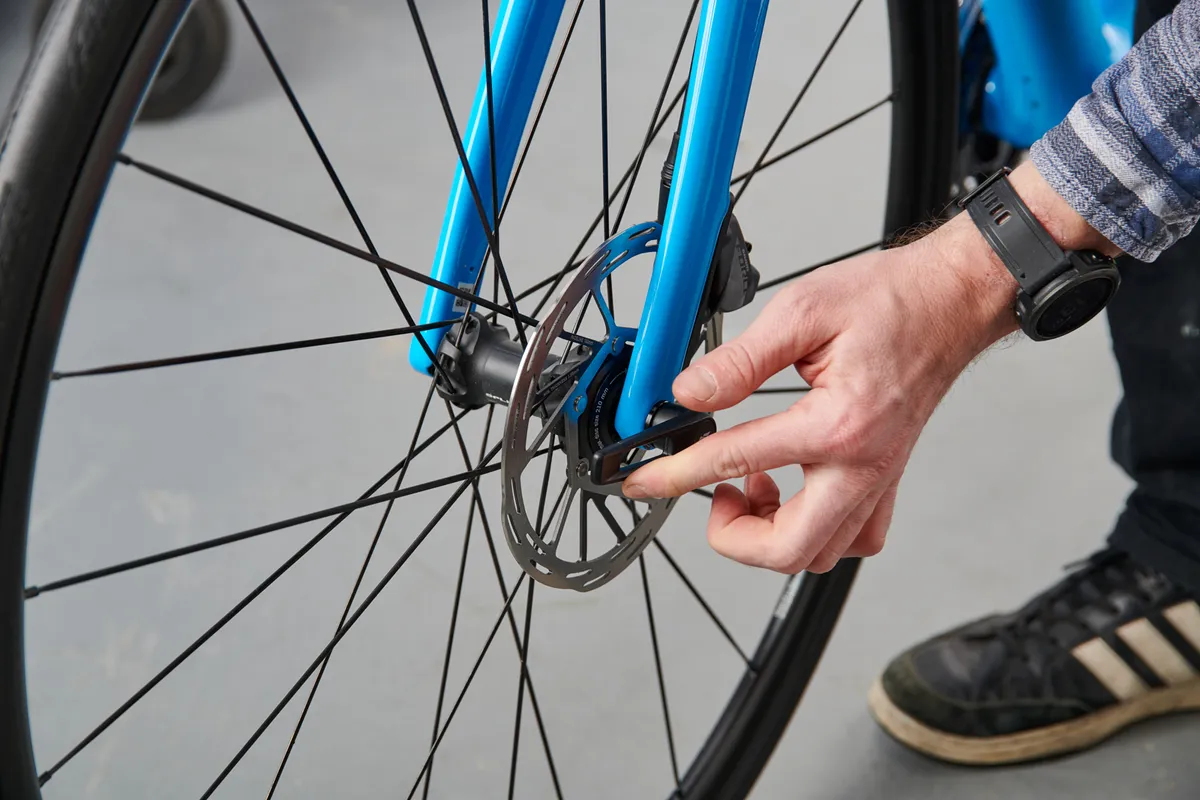
If the bike has rim brakes, check the orientation of the front wheel by locating the rotation/direction arrow on the sidewall. If the bike has disc brakes, lightly grease the thru-axle thread before inserting it through the fork and wheel.
You can read up on mountain bike axle standards.
6. Inflate the tyres
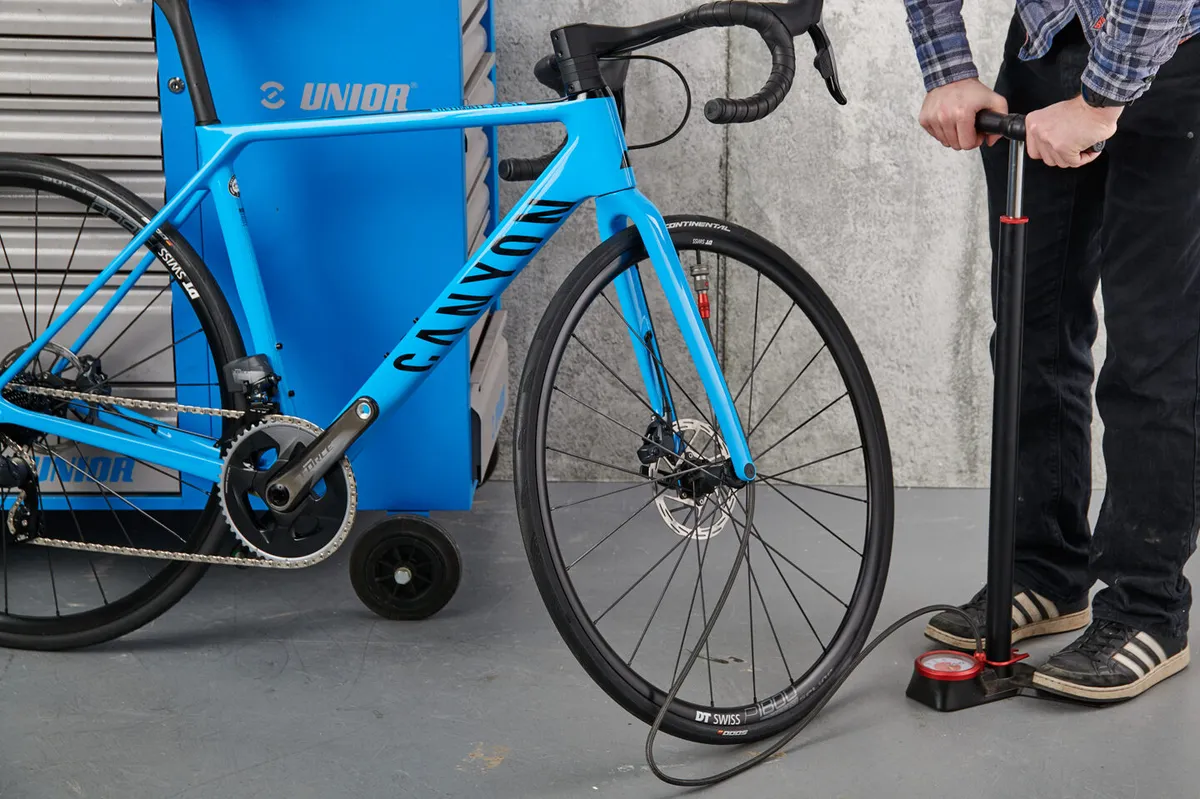
Inflate the tyres and, as a starting point, check the pressure against the recommended range marked on the tyre sidewall.
For more information, check out our guides on how to pump up a bike tyre, inner tube sizes and valve types, how to set up tubeless road tyres and mountain bike tyre pressure.
7. Install pedals
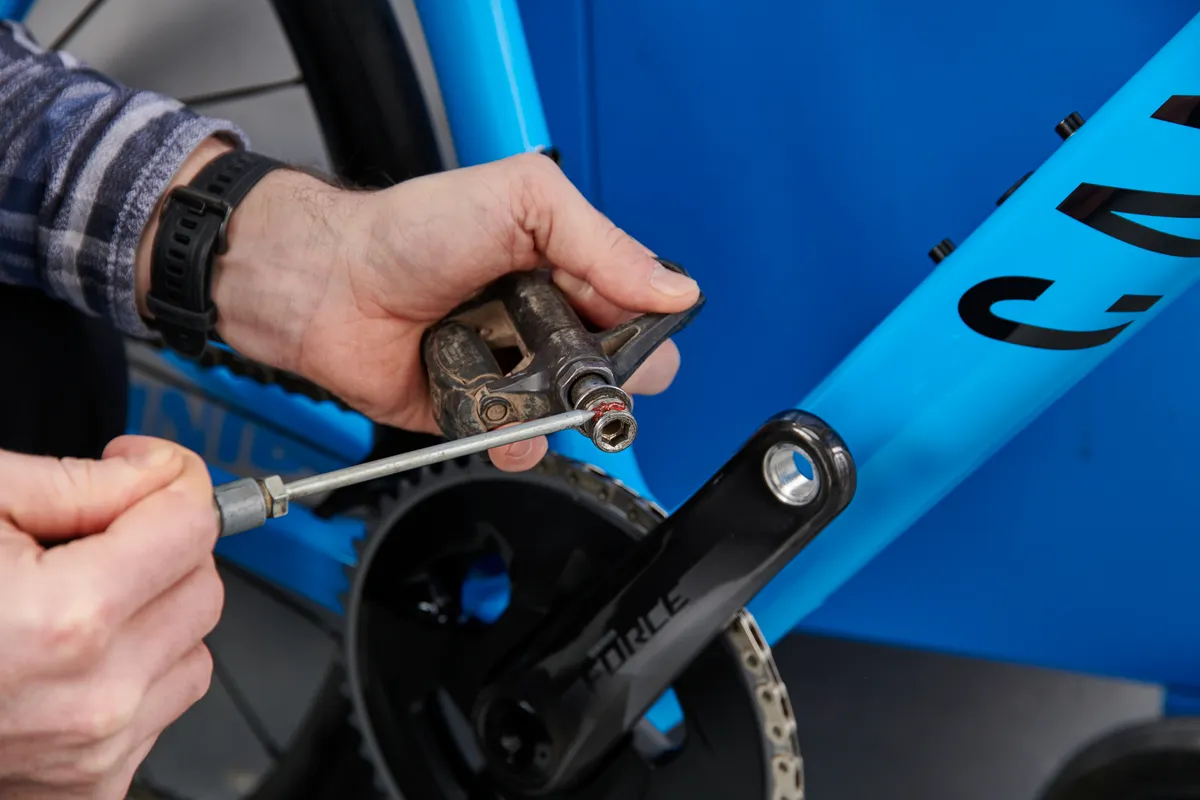
While your bike may be supplied with cheap pedals, most riders will choose to fit their own, whether those are flat pedals or clipless pedals.
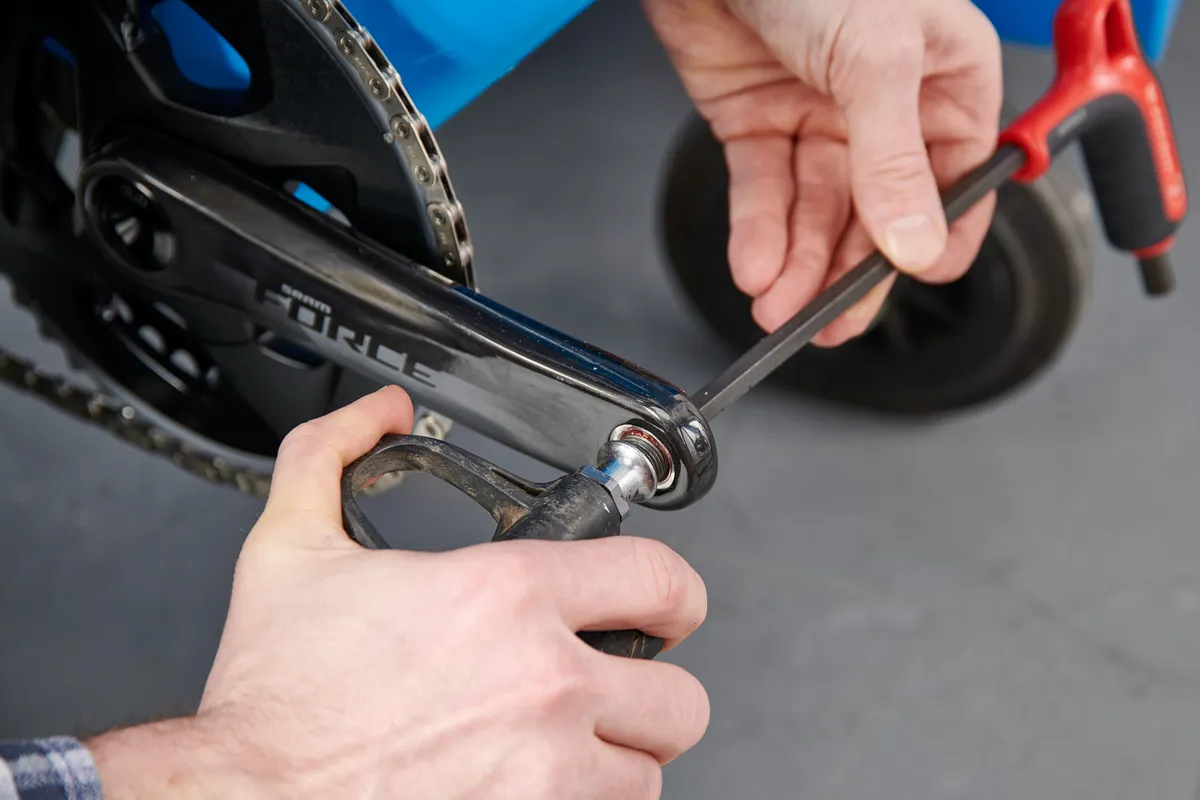
Grease the threads of the pedals and install them using a pedal spanner or Allen key (depending on the pedal itself).
Pedal threads are side-specific and both pedals tighten up in a forward direction. If you’re unsure which pedal goes on which side, they should be marked with L and R.
For more information on pedals, read our guides to the best road bike pedals and best mountain bike pedals, as well as how to cycle with cleats.
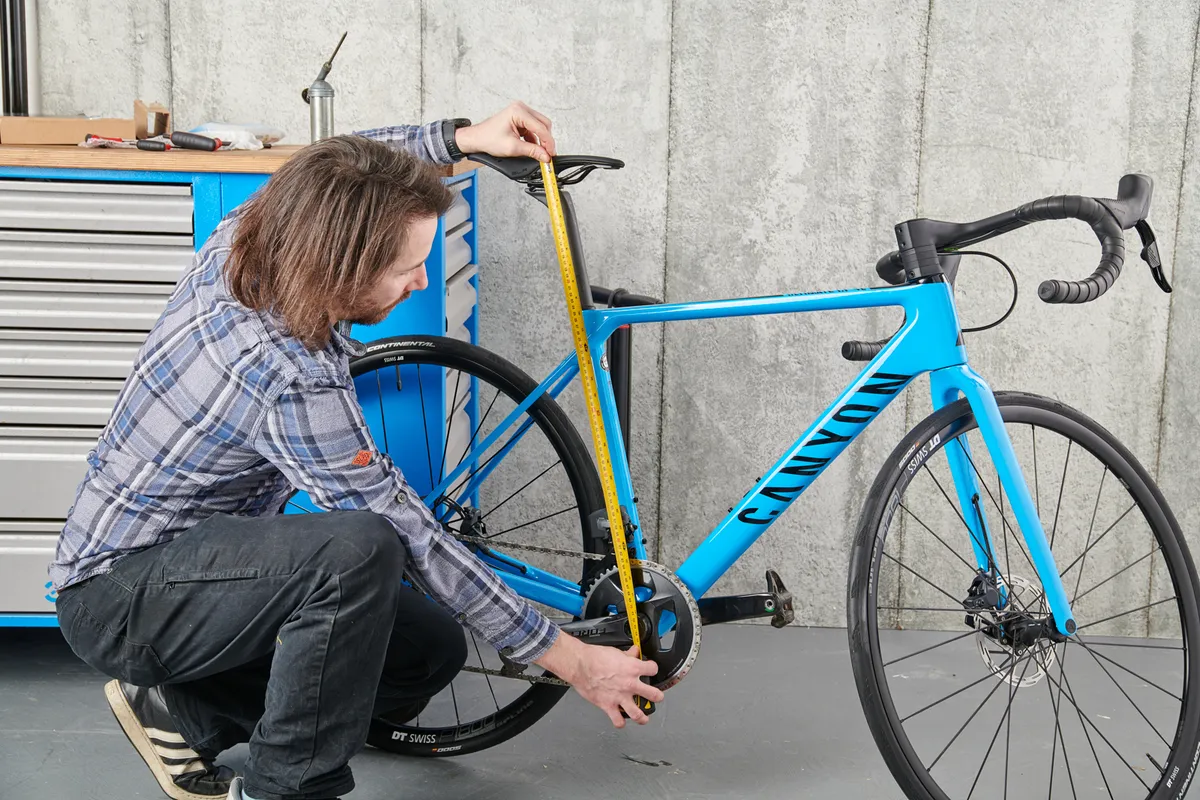
8. Set the saddle height
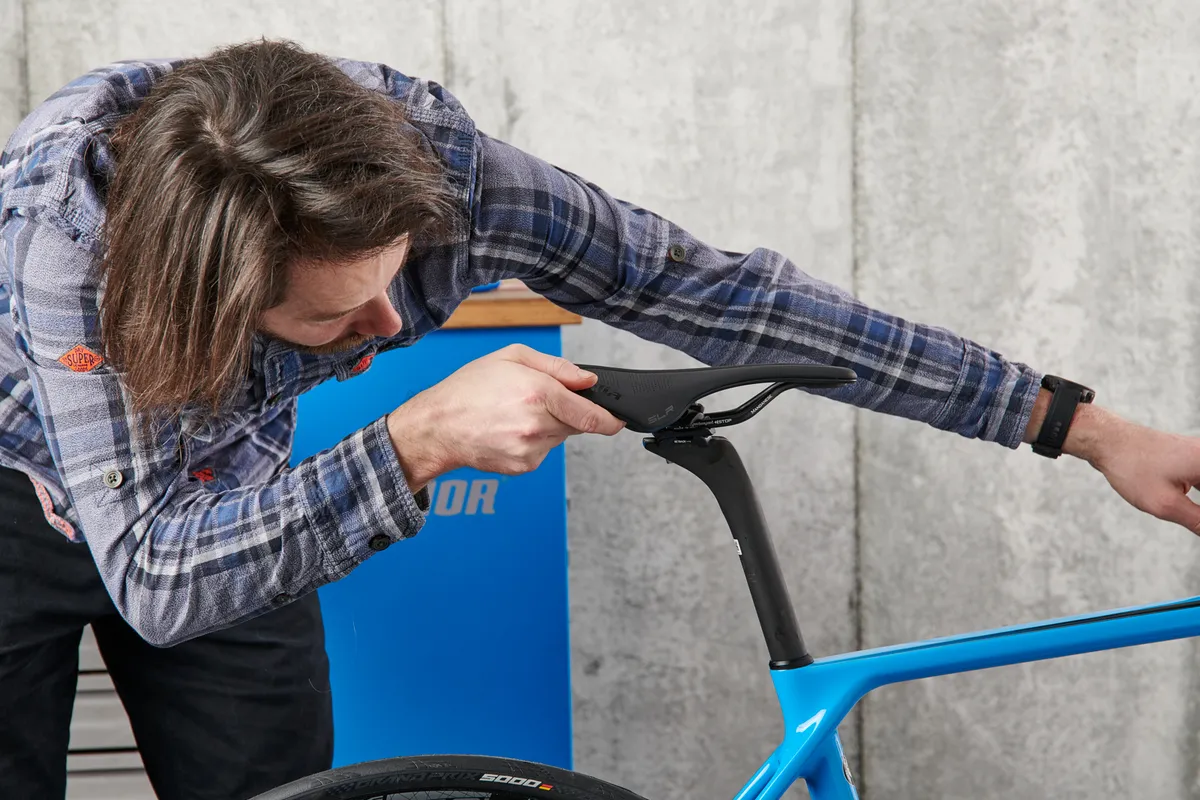
Check the saddle rail bolts are tight, that the saddle is level and straight, and that it is the correct height for you.
Now, ensure the seatpost clamp is tightened to the recommended value.
You can read our guide for more on how to set saddle height.
9. Final checks
Manufacturers and/or retailers should have set up the brakes and gears before despatch, but give the bike a final safety check and make sure the gears are indexed correctly.
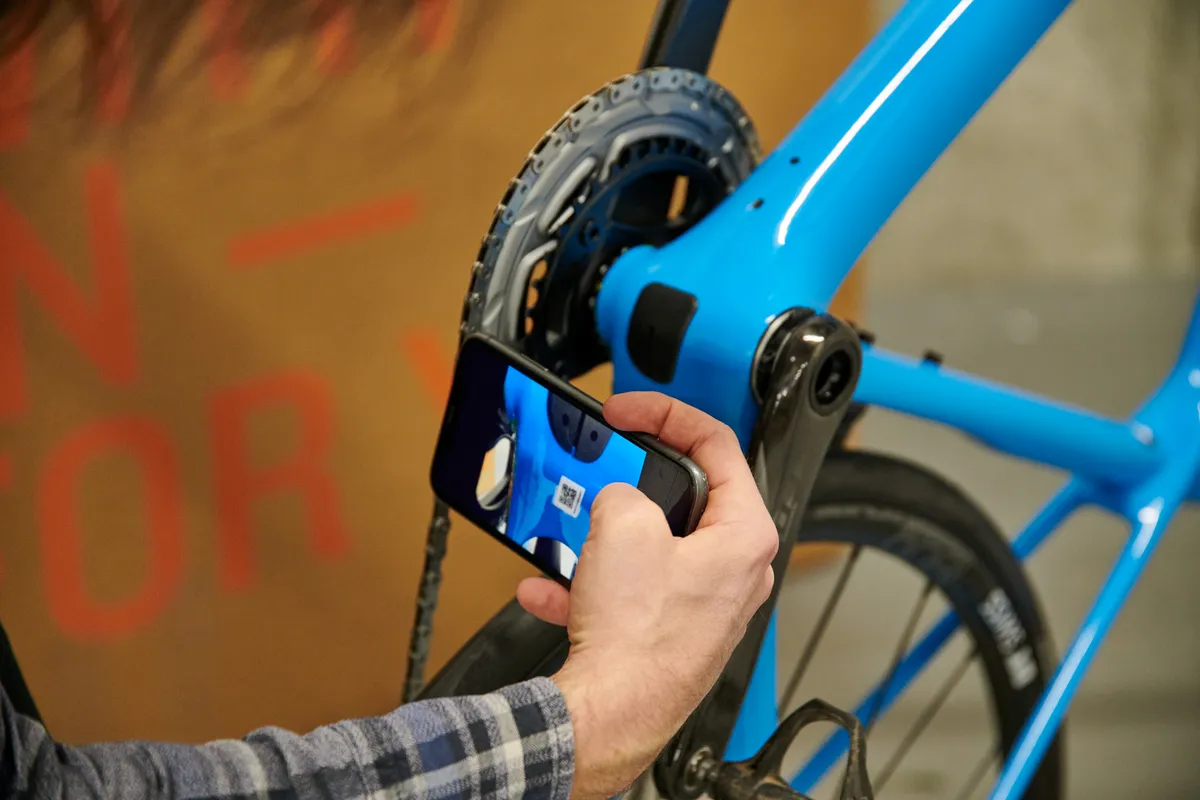
This is also a good opportunity to take a photo or note of the frame's serial number in case you need to make a bike insurance or warranty claim.
10. Go ride!
Go for a shake-down ride, check for any niggles and bed in the brakes.
Happy riding!